• When you click on links to various merchants on this site and make a purchase, this can result in this site earning a commission. Affiliate programs and affiliations include, but are not limited to, the eBay Partner Network.

Borgeson 800126 Install 1971 Charger

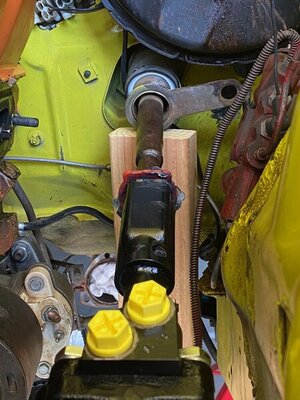
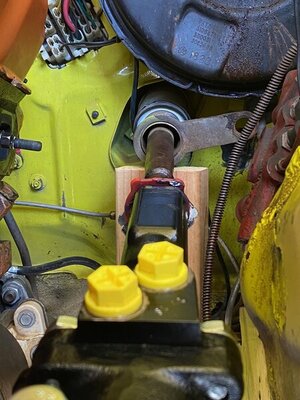
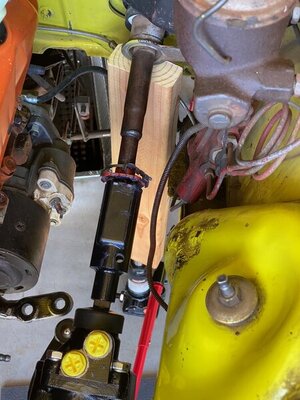
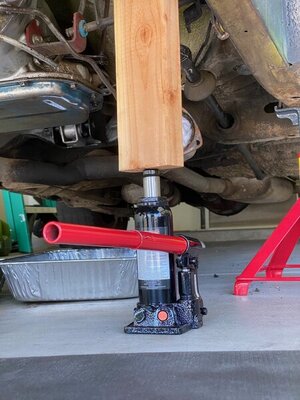
Yesterday, I got the column situated using a bottle jack (that I had to buy specifically for this problem) and a two by four piece of wood that I cut to proper length. The jack and board supported the column under the shift tube so I could bolt it down to the firewall at an acceptable position. So it is now installed without any rubbing. I'll post some photos later when I have more time.

Got the column shift linkage reconnected. Torqued the gearbox mounting bolts down to 100 ft lbs. Cleaned both torsion bars best I could, greased the ends and reinstalled them with retainer clips. The new pump and pulley are installed on the engine too, did that last weekend.
 
If you have trouble with the tin clip not holding the rubber cover in place, Detroit Muscle Technologies has a the coupler cover clamp that works great. They have it in the 3" and 3.5" version as well. Works great!

GEN7376SC10_LONG_COUPLER_CLAMP_2000__12718.1560740734.jpg


https://www.detroitmuscletechnologi...steering-column-coupler-cover-clamp-retainer/
 
Here are some photos of my column to firewall alignment procedure using a 2 ton bottle jack and two by four board. Need to have the torsion bar slid back out of the way for this, which I already had.

The photos were after tightening the column to the firewall. After I finalized the tightening of the column under the dash, the column dropped a little bit lower than it is in the photos, but no longer rubs on the shifter tube. I can still stick a small screwdriver between the column and the shifter tube at 12 O'clock, which I couldn't do before I used the jack and board.

IMG_2077.jpg IMG_2078.jpg IMG_2079.jpg IMG_2080.jpg
 
How long until the car is back on the road? I'm praying for you that it drives well after all this work.
I can't believe the dramas you've had, I tool the column out of my Barracuda and the column and box on my Satellite and it was a.breeze both times.
 
How long until the car is back on the road? I'm praying for you that it drives well after all this work.
I can't believe the dramas you've had, I tool the column out of my Barracuda and the column and box on my Satellite and it was a.breeze both times.
I don’t know... Last weekend I couldn’t get the steering arm tightened onto the output shaft. Couldn’t get the nut seated fully onto the shaft. Nor do I really know how to properly connect it back up.

It’s been so long ago that I don’t remember exactly what my removal procedure was. I think I first loosened the inner tie rod from center link with a puller. Then used a pickle fork to loosen the old steering arm from the center link. Then used an impact wrench to remove the steering arm nut from output shaft. Can’t remember if the shaft on steering arm was still in the center link hole when loosening the output shaft nut..

Last weekend I tried to tighten the lock washer and nut on the output shaft while the arm was NOT inserted into the center link. That didn’t work, as the shaft just moves around with the nut. And after a few turns of the wrench I get a lot of resistance. The arm doesn’t want to move up onto the shaft hardly at all. This is a NEW arm supplied by Bergman.

I guess I need to get the arm inserted in the center link hole first. Then try to get it on the input shaft. I’m pretty sure I’ll get stuck tomorrow morning when I try this and be back on here asking more questions. I read my service manual and it doesn’t say **** about how to do this.. it just says “remove the steering arm”, “install the steering arm”. And “Torque to spec” which it doesn’t give. Borgeson instructions say to torque that nut to 100 to 120 ft lbs.
 
Are.you talking about the pitman arm? It is splined so once it's on you can tighten the nut as the output shaft won't be able to move past full lock. Just pinch it up and then fully torque it with the the wheels on the ground and the full weight of the car on it.
 
Are.you talking about the pitman arm? It is splined so once it's on you can tighten the nut as the output shaft won't be able to move past full lock. Just pinch it up and then fully torque it with the the wheels on the ground and the full weight of the car on it.
Yes i am talking about the pitman arm (steering arm = pitman arm). I'm posting a thread in the steering section about this problem. I don't see any way of connecting the pitman arm from output shaft to center link, without removing the center link from the idler arm first. I guess 3 months ago, I was just barely able to slip the pitman arm out of the centerlink, then remove the arm from the output shaft, because the arm was fully torqued down on the shaft at the time I removed the arm from the centerlink. I can't get the new arm anywhere close to fully seated on the output shaft now.
 
I now have the idler arm removed from the K-Frame, and the idler arm separated from the center link. I missed one swing on the pickle fork and hammered my left hand with full force in the process. It hurt like a bitch!

This whole project, that I've documented in this thread, is the most difficult thing I have ever done on a car in my life. This car is really unique. I've never encountered any car like it.. I think everything I've attempted to do to it has come with great difficulty and resistance.

Rebuilding the top end of my Challenger's 318 from camshaft up, including replacing the cam, lifters, push rods, removing and installing the heads, intake carb, installing headers. That whole project was a lot easier than this and took far less time.

After I eat something, I'm going to "try", that is the key word here, to get everything connected back up to the center link.

I've had this car since early December. It's like having a 1:1 scale model of Super Bee. As it just sits in the garage and I can only look it. If I had a crystal ball back in late November and could see what I was going to go through, I really don't think I would have bought this car. Every time I see my blonde neighbor girl drive by in her new Scat Pack Challenger, I question the decision that I made to purchase this old car.
 
Hang in brother! I read the answers on the other forum and that should help you - I assumed you knew.to take the tension off all the other connected components to get it back on, especially as you noted the resistance when removing it. I put some camber washers in last weekend and had to jack the back of the steering knuckle up to get one of the bolts back in due to a similar issue - the forces acting on the part from everything else.
You're close now, don't give up hope!
 
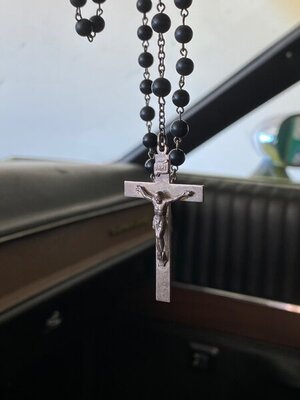
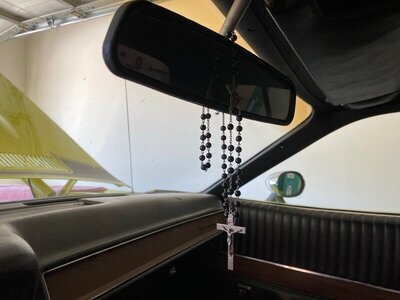
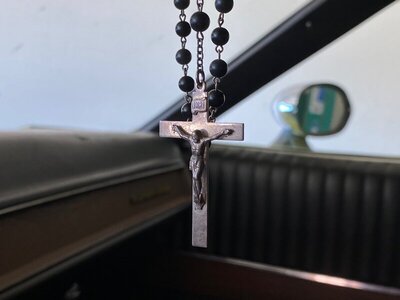
I've hung my father's Rosary from the rear view mirror. He passed away in 2010. I need help from a higher power to get through this.. If there is anything evil in the car, fighting against me, hopefully it will force it out.. If I had wanted Christine, I would have bought a 1958 Fury..

IMG_2108.jpg IMG_2109.jpg IMG_2110.jpg
 
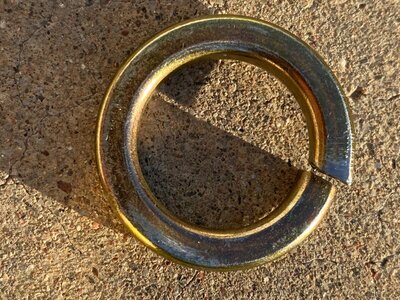
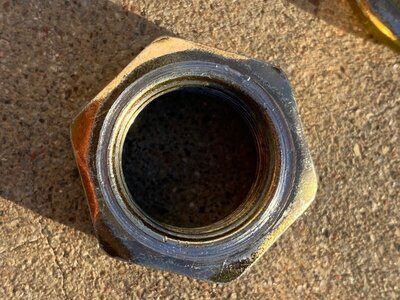
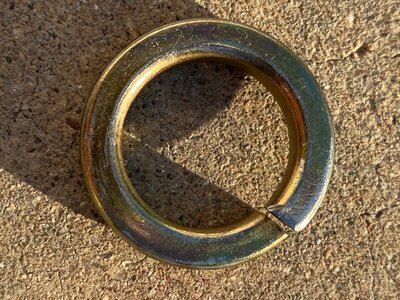
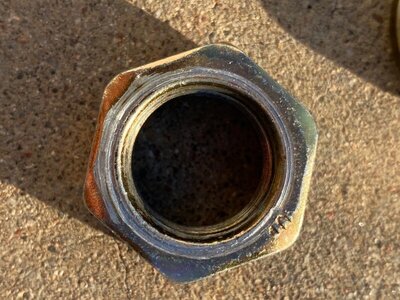
Still not making any progress today. I'm wondering if I should attempt to tighten the nut down ONLY on the output shaft first with no lock washer, in an attempt to push the pitman arm up onto the shaft. When I try to do this with the lock washer and nut together, the lock washer is giving me even more resistance. When the loosening the nut the lock washer is cutting into the nut and tearing it all up.

So I started filing down the sharp edges of the lock washer.. The force fit is SOO tight, that the pitman arm really wants no part of being pushed onto that section shaft. Look what that lock washer did to the nut.. This new pitman arm installation is 50x more difficult than removing the old pitman arm. WTF??

IMG_2111.jpg IMG_2112.jpg IMG_2113.jpg IMG_2114.jpg
 
With difficulty I got everything attached, but the pitman arm is still down too low on the sector shaft.

This is what my plan is to fix that. Lower the car partly down on the tires with some pressure on tires and the torsion bars, then try to tighten the pitman arm onto the sector shaft, using the nut ONLY with no lock washer. Hopefully then the arm then won't swing around when I try to tighten the nut. Once I get the SOB torqued down, I will remove the nut, then repeat the process a second time with the lock washer under the nut.
 
Is this a new pitman arm or the same one that came off the car? If it's the old one it shouldn't go on that hard. It's tapered so expect some resistance. If it's a new check it's the right diameter. Tighten the nut without the washer to seat the arm, and then back the nut back off. Use some common sense, you'll be fine.
 
I now have the idler arm removed from the K-Frame, and the idler arm separated from the center link. I missed one swing on the pickle fork and hammered my left hand with full force in the process. It hurt like a bitch!

This whole project, that I've documented in this thread, is the most difficult thing I have ever done on a car in my life. This car is really unique. I've never encountered any car like it.. I think everything I've attempted to do to it has come with great difficulty and resistance.

Rebuilding the top end of my Challenger's 318 from camshaft up, including replacing the cam, lifters, push rods, removing and installing the heads, intake carb, installing headers. That whole project was a lot easier than this and took far less time.

After I eat something, I'm going to "try", that is the key word here, to get everything connected back up to the center link.

I've had this car since early December. It's like having a 1:1 scale model of Super Bee. As it just sits in the garage and I can only look it. If I had a crystal ball back in late November and could see what I was going to go through, I really don't think I would have bought this car. Every time I see my blonde neighbor girl drive by in her new Scat Pack Challenger, I question the decision that I made to purchase this old car.
I have been working on my 70 roadrunner for 4 years, I've built the new 440. I have replaced one of the quarter panels, lock pillar post, wheel well and trunk floor pan. I still have to replace the other quarter and remove dents before I put it on the rotisserie. I may be ready for paint by the fall. I still have to do the whole interior and reassemble the car.. You have it easy my friend. I would take your car over your neighbor's car anyday. When you're done you will have the satisfaction of knowing you did it rather than you bought it. I will never look at a new Challenger with the same reverence as the original ones. Anyone can buy a car, It takes someone special to show care and love to resurrect a 50 Y.O. (or maybe a little more or less) classic
 
I have been working on my 70 roadrunner for 4 years, I've built the new 440. I have replaced one of the quarter panels, lock pillar post, wheel well and trunk floor pan. I still have to replace the other quarter and remove dents before I put it on the rotisserie. I may be ready for paint by the fall. I still have to do the whole interior and reassemble the car.. You have it easy my friend. I would take your car over your neighbor's car anyday. When you're done you will have the satisfaction of knowing you did it rather than you bought it. I will never look at a new Challenger with the same reverence as the original ones. Anyone can buy a car, It takes someone special to show care and love to resurrect a 50 Y.O. (or maybe a little more or less) classic

After 3 months, my car is off the jack stands and back on its wheels, as of last Sunday afternoon. I've seen guys like you working on the same car for years without being able to drive it. I don't have the facilities, equipment or experience to do that extensive of an amount of restoration work. I bought this car as a "driver" quality car. It was being driven by the previous owner, but very little. It needed and a lot of attention, that wasn't being given to it. Unfortunately, I've hardly fixed any of its issues after 3 months of working on it almost every weekend. I'm not a professional, not a mechanic, just used to wrench on a Challenger 20 to 34 years ago. I'm just trying to give this car some of the mechanical attention it desperately needs.

When this is done, I'm just hoping to have a car that is steerable and doesn't puke steering fluid all over the place when I attempt to drive it. Then I can move on to the other list of problems it has.

I see you are from VA. I am originally from Alexandria. I was driving my 71 Challenger around, in VA, from 86 to 89. Then drove it cross country out here to AZ in 89. Was 21 at the time and fantasized I was Kowalski during the trip lol. Sold it in 98, and here I am, with another 71 Dodge again, after not owning any old car like this for two decades.. And I guess far less patience when working on it than I had with the other car when in my 20s.

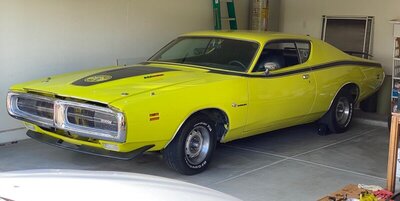
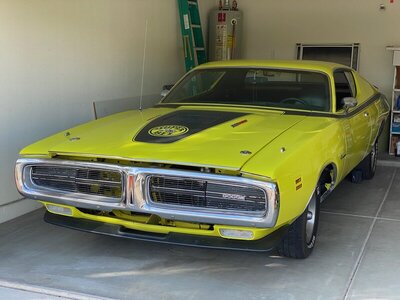
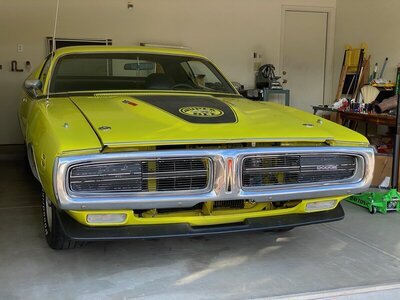
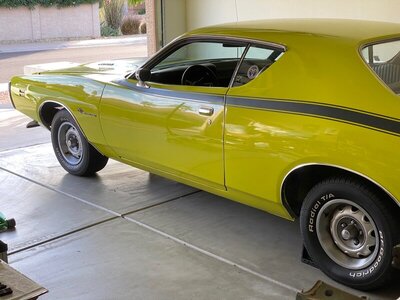
Here are the latest photos of my Super Bee with all four of its feet on the ground. Feet that are wrapped in 20 year old tires, that need replacing.

IMG_2416.jpg IMG_2411.jpg IMG_2413.jpg IMG_2415.jpg
 
Looks nice. Great color and stripe.....The front spoiler is a nice feature as well.
I'd black out the yellow paint visible behind the grille but otherwise, that is a sharp looking car.
 
I can relate somewhat to your experience and I'm sure this victory feels good. My disc brake conversion took 16 consecutive weekends. Wrong parts, bad parts, and learn as I go caused delays and frustration. My dad was a machinist and neighborhood shade tree mechanic. Taught me the basics. I can turn a wrench, but not much else. I can't fabricate, weld, paint, etc, but I'm still going to stay in this hobby. The fruits of the small successes is worth it.
 
I can relate somewhat to your experience and I'm sure this victory feels good. My disc brake conversion took 16 consecutive weekends. Wrong parts, bad parts, and learn as I go caused delays and frustration. My dad was a machinist and neighborhood shade tree mechanic. Taught me the basics. I can turn a wrench, but not much else. I can't fabricate, weld, paint, etc, but I'm still going to stay in this hobby. The fruits of the small successes is worth it.

I learned on my own and from a friend in college (late 80s) who had both a Challenger and a Cuda. My father was a mechanical engineer, but never worked on his cars.. You and I are close to the same age. Once the engine is back running and the car is steerable, then I will declare victory.. I'm still in the fight haha.

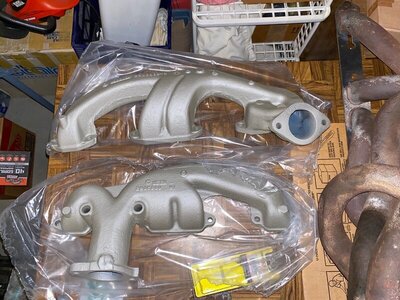
I know you are a fan of manifolds over headers. Here are mine after the exterior was re-coated using Cerakote Titanium. First time around they were coated Blue Titanium, which turned out MUCH more blue than the sample I was shown. You can see the blue coating on the insides in the photo. The blue would have looked out of place in the engine compartment. Maybe passable on a blue engine, but not a hemi orange engine.

IMG_2419.jpg
 
MoparGuy68; Just curious. Does the Borgeson box utilize a master spline; that is, one spline thicker than the others so that it locates the pitman arm?
 
I recall that the first generation Borgeson units did NOT.
 
Auto Transport Service
Back
Top