• When you click on links to various merchants on this site and make a purchase, this can result in this site earning a commission. Affiliate programs and affiliations include, but are not limited to, the eBay Partner Network.

Greg's 68 RR Resto - Bayou Bird

Dash Stuff #1

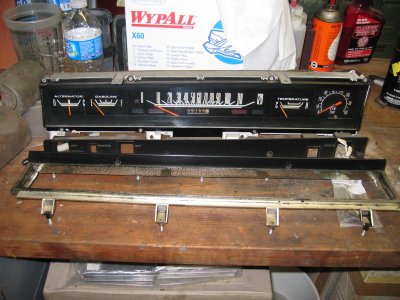
I also pulled out the Instrument panel to take a look at it. I stuck a factory tach in it that I picked up at the Mopar Nats swap meet back in 1998. I also have another one sitting on the shelf for a later project. Don't know if it works. I'm contemplating shipping the guages to Redline Guage Works to get the Ampmeter converted into a volt meter & to upgrade the tach, as well as restore the whole assembly. I will also want to use the solid state 5 volt instrument regulator from RTE. No, the tach isn't original to the car, but I had put one in my 69 Roadrunner back in 1976 from a wrecked car & really liked it! I perfer it instead of banding one to the steering column!

I plan on making some electrical mods that I've seen/heard about where current from the alternator goes to the starter relay & not thru the ampmeter and back out the bulkhead fitting. My dash harness does show signs where these high current connections got hot, as well as some wiring. It's likely I'll have to get a new dash harness ($$$'s)!

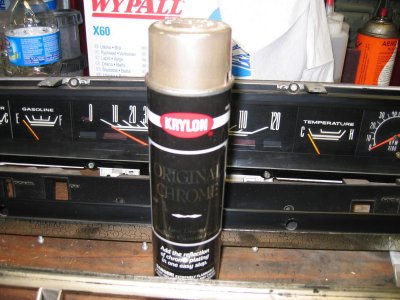
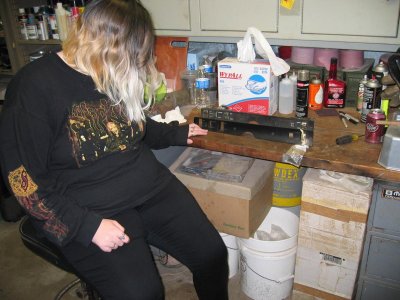
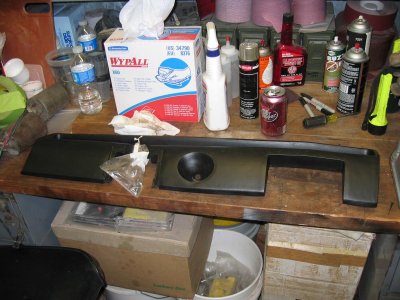
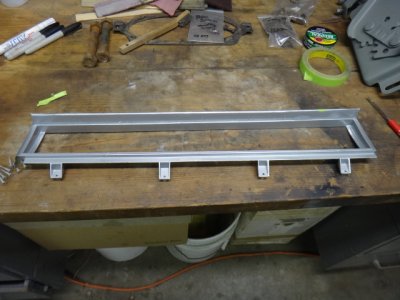
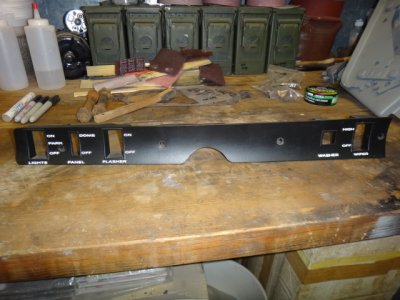
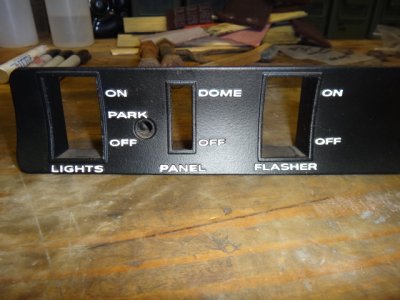
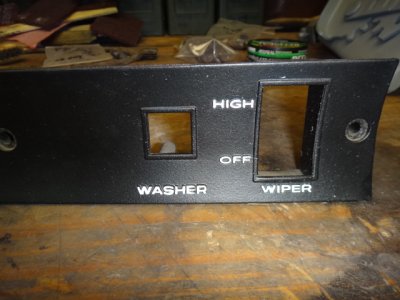
The plastic chrome trim for the panel is pretty awful. I'll have to get one from Mr. G's as I think they are pretty reasonably priced from there. I have another one that someone already painted, so I'll try the chrome spray can stuff on it & see how it comes out. Most painted ones look like, well, that they've been painted! My daughter will detail the white letters on the switch panel for me. I bought some Testors model paint for that. I wanting her to stay involved in the resto since this car will be hers one day!

Picture 034.jpg

Picture 036.jpg

Picture 037.jpg

Picture 038.jpg

I pulled out the dash pad and dusted it off to take a look at it. Looks OK with some normal wear. It'll look just fine, though, after a little Armour All.

Greg
 
Dash Stuff #2

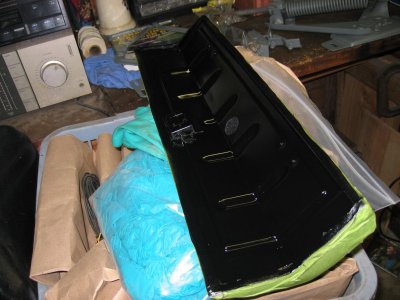
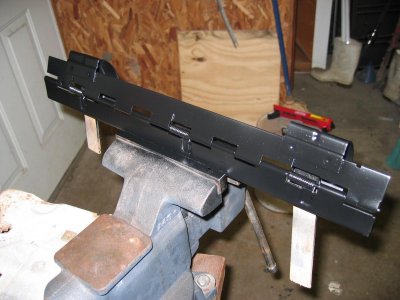
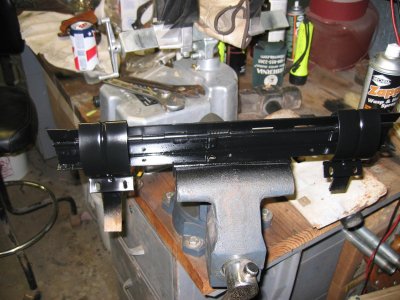
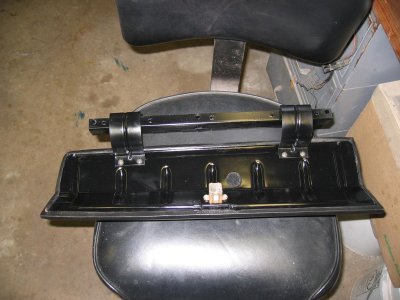
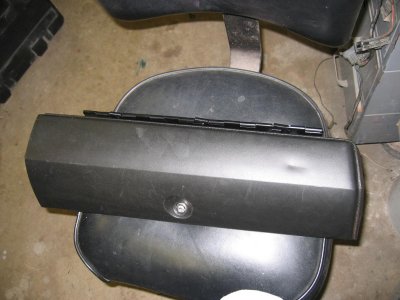
Got the glove box lid out and worked on it. The original lid had a bunch of excess foam that squished out when it was molded by the factory. I guess that Chrysler figured nobody would see it or it wasn't cleaned up and slipped past the QC inspection. I carefully removed the excess foam, sanded the inside metal frame, and painted it. Also painted the glove box hinge assembly. The vynil on the outside looks pretty good. A little "dent" is there in the vynil, but it'll smooth out after using a hair dryer on it.

Picture 009.jpg

Picture 007.jpg

Picture 008.jpg

Picture 011.jpg

Picture 012.jpg

Store to the side until I resume work on the dash. Putting stuff in/on the dash is a good "rainy day" type job.

Greg
 
Battery Tray #1

I test fitted the repo battery tray and brackets I'd bought years ago, then coated them w/ DP40. Set them to the side for later. I had 2 sets of tray brackets, one is OEM, the other is repo.

Picture 031.jpg

Picture 033.jpg

K-member painting is next...

Greg
 
K-Frame #1

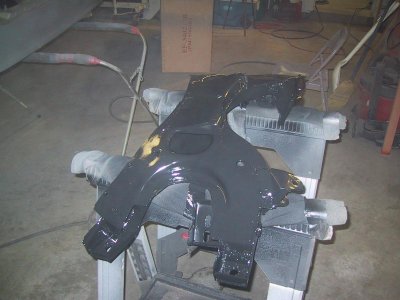
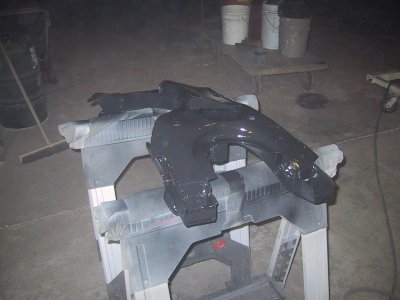
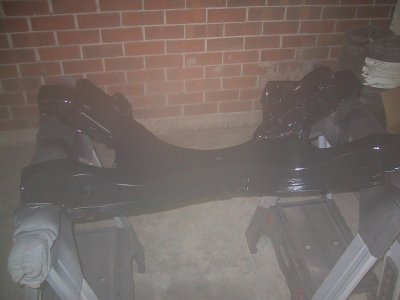
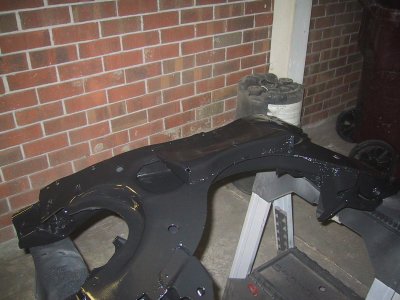
Coated the K-Frame after blasting it. I shot DP90 black epoxy on it, then used eastwood gloss chassis black for the final coating. I'm impressed w/ the Eastwood extreme chassis black. Dried up quickly and appears to be pretty hard/durable.

Picture 033.jpg

Picture 034.jpg

Picture 002.jpg

Picture 008.jpg

I'll mount the front suspension & engine/tranny to the K-Frame and install it from underneath when that time comes (which I hope will not be that long)!

Greg
 
Roller Wheels

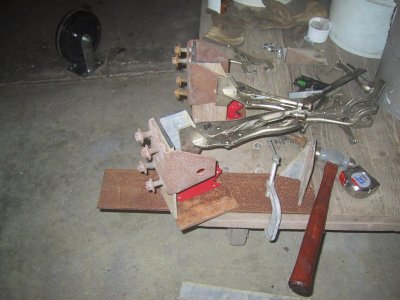
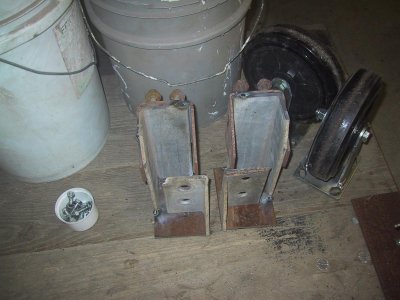
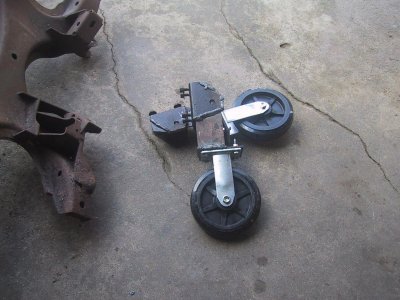
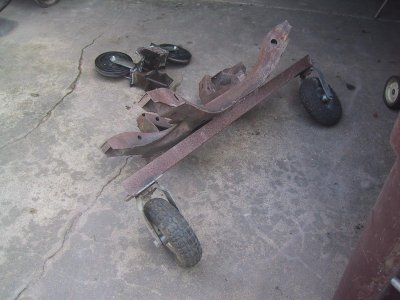
Fabbed up a set of "roller" wheels for the rear for when it's time to take the car off the rotisserie. I had already made a set of roller wheels for the front from an old K-frame. I made it "wide-stance" so the body will be stable while sanding, etc. The rear wheels are made from a pair of spring brackets welded to some strong angle iron and wide flat bar. The wheels were saved from the trash at work, so the price for them was outstanding ($0)!

Picture 007.jpg

Picture 009.jpg

Picture 010.jpg

Picture 011.jpg

I'm hoping the car will be sitting on these wheels in 2-3 weeks! I've planned how I'm going to paint it and will lay them out in a post, shortly.

BTW, I'm pretty much caught-up with my pic's to present day! So, I'll be snapping & updating some more pic's as I make progress.

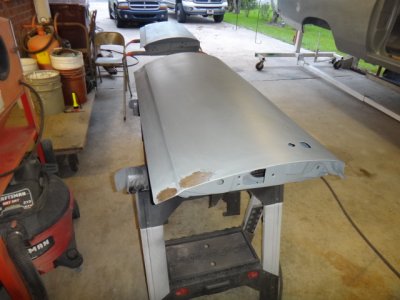
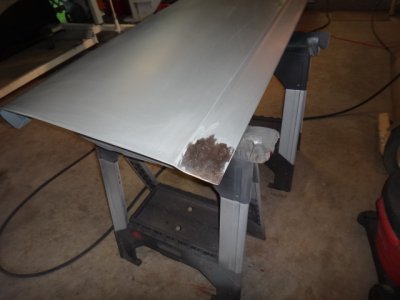
Today, moved the car out and hosed down the carport. Al-Ox "dust" was everywhere. I then turned the hose on the car to knock the dust off of it. It was pretty filthy with Al-Ox dust from where I blasted doors, fenders, & hood. Moved the doors back outside so I can fix those bad spots on them, this weekend. After metal repairs, I'll get a final shot of epoxy on them.

Greg
 
Ok, you make it sound like taking a look at your instruments is like taking change out of your pocket. LOL I had just found this thread today. not sure how I missed it. You do nice work (edit great) and as I think I read, nice old fashion work. Just like I might be doing if I had half your skill. I say again, I admire what you are doing. I'm not a car guy per se, but I'm learning fast and one thing I do know is that you can't just learn metal working in a few lessons. I have praised Prop, Donny and Matt and others personally in their threads and they deserve it. You deserve the same along with others I have not mentioned in their threads. I marvel at what you guys do, and am jealous of it. I have skills but not in metals. If I keep reading I might just buy a welder and challenge some here. LOL Nice work and I love the shots you are taking in keeping us informed. I became a member because of you guys giving me inspiration and the money saved by reading here. Keep on keeping on!!!

MOPAR BABY!!
 
I see you have a can of Wasp/Hornet spray nearby as do I! haha. The casters you have I hope are good ones, it's hard to get good casters that LAST more than 90s days, I'm in a cycle right now of replacing mine that fail from Harbor Freight, keep the receipt and yank the bad wheel out, under 90 days and I can return it for a new same model POS.
 
Thanks +

Thanks to all that posted! It's taken a lot of time & sweat to get this far done w/ this project. I'm going to be proud of it when it's done! I mentioned before that I've had this beast of a project running for 14 years. Life has a funny way of changing plans on you or delaying/wrecking your original schedule.

Finallygotmine, I have to prioritize where I spend my $$$'s, as I'm sure a lot of folks do. The instrument panel mods/resto by a specialty shop may be something that is delayed until later, when I have money available for it. Dash wiring harness is more than $500 and is a higher priority. Right now, body work & paint are #1 priority for spending.

As for metal work and body work, it's something you learn by doing. I didn't grow up with a body hammer in my hand so I studied a lot of reading material. The web is also great for seeing how folks attack body/fender work. For instance, my drv fender had a spot where it just didn't look/feel correct, after I spent a couple of hours on it. I went by a friend's place that has been restoring cars for years (I think he does one or two every year in his spare time) to get him to look at my fender. After a quick look & feel by him, a few taps w/ a wood block and body hammer, it was shaped right. The tool that really brought to light where to hit on the fender: a 4 foot piece of aluminum flat bar! Laying this over the raised body line showed where it was a little low. Vo-lia! I've since added the aluminum flat bar (available at Home Depot) to my tool collection!

Donny, yep, keepin the wasp killer can handy! Grabbed a fender one day to move it and BAM on the finger! I'm amazed how fast they want to put thier nest on your stuff! Worse than them are the damn dirt-dobbers. They like to plug up your air hose fittings. I've seen em do it w/i one day after using it!

Gotta go to a LFL (Louisiana Football Leaue) draft meeting today, so car work delayed. LFL is a fantasy football league at work. I'm half owner of the "Rude Dawgs" team. We usually suck. Oh well.

Greg
 
Gold Member Sub'd

:thumbsup:FYI. I did the Gold Member subscription. I figure it's a good way to help FBBO site with internet server expenses. And, they can buy a new hard drive to hold all the pic's I've been uploading! LOL!
Greg
 
I don't care who ya' are or where ya' come from....That's some nice work right there.

Makes me miss my 68 Runner.......boy, it had a lot of rust though.......Probably should bide my time and keep my eyes open for a better one.

GREAT stuff in this thread. :blob1:
 
Switch Panel - Glove Box

My daughter painted the white lettering on the dash switch panel. Looks great! If I could only get her to do the metal work on my doors, I could stay inside in the A/C and fiddle w/ the computer! HA!

Anyway, she did a good job...

DSC00100.JPG

DSC00101.JPG

DSC00102.JPG

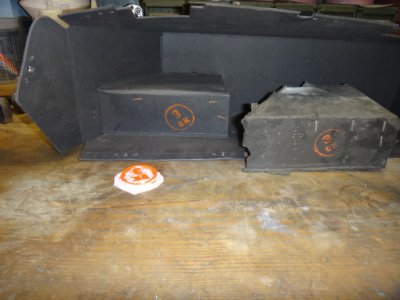
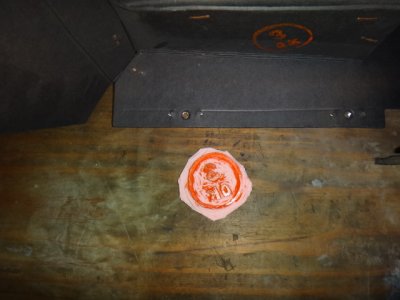
She also recreated the 3-OK inspection stamp inside the new glove box liner. It's never going to be a concourse OEM car, but, I thought it's nice to have some originality put back into the car & she was up to the task!

DSC00098.JPG

DSC00099.JPG

I tried uploading pic's taken w/ new digital camera, but they must have been too big. I snapped some today at the lowest resolution setting. I may be able to get away w/ increasing resolution up 1 setting.

Greg
 
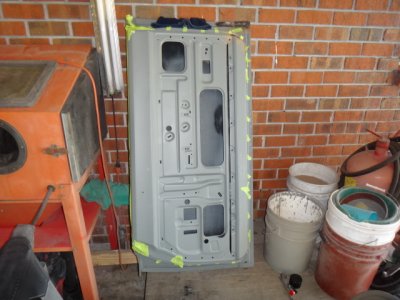
Doors #4

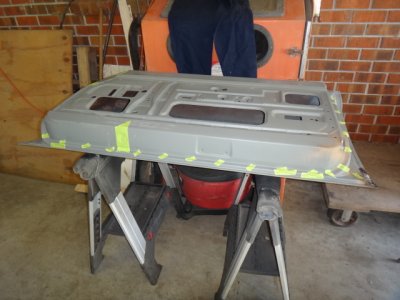
Well, yesterday, I zapped some MIG weld onto the doors in the spots where needed. I tried to upload some pic's, but they were too large (kept getting "failed" message). I also sanded down the trunk torsion bars to paint em w/ some DP40 epoxy.

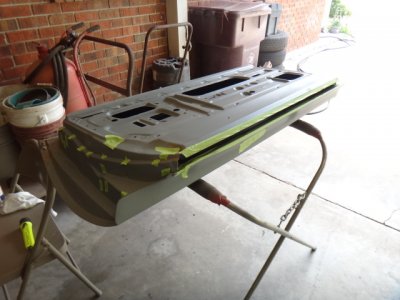
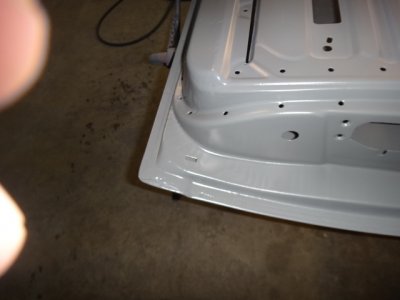
Today, I finished up the doors. I used some eastwood rust encapsulator to spray inside the doors around the edges and in spots where I couldn't grit blast it very well. After that, I shot DP40 inside the doors. I used a knuckle type air fitting so I could manuver the paint gun inside the doors. It was a little tight, but got-er done! This is something I wanted to do. Probably overkill, but, I don't want the door rusting from the inside if water gets in there. I used my full sized paint gun w/ the small 3M paint cups and it fit inside the door OK. I tried an eastwood detail gun, last week, but ended up returning it. The paint needle was not in alignment with the cap end. It leaked paint on my feet before I saw there was something wrong. After snugging up the packing around the needle to stop it from leaking paint, the needle would stick dribbling out paint everywhere. I will stick w/ a name brand gun from now on.

DSC00084.JPG

DSC00085.JPG

DSC00086.JPG

DSC00087.JPG

DSC00088.JPG

Shot DP40 on all the door metal repair areas. Also, used up the last of the DP40. Everything except the piece where the hood latch goes and the filler panel below the grill is in epoxy primer. I'll buy another quart of DP40 for shooting those pieces.

Time to start skiming the filler & sanding!

Greg
 
Doors #6

A few more on the doors...

DSC00094.JPG

DSC00095.JPG

DSC00096.JPG

Shot some of the rattle-can chrome paint on the instrument bezel I had that was already painted w/ silver paint. Yea, from what I can tell, it will still probably look cheezy. I'll take a look at it tomorrow to see if it looks better after the paint cures.

DSC00103.JPG

Gotta learn to keep my fingers away from the camera lens, too!

Greg
 
man! just got done reading thru your thread.you've done alot of work in the time showed. keep the pictures coming,i'll be using them for reference for my build along with others.
 
Hi Greg! Nice project, seems familiar, we are almost at the same point!
I will show it to my wife, she says I am the only one in the world that loves to hang in the garage!
Keep up the good work and keep posting pictures!
/Joakim
 
i was also going to add what a great job your daughter did painting the dash panel.
 
Auto Transport Service
Back
Top