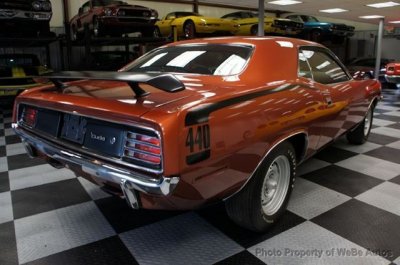
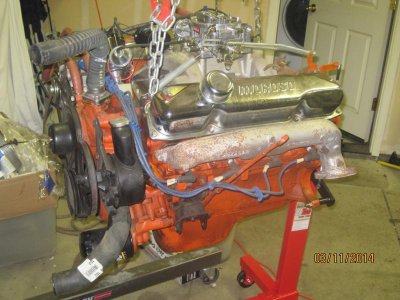
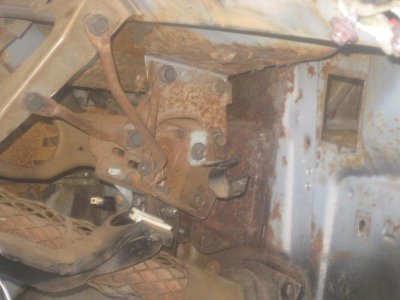
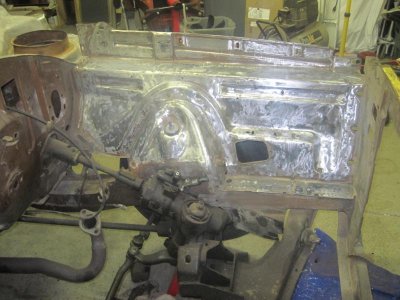
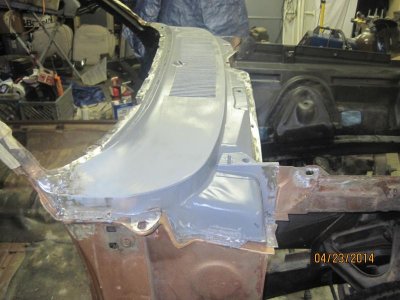
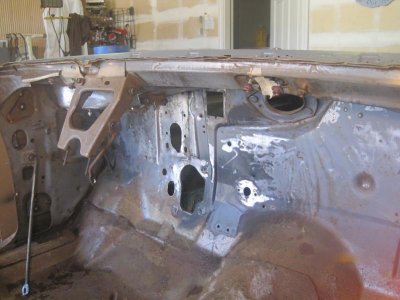
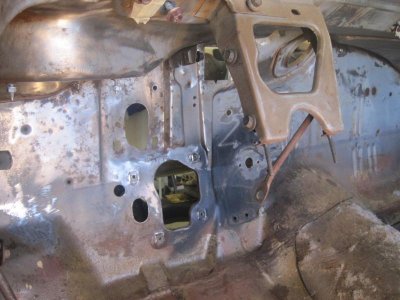
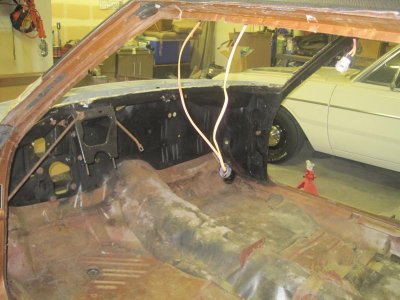
It's been busy around here; not a lot of time to post. My younger son is moving back in and my oldest son is moving out so I've busy moving furniture. The good news is that more stuff is leaving the house than coming back. Gives me more room to store my car parts. I had to take all the interior parts and glass that was on my son's bed and move it all into my daughter's room - she just graduated from college and moved down to LA. Hope the interior is back in by the time she's up for the holidays. lol.
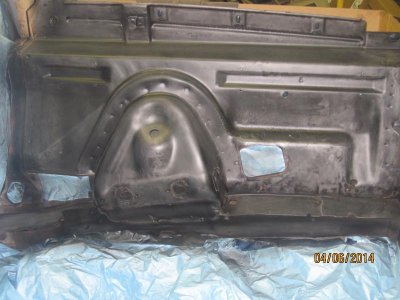
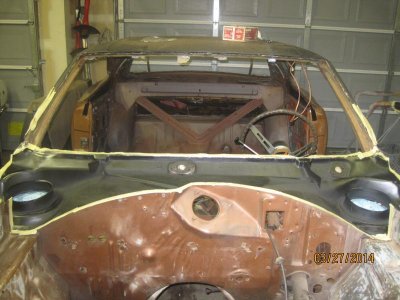
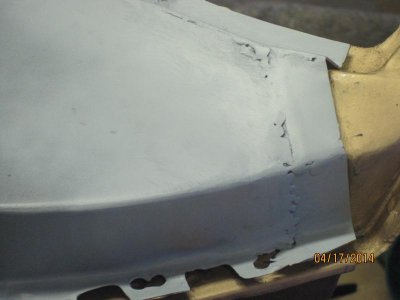
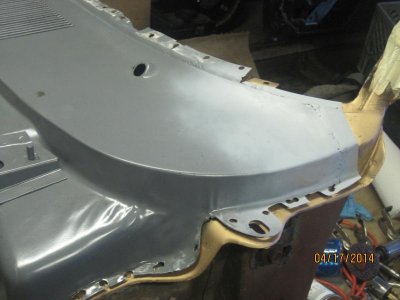
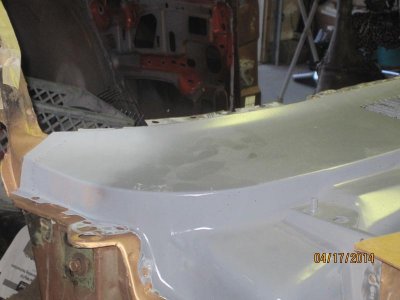
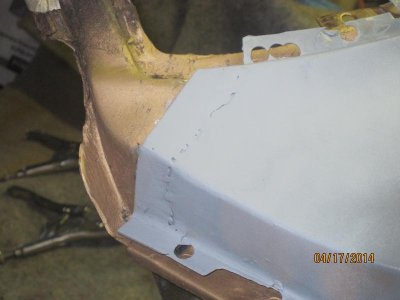
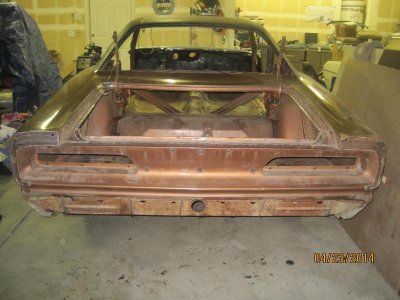
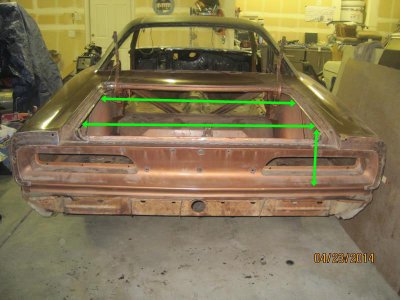
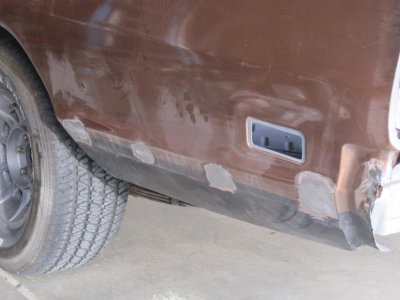
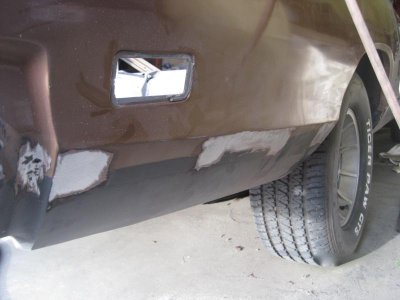
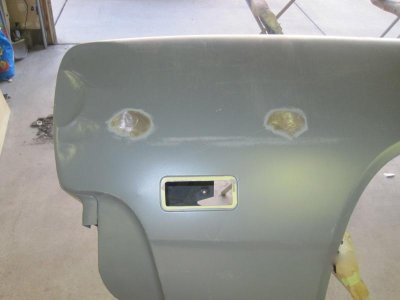
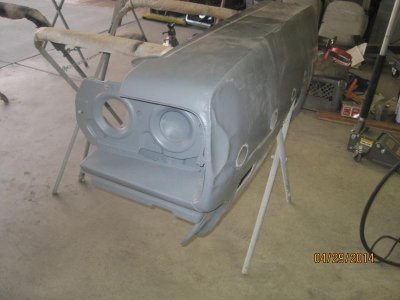
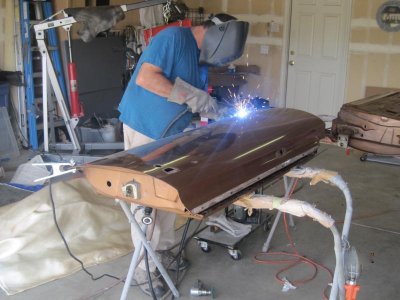
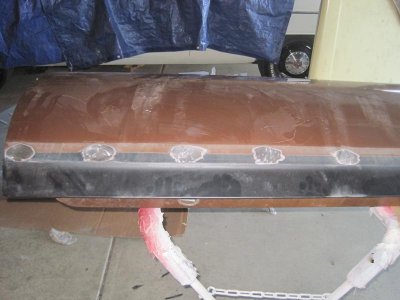
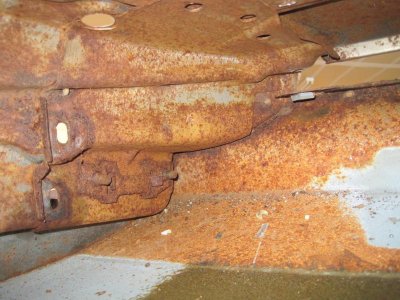
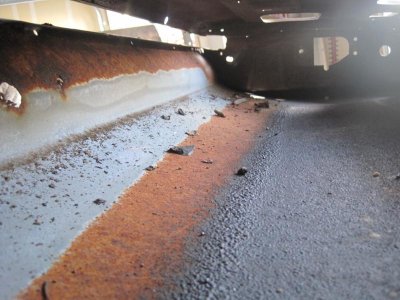
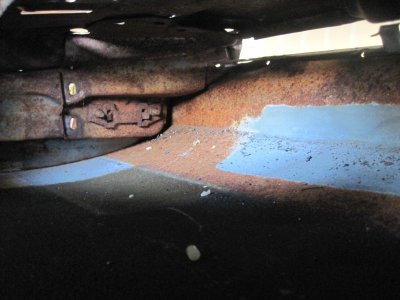
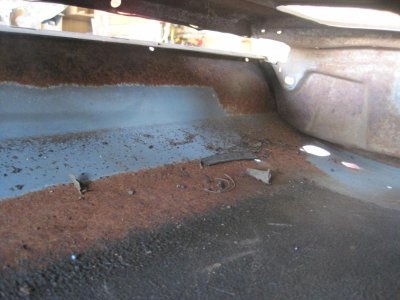
So while Mike was welding up all the trim holes on the car I started looking at the trunk. The PO had painted POR 15 in the middle of the trunk pan as kind of a half-hearted effort to contain the rust. The trunk pan wasn't in bad shape just a lot of surface rust. There was quite a bit of rust underneath the quarters and dutchman panel and also the package tray. At that point I decided to remove the gas tank to check things out. Good news! a new gas tank; one less thing I have to replace. Not too bad underneath just a lot of surface rust. The lower quarters are solid as are the quarter extensions.
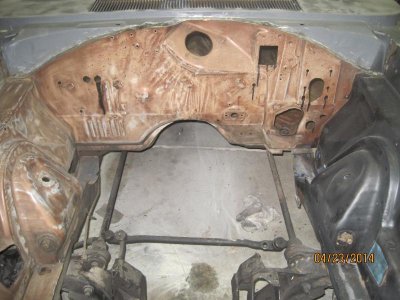
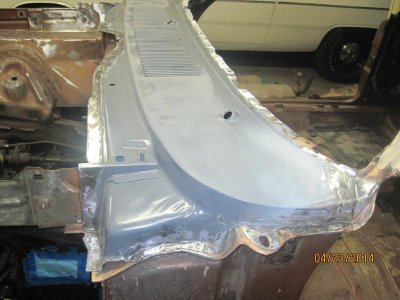
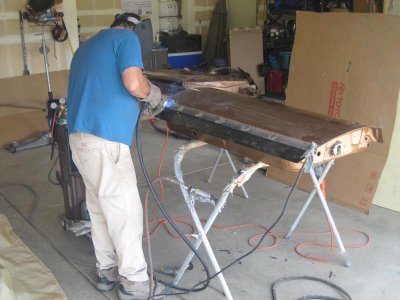
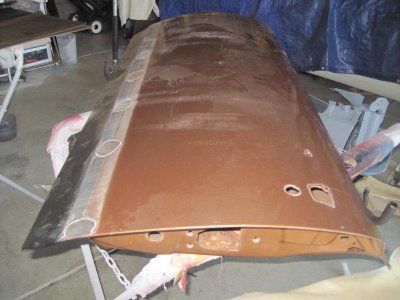
Since the doors and trunk lid were going to the blasters anyway might as well take the rest of the car. We loaded the car onto Mike's flat bed trailer; sure wish I hadn't taken out the steering box yet, hard to steer with no pitman arm! I'm just having the back half blasted except for the outer quarters, which I'll sand down myself. The inside of the trunk all the way to the underside of the package tray will be done and underneath from the tail panel to the shock mount crossmember. The middle of the car is in great shape. The chassis has all its factory undercoating and I'll leave it on. The torsion bar crossmember has a patina to it, but I'll sand it down to bare metal and POR-15 it.
It's so weird having a garage with actual space to move around in!
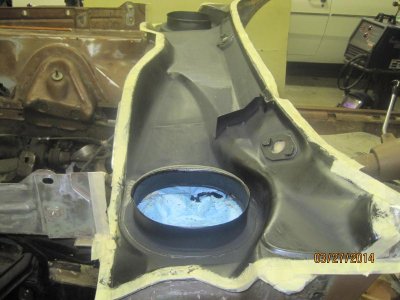
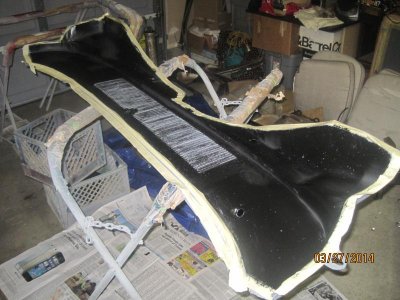
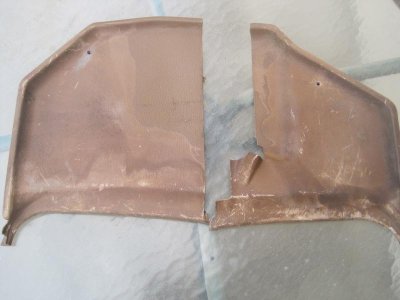
While the car's gone it was time to work on changing the interior from saddle tan to black. The trim pieces are pretty grungy:
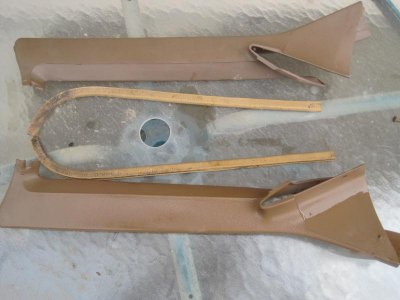
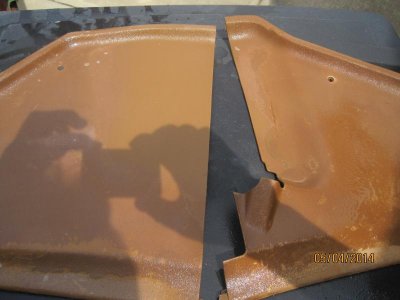

Originally I was going to use the new factory color spray paints from Herb's Parts but the shipping costs were prohibitive. And I was going black anyway and black is black. If I was going with a factory color I would have ponied up the freight. At this point I gotta say that finding a good automotive paint supply store, especially for a novice like me, is a lifesaver on a resto project. At first I visited a store in North Sac and they were OK, they helped me with my purchase and no complaints. Then I found Jerry's Paint Supply, also in Sac. Their main business is supporting the local dealerships and auto body shops but they also have a retail counter. Man, they have helped me out time and time again. They're really patient answering all my neophyte questions and they don't try to sell me more than I need. I recommend them to anyone in the area.
So anyway, there's lots of threads on changing colors in the Interior forum so I'll hit the highlights. It's all about cleanliness and surface prep. The pieces were first washed down with TSP and a sponge. After drying the surface was scuffed with a red scotch brite pad and then sprayed with SEM Plastic and Leather Prep. I scuffed it again then sprayed Adhesion Promotor and then immediately sprayed with SEM Color Coat. I used Landau Black, it has a nice finish without a lot of gloss. During the whole process wear gloves so you don't transfer oils from your hands.
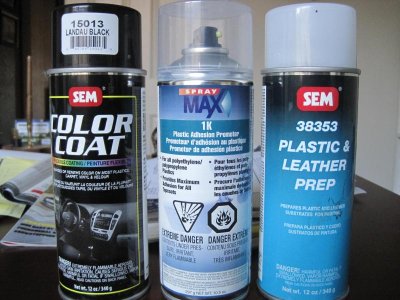
The Max 1K Adhesion Promotor is comparable to Bullfrog but 1/2 the price.
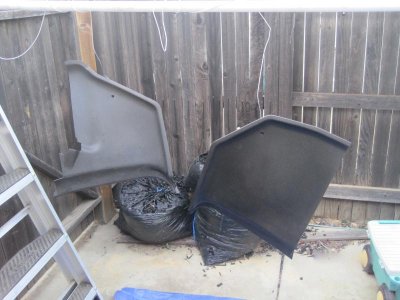
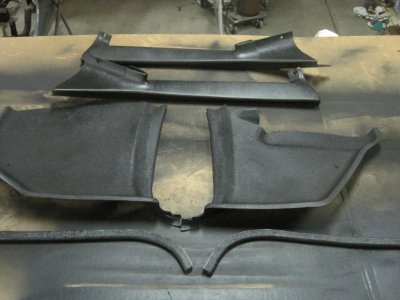
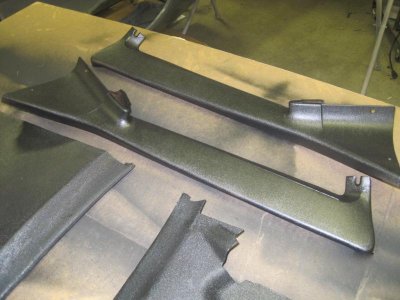
It takes 4 - 5 light coats to get the desired coverage but I'm real happy with how they turned out. The kick panels really look good 'cause the black hides 40 years of scuff marks. Next up: door panels.
