• When you click on links to various merchants on this site and make a purchase, this can result in this site earning a commission. Affiliate programs and affiliations include, but are not limited to, the eBay Partner Network.

My 69 Coronet project

Looks good! I had to change a few parts in my 73 and they to were tan, I haven't had any problems so far so i think you'll be ok... I hope it doesn't start now i said "no problems" lol
 
Looks good! I had to change a few parts in my 73 and they to were tan, I haven't had any problems so far so i think you'll be ok... I hope it doesn't start now i said "no problems" lol

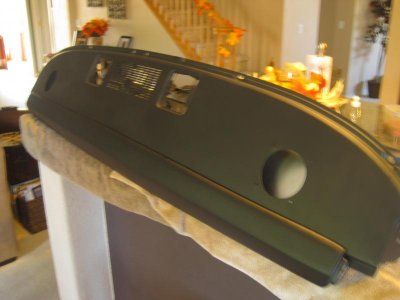
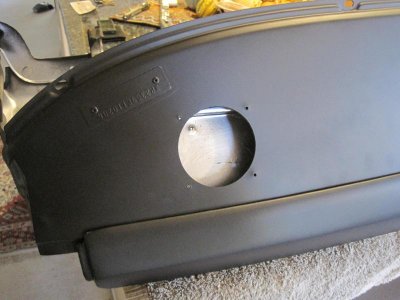
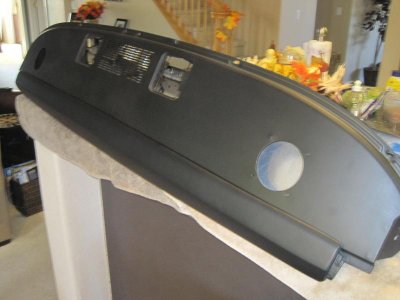
Ron, so far so good. A previous PO had painted the lower dash pads black at some point; the black is peeling off now so it's time for a fresh coat.

- - - Updated - - -

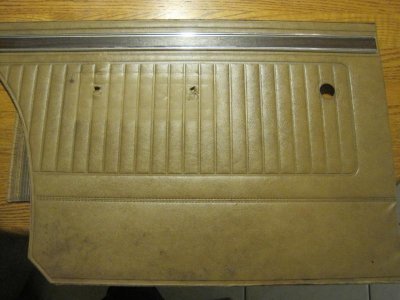
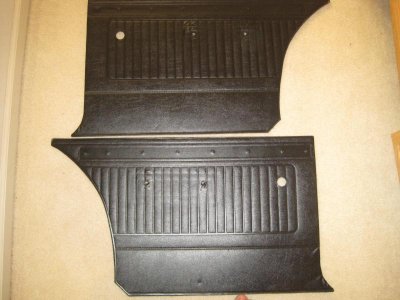
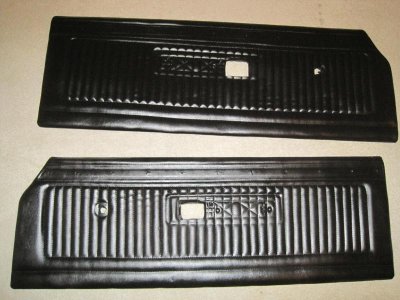
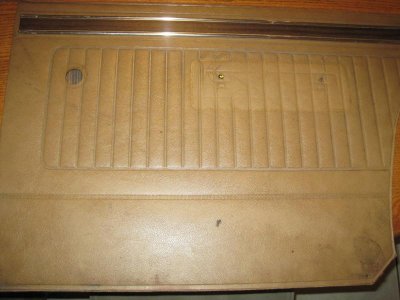
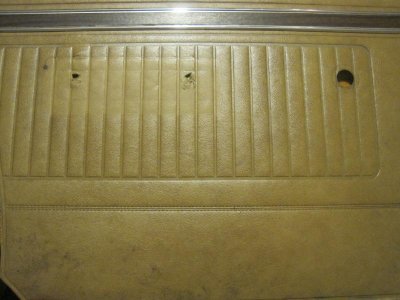
The door panels came out real nice. The front panels had been redone by the PO, the rears were still original and in good shape but really grungy. IMG_1499.jpgIMG_1502.jpgIMG_1501.jpgIMG_1723.jpgIMG_1722.jpg

- - - Updated - - -

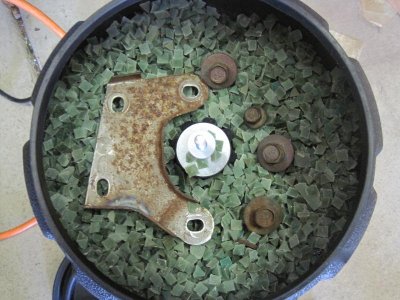
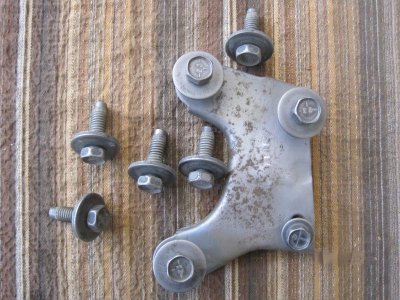
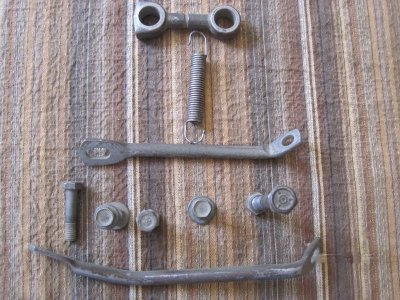
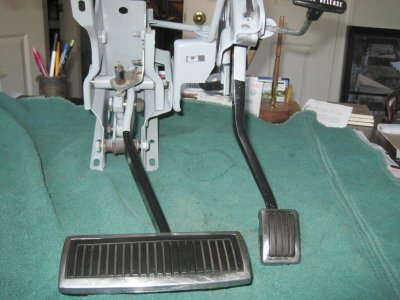
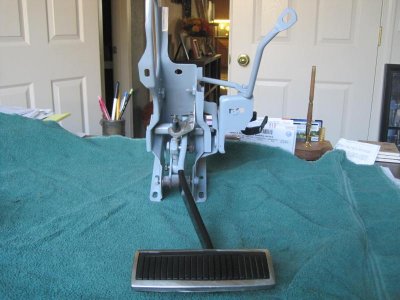
While waiting for the car to sandblasted I picked up my newest favorite tool from HF - a vibratory tumbler. Or, a poor mans' blasting cabinet. It works great on nuts, bolts and small pieces. I'm refurbing the brake cage and e-brake and the tumbler is getting a workout. The parts stay in about 4 - 6 hours. It doesn't get all the rust off of the brackets but the bolts come out nice; gonna save me from buying new fender hardware.
IMG_1550.jpgIMG_1552.jpgIMG_1582.jpg

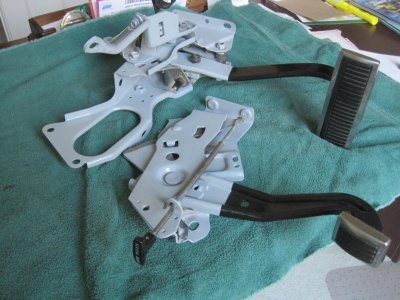
Finished the brakes assemblies. Thank goodness I took about 10 pics of the brake cage before disassembly. It still took me about 45 minutes to put it back together! Hope this isn't a precursor of how long it's going to take the get the rest of the car back together lol.
IMG_1674.jpgIMG_1677.jpgIMG_1676.jpg
 
I was wondering where this car went to. Glad to see someone is taking care and restoring it properly. My son and I were very close to the location (10 miles) and seen this car here in Texas. For the reasons you mentioned, I passed on the car. Let's see some more pics at you get it back on the road. These are wonderful cars.
 
I was wondering where this car went to. Glad to see someone is taking care and restoring it properly. My son and I were very close to the location (10 miles) and seen this car here in Texas. For the reasons you mentioned, I passed on the car. Let's see some more pics at you get it back on the road. These are wonderful cars.
What a small world. The PO lives in Carrollton. So you've seen this car around before? Interesting, the PO gave me all his receipts and from what I could decipher he bought the car in late 2002, put a bunch of work into it in 2003 and then pretty much garaged it. If the odometer is correct he only put about 2K miles on in the 10 -11 years he owned it. Fortunately the body is in great shape, all the rust was surface except for the front and rear window channels and below the A pillar in the door frame. Between the sandblasting, grinding, sanding and patching I estimate the car is now 98% rust free. And more pics will follow.
 
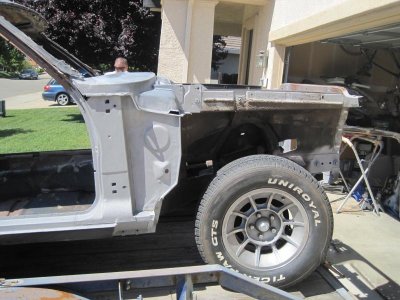
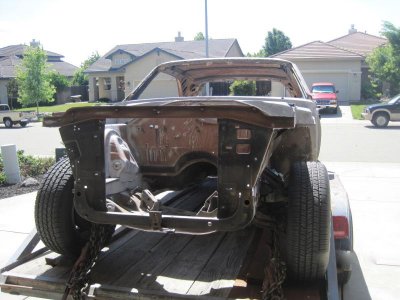
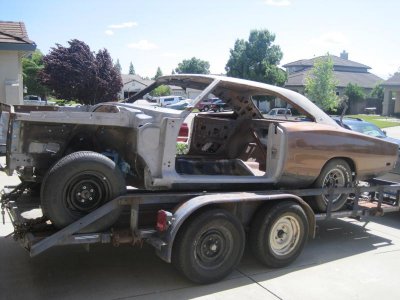
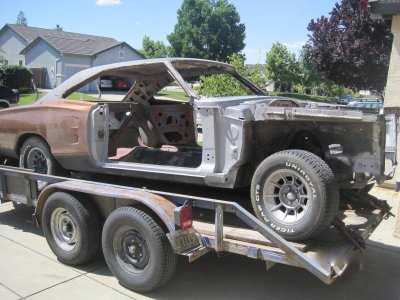
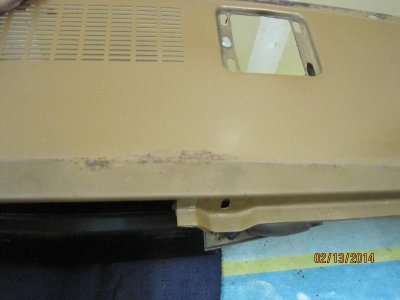
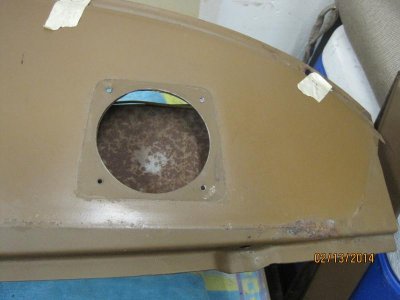
It's been a few days since I last posted. The car is back from the sandblasters. They blasted the undercarriage from the rear shock mounts back, the inside of the trunk including underneath the dutchman panel and package tray. They also went around the lip of the trunk and the rear window channel. I had them stay away from the rear quarters, I'll sand them down myself with a DA. The door jambs and sills were blasted. I also had the doors and trunk lid done. Brian, the owner at American Stripping is a great guy and a closet Mopar man. This is my 3rd trip to his shop and I've spend a lot of money with him (everything Donny posts about the work that goes into prepping a car, and the cost, is right on. But it's totally worth it). Anyway, while the car was at the shop Brian had some of the front end blasted - the seams around the shock tower, the radiator support, the front rails where the bumper brackets connect. And he did it Pro Bono - very cool!
IMG_1515.jpgIMG_1512.jpg
Considering how the trunk looked before the blasting I was surprised at how little rot there was. There's a lot of pinholes in the trunk panel and some pin holing around the tail panel, but the structural integrity is still intact.

IMG_1516.jpgIMG_1513.jpgIMG_1514.jpg
 
That came out excellent, Looks like you have a free path and you don't have to worry about whats bad and what isint, I agree with the media blasting 100 percent, its the only way to find hidden flaws, i wish i could have mine all blasted at once instead of one section at a time, I guess both work but the way you guys do it i believe is better and i know much quicker lol..
 
It's been a couple of weeks, need to catch up with my postings. This past weekend was probably our last camping trip of the year; it's still beautiful weather up in the Sierras and not a lot of people around this time of year. We went camping six times this summer, it's a great way to recharge the batteries before going back to work for another week, but the trips slice into my weekend time with the car. We're planning a short trip to Boise in the next month or so…hey isn't that near LaRoy Engines?!:headbang:

The blasting showed very little rot, some pin holes in the trunk pan, minor holes in the tail panel, and some pin holes in the front and rear window channels. The corners of the trunk lid channel were eaten away as well. Mike had to do cosmetic surgery on the trunk, front A pillar and where the door strikes attach. It could have been a lot worse. The frame rails are solid, as is the trunk extensions and lower quarter panels. Dodged a bullet there.

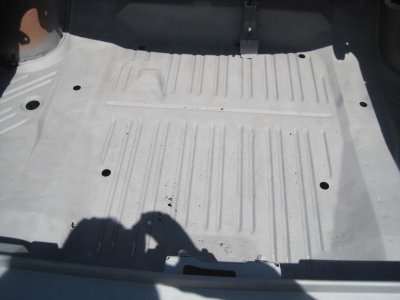
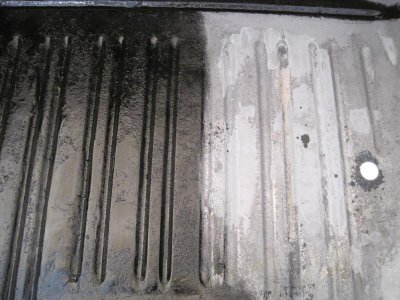
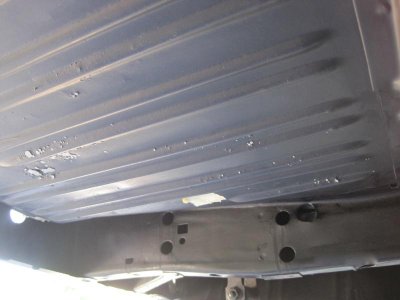
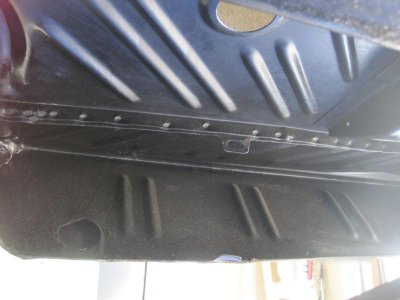
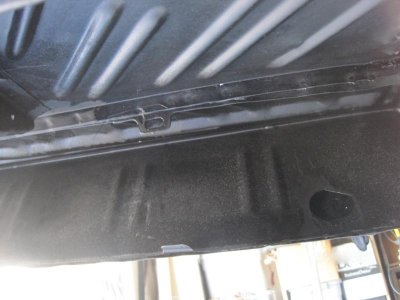
The trunk and window channel holes were filled with All Metal and sanded down. The entire back half of the undercarriage was covered with POR 15 and then shot with 5 - 6 coats of rattle can undercoating. The sandblasting did not remove all the factory undercoating, only the loose pieces. After covering the chassis I went into the trunk and painted everything again with POR 15 - pretty much everything from the underside of the package tray to the tail panel. I still had some POR left so I ground the T-bar cross member and front frame rails down to metal and painted them too.

The underside of the roof had some surface rust too, again not bad. A wire wheel and good ole 60 grit got most of it and then more POR 15. I sprayed POR into the webbing on the C pillar, down into the inside quarter panel. It's a mess, and yes, POR is a PITA to get off of skin! It was a tough call because I wanted to cover up but Sacramento in the summer - it was well over 100* inside the garage. Even with a respirator and safety goggles some POR managed to drip down onto my face. I looked like Jared Allen. And we had a dinner date at another couple's house that night. DAMN!

IMG_1607.jpgIMG_1608.jpgIMG_1639.jpgIMG_1637.jpgIMG_1638.jpgIMG_1684.jpg
 
I think your doing good using the rust converter, i have a tremendous lot to use that on my project but im going to do my best to keep it off my body! lol, ill hire the neighbor boy! :) You, being serious are doing a great job, this work isint easy by no means and i have no idea how you could manage some of this with that Por-15 in a 100 degree garage, scares me to think about it, that stuff with two sniffs will make ya take back stuff you never stole! lol Looking great!
 
two sniffs will make ya take back stuff you never stole! lol Looking great!

I like that line; I'm going to use it. I'm using a 3M respirator with the charcoal filters - filters out the vapors and the smell. And I drink plenty of water. On the weekends I go into the garage before 9:00 am and I'm done by 3:00 pm; then I go back in after 7:00. The flip side to summer is that I can work in the garage with the door open almost year round.
 
Nice project. As soon as I saw the pic with the mishap I new what was coming, keep up the good work.
 
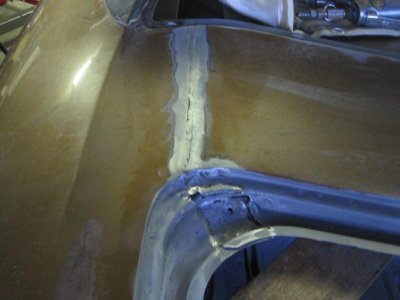
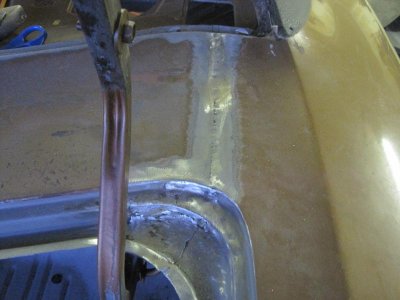
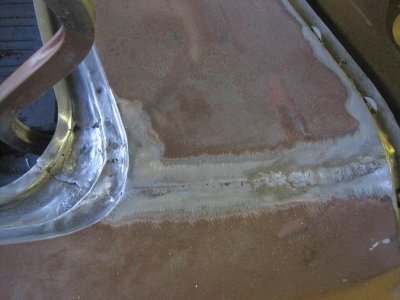
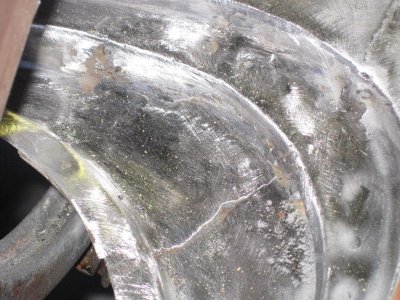
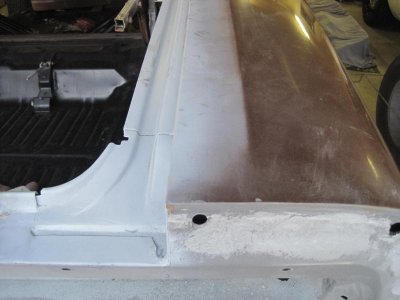
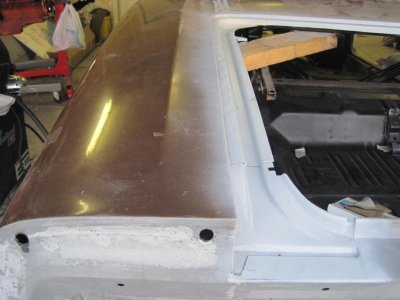
While I was working underneath, Mike was repairing the topside. There was some rot in the usual places - window channels, trunk channel and door frame. Smaller holes in the window were filled with All Metal, the rest ware replaced with patch panels. The trunk corners were in bad shape - Mike cut out the corners and fabbed replacement patches. While he was at it we decided to add a little custom flair to the project. The seam between the dutchman and the quarter was welded and filled.
IMG_1534.jpgIMG_1535.jpgIMG_1536.jpgIMG_1537.jpg

The trunk is done.
IMG_1797.jpgIMG_1795.jpgIMG_1798.jpgIMG_1799.jpg

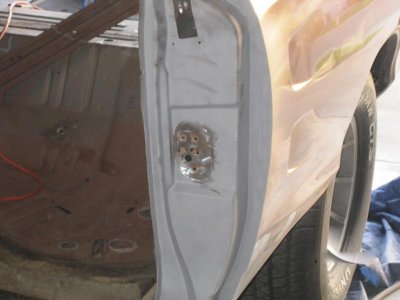
The striker post also needed new metal.

IMG_1592.jpg IMG_1593.jpg
 
the work you're doing is coming along nicely. I like the idea of the smooth look on the Dutchman panel. I've been kicking that idea around myself on my car.
 
the work you're doing is coming along nicely. I like the idea of the smooth look on the Dutchman panel. I've been kicking that idea around myself on my car.

Thanks roadrunnerman. Mike came up with the idea. I like that he welded in the seam and only used Bondo to smooth it out.
 
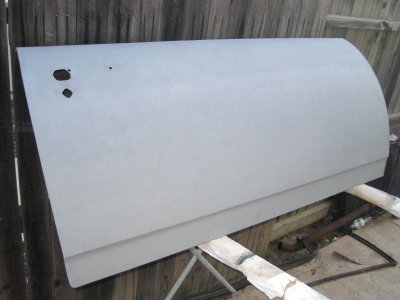
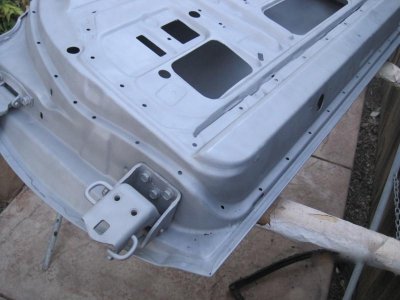
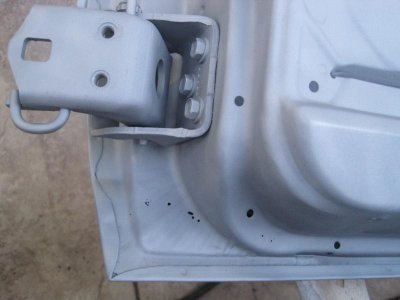
The doors and trunk lid were next. The sand blasting got all the rust out from the inside. Left a couple of small holes in the lower corners where 45 years of debris had settled. The holes were patched with All Metal and the inside was treated with POR 15. Had to use the spray bottle technique to get into the corners.

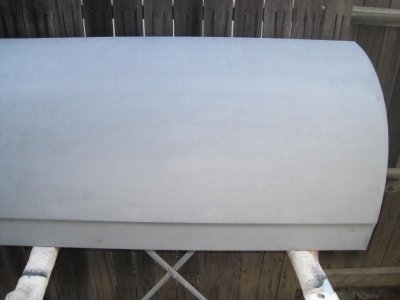
The trunk lid came out nice too but there's no way to get inside the lid. Peeking into the access holes with a flashlight revealed surface rust. So I loaded up another bottle of POR and thinner and went to town! Holding the lid up on end I sprayed down the access holes until the POR was dripping out the bottom, then turned it over and sprayed down the other holes until it was dripping out the bottom again. If I missed some spots I couldn't see 'em.
IMG_1563.jpgIMG_1562.jpg

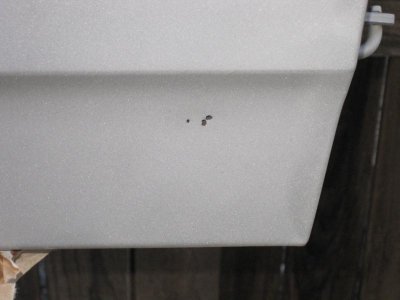
And Mike did such a nice job welding and grinding down the trim holes that they can't be seen anymore.
IMG_1561.jpgIMG_1564.jpgIMG_1565.jpg
 
All downhill from here...

Maybe a slight exaggeration, but at this point all of the rust has been dealt with, either by sandblasting, grinding, sanding or new metal. The interior firewall and roof, trunk and undercarriage has been covered with POR-15 and the chassis rattle can sprayed with undercoating. I figure if the car lasted 45 years with minimal protection it should last 100+ years now! Or at least until I sell it, which ever comes first.
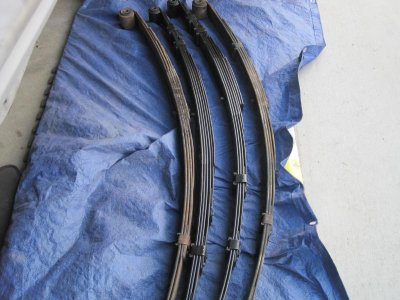
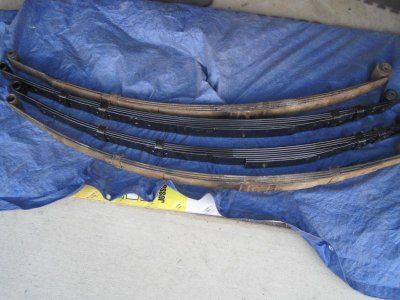
So now it's time to start putting this bad boy back together. In no particular order I started on the rear suspension. Nothing exotic - new XHD springs, shocks and pinion snubber. The original springs were a light duty, 5 leaf design and they were sagging when I bought the car. And it had air shocks. I did a lot of research before purchasing; talked to the nice people at Espo Springs and they were originally my first choice. After stacking up all the information I felt there was minimal degrees of separation between the products, and would I really notice a difference in my mildly built 440 street car? So in the end I bought from Summit because of their free shipping (plus $9 over-size). I don't like basing my purchasing decisions on something as irrelevant as shipping costs but over the span of a project they really eat into a budget. And I was able to bundle some smaller parts in the order to take advantage of the free shipping.

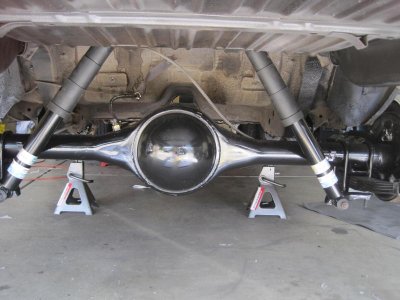
The new springs are the XHD that came standard on Hemi cars - they're beautiful and definitely an improvement over the OEM's. The Bilstein shocks came from PST and the pinion snubber and U-bolts from Mancini. I reused all the mounting hardware - just stripped, primed and painted. And forget about saving the U-bolts the nuts are practically welded on with rust. Used my Dremel to cut 'em off.

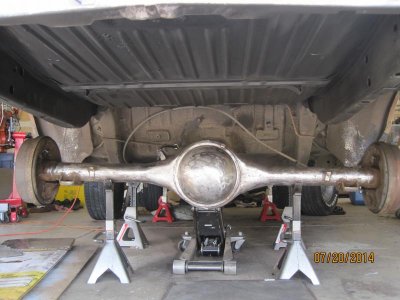
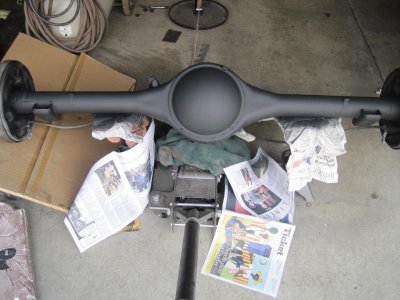
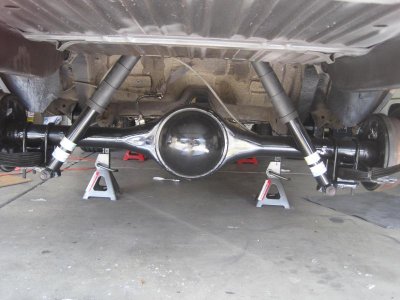
The rear end is a 489 case 3.23 SG. The PO had new axle seals installed along with a brake job, and it ran fine prior to the resto so all I did was bring it down to bare metal, prime and paint it gloss black with Rustoleum engine paint.

Removing the rear is pretty straightforward - just remember to disconnect all brake lines first. Depending on what state your car is in make sure you have enough jack stands. I needed six - four holding up the car and two to set the rear end on. Removal is a one-person job but I needed help getting it back in 'cause it's almost impossible to balance the pumpkin on a floor jack while aligning the mounting brackets and starting the bolts. We were able to finish the install, with shocks in 1 1/2 hours.

Down to bare metal
IMG_1664.jpg

Primed and ready for paint
IMG_1679.jpg

New vs. Old.
IMG_1680.jpgIMG_1681.jpg

DONE! Onto the front end.
IMG_1714.jpgIMG_1715.jpg
 
Dashboard

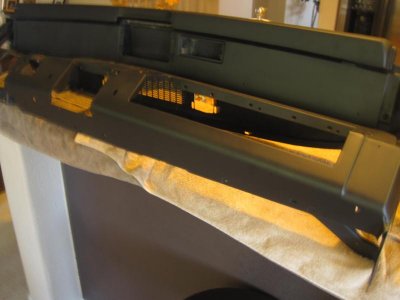
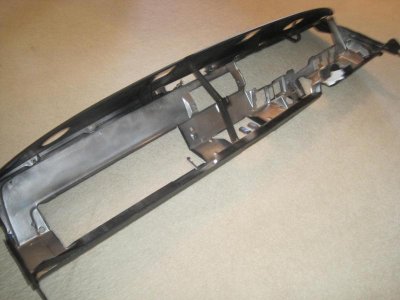
The sandblasted dash frame has been sitting idle for a few months, time to get moving. It's now painted John Deere Blitz Black, a nice satin finish with a little texture. The back of the frame was painted silver for contrast when doing the wiring (got the idea from another FBBO member's post). Bought the dash pad from Classic Industries. It fits and looks good, but it's not quite like the original. The original slides on and off the frame while the repop had to be worked. I don't know how the dash pad would gone in if the dash was still in the car. There's something to be said for having the original pad redone.

Way back at the beginning:
IMG_1293.jpgIMG_1294.jpg

Now:
IMG_1863.jpgIMG_1862.jpgIMG_1867.jpgIMG_1868.jpgIMG_1847.jpg
 
Can't believe it's been a month since my last post. Been doing a lot on the project, just need to find the time to catch up on FBBO. My youngest son got married last weekend and surprise!, he and his wife are moving in temporarily. We have a two story with the kid's bedrooms upstairs and a large bonus room and the master bedroom is downstairs, so it works out fine. But to get it all ready Maria and I painted the upstairs, cleaned the carpets and generally tidied up the place. The home improvements and wedding prep ate into much of November.

After finishing the rear suspension it was on to the front. The front end had been rebuilt by the PO about 10 years ago according to receipts, but he only put about 2000 miles on in the decade. So the parts were still fresh. But it's a 4 wheel power drum car so it was time to swap out to disc brakes. The choices are almost endless but in the end I went with the 11.75" disc brake kit from Cass at Dr. Diff. He's a great guy to deal with, answered all my dumb questions either over the phone or e-mail. If you want to check out a more detailed version of why I went with Dr. Diff, plus a picture-by-picture account of how to install the swap, check out the link to my thread in the Brake forum.

http://www.forbbodiesonly.com/moparforum/showthread.php?81037-Disc-brake-conversion-odyssey

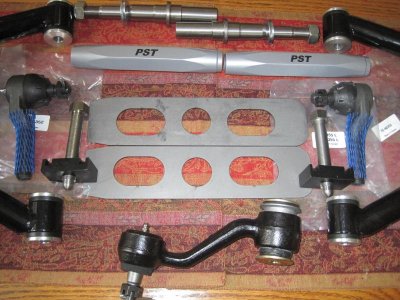
This was a good time to upgrade the front suspension, working around some of the parts that the PO had replaced. After doing a little research I ended up going with PST - they're an active FBBO member and it turns out a real good company to do business with. Again, I had a bunch of questions and their CSR's answered everything to my satisfaction. Even though the tie rods were replaced I went with the larger 11/16" with solid adjuster, LCA rebuild kit, idler arm, tubular upper A arms and strut rod bushings.

Nice looking kit:
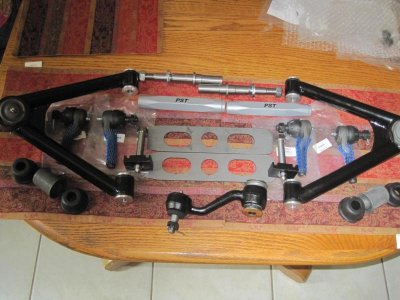
IMG_1762.jpgIMG_1763.jpg

Lastly i got a pair of .96 T bars from Monicatti Chrysler; the stock T bars were only .89! My Dart has .92's. Sorry, no pics (they look like Tbars :jerk:) I first tried removing the T bars the low impact way by loosening the LCA pivot shaft nut and disconnecting the lower ball joint from the tie rod end, backing out the T bar adjuster, etc. and rotating the LCA forward, but no dice. I wound up buying the removal tool from Mancini Racing and it took about 2 - 3 whacks per side and they fell right out. I'll need the tool again when I rebuild the Dart's front end.

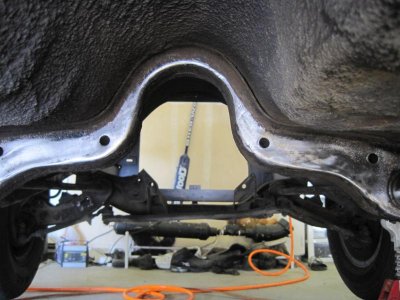
I took the K member down and had it and the LCAs media blasted. I then made some cardboard templates and Mike boxed in the motor mount tabs and reinforced some of the welds on the K and also welded up the stiffening plates on the LCAs. Again, for more detail heres a link:
http://www.forbbodiesonly.com/moparforum/showthread.php?79614-Crappy-K-member-welds

Considering it's only gonna be a daily driver the K welding was probably overkill, but we were having fun designing templates and welding it all up. Afterwards I ground 'em down and painted the K with Hi-Gloss Black POR-15, same stuff I used on the new spindles. All things considered the suspension rebuild and disc brake swap was pretty straight forward; it was my first time attempting either one so as I've been saying throughout my thread, if I can do it then just about anybody can.

Man, that engine compartment looks lonely:
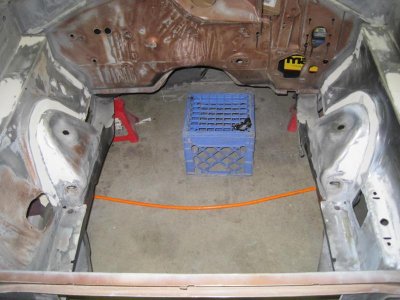
IMG_1831.jpg

Almost forgot, one more link - to my thread on dropping the K. At the time the only other components on the car was the rear end. So when your car is completely stripped down and you're about to remove the K member, make sure the car's weight distribution is biased towards the front. Better yet, have someone helping you. When the last bolt came out my car tried doing a wheelie on the jack stands. It almost tipped over on it's side. Pictures tell the story:
http://www.forbbodiesonly.com/moparforum/showthread.php?78362-Why-am-I-taking-out-the-K-member
 
Where have I been? Wow everything is coming around nicely and congrats on a really solid car coming back from media blaster. I started to cringe when I was reading about all the POR 15, that stuff is a mess and like you said a real pain to get off without just sanding your hide off. Looking good :headbang:
 
Auto Transport Service
Back
Top