• When you click on links to various merchants on this site and make a purchase, this can result in this site earning a commission. Affiliate programs and affiliations include, but are not limited to, the eBay Partner Network.

My 69 Coronet project

Reassembling the dash

As I started putting the dash back together; three thoughts popped into my head 1) thank God I tagged and bagged everything during disassembly, 2) it's going to take A LOT longer to put it back together than it did taking it apart, and 3) even with all the pics I took and the pages of notes, I'm gonna need a lot of help from all you guys from time to time.

So back to the dash - spent a few hours on it yesterday and all I have to show for it is the gauge cluster, ash tray and map light are in..lol. Most of the time was spent taking pieces off after putting them on trying to fit everything together. The lower dash pad came off at least twice. Can't find the chrome trim that runs along the front of the dash. I have the curved pieces for the corners but they can't go on yet because they attach to the plastic A pillar cover and the dash isn't in the car so the A pillar cover can't be installed. Its like playing Tetris all over again!

Another reason it's taking longer to reassemble is that I'm putting thin strips of insulation on the backs of the dash pieces before installing. Originally I wanted to insulate just the side vents because it's metal on metal. I haven't decided on a cam yet but it's going to be fatter than stock and so I don't want my dash rattling around while idling at stop lights.

The factory glued thin strips of insulation to the backs of bezels, etc., but after 40+ years the insulation had worn or fallen off most of the pieces. So what originally started as insulation for just the a/c vents morphed into replacing the insulation on everything.

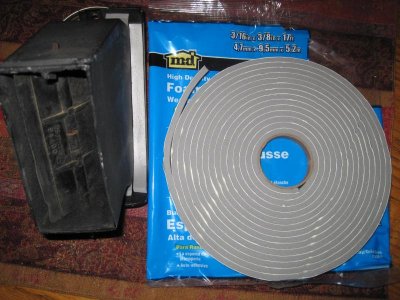
I found this foam tape at Lowe's; it was the thinnest and narrowest tape they carried. It's 3/16" thick by 3/8" wide and very easy to cut. And it has good "crush" so even though it's thicker than the OEM stuff once the piece is tightened down there's no difference in the alignment.


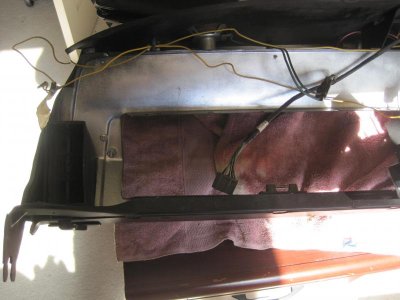
Here's a pic of the back of one of the side vents
IMG_2109.jpg

In between football games i'm planning on finishing up the lower dash pad and switch plate today. Then start re-wiring!
 
Got the lower dash pad and switch plate on, bolted up the dimmer switch. And I found the chrome dash trim.
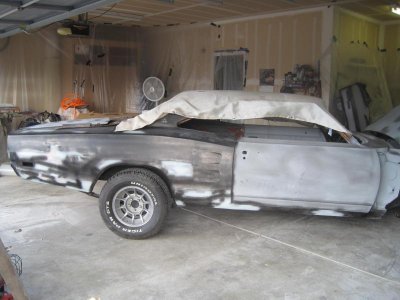
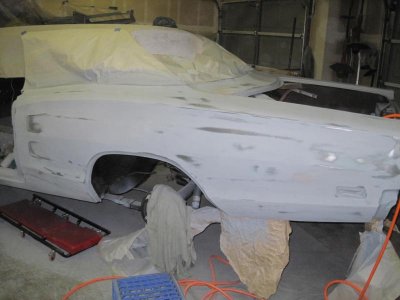
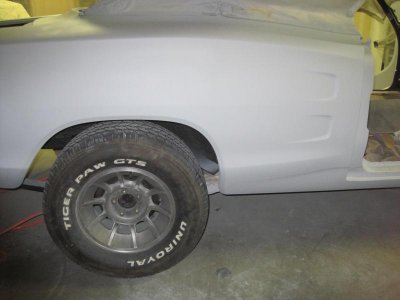
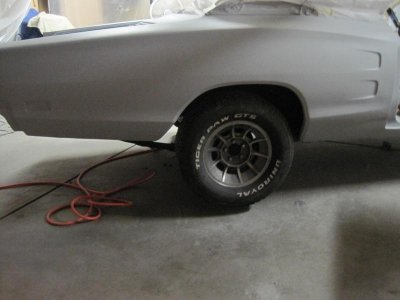
A couple of friends came by to watch the games and in between we jockeyed the car around the garage to gain more room. Even though it's only temporary, it looks good with rims and tires. I'm excited, the car hasn't been ambulatory since May. Have to primer the quarters then the first coats done. It's getting real close to paint, I need to find a color and a place to paint it.
The door looks mis-aligned because the stress points were changed after the front end was lowered onto the floor jack. The doors were perfectly aligned on the jack stands; that how much these unibodies flex. Got the subframe connectors mocked up, they need to be welded in.
IMG_2114.jpgIMG_2113.jpgIMG_2112.jpg
 
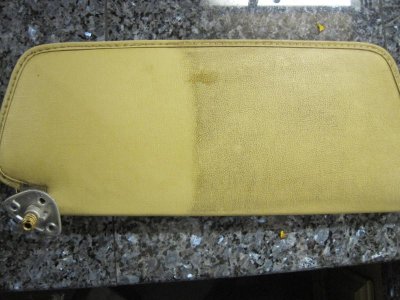
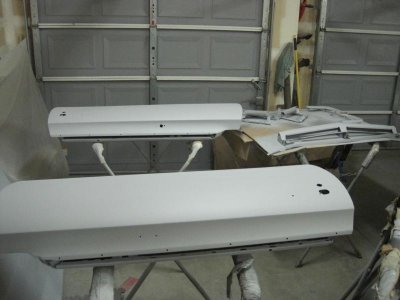
It was unseasonably mild last weekend, too nice for this time of year. Afternoon temps were close to 70* so I decided to paint some more interior parts. They have to be clean before painting.

Yeah, the visors needed a little cleaning.
IMG_2119.jpg
 
Body work is coming along

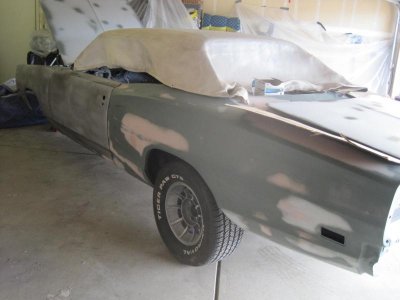
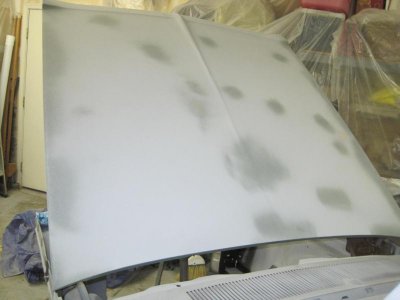
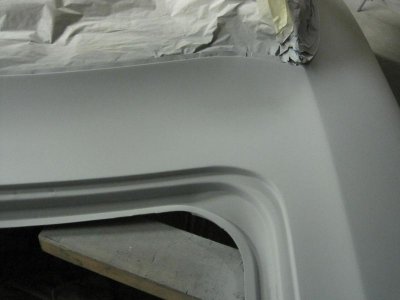
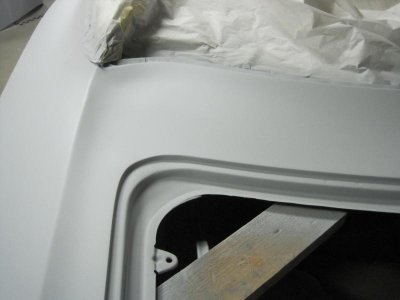
The car has the first three coats of high build primer. All the removable pieces have been sanded and lightly filled where needed. This weekend is going to be in the low 70's so the second application of high build is going on. The weather this winter has been great for working on the car but we are going to pay for it come summer. The Sacramento region received zero rainfall the month of January - historically the wettest month of the year. I wish we could drink gasoline because six months from now it's going to be cheaper than water!
Last panel needs sanding
IMG_2122.jpg

IMG_2123.jpg
IMG_2124.jpg
IMG_2121.jpg

- - - Updated - - -

Started reattaching the dash wiring. During disassembly I marked each connector with tape and a number and wrote up a page of notes. The planning came in handy this week. Actually the rewiring is going fairly easily, the wires are all in good shape with no splices or damage. Before reassembling I lightly sanded all the male connectors and disassembled the fuse block and sanded down all the fuse connectors. After all this I probably could have bought a Ron Francis kit and completely rewired everything. :thinker: On second thought, maybe not. Still have to solder the original ammeter wires.

Originally I was going to install power windows and door locks but Maria nixed the plan. Said she wanted to keep the Coronet old school. God Bless her! So I thought about moving that money over to having the original AM/cassette radio refurbed with added FM stereo and USB port. It's gonna be real pricey so I'm rethinking the stereo. There's gotta be rock n roll when cruising so no matter what the AM won't cut it. An alternative is to keep the AM in the dash and install a head unit in the glove box. Keeps the car looking original but it would be a PITA to change stations, etc. while driving. I can't cut up the dash bezel to fit an aftermarket unit, again Maria drew the line in the sand. :tied up: lol

The car originally came with 5 speakers - two 6 x 9's in the back, two 3.5's in the dash corners and a 4 x 10 in the center dash. All the speakers are shot, they literally disintegrated during removal. I want good sounds but not going over the top with sub woofers in the trunk, etc. A nice pair of 6 x 9's, 3.5's and either a new 4 x 10 or rework the mounting plate to add two speakers. I've also seen vendors sell center mounting plates with 3.5's already installed.
So basically I need to keep the old school look combined with modern audio technology. What have you gents done to your car's audio system?

Researched other threads and came across Propwash's posts. Besides the awesome audio install he did on his RR and mentioned about how the magnet on the center speaker can interfere with the in-dash tach needle. Since I swapped out the clock for the tach I may eliminate the center speaker and just go with the outer dash and rears.
 
Last edited:
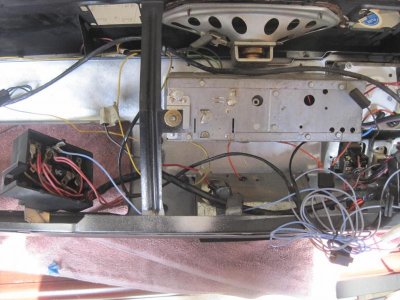
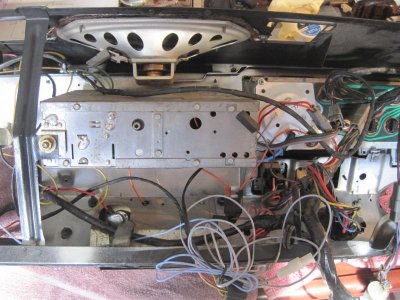
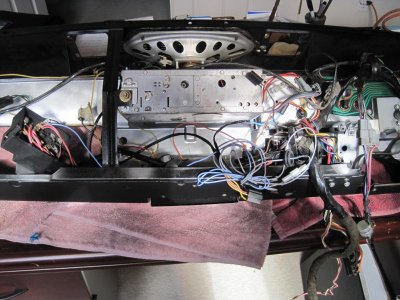
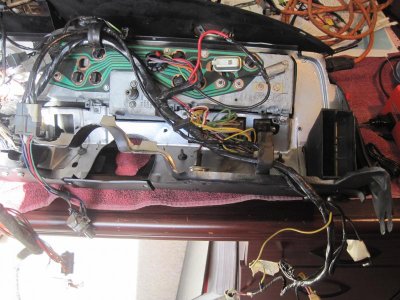
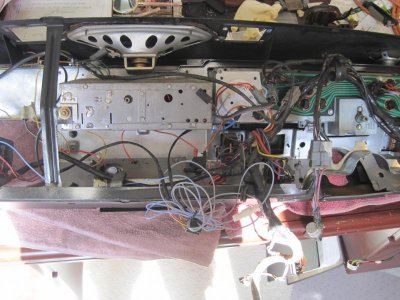
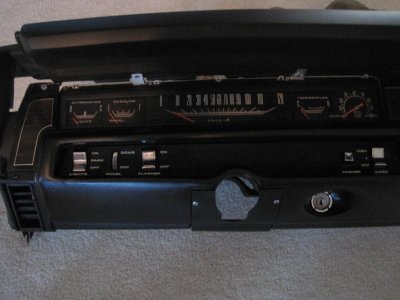
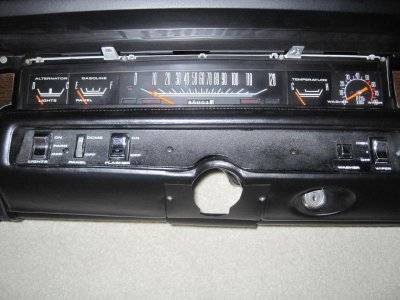
Got most of the dash rewired. I'm happy with how it came out; I'm digging the black. The radio and speakers are in for placeholders only; still have to decide on replacements. The heater control panel has been left off because I ordered a Classic Air Perfect Fit system with the DER controls.

Not much happening behind the glove box but you can see how the factory a/c vent was installed.
IMG_2133.jpg
The radio and center speaker. To the right you can just make out the new in dash tach with the light
blue wire going to the fuse block.
IMG_2137.jpg
A better picture of the tach
IMG_2136.jpg
Painting the back of the dash frame silver gave nice contrast when rewiring.
IMG_2134.jpg
Picture shows the RH a/c vent installed; voltmeter studs (still need wiring),
ammeter wiring soldered, shrink wrapped and taped.
IMG_2131.jpg
The cylindrical switch hanging down on the right is the OEM speaker fader that mounts to the bottom
of the dash. Even though the new head unit will have built in fader/balance controls I'm gonna mount the switch for
nostalgia sake.
IMG_2132.jpg

- - - Updated - - -

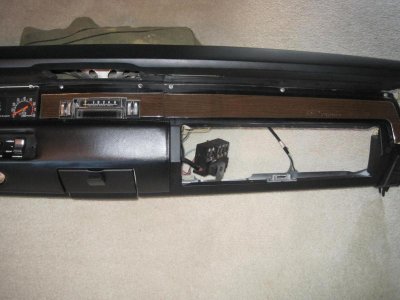
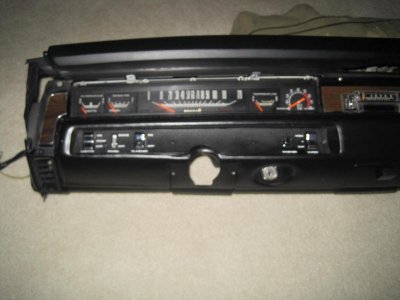
Back in black. I'm keeping the original Coronet 500 faux wood trim 'cause I like the contrast and I wanted to keep some of the car's originality.
IMG_2139.jpg
IMG_2138.jpg
IMG_2142.jpg
IMG_2141.jpg

Can't install the chrome trim until the DER is installed.
IMG_2140.jpg
The upper dash pad is new; the bottoms were dyed SEM Landau Black. The a/c vents fit real nice.
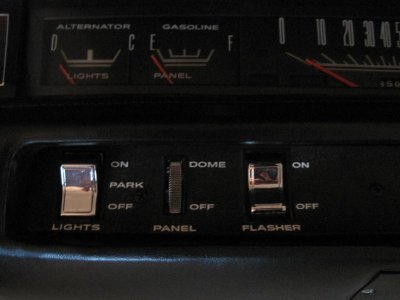
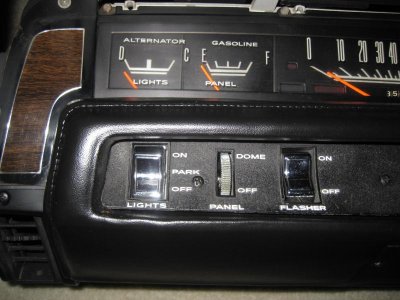
I used a Sharpie Paint Pen, Extra-fine, on the switch plate lettering. With my eye sight being what it is I had to use a magnifying glass.
The switch plate itself was in good condition so I didn't paint it, just waxed it with black Turtle Wax.
IMG_2143.jpg
 
Wow! I haven't checked your progress for some time. It is looking great. Keep up the good work.
 
Great work !
Car is coming along nice ! Thanks for taking the time to post all the various stages along with the pictures !!
Jim !
 
Wow! I haven't checked your progress for some time. It is looking great. Keep up the good work.

I know, I haven't posted as regularly as in the beginning. It's taking way longer to get things done than I thought possible, leaving large gaps in the action.

- - - Updated - - -

Great work !
Car is coming along nice ! Thanks for taking the time to post all the various stages along with the pictures !!
Jim !

Thanks Jim.
 
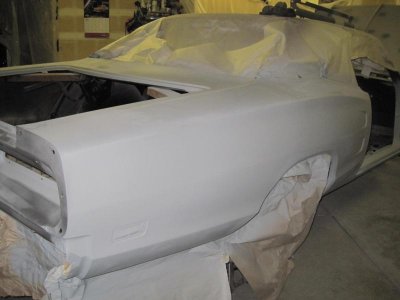
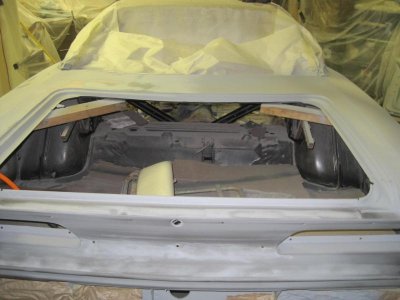
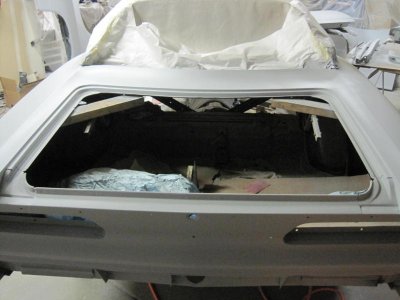
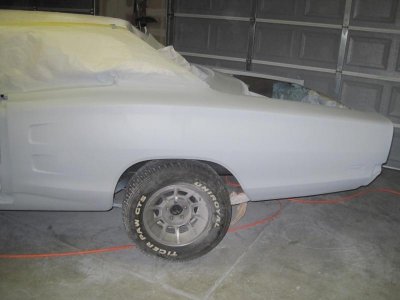
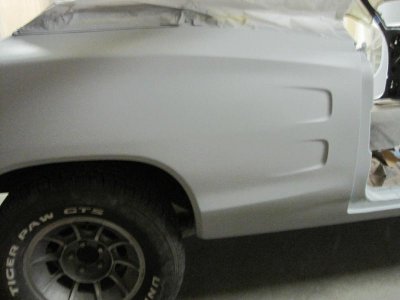
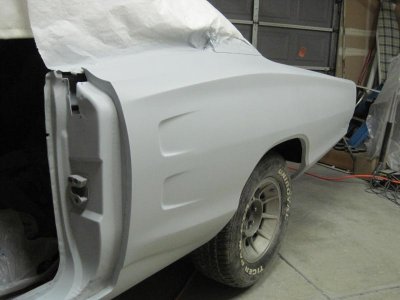
Body work is done

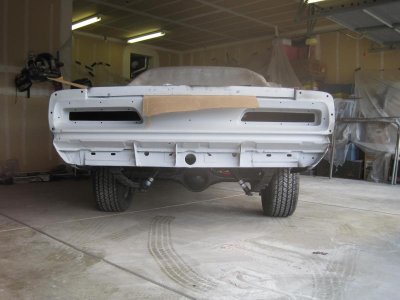
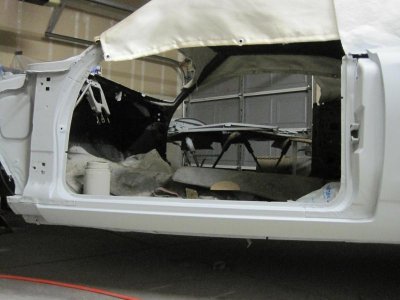
It feels like quite a milestone - the Coronet got it's final coats of high build primer this week. Over the next couple of days the panels go on and this weekend is final sanding. It's taken almost exactly a year and it's almost hard to imagine how the car used to be.

I really like how the dutchman panel looks without the gap.
IMG_2177.jpgIMG_2176.jpg

Here's some shots; they were taken at night so the contrast is off a bit
IMG_2169.jpgIMG_2170.jpgIMG_2175.jpgIMG_2163.jpgIMG_2174.jpgIMG_2168.jpgIMG_2173.jpgIMG_2171.jpgIMG_2172.jpg

For color I decided to stay with my original instinct and go with a copper/bronze shade because it pays homage to the original T7 Dark Bronze Metallic, and WTH, I like the color. A few weeks ago I had it narrowed down to the Go Mango on the 2013 Charger, 2006 Corvette Atomic Orange , 2002 Prowler Orange or my first choice Dupont Hot Hues Copper Sunset. I backed off the DuPont because for one you can't buy it around here, i would have to drive two counties over to purchase it. The driving wasn't a big deal but it was over $1,000 more than the OEM paint. But the other 3 still had a little too much orange. And then I found the color - Mandarin Metallic. it's on the 2013 Fiat 500. Actually, it's FCA so it still has a little Dodge DNA still in it. So that's the color I'm going with, at least I'm pretty sure, maybe after I look at it one more time….:toothy12:
 
I second that! Nice clean and crisp. I'd imagine you got to be like a kid in a candy store knowing that paint is coming real soon. Color sounds fantastic. Can't wait to see it.

I am very excited, the car looks great and I have my color. But the project has hit a snag - a year ago when we started, Mike had a line on a professional paint booth we could rent. Fast forward a year and that option is off the table - he didn't go into details and I didn't press 'cause it doesn't matter. Instead, Mike has on his property, I'll call it 'an enclosure'. It's essentially a barn with a gravel floor. After one year's time and mucho dinero I'm not down with final paint being applied in a barn. I'm on the lookout for a place to paint....
 
Great work! That body is looking great and I love the job you did on your dash.
 
Bittin at the bit you have to be looking at this! She looking sweet in the pre paint mode buddy, ENJOY, i cant wait to see it in color!!! :)
 
Auto Transport Service
Back
Top