• When you click on links to various merchants on this site and make a purchase, this can result in this site earning a commission. Affiliate programs and affiliations include, but are not limited to, the eBay Partner Network.

Nz 70 rr

welcome bro,
nice rigs.

you dont know any of the Henman's in Nelson do you?
 
Thanks racetiger, will be giving it my best.
Hi benno440, yes, know Rudy and Darren.

Not much progress on car. Have strengthened the rotiss so can now push it around the carport . Hoping for some wet days so I can get some car time in.
 
All tore down and on the rotisserie should be a good start, i could use one of those myself right now but the cash flow for some things just isint there, the 70 Road Runners have a beautiful body style id love to be able to snag one myself some day, my wife always loved the 70 best, look forward to your progress and hope you get the weather you need to get started on your bird!

!cid_E5F1AAC214C64CC88E82E108B8B470FF@home06bb4f6883.gif
 
Thanks Ron 73 . Weather looking up, we coming into spring so days getting longer. More time on car. The rotiss is borrowed, used it for my challenger so was still on the property.

Car day tomorrow so hope to get rest of old body seal off. Had couple of hours on diff other day, got leaf springs off. One U-bolt sacrificed, nuts were bloody tight. Brakes apart and backing plates off. Sand blaster is going to have plenty of parts to clean.

Your coming into spring time and were fast heading for fall here, Hope things work out good for you... Having used the rotisserie before you know thats going to be a great help to ya! Good luck.
 
Welcome to FBBO & nice 70 RR project keep up the good work, Challenger came out great... Is that you, at Bonneville with a Aero car ?? in your avatar
 
Hi Budnicks,
Thanks for the welcome. Was lucky enough to get to Bonneville last year for 1 day. There was a Morris Mini from Nelson , NZ (my home town) racing . My partner and I had a weeks holiday in the US and somehow I talked her into starting our trip in Utah, Salt Lake City.
Had a fantastic day. Saw the superbird and had to have a photo with it. Here I am 1 year later building my own bird.
 
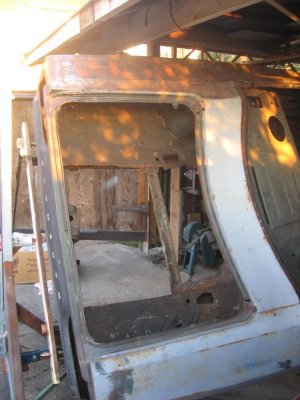
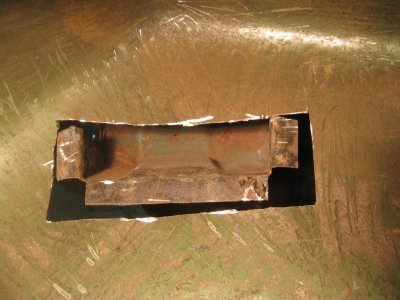
Been some good progress. I rang the panelguy to see if he wanted to come out and look at the car on the rotiss. . He want to check to see if the crease in the pasg. innerguard meant damage to the squareness of the front of the car. He came out last thursday and measured it, all good. Said he was keen to start , so Monday he did. I had already started to remove the patch in the trunk floor.
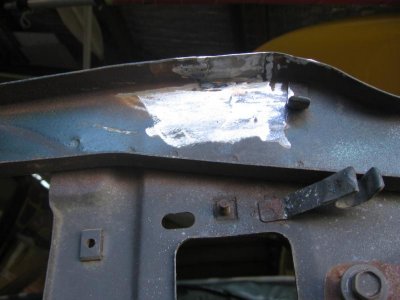
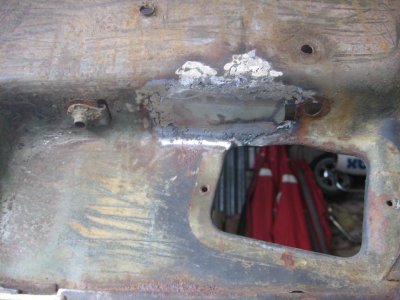
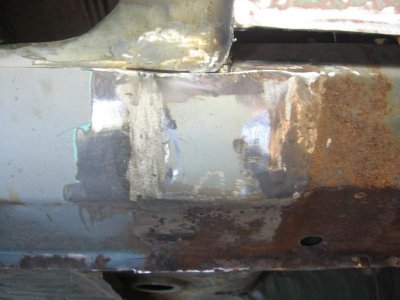
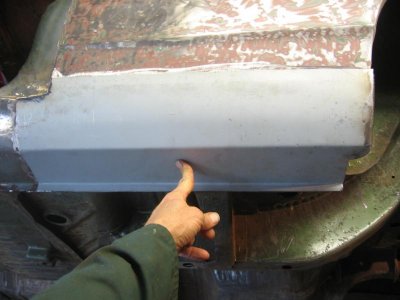
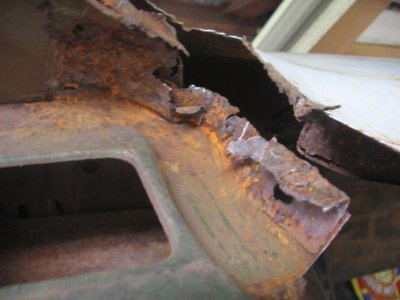
Monday- He straightened the inner front pasg guard, repaired the radiator support( dents in bottom and non factory hood pins in top), patched rust hole where battrey tray drains, and then removed a patch in top of rocker panel to get to dent below.
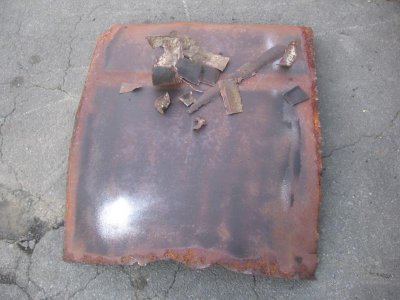
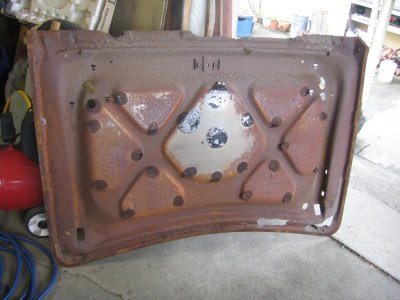
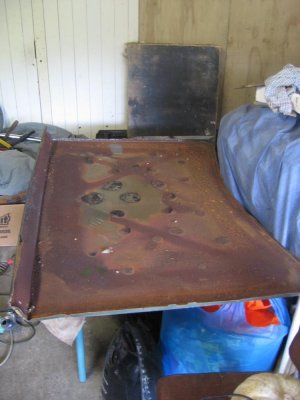
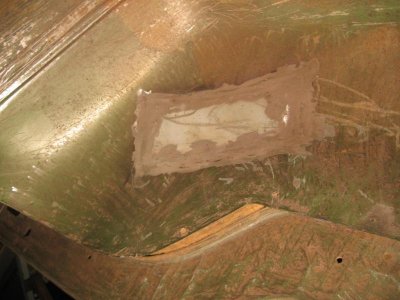
Tuesday- hammer and filed rocker panel back into shape, then cut patch out of drivers foor. He will make the new patch but will not fit it until I get car blasted. He showed me how to remove the trunk lid skin, which I did. Glad I did this as there is lots of surface rust.
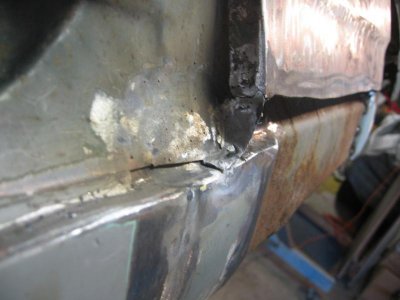
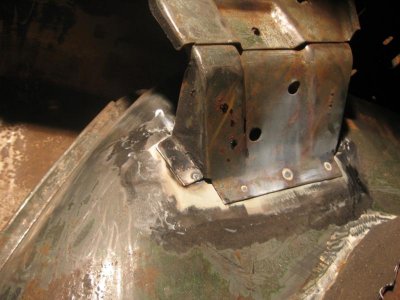
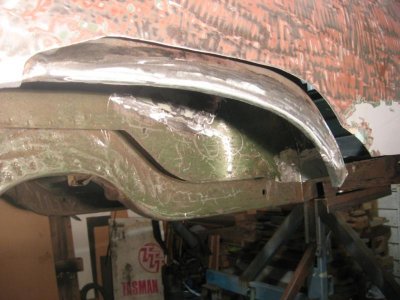
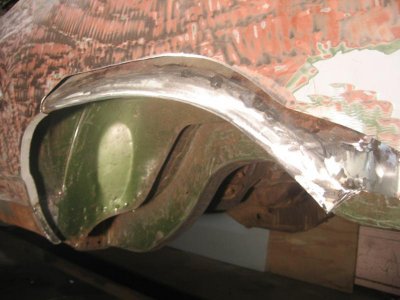
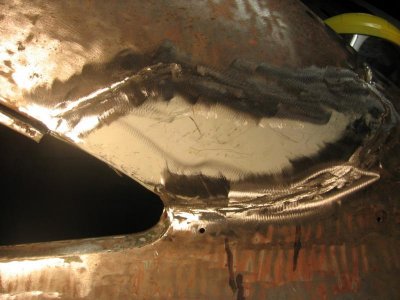
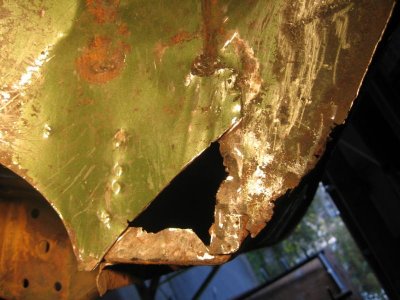
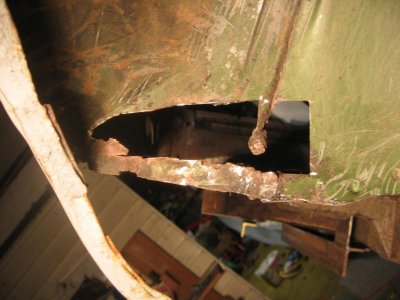
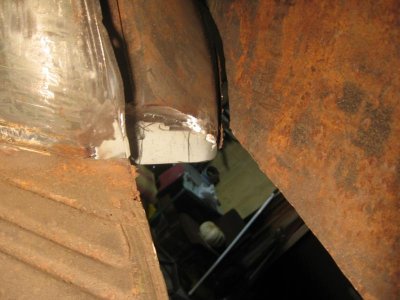
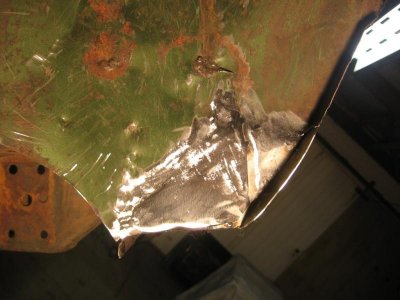
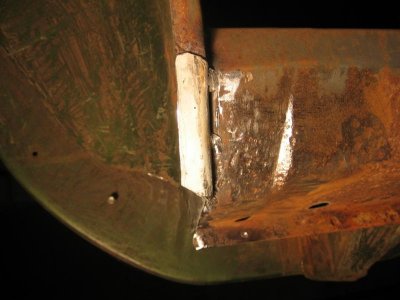
Wednesday- Only did 2 hrs. Replaced a patch of rusty metal in rocker panel, removed a patch in wheel tub where sail panel attaches. He then shaped a new piece. I ordered a sheet of 18 guage zinc coated steel ( 8x4) only $60 US.
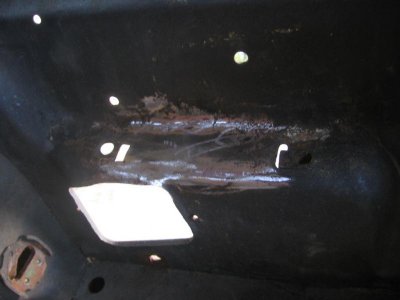
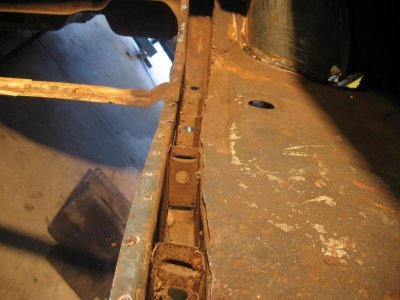
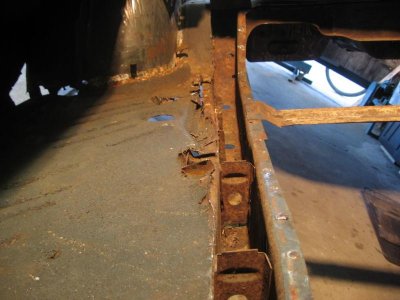
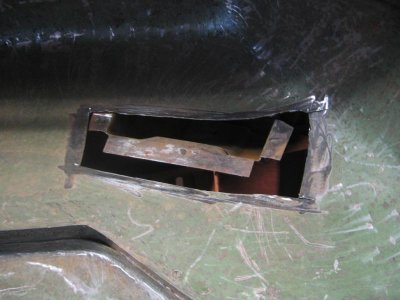
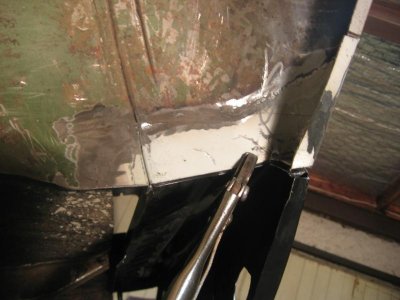
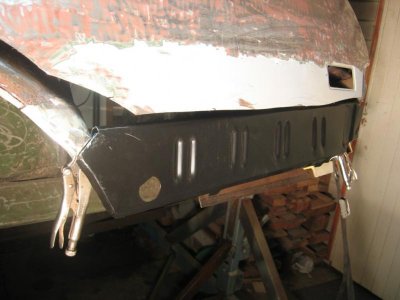
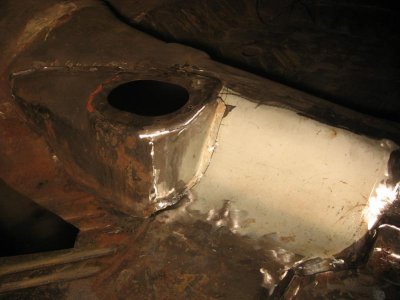
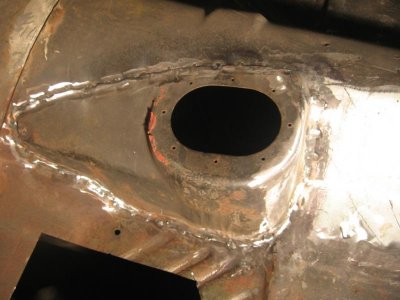
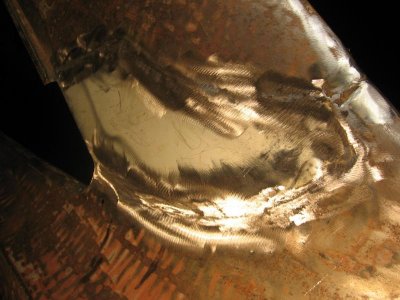
Thursday- He cut a bit of new steel to make a patch for the bottom of the rear quarter , borrowed a folder and then panelled it into shape. Had to make the wheel arch curve and replace some rusty metal on the inside of the tub. I removed some more of the trunk floor to look inside the frame rails. Will clean up with a good blast.
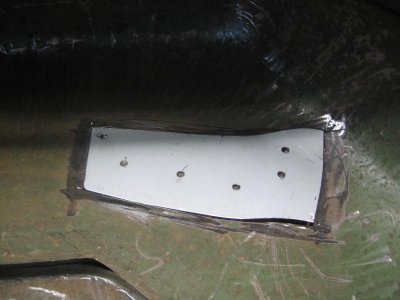
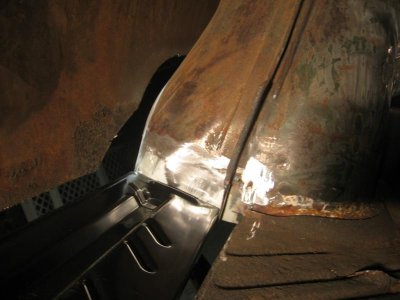
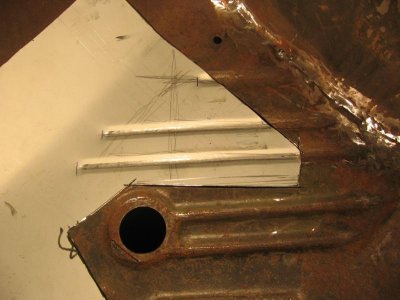
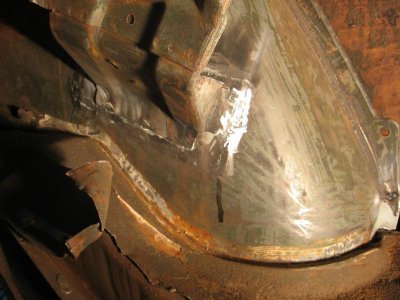
Friday- Today he welded in the patch that attaches to sail support, then started on the hole at the back of the tub. Mock fitted a section of the trunk floor to get the shape of the patch.
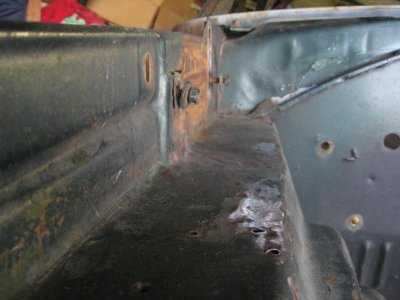
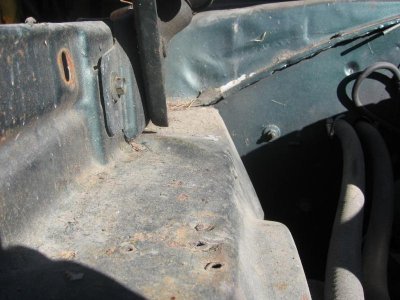
Photos better than words.
 

Attachments

  • boot floor 019.jpg
    boot floor 019.jpg
    85.6 KB · Views: 540
  • boot floor 020.jpg
    boot floor 020.jpg
    63.4 KB · Views: 537
  • RR panel 1 024.jpg
    RR panel 1 024.jpg
    49.4 KB · Views: 527
  • RR dismantel 084.jpg
    RR dismantel 084.jpg
    67.4 KB · Views: 530
  • RR panel 1 021.jpg
    RR panel 1 021.jpg
    46.8 KB · Views: 527
  • RR panel 1 020.jpg
    RR panel 1 020.jpg
    62.9 KB · Views: 524
  • RR panel 1 026.jpg
    RR panel 1 026.jpg
    33.7 KB · Views: 525
  • RR panel 2 020.jpg
    RR panel 2 020.jpg
    69.4 KB · Views: 508
  • RR panel 2 024.jpg
    RR panel 2 024.jpg
    62.3 KB · Views: 520
  • RR panel 2 025.jpg
    RR panel 2 025.jpg
    72.3 KB · Views: 511
  • RR panel 3,4 005.jpg
    RR panel 3,4 005.jpg
    57 KB · Views: 512
  • RR panel 3,4 006.jpg
    RR panel 3,4 006.jpg
    56.9 KB · Views: 530
  • RR panel 3,4 008.jpg
    RR panel 3,4 008.jpg
    50.2 KB · Views: 525
  • RR panel 3,4 012.jpg
    RR panel 3,4 012.jpg
    51.8 KB · Views: 537
  • RR panel 3,4 013.jpg
    RR panel 3,4 013.jpg
    43.2 KB · Views: 518
  • RR panel 3,4 009.jpg
    RR panel 3,4 009.jpg
    43.4 KB · Views: 513
  • RR panel 3,4 010.jpg
    RR panel 3,4 010.jpg
    47.6 KB · Views: 547
  • RR panel 5 004.jpg
    RR panel 5 004.jpg
    58.5 KB · Views: 511
  • RR panel 5 005.jpg
    RR panel 5 005.jpg
    48.3 KB · Views: 524
  • RR panel 5 007.jpg
    RR panel 5 007.jpg
    50.3 KB · Views: 512
  • RR panel 5 010.jpg
    RR panel 5 010.jpg
    47.4 KB · Views: 527
A lot of good progress has been done. Smart thinking on separating the trunk piece.
 
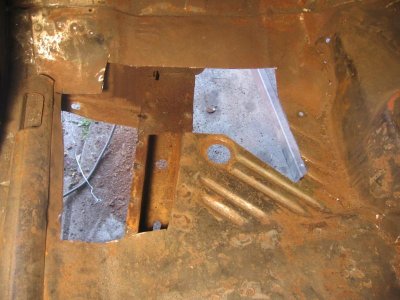
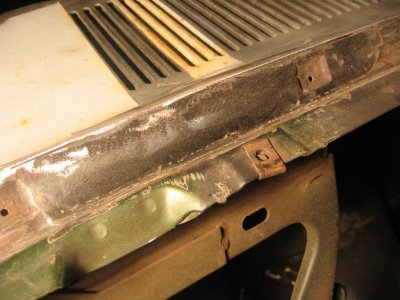
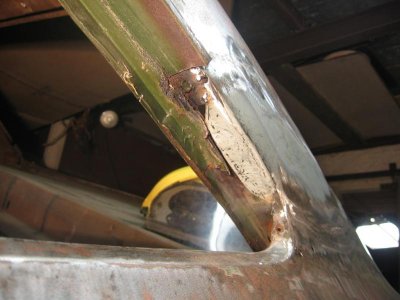
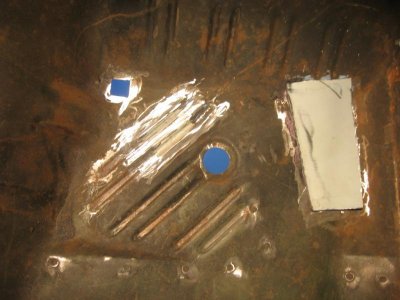
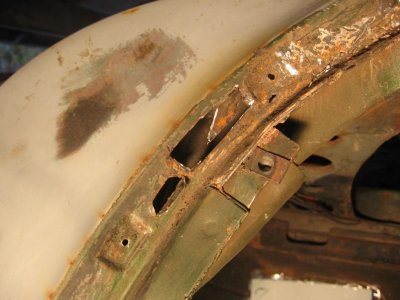
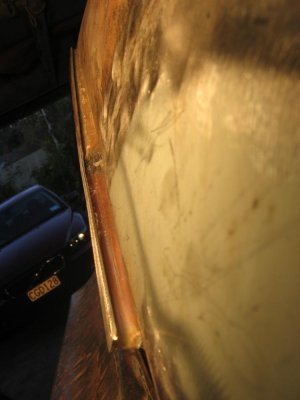
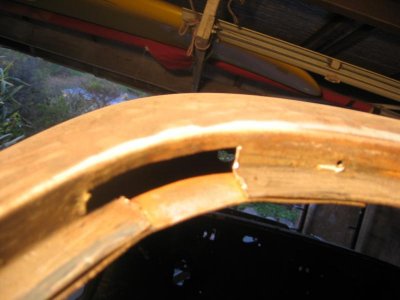
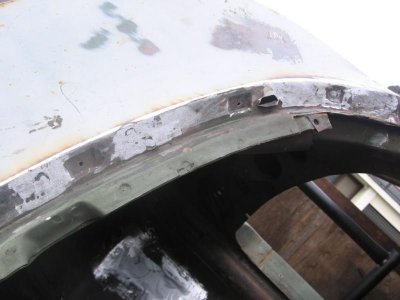
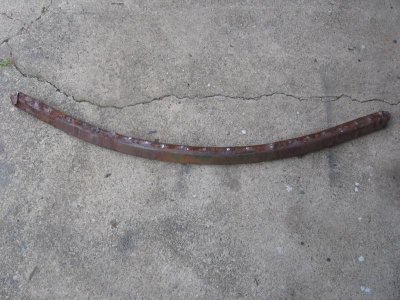
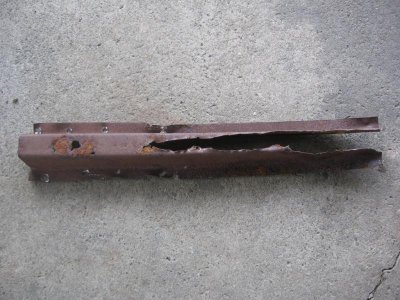
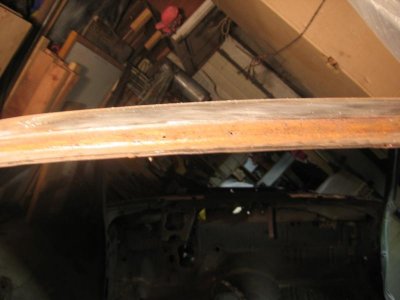
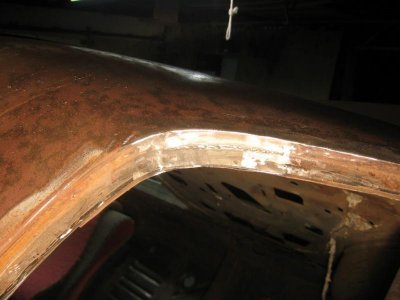
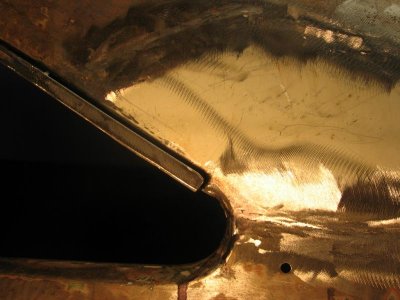
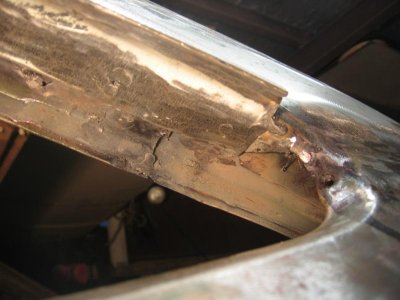
Panel guy been doing the odd day lately. Some good progress. Did great job fabricating outer wheel tub arch. The 4-speed cover needed some work, looks great now. He made a great job of the patch where the roof joins the quarter, had to fab. some roof channel too. I have been cutting holes and cleaning off rust. Floor patch made and swag lines added, will be welded in after blasting.
 

Attachments

  • IMG_0003.jpg
    IMG_0003.jpg
    61.6 KB · Views: 489
  • IMG_0005.jpg
    IMG_0005.jpg
    53.7 KB · Views: 497
  • IMG_0008.jpg
    IMG_0008.jpg
    48.7 KB · Views: 473
  • IMG_0011.jpg
    IMG_0011.jpg
    53.5 KB · Views: 478
  • IMG_0013.jpg
    IMG_0013.jpg
    63.4 KB · Views: 498
  • IMG_0014.jpg
    IMG_0014.jpg
    61.1 KB · Views: 474
  • IMG_0016.jpg
    IMG_0016.jpg
    50.7 KB · Views: 491
  • IMG_0015.jpg
    IMG_0015.jpg
    67.2 KB · Views: 483
  • IMG_0017.jpg
    IMG_0017.jpg
    52.6 KB · Views: 472
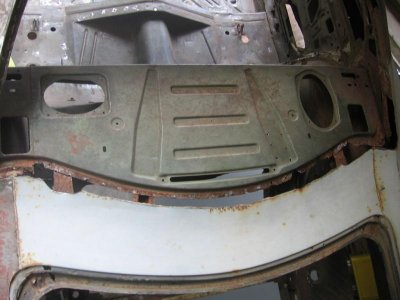
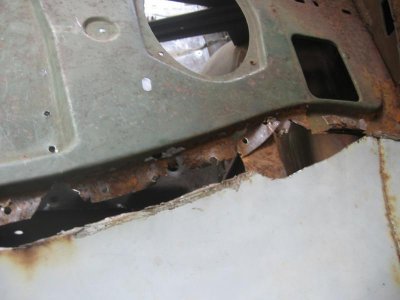
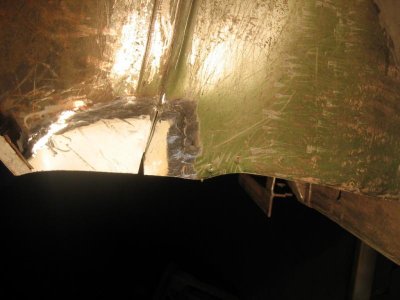
Photos of roof channel made, passenger floor patchs, holes in passg wheel tub to be patched, hole in top corner of rear window where staples were used to attach vinyl top.

- - - Updated - - -

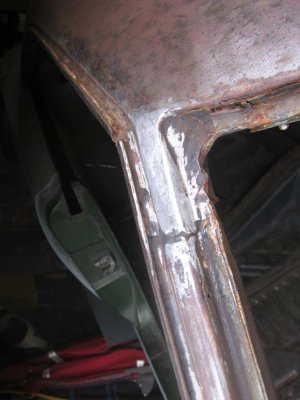
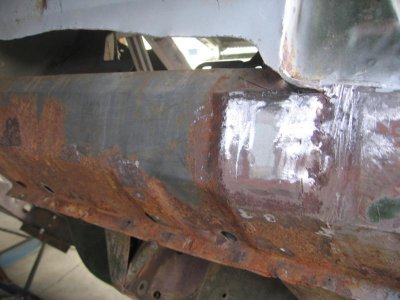
More photos. Repair to top corner of front windshield pillar, patch on lower windshield corner, patch of passg sill.
Next big job is to repair damage to rear of parcel tray panel and corners of rear window inside frame. I am buying the inside/outside corner patchs from AMD.

- - - Updated - - -

Corners are a mess, hope after clean up will look better.
 

Attachments

  • RR panel day 9 032.jpg
    RR panel day 9 032.jpg
    54 KB · Views: 493
  • RR panel day 9 034.jpg
    RR panel day 9 034.jpg
    54.7 KB · Views: 485
  • RR panel day 9 035.jpg
    RR panel day 9 035.jpg
    64.8 KB · Views: 472
  • RR panel day 9 036.jpg
    RR panel day 9 036.jpg
    70.3 KB · Views: 483
  • RR panel day 9 037.jpg
    RR panel day 9 037.jpg
    56.2 KB · Views: 471
  • RR panel day 9 038.jpg
    RR panel day 9 038.jpg
    59.3 KB · Views: 469
  • RR panel day 9 039.jpg
    RR panel day 9 039.jpg
    49.1 KB · Views: 448
  • RR panel day 9 040.jpg
    RR panel day 9 040.jpg
    51.4 KB · Views: 486
  • RR panel day 9 041.jpg
    RR panel day 9 041.jpg
    41.8 KB · Views: 470
  • RR panel 10 027.jpg
    RR panel 10 027.jpg
    78.9 KB · Views: 474
  • RR panel 10 026.jpg
    RR panel 10 026.jpg
    42.6 KB · Views: 461
  • RR panel 10 028.jpg
    RR panel 10 028.jpg
    54.5 KB · Views: 481
  • RR panel 10 030.jpg
    RR panel 10 030.jpg
    51.6 KB · Views: 458
  • RR panel 10 031.jpg
    RR panel 10 031.jpg
    40.5 KB · Views: 464
  • RR panel 10 034.jpg
    RR panel 10 034.jpg
    91.8 KB · Views: 442
  • RR panel 10 032.jpg
    RR panel 10 032.jpg
    89.9 KB · Views: 459
  • RR panel 10 036.jpg
    RR panel 10 036.jpg
    43.3 KB · Views: 468
You aren't messing around "nice patch work". Keep up the good work.
 
Thanks for the feedback guys.

Panel guy was here today, he made and fitted the patches in the passenger wheel tub. Done a great job. He will fabricate the outer lip when the new guard from AMD arrives.

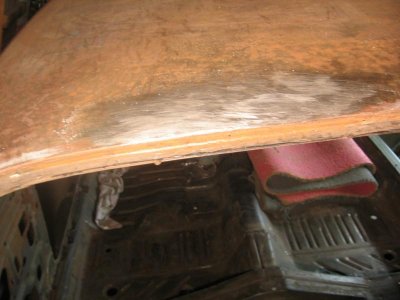
He then panelled out the dent in the roof above the rear window. Filed it up and looks great.

Finished day by patching hole in top corner of rear window frame. Was where the staples used to secure vinyl top were.
 

Attachments

  • IMG_0429.jpg
    IMG_0429.jpg
    60.1 KB · Views: 436
  • IMG_0434.jpg
    IMG_0434.jpg
    63.1 KB · Views: 436
  • IMG_0430.jpg
    IMG_0430.jpg
    51.3 KB · Views: 419
  • IMG_0441.jpg
    IMG_0441.jpg
    57.3 KB · Views: 439
  • IMG_0431.jpg
    IMG_0431.jpg
    57 KB · Views: 429
  • IMG_0432.jpg
    IMG_0432.jpg
    49.5 KB · Views: 424
  • IMG_0439.jpg
    IMG_0439.jpg
    49.7 KB · Views: 430
  • IMG_0440.jpg
    IMG_0440.jpg
    38.8 KB · Views: 433
  • IMG_0438.jpg
    IMG_0438.jpg
    44.3 KB · Views: 427
That window channel and package tray looks familiar. Oh yea that's what mine looks like. Good job NZ, your panel guy has talent.

This was post 426 for me. Lol, come on 440!
 
Auto Transport Service
Back
Top