NZ 70 RR
Well-Known Member
More great work
Been slow with updates, sorry.
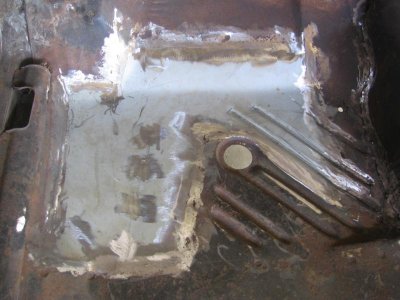
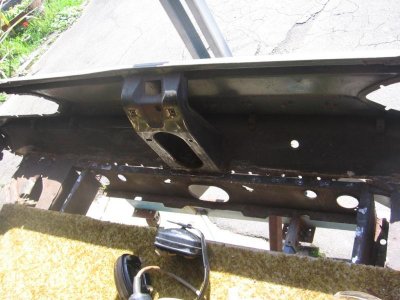
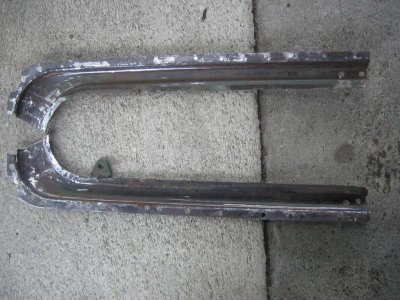
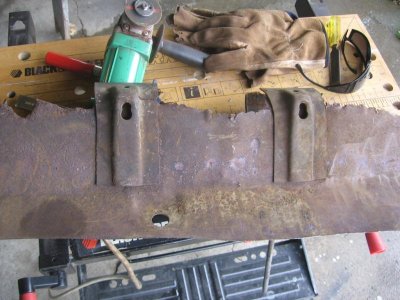
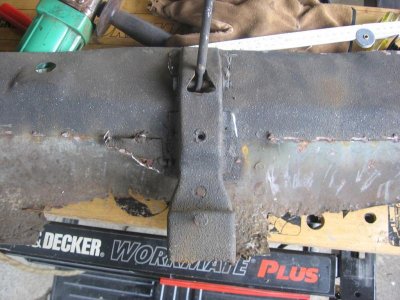
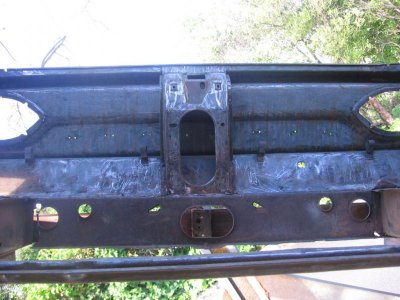
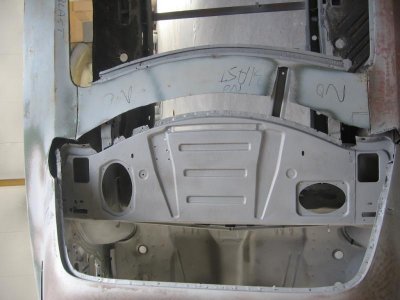
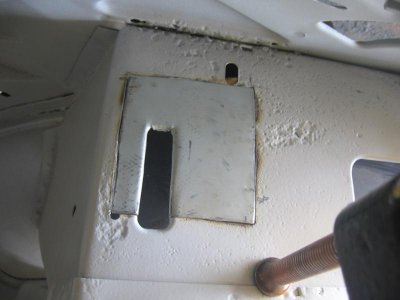
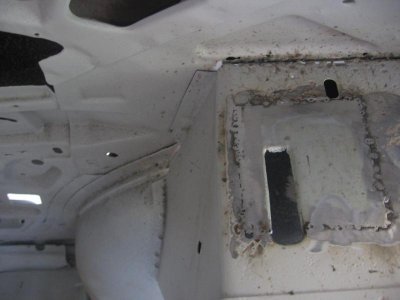
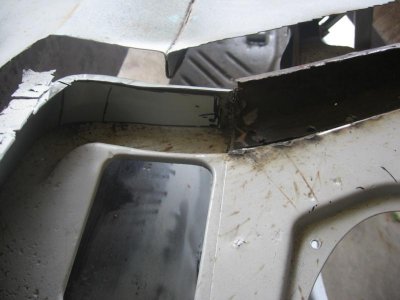
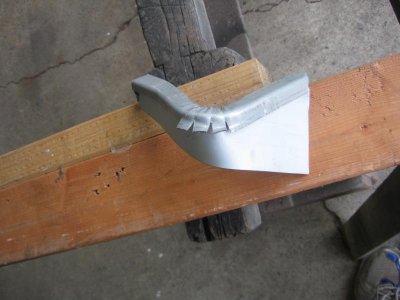
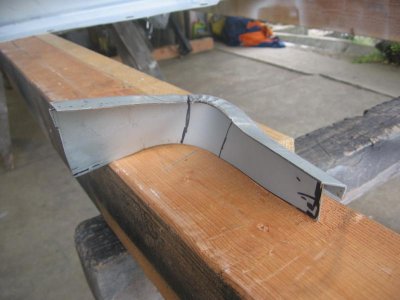
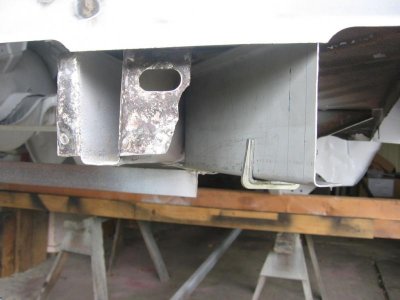
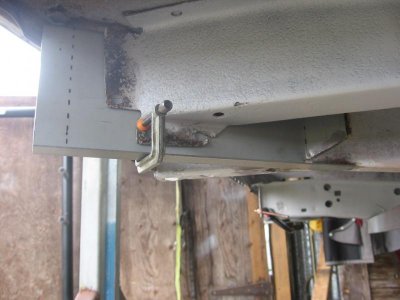
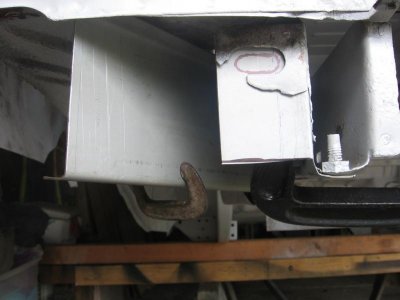
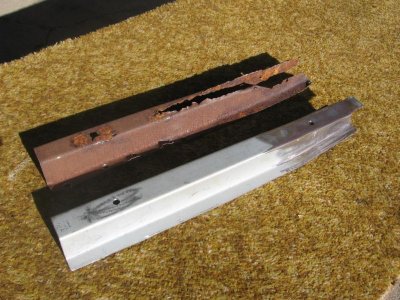
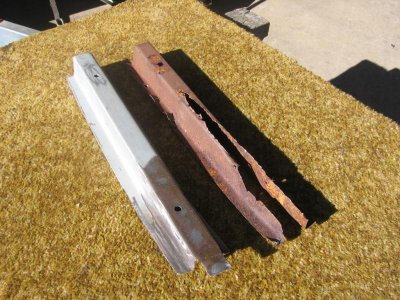
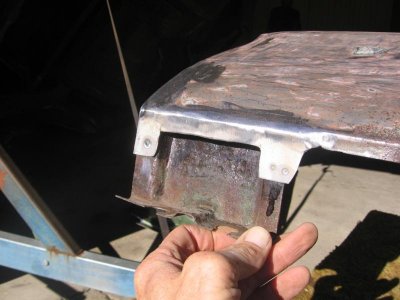
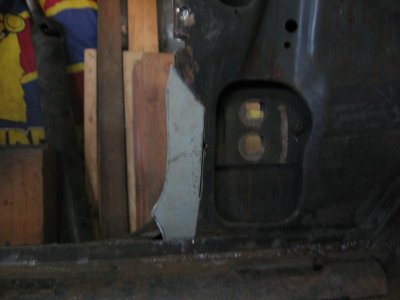
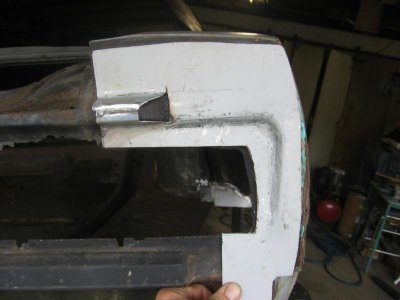
Tue 10th - Barry(panelguy) cut some metal and took it into town to his ex-work and used their folder to shape it into a filler panel support brace. He brought it home and did the final shaping.
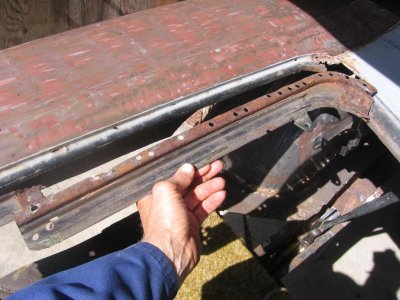
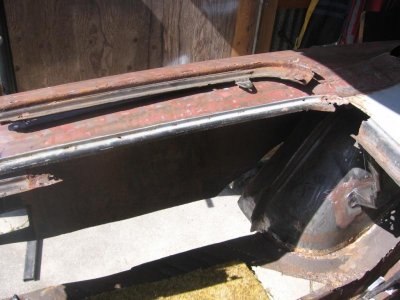
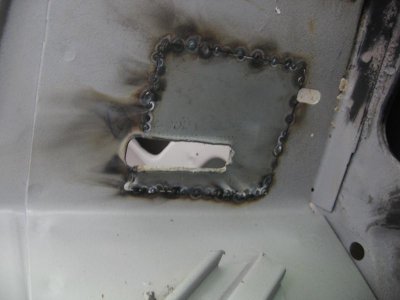
Next he patched up the other rust hole in rear window frame.
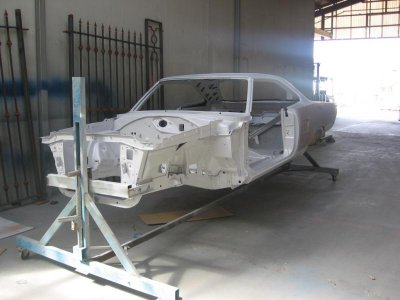
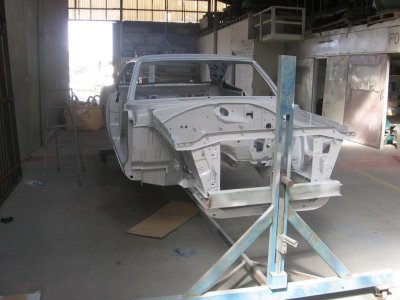
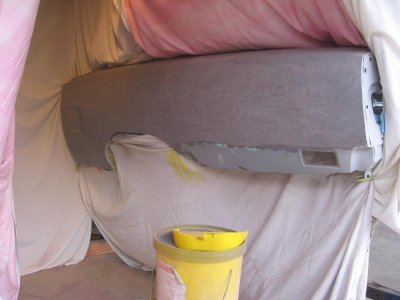
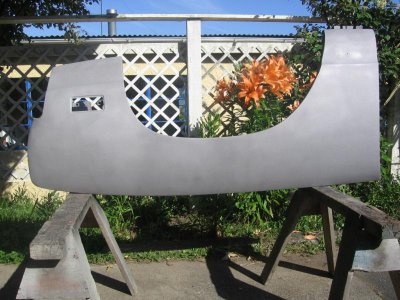
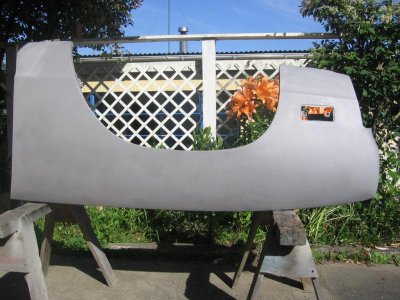
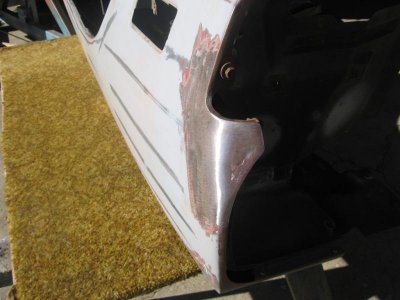
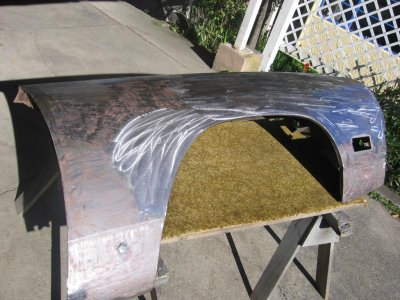
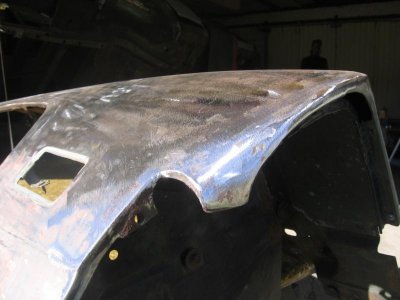
On to the drivers front guard. It is a replacement one off a Satellite so had holes for the side moldings. Barry welded these and then dollied out a dent in the nose of the guard. Couple of small dents later and guard finished.
Passenger guard, needs lot more work. Ended day by dollying out a large dent.
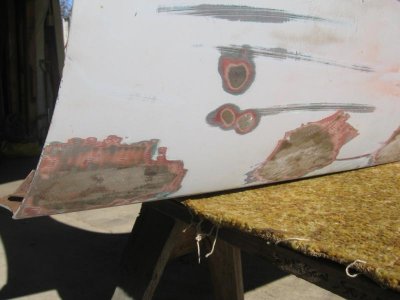
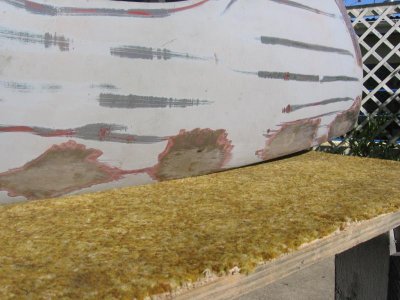
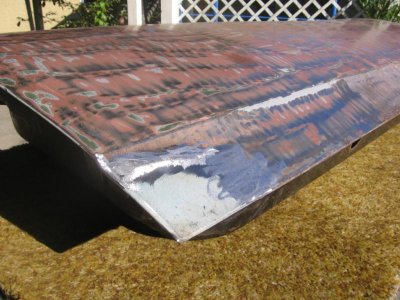
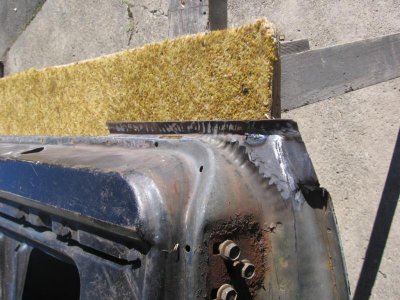
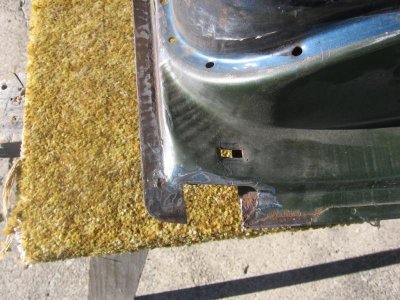
Thur 12 - Barry spent the whole day on the passg guard. It had 3 dents in the side and 1 on top. It needed a new metal patch to the skin where guard attaches to sill, and one higher up.
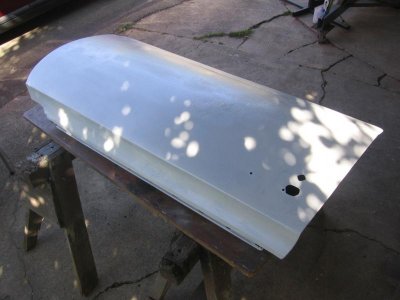
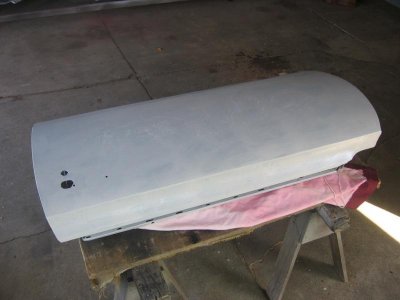
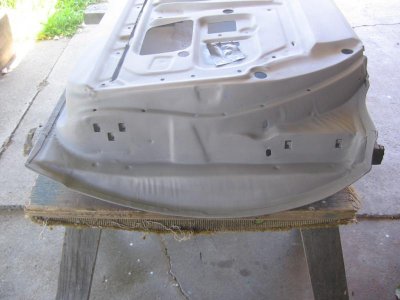
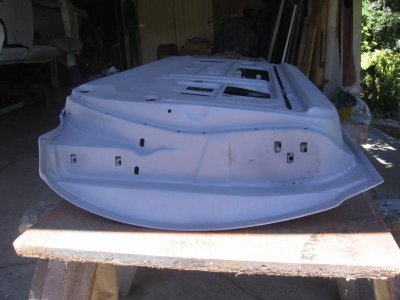
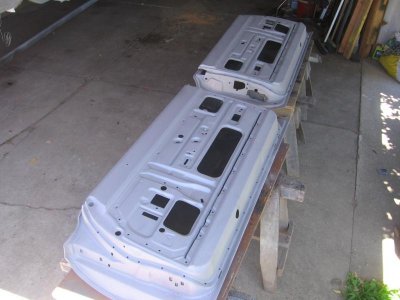
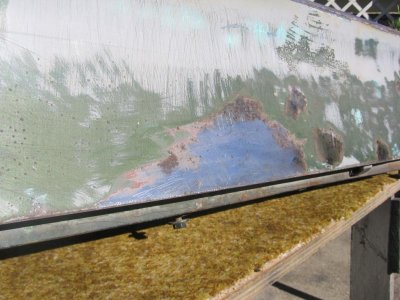
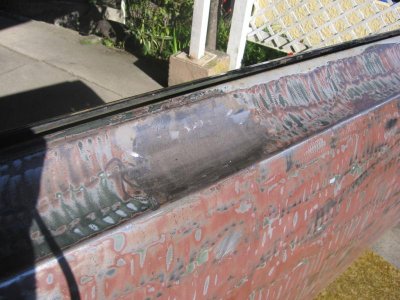
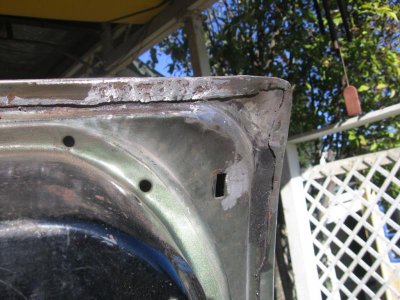
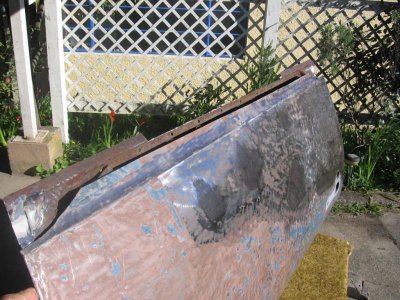
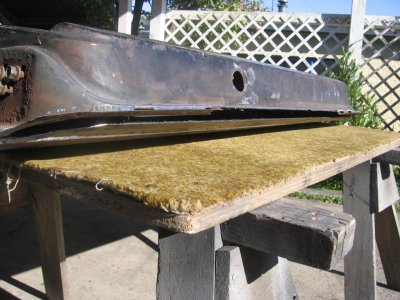
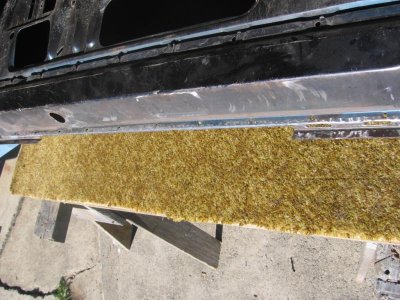
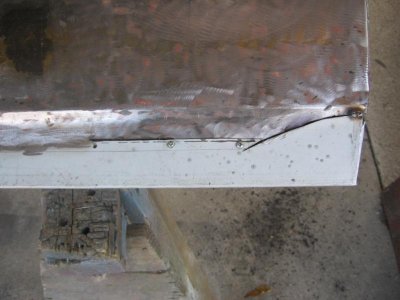
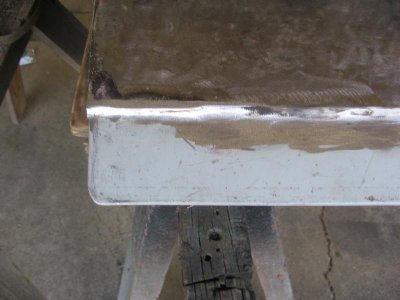
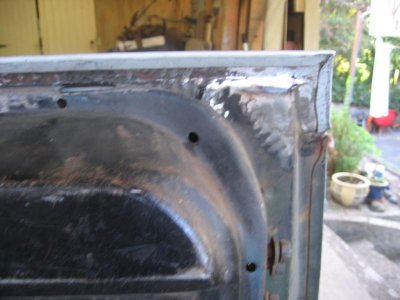
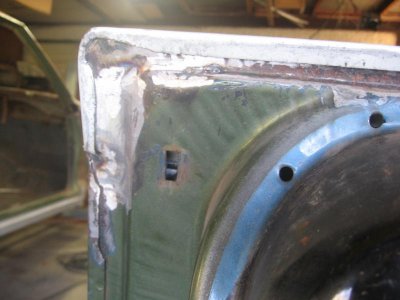
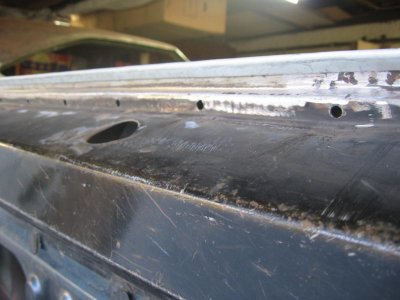
Fri 13 - Finished guard in morning. Drivers door next. This needed patchs to both bottom corners. Outside only on 1 and inside/outside on other. He also cut out the damaged metal where mirror sits and replaced with new metal. We will drill holes later. Finished all this before days end so started on Pasg door. Bigger job. Bottom of door skin needed to be replaced so he cut 2in off. A section of the inside was also removed. He cut some new metal and took it with him.
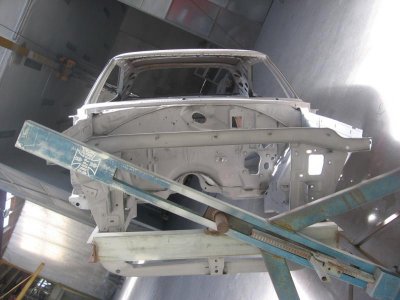
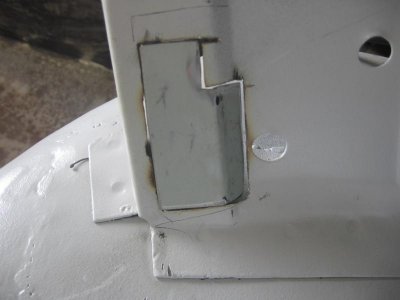
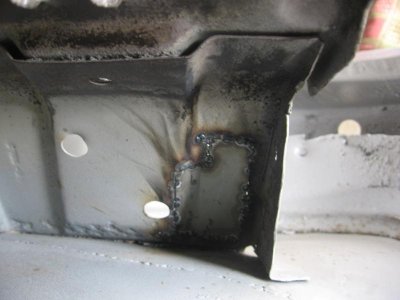
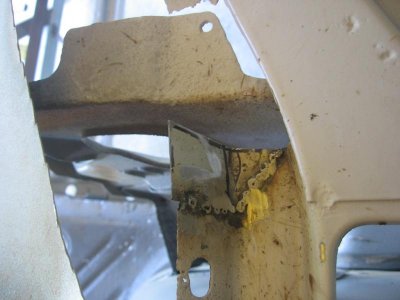
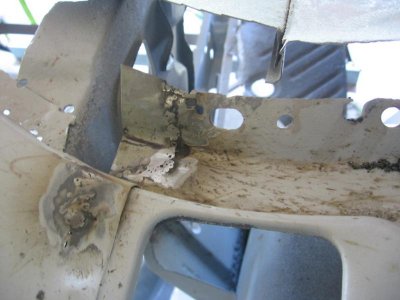
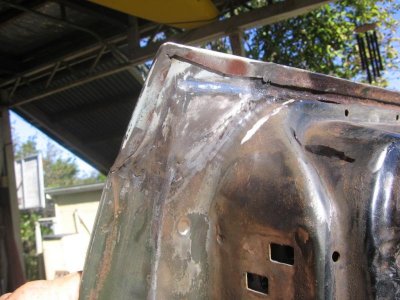
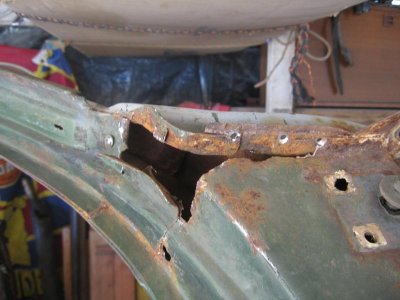
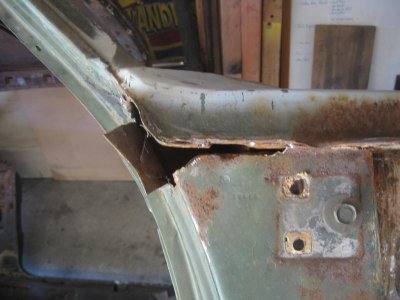
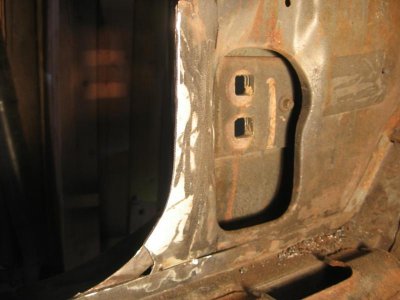
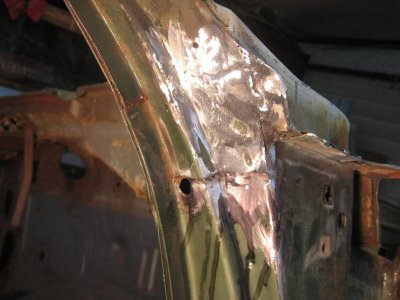
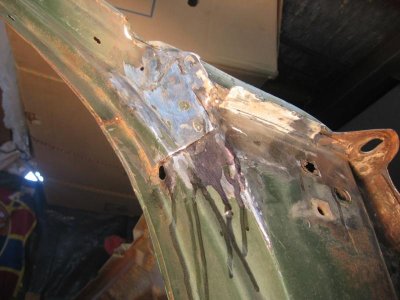
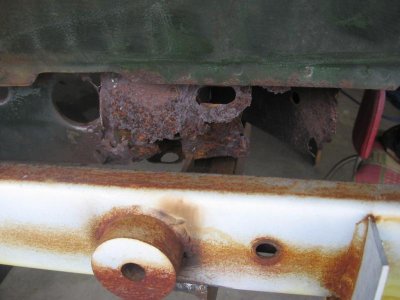
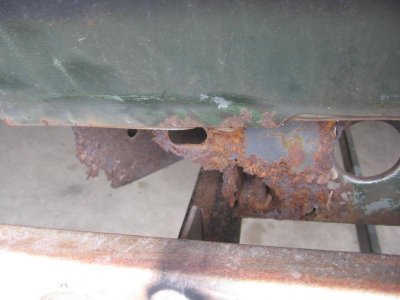
Tue 17 - Barry stopped at his ex-work on way out and folded the edges of the new metal. He fitted the inside patch and then paneled out dents in the skin while he had good access to them. He finished day by starting to weld the outside skin patch in. He welded the corners first and then did small sections at a time on outside. He had drilled holes and used self tapers to hole the skin and patch in place. Then used grinder with cutting wheel to get small gap to weld. 80% done by end of day. I cut some rusty metal out of driver A-pillar and made patch for it. Also opened up and cleaned rust of pasg A-pillar just below front windshield.
Wed 18 - Barry finished the door. Excellent result, really pleased.
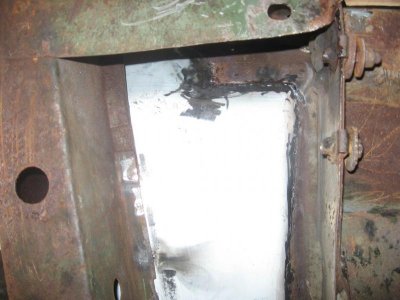
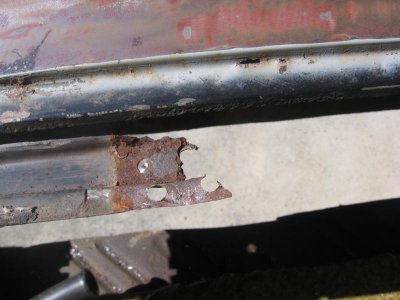
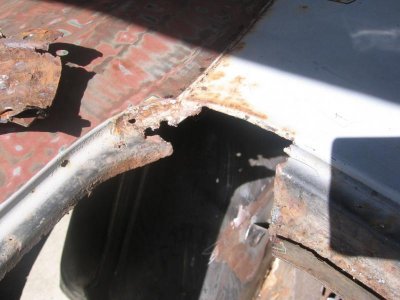
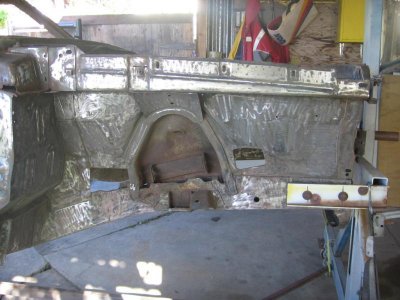
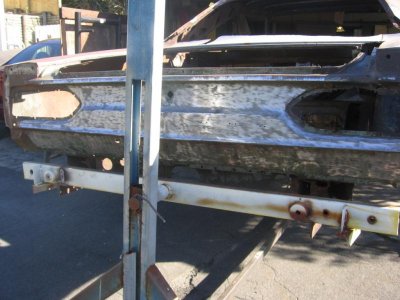
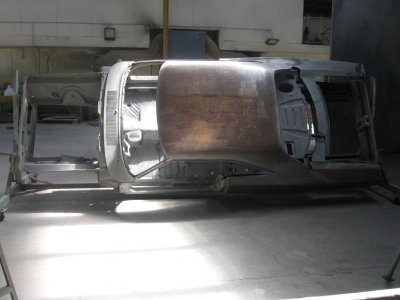
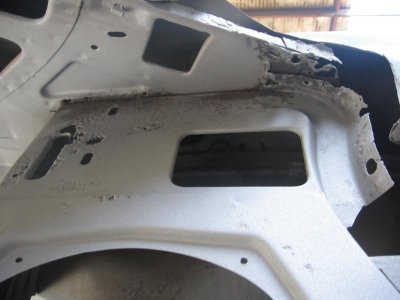
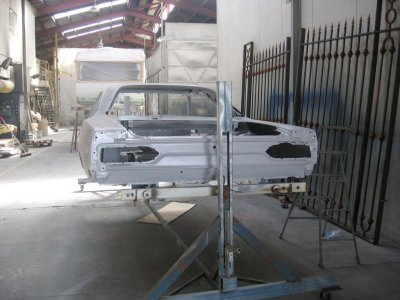
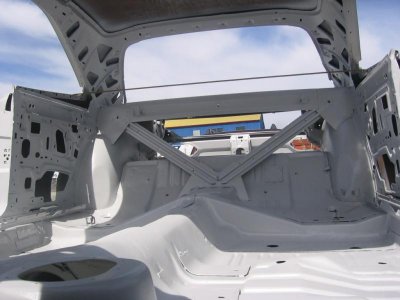
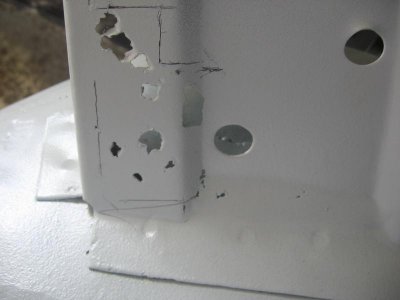
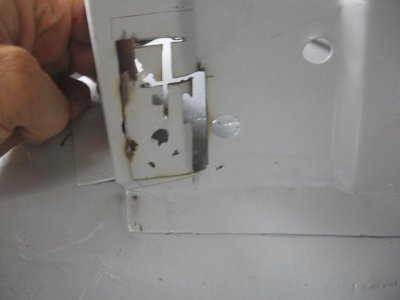
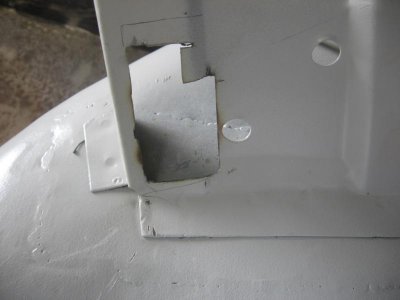
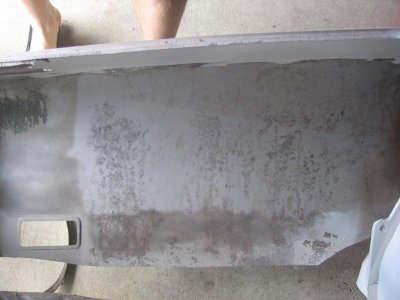
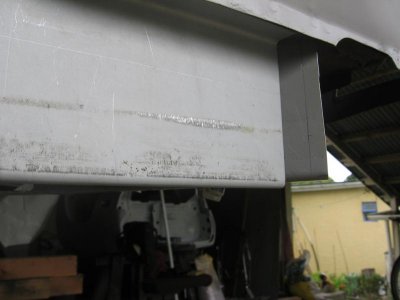
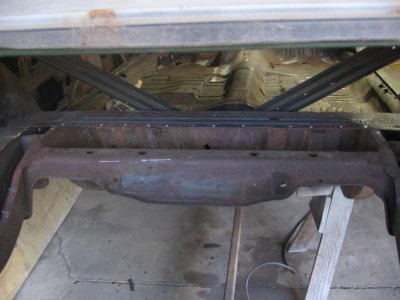
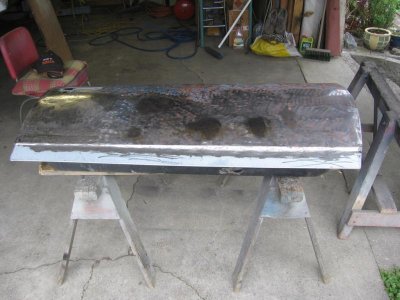
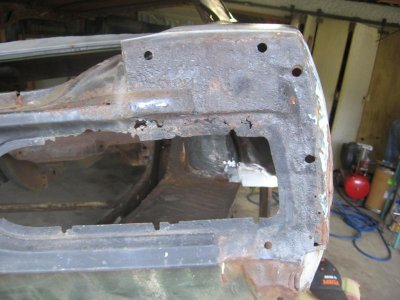
Repaired the pasg A-pillar and then the drivers. Final 2hrs of day he started to make a patch for the rear tail section, pasg side.
- - - Updated - - -
- - - Updated - - -
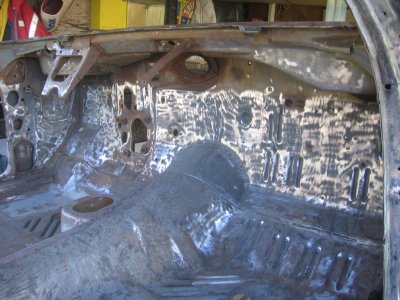
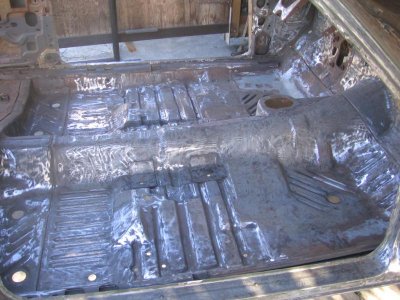
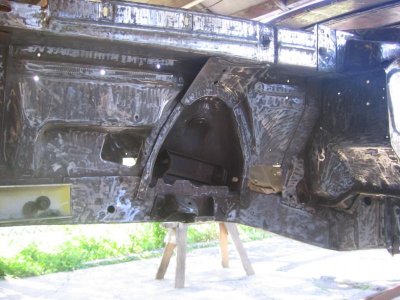
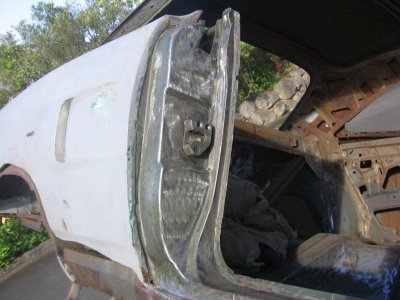
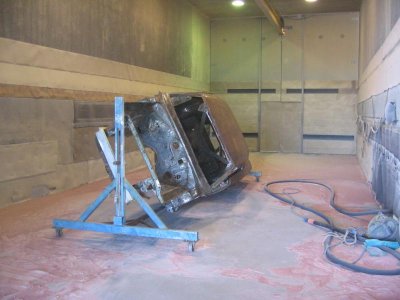
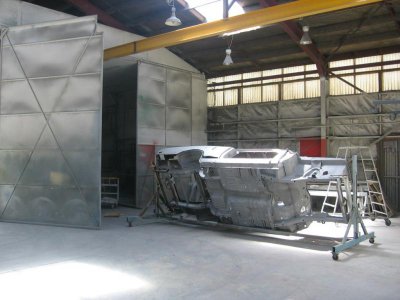
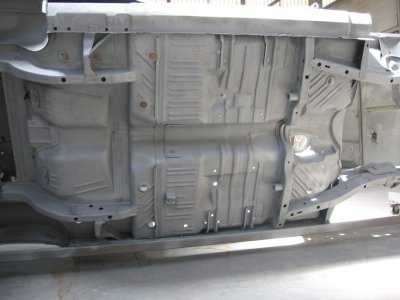
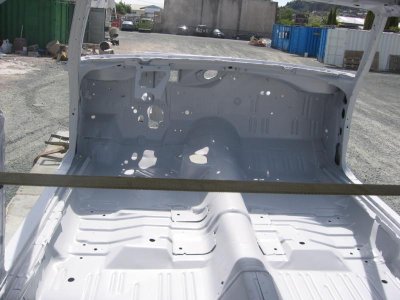
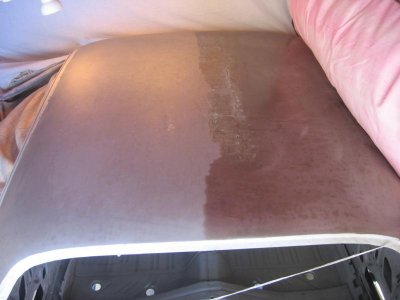
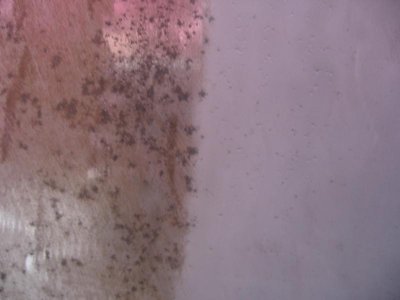
Lower tail panel needs work, do this after blasting.
Attachments
-
 RR panel doors,guards 043.jpg93.7 KB · Views: 585
 -
 RR panel doors,guards 044.jpg102.5 KB · Views: 590
 -
 RR panel doors,guards 054.jpg45.7 KB · Views: 544
 -
 RR panel doors,guards 055.jpg65.4 KB · Views: 585
 -
 RR panel doors,guards 053.jpg52.2 KB · Views: 585
 -
 RR panel doors,guards 047.jpg82.8 KB · Views: 583
 -
 RR panel doors,guards 048.jpg47.7 KB · Views: 571
 -
 RR panel doors,guards 046.jpg53.4 KB · Views: 553
 -
 RR panel doors,guards 049.jpg70.8 KB · Views: 563
 -
 RR panel doors,guards 039.jpg75.9 KB · Views: 562
 -
 RR panel doors,guards 040.jpg77.9 KB · Views: 580
 -
 RR panel doors,guards 041.jpg70.4 KB · Views: 594
 -
 RR panel doors,guards 042.jpg76.4 KB · Views: 581
 -
 RR panel doors,guards 036.jpg103.9 KB · Views: 570
 -
 RR panel doors,guards 035.jpg82 KB · Views: 581
 -
 RR panel doors,guards 033.jpg89.9 KB · Views: 560
 -
 RR panel doors,guards 034.jpg83.2 KB · Views: 576
 -
 RR panel doors,guards 032.jpg86.6 KB · Views: 583
 -
 RR panel door 019.jpg49.3 KB · Views: 587
 -
 RR panel door 020.jpg45.2 KB · Views: 579
 -
 RR panel door 021.jpg48.3 KB · Views: 578
 -
 RR panel door 022.jpg48 KB · Views: 570
 -
 RR panel door 023.jpg49.5 KB · Views: 569
 -
 RR panel door 025.jpg51.8 KB · Views: 573
 -
 RR panel door 026.jpg33.9 KB · Views: 577
 -
 RR panel doors,guards 056.jpg53.1 KB · Views: 572
 -
 RR panel doors,guards 057.jpg49.2 KB · Views: 570
 -
 RR panel A-piller 005.jpg65.3 KB · Views: 565
 -
 RR panel A-piller 007.jpg46.9 KB · Views: 561
 -
 RR panel A-piller 008.jpg54.5 KB · Views: 559
 -
 RR panel A-piller 010.jpg57.4 KB · Views: 557
 -
 RR panel A-piller 011.jpg61 KB · Views: 581
 -
 RR panel A-piller 012.jpg38.7 KB · Views: 568
 -
 RR panel A-piller 016.jpg52.9 KB · Views: 582
 -
 RR panel A-piller 017.jpg49 KB · Views: 560

