Good job Matt, Happy New YEar, they do have the better product of the 2 companies.
You are using an out of date browser. It may not display this or other websites correctly.
You should upgrade or use an alternative browser.
You should upgrade or use an alternative browser.
Progress report, Junkyard Dog
- Thread starter detmatt1
- Start date
detmatt1
Well-Known Member
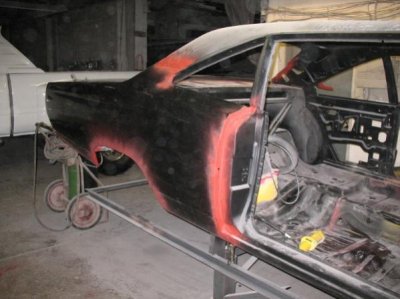
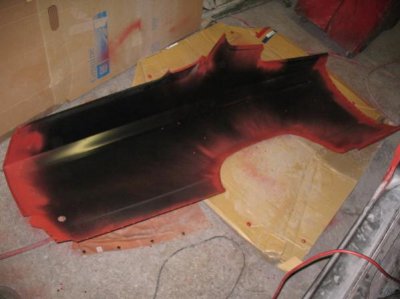
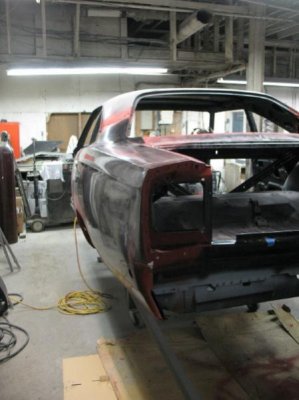
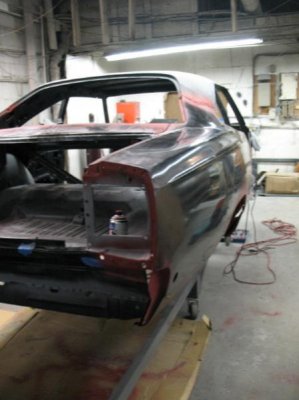
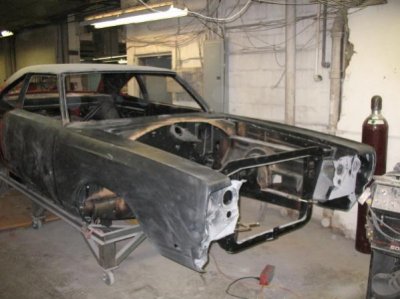
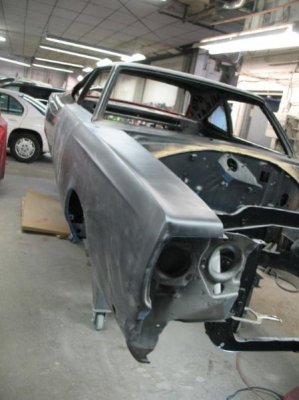
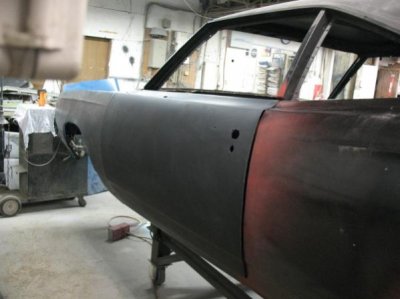
I finally made it down to B&B and got back to work on the "DOG"!!! I only had about 3 1/2 hours, but I think I made pretty good use of it and actually found that I had left it a little further along then I thought. I was allready close to having the chassis prepped to start putting the quarters back on, so I finished that and got the prepwork done on the passenger quarter itself and with the help of my trusty friend Speedy Greek, we clamped it in place. It is so nice to see some forward progress, more to come soon, I promise!
Attachments
SpeedyGreek
Well-Known Member
After stopping by to check out the great progress detmatt1 has made on the "Dog"... it has gotten me motivated to get off my a-- and get motivated on my 69 Road Runner. Keep up the good work!
68427vette
Well-Known Member
awsowe thread!! i have a 71 challenger n96 thats going to need a "dog" makeover, jc
detmatt1
Well-Known Member
awsowe thread!! i have a 71 challenger n96 thats going to need a "dog" makeover, jc
Thanks brother, I have a `70 Challenger A66 waiting to be restored that is worse then the "DOG" was when I started. Have you started on your `71 project yet?
Propwash
Well-Known Member
- Local time
- 4:53 AM
- Joined
- Oct 29, 2009
- Messages
- 9,710
- Reaction score
- 4,327
- Location
- Island of Misfit Toys
Looking good Matt....Soon enough she'll be coming down off old Jigzilla!
detmatt1
Well-Known Member
Looking good Matt....Soon enough she'll be coming down off old Jigzilla!
LMAO! Actually I have grown rather fond of jigzilla. I don't think it will be empty very long, the Challenger should fit nicely on it.
roadrunnerman
Well-Known Member
looking good matt.was it hard to line up everything for the quarter and weld to the c pillar,i might have to do that on one of my quarters.
detmatt1
Well-Known Member
looking good matt.was it hard to line up everything for the quarter and weld to the c pillar,i might have to do that on one of my quarters.
Thanks Roadrunnerman. I haven't welded them on yet but have had the whole thing screwed together once and everything seemed to line up pretty good. Hopefully only minor tweeking will be required to make them perfect.
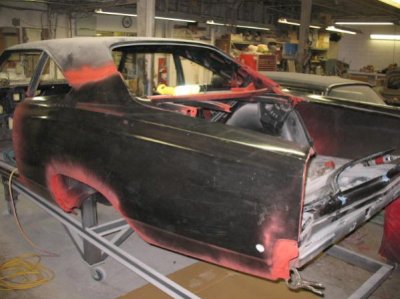
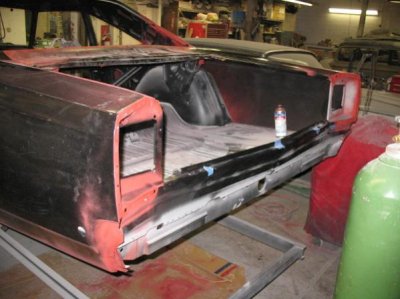
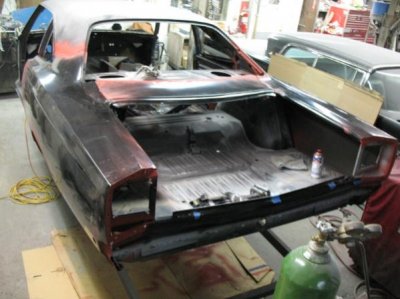
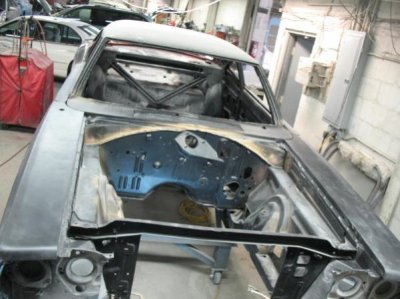
Was back at it yesterday for the afternoon and got the other side prepped and hung in place with a few screws. Also got the taillight mounts attached with screws and started refitting the decklid filler panel. Next I will hang the doors to make sure everything lines up on the back half before finally welding it all back together for good.
Attachments
Superfreak
Well-Known Member
What's the plan of attack for the seam where the roof skin joins the 1/4 panel, lead or filler?
detmatt1
Well-Known Member
What's the plan of attack for the seam where the roof skin joins the 1/4 panel, lead or filler?
Not sure yet, might try my hand with the lead free solder or just use a filler like All Metal (I think that is what it's called). What would you do?
I did get back to work on it yesterday but didn't take the camera. Got the doors hung!! Going back today for a few hours WITH the camera!
roadrunnerman
Well-Known Member
hey matt,need to ask.what is the red spray on the fenders? is that like a seam primer?
detmatt1
Well-Known Member
hey matt,need to ask.what is the red spray on the fenders? is that like a seam primer?
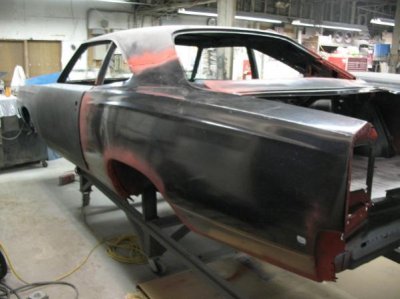
It's a weld through self etching primer that I use for all of the welded joints, otherwise these joints would just be bare metal and susceptible to rust all over again.
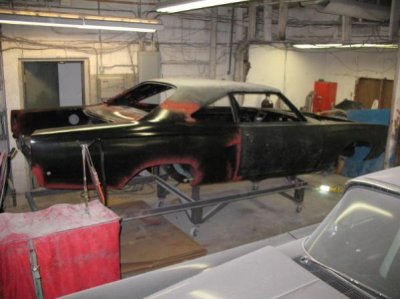
Had some more fun down at B&B this morning. I found that I will need to hang/bolt all of the body panels before welding anytrhing else back together to ensure that all of the body lines and panel gaps are where they should be.
This process could be time consuming but well worth it to get the finished product that I am after and the "DOG" deserves. Check these pics out, I barely remember what it looks like with fenders on it!.
Attachments
generaljmwlee
Well-Known Member
looking sweet keep up the pics!!!!!!!!!
Superfreak
Well-Known Member
Not sure yet, might try my hand with the lead free solder or just use a filler like All Metal (I think that is what it's called). What would you do?
I did get back to work on it yesterday but didn't take the camera. Got the doors hung!! Going back today for a few hours WITH the camera!
I tried with the lead free solder and I did not like what I saw as far as quality was concerned so I will be going with the metal filler then fine tune with regular filler over top. By the way SLOW DOWN your making the rest of us look bad you know. Just kidding, NOT!
Damn it's looking good with the panels coming together.
roadrunnerman
Well-Known Member
matt, at the rate you're going i think the next time i come home from the road and read your thread,it's going to say "got the motor in and fired it up". but seriously it is looking real good with the fenders and quarters on the "dog",i can see the paint gun getting warmed up soon.
Bens69PlymouthSatellite
Well-Known Member
Holy Hell Matt!! Seems like u caught up with Will pretty quick!! Can't wait 2 see the Dog!! Hope to make more progress on mine through the summer!!
Donny
Well-Known Member
- Local time
- 4:53 AM
- Joined
- Aug 28, 2009
- Messages
- 3,206
- Reaction score
- 546
- Location
- North East San Antonio TX
Dam! I GOT to get my *** in gear on that GTX!!!!
68427vette
Well-Known Member
is your A66 challenger the burnt orange one? that i was going to come up and see?? before all the snow fell? jc
detmatt1
Well-Known Member
is your A66 challenger the burnt orange one? that i was going to come up and see?? before all the snow fell? jc
Yes, small world, isn't it?
Thanks for all of the compliments gents, as you can imagine I am pretty excited myself.
Similar threads
- Replies
- 21
- Views
- 3K

