• When you click on links to various merchants on this site and make a purchase, this can result in this site earning a commission. Affiliate programs and affiliations include, but are not limited to, the eBay Partner Network.

Saving another 68 Charger

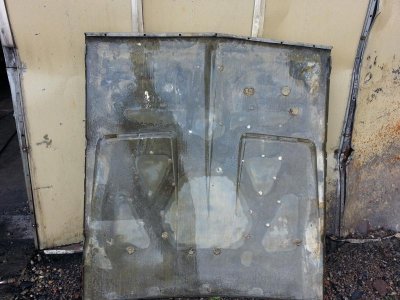
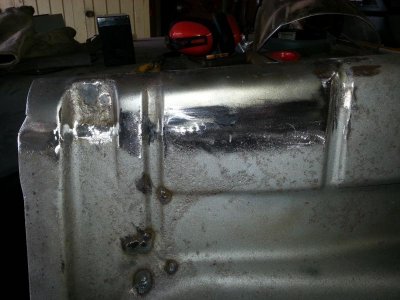
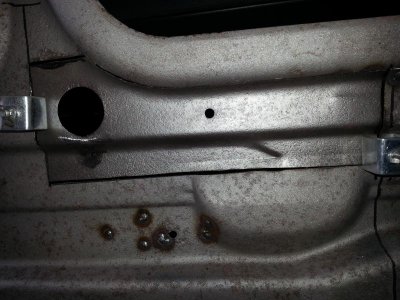
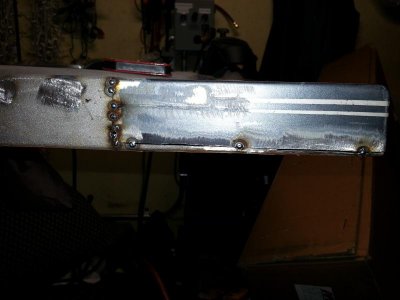
Ok drum roll.... 20140606_153213.jpg came out rather well. It did flash rust after the power wash.20140606_153731.jpg Most of it came off with scotch brute but I did give it a very light sandblasting with low pressure. 20140609_152603.jpg After all that it got two coats of epoxy primer from the good folks at ppg. 20140623_122317.jpg I did have a few little pin holes in the front of the hood that I welded up and ground flat and covered the back of the hood skin with rust bullet. Next came the frame a different story all together. Many hours of welding holes and putting in patches.20140607_203547.jpg20140608_165101.jpg20140726_155055.jpg
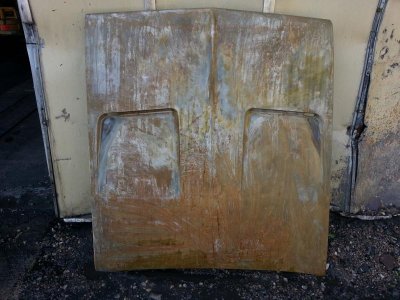
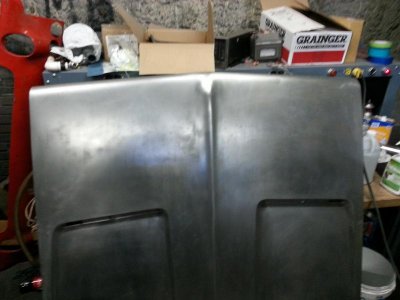
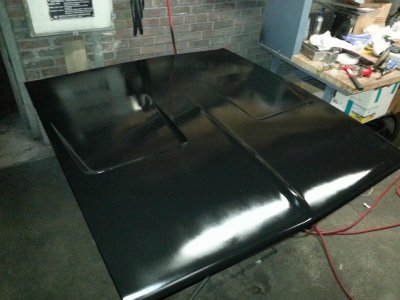
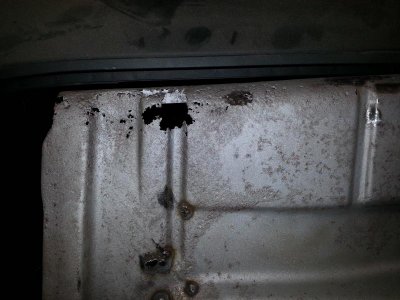
So after many hours and most of the summer I have a hood again20140908_143217.jpg
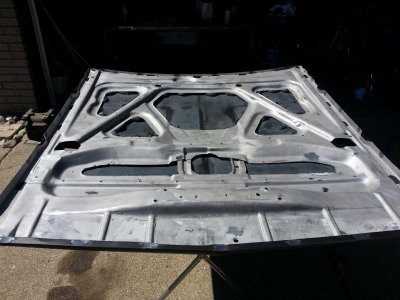
20140606_153213.jpg 20140606_153731.jpg 20140609_152603.jpg 20140623_122317.jpg 20140607_203547.jpg 20140608_165101.jpg 20140726_155055.jpg 20140908_143217.jpg
 
I feel ur pain bro! Looks very familiar. Good "BOLD" work!
My hood is the last/only piece that I haven't done anything to, yet.. Mines not rusty but frame is bent and loose in spots. Looks like someone tried to pull the motor using the hood, lol..
68s RULE!:headbang:

- - - Updated - - -

Thanks to SGT Paul for some hood parts and the idea of using seam sealer between the hood and the frame. Should work out good.
I did that to my roof bows to keep the roof skin from flopping, need to use it on my hood as well.
 
Thanks for the kind words kid. I'm falling behind, got get my a$$ back in the garage. I looked around and actually used anti-flutter foam. It's a two part epoxy that expands to fill the gaps but won't swell or shrink. Works good but I'm working on making it look pretty.

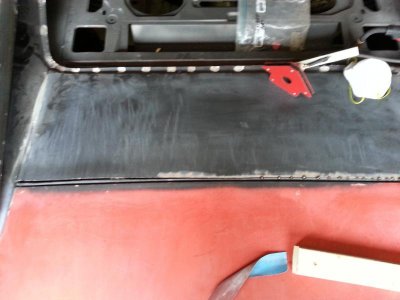
Started this a little while ago. I installed my deck lid to see how everything lined up and realized it's a little off. So I am splitting it and making it a little wider on the one end to make the gap better.

20140928_174421.jpg

On top of that I am also fixing the trunk corners that seem to rust off every $#@!ing deck lid I come across for a decent price.

20140722_224444.jpg
 
Last edited by a moderator:
I installed my deck lid to see how everything lined up and realized it's a little off. So I am splitting it and making it a little wider on the one end to make the gap better. On top of that I am also fixing the trunk corners that seem to rust off every $#@!ing deck lid I come across for a decent price.

Wow, It's amazing how when looking at other Charger rebuilders I get the feeling of "deja vu" or watching my alternate universe self, lol.. I had the same problem with my deck panel. I only used the front 3" of it tho, which I had to widen 1/4". But my trunk lid was the only part of my car that need no repair work.
 
Seems like everyone of us gets lucky in some ways and unlucky in others but all repo panels are inferior the same. Guess I should reread my posts before I post them. I ment to say I need to split my Dutchman panel(I think that's right) to get the proper gap.
 
Its not good you had to do it this way but it sure looks like its going to turn out right! Im no great or even good of a welder but have more confidence doing this kind, i just seem to be able to do it pretty decently and pleased with the results, i do need more patience when grinding the welds down though, I get in a hurry and heat the metal a bit more then should be, but learning.... Looks good!
 
Guess I should reread my posts before I post them. I ment to say I need to split my Dutchman panel(I think that's right) to get the proper gap.
That's what I ment also, same part, same prob..
 
Its not good you had to do it this way but it sure looks like its going to turn out right! Im no great or even good of a welder but have more confidence doing this kind, i just seem to be able to do it pretty decently and pleased with the results, i do need more patience when grinding the welds down though, I get in a hurry and heat the metal a bit more then should be, but learning.... Looks good!

I have to say it was a hell of a steep learning curve. Getting better every step of the way but still a long way to go. Try using a more aggressive grit of paper at high speed. Less pressure and coarse grit keeps the heat down on the metal. Patients also helps out quite a bit.
 
Found another piece of swiss cheese from my hood while cleaning the garage. Tried to save it but didn't work out.View attachment 221617
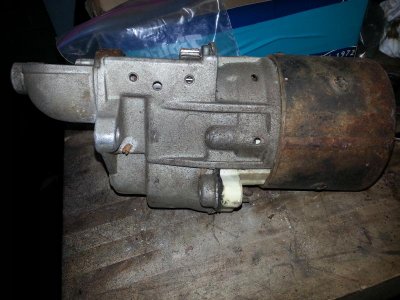
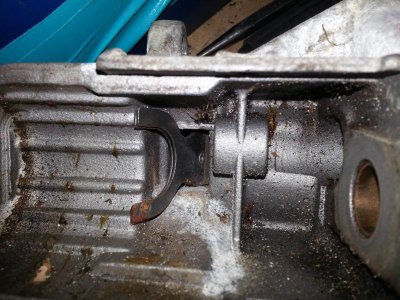
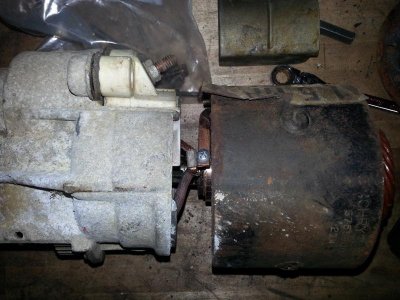
Started rebuilding the starter. Found it while digging through parts and cleaning up.
20140829_142336.jpg20140902_101257.jpg
20140829_142423.jpg
 
Good luck with that starter, id like to be close enough to be working on a few things like that.. It's probably on my end but your attachment said its in valid here, thought id mention it in case there is a problem!
 
On top of that I am also fixing the trunk corners that seem to rust off every $#@!ing deck lid I come across for a decent price.View attachment 220975

I feel your pain on the deck lid issues. I didn't want to tackle my deck lid so I sent it to a body shop. That was a year ago and I haven't heard a peep from them. Looks like I'll be paying them a visit to see what's up and probably end up fixing it myself. Keep rolling my friend you're doing a hell of a job on that Charger.
 
I didn't want to tackle my deck lid so I sent it to a body shop. That was a year ago and I haven't heard a peep from them. Looks like I'll be paying them a visit to see what's up and probably end up fixing it myself.

Unfortunately no one cares about our projects the way we do. As always, if you want something done..... you gotta do it yourself.

Thanks Ron 73, yeah was having issues uploading those pictures, my phone has issues with this site. I'm nowhere near needing the starter but I thought it would be fun and a nice break from body work. Not to mention I can work on it sitting down where it's warm. I try to get as many little parts done in between. My hope is when the car is painted I can just get all my rebuilt parts off the shelf and start putting it back together, like a model.
 
Just like Daytona said "dejavu"! Congrats on the excellent job on the hood and everything else is looking great as well. I hope you used something different than I did (2 part expanding foam) because even after a good prepping it still just fell out. I was so ticked about the money (about $30.00) I just used Liquid Nail, that crap doesn't come off of anything LOL!
 
Great job on the Charger. I was going to do the repairs on my body, but when I started to have the pieces media blasted, the realization was that this was a lot more severe than a novice body guy should tackle. So now she sits in a body shop slowly being put back together.
 
I have to say it was a hell of a steep learning curve. Getting better every step of the way but still a long way to go. Try using a more aggressive grit of paper at high speed. Less pressure and coarse grit keeps the heat down on the metal. Patients also helps out quite a bit.

This i will give a shot also, any info like this helps me immensely, the patients part, that ill need to work on a lot... I thought i had a lot but over the year's i believe i lost some somehow it seemed to dwindle i guess and i thought the older you got the more you had!
 
Its awesome to see guys with the dedication and drive to do the intense amount of labor and love to restore these mopars, its contagious and makes me wanna go work on mine right now!!! great job, keep spreading the disease.
 
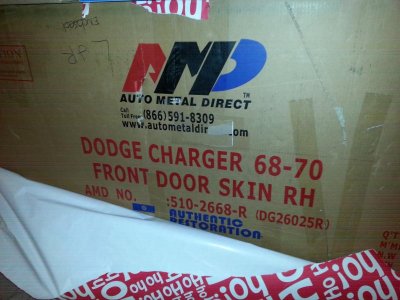
Thanks, dedication and a limited budget. Lol. Wondering and waiting to see when I could get the funds together, my lovely wife came through and got me a present.
20141226_201812.jpg
That concludes the last large piece of sheet metal. Hopefully I can get all the boxes and wrapping paper out of the garage from santa and get working on this puzzle again. Hope everyone's holiday was as good as mine. Merry Christmas and happy holidays!
 
Fabulous on the Hood! Please post pics and links to the adhesive substance that suspends skin over frame.
 
Auto Transport Service
Back
Top