• When you click on links to various merchants on this site and make a purchase, this can result in this site earning a commission. Affiliate programs and affiliations include, but are not limited to, the eBay Partner Network.

Some changes for LemonWedge

[QUOTE="LemonWedge, post: 911751015, member: 23431"
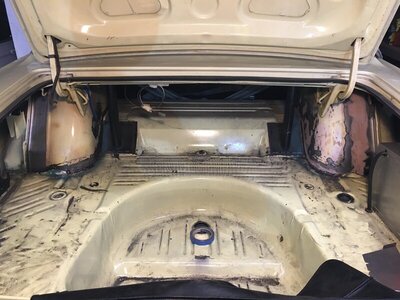
Next challenge is to navigate the trunk hinge bracket. It currently interferes with where I want the wheel wells to sit. We’ll see how it works out. Hopefully the next pictures I post will be of the wheeltubs tacked in place.[/QUOTE]

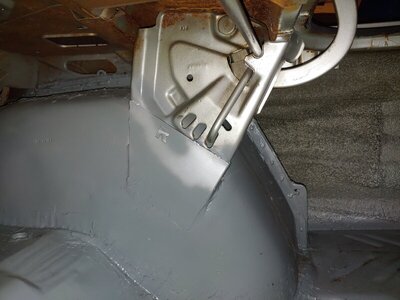
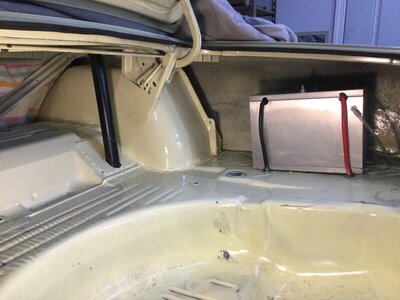
Here's a picture of my hinges
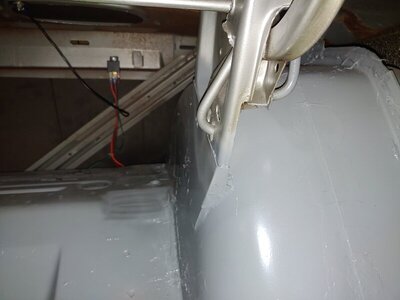
1219201935b.jpg 1219201935a.jpg
 
Nicely done, 67MPR.

didn’t get a chance to be in the garage today, as I was commandeered to put up Christmas lights and do some shopping. Hopefully I’ll get some time soon.
 
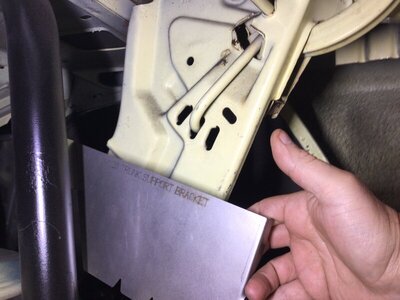
Forgot to mention those are the trunk hinge pieces that came with the US cartool kit
 
Forgot to mention those are the trunk hinge pieces that came with the US cartool kit

did you have to trim them down? The ones in my kit are similar, but don’t fit my brackets cleanly. USCT sent me pictures of how they work on a 69, totally different brackets. Here’s mine:

ECB32653-04BD-4ED7-BA0A-F936DC84ED6A.jpeg
 
I did mine on the 64 about 6 years ago so I can’t remember exactly how I did them but here’s a picture if that helps.
049813E8-4193-4B1B-9CF2-116105B097B1.jpeg
 
Mike...I am now [email protected] much headstart do you want for the pink slip run ? LOL
PS: you know I am just kiddin you....
—-
Mike! You sure got that 64 flying! Congratulations. This new time is going to require some real deciphering. I’ll get back to you. :I
 
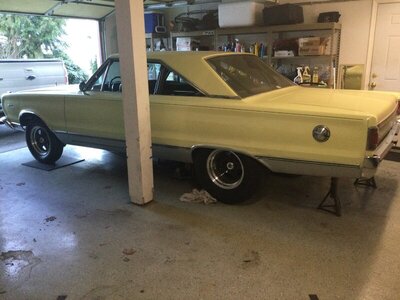
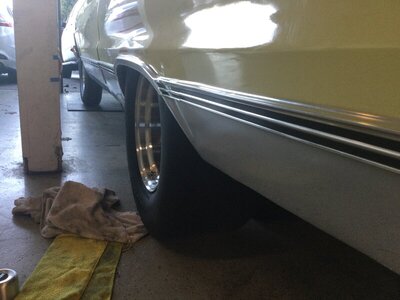
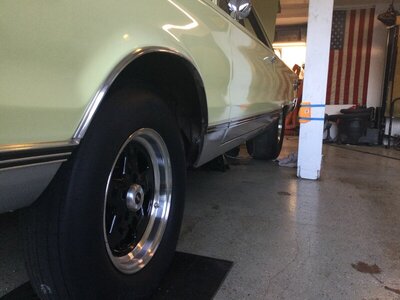
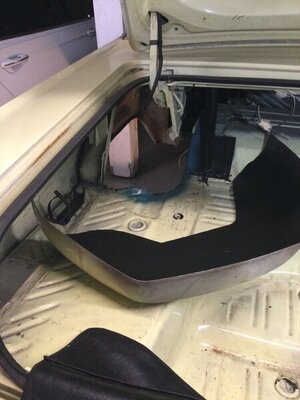
Made some small progress this past weekend. Got the first wheel tub tacked into place for fitment of the added strip. I’m learning as I go. I got the car down on the ground for the first time in a while and got a “mock-up” look at the new stance. I also settled on a final dimension for the rear end, and got it off to a local guy that’s got a jig and knows his way around that operation. Little by little....

C1C03C7F-7E2F-4EED-8ABB-B07188BA38F8.jpeg B39ED0E1-8620-404D-A52F-AD6DCDE5DBA4.jpeg A17366BE-58F1-4AB1-B791-3BBD0F7EC42A.jpeg 4BDC4BBF-A6F3-4ADC-A577-6FAE0FCEF192.jpeg 2BDBBA90-3C25-4EB0-AC40-BF28DF576A8A.jpeg
 
That’s the look! Nice work LW!
 
A little more progress.....
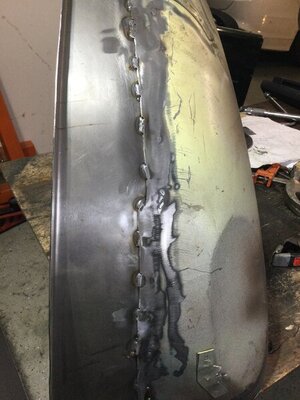
1st, let’s understand that my welding skills are beginner at best. But I’m learning as I go. I believe I’ve got the 1st wheel-well to the point where I’ll skim it with some bondo on the top, and seam-seal it on the bottom.I tacked it together, then put a small stitch every 4” or so both inside and out. Now that I understand where the endgame for this drill is, I think the 2nd one will come out quicker and better.
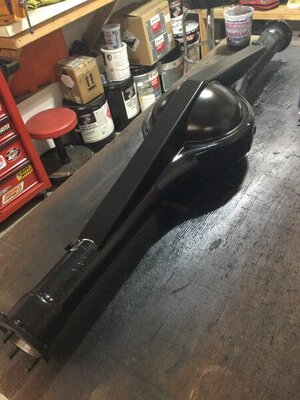
I also picked up my rear end, which now is 49-3/4” flange to flange. I had a guy I know that has a jig and has done a lot of these take care of that task. Got it coated in a simple industrial primer and black topcoat system.

CABDF7E2-3AB8-4FD2-9D25-C95F37C886E3.jpeg 3BBCFF47-5BC5-4397-8008-14A9A3E6BC99.jpeg 92BE7EE5-9256-444A-B915-C54FF5E5C2BE.jpeg AE321A2B-C24A-4095-B123-39961DCCCE3C.jpeg
 
Last edited:
Don't Bondo it unless you completely weld it. It'll crack the filler eventually. If you leave it stitched, seam seal both sides instead.
Doug
 
Your doing a great job LW. You’ve got the trunk braces fit good. Weld, grind take your time. All good. Seam sealer smoothens out real nice too with solvent, reducer or what have you.
 
Last edited:
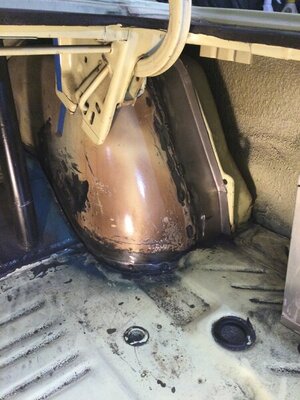
Took Doug’s advice and finished the weld on the backside where it will be seen. On the front side where it’s behind the seat, I’ll fill the seam with seam filler. The relief is to clear the trunk hinge.
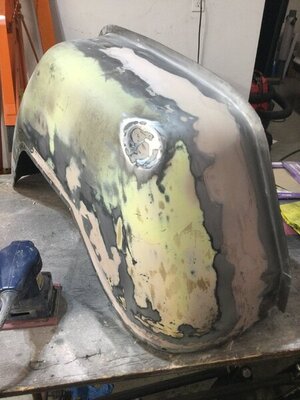
After finishing the weld I got the bodywork done today. The plan will be to get both of them primed and a coat of paint down. Then sand back where I need to weld at final install. Then seamseal all the seams. Then a final coat of paint.
Thanks a ton for the tip, Doug. It’s not like I know what I’m doing anyway... so I do appreciate any tips offered.
Specific question: at the flange where it meets the outer half: I was thinking I was going to drill a hole every 4” and plug-weld it. But I’m now wondering if a body adhesive would be better there? Thoughts?

D28020BC-AE40-4B1E-8C0A-02C7C2DAB5DF.jpeg
 
Last edited:
If you can clamp it tight I like body adhesive.
Doug
 
If you can clamp it tight I like body adhesive.
Doug

well, I took a trip to the auto-body supply store today for seam sealer and body adhesive. Body adhesive takes a special mixing gun, and the 2-component adhesive is pretty expensive as well. It was $250 just to sit at that table. The budget line on this project has already been crossed, so unfortunately I’ll be sticking with plan A and plug-welding them at the seam flange.
 
I’m continuing to make progress. Although I haven’t been doing a very good job of taking pictures.
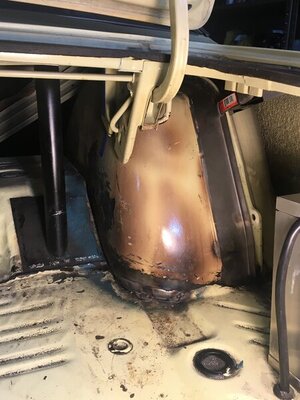
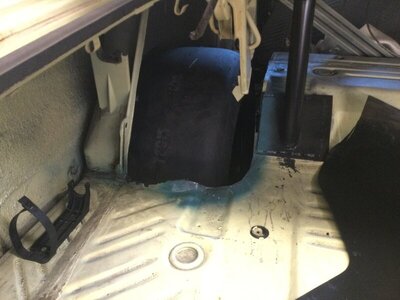
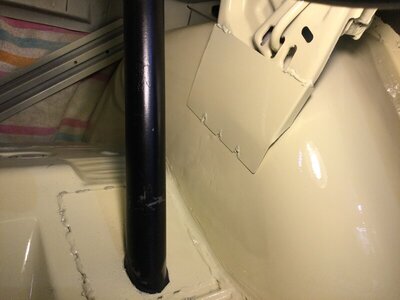
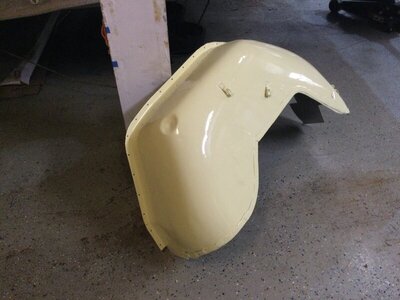
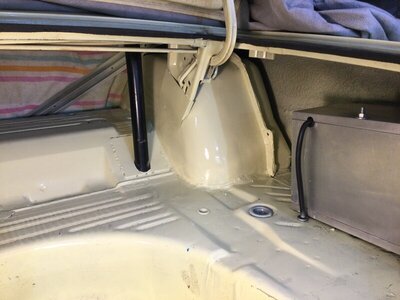
Spent yesterday painting the finished tubs, with the plan to get paint down, then grind back where needed at install, and do one final finish coat once done. I started the weekend with the goal to get both tubs done, but just as with everything else in this project, things took longer than expected. The good news is I’m very happy with the finished product on the passenger side. Next weekend I should be be able to get the drivers side in, and be done with this piece of the puzzle, then I’ll move on to the suspension.

BCD15E7B-56FE-4B78-AA93-9BAC27788E41.jpeg 7C1CE1FB-28B3-43D4-8304-817EC3581F03.jpeg 41EE065E-F28B-4495-9123-27AAFBAACDCD.jpeg 77E3D98E-1937-469F-A2D9-C6743C310EB2.jpeg
 
Last edited:
I’m continuing to make progress. Although I haven’t been doing a very good job of taking pictures.
Spent yesterday painting the finished tubs, with the plan to get paint down, then grind back where needed at install, and do one final finish coat once done. I started the weekend with the goal to get both tubs done, but just as with everything else in this project, things took longer than expected. The good news is I’m very happy with the finished product on the passenger side. Next weekend I should be be able to get the drivers side in, and be done with this piece of the puzzle, then I’ll move on to the suspension.

View attachment 1056007 View attachment 1056008 View attachment 1056009 View attachment 1056010
—-
You’re doing a great job over there LW. That tub looks like it’s never been touched other than a wider look. Take your time, it’s sure paying off.
 
Auto Transport Service
Back
Top