Dibbons
Well-Known Member
- Local time
- 8:50 PM
- Joined
- Nov 29, 2014
- Messages
- 4,821
- Reaction score
- 5,670
- Location
- La Paz, B.C.S., Mexico
I have been attempting to get some rustproofing down into the "inner sanctum" of that area below the rear seat side windows. Don't know what to call it except a very restricted space where supposedly water will drain out the bottom through a little tiny slot (I am working on a '72 Plymouth Satellite Sebring Plus).
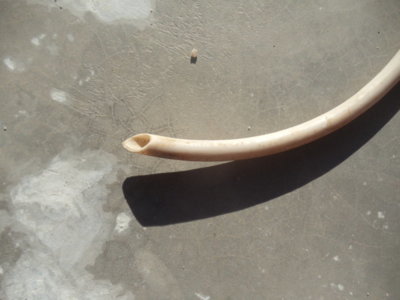
I used a coat hanger wire to loosen things up down inside the crevice followed by various sessions with a tiny hose I adapted to my shop vacuum (the hose I found inside the rim of a cheap chewed-up doggie frisbee made of fabric-not plastic). When I got weary of forcing the hose down the final inch or two, I finally wised up and cut a bevel in the end, which seemed to help (see foto one). On the driver's side, the hose kept plugging up with tiny cubes of window glass (obviously that side window is not original glass any longer). I did not let up until I removed all the debris (I hope).
I could see nothing was going to get paint down there except the little nozzle on the end of the Eastwood internal frame coating product. The first time I used the spray nozzle (on an upside down hood from my '65 Barracuda sitting on a 55 gallon drum) the pressure from the can shot the nozzle clear off and green paint went flying everywhere.
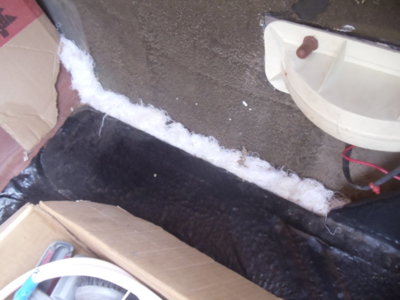
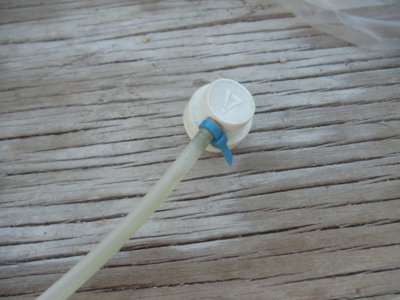
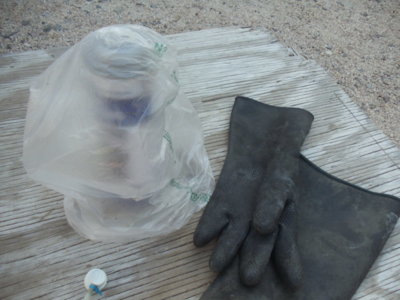
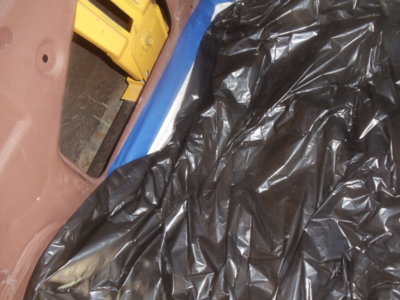
In an attempt to prevent the paint spray this time, I wrapped a tiny zip tie around the end of the hose (see foto two). The hose as supplied, is just slipped onto the nozzle, nothing really holds it in place. As a secondary precaution, I wore rubber gloves and covered the can in a small clear plastic bag (see foto three). I also taped an old towel onto the floorboard of the rear seat and then a black plastic bag on top of that (see foto four).
Careful to ram the hose nozzle down as far as i could, I sprayed for a second or two, then moved the nozzle, and repeated. Then I sprayed a second time (without waiting for the paint to dry) but this time I kept the nozzle pressed as I moved the nozzle along from rearmost position to the front. Tomorrow I will apply a second coat using the same procedure.
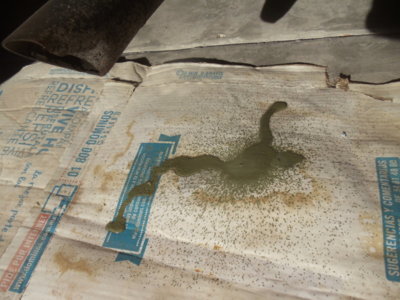
I tried to take a foto of inside the crevice to inspect the first coat, but it is curved in there and the camera can't pick anything up (see foto five). At least the paint spilled out the drain onto the ground, so I know some paint must have reached its mark (see foto six).
It would have been nice to rinse the area out, but I was not about to run any water down inside there. As a substitute, I sprayed a generous amount of wax and grease remover (the day before so it would be sure to air dry out).
Two more things:
Make sure to purchase about three times the paint you estimate you will need. The cans are under a lot of pressure and they empty before you know it.
If you are going to vacuum with a very small hose, your vacuum is going to overheat like mine did and shut itself off. After that, I learned to slide open a little vent in the handle that allows extra air to be pulled in. That trick kept the vacuum from shutting down and hardly affected the suction potential at all.


Last edited:

