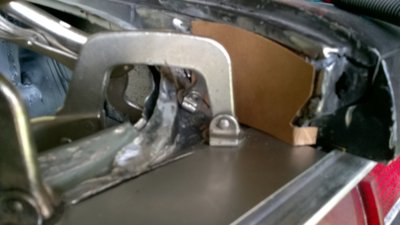
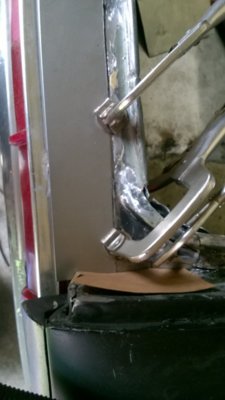
Finally figured out how to redesign the rear of the car so that it would solve several problems. 1. provide solid secure mounting for the tail light. 2.Have the mounting screws easy to get to. 3. Get the trunk lip base up enough to clear the top edge of the tail light assembly AND be part of the mounting surface for the tail lights too. 4. clean up both trunk seal extensions to get the factory built up triple thickness....without the factory built up triple thickness. 5. meld all these elements together in a pleasing coherent way. 6. Have the finished section fit BELOW the trunk lids closed position and leave room for the rubber seal as well. What a PITA!! Wish I had a computer program that would make this 3D and so I could manipulate the picture across all axis's to see what to do.
So here is what I came up with. I was sitting on my rolling chair base staring at the parts and brainstorming when my buddy Rick drove by and honked. He slid to a stop and backed up into the driveway and stood behind me. What's wrong ? he says. I explained the issues. We BOTH stared at it for another 10 minutes until he says, " well why don't you do this...." He came up with the solution that quick and it was something I had not thought of, at all. Go in from the top, instead of the side where the screw holes already existed. Easy.
I ended up not doing that. BUT!! It led me to another idea that did work!
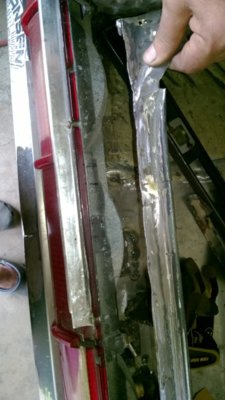
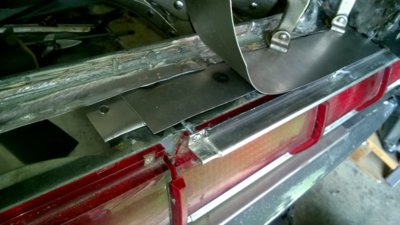
So I bent up some scrap 18 gauge as a base for the torn up trunk extension lips that also attached to the current tail light mounting screw holes and to the rest of the mounting base, to the left and right towards the trunk drop offs. It was simple really....just made the pieces to fit and plug welded them together from the bottom side. Done.
That left the top finished surface to work out, where it meets the old trunk rail and the rail corners. That surface had to extend to the rear out over the tail light base/lens/trim area to protect it from being hit by anything and cracking a lens and also be a flat straight clean surface. I took the old trunk lip and cut the spot welded layers off of the back of it, 2 each, that brought the thickness down to meet the 20 gauge of the finished surface. However, that also made the piece flimsy which is why the factory made it three layers, with two layers at a right angle to the one. Stiffness. So I still needed three layers somehow. The only problem was they had to exist BELOW the finished surface of the final top layer or the trunk lid would smack it when closed because it would be too high.
So I thought about incorporating all three layers in the existing parts and not adding three more to what I already had.
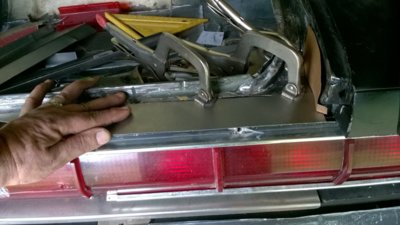
Once I pealed back the top layer and got a look from the side of all three, it was clear that they all had to be joined in such a way that left the tail lights able to be easily removed. I cut a few templates out of pizza box cardboard and made the pieces out of 20 and 18 gauge and fiddled around getting everything just right. I clamped it up and studied it for awhile and saw where it needed tweaking to be perfect.
I closed up the garage and left it that way overnight to see if it still worked for me in the morning. Here's the pics.
In one I circled the existing sideway facing mounting screw holes that face into the trunk. In another I put spots where I plug welded and where I intend to join the other parts together.
