• When you click on links to various merchants on this site and make a purchase, this can result in this site earning a commission. Affiliate programs and affiliations include, but are not limited to, the eBay Partner Network.

What did you do to your Mopar today?

The engineer in me always has to know! Guess I'd better look in the fuel filter for the other missing 3 or 4 pieces of rubber that weren't holding the pumps check valve open! One of the pitfalls to AV gas, it does these things to rubber. Mind you I don't remember when this pump went on.. either '78 or '88 so it did it's time!

beefuelpumpissue 053.JPG
beefuelpumpissue 054.JPG
beefuelpumpissue 056.JPG
beefuelpumpissue 057.JPG
 
Well this week I finally bit the bullet and bought one of those fancypants Moroso air-oil separators, so I installed it this morning. Took less than 10 minutes.....I'm interested to see how much oil it collects. I have baffled valve covers but I suspect I'm still getting some oil in the chambers. It measures about 4.5" tall x 2" in diameter.

20201114_124442.jpg

20201114_124619.jpg
 
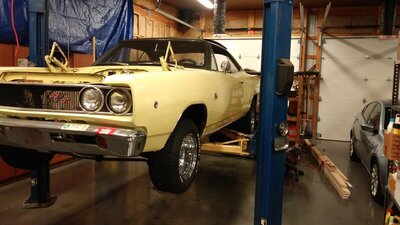
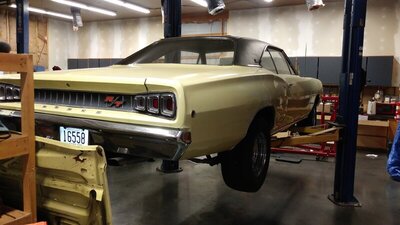
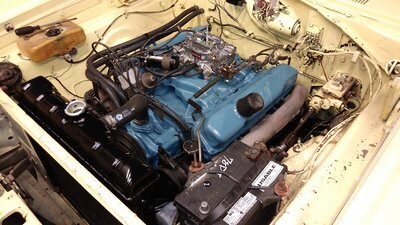
Needed to move the Bee from her bay over to the hoist bay, so that I can investigate whether it's fuel pump or it's push rod has failed. Wife and I were going to push it and then I decided to use my "head". Pressure that is !! Hopefully fixed tomorrow, as it's cruising weather for the next 3 days! Running didn't even pop the "cork" I stuck in the fuel line.
View attachment 1023737 View attachment 1023738 View attachment 1023739 View attachment 1023740 View attachment 1023741 View attachment 1023742

Is that an M100B? Nice! I have a 201 for about 10 years. Hard to beat the sound of vinyl through a tube amp.
 
Finished up my 71's exhaust manifolds. Soaked in Evaporust over night, lightly bead blasted, and coated with Seymour High temp cast blast. Then applied the gasket, let it sit up for an hour and installed snug. Will torque them down tomorrow.

IMG_0927.JPG
IMG_0929.JPG
IMG_0943.JPG
IMG_0945.JPG
 
I've started working on my 340 stroker engine for my (and my son's) 73 Road Runner.

My main bearing bores were a little on the large side: A couple were .0008 over (with an allowance of .0005)
20201117_131133.jpg


So I cut my main caps about .0015 in preparation for align boring. Main caps thickness is not standard, so both sides need to be measured.
20201117_225526.jpg


Since caps are not machined to be perfectly square either, cutting them can be a pain in the arse.
20201118_112843.jpg


Now it is ready for align boring!
 
Helped out a friend with a customer's one owner '68 R/T. The #'s matching engine was rebuilt by another shop, he had me rebuild the 727. We had to reinstall all the original pieces the owner saved in boxes after he put in a different engine and trans about 30 years ago. Just completed the break-in today. Went well. He wasn't after a full resto, just wanted to make it more original and reliable.

20201101_121601.jpg 20201101_121626.jpg 20201122_122657.jpg
 
Put a hitch on the '68 D100 yesterday. Discovered a fuel leak this morning and fixed that.

Played with the Hudson a little today. Started the Coronet and let it warm up a bit. Cleaned tools.

Overall, a mildly productive weekend before binge-watching Season 3 of Yellowstone this pm. Missed much of it last time!
 
I noticed an intermitant over-charging (from 14.5-16v ish)on the volt meter the other day so looked everything over for obvious issues and did not see anything noticeable. I threw a new regulator on it just to see if it went away but it got worse- 18v!:mad:
I did NOT like that at all so began cleaning at the battery/grounds & checked things out. Turns out the field connection at regulator was the issue. I had noticed shiny spots on it so I didn't clean IT (while sanding for better grounds/checking connections all over the place).
Pulled it off, sanded the thing shiny all over & snugged back down.
Wish I had spent 20 seconds on it when it was off the first time.
Problem solved, lesson learned, on the road again.:rolleyes:
 
Auto Transport Service
Back
Top