• When you click on links to various merchants on this site and make a purchase, this can result in this site earning a commission. Affiliate programs and affiliations include, but are not limited to, the eBay Partner Network.

1967 Coronet 500 - Billings Montana

Everything looks so good! I truly envy all the room you have man... :) PST is becoming higher and higher on my list of things to get or figure in the equation good deal...
 
She's coming along, slowly but surely.

Here's my front control arms all fixed up with new bushings and upper ball joints pressed in.

UBJ1.JPG

UBJ2.jpg

New steering gear box, replacing that evil leaking box

Steerbox1.jpg

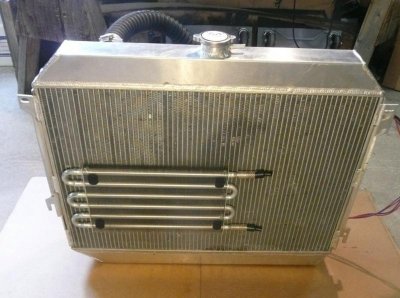
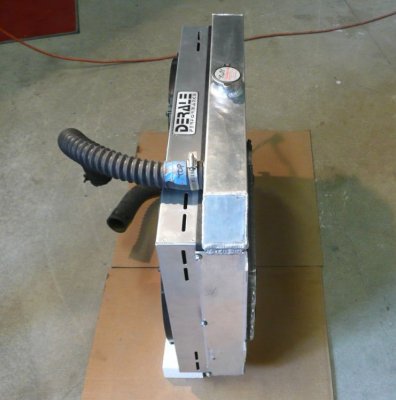
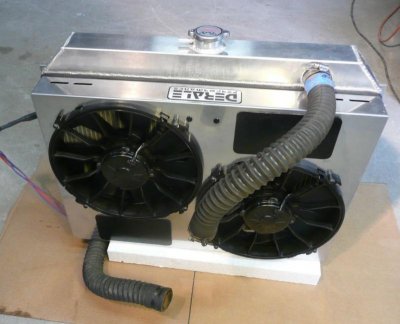
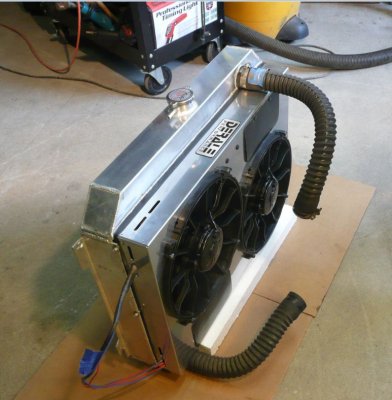
Oh ya, a new 4000 CFM Derale Dual electric fan with thermostat control

EF1.jpg

EF2.jpg
 
Its so cool to see the new parts like this going on these cars, i have one and wonder if ill ever get to that point, and im not counting the new metal going in it :) I imagine you and others have thought the same, work and time and we eventually get there, very nice!!! I thought this looked pretty sweet when you got it, Its good to see you going thru it and making it so much better. I love the idea of the electric fans, at first i didn't really think they were the way to go but any more they sound like a good investment for these old cars..
 
I love the idea of the electric fans, at first i didn't really think they were the way to go but any more they sound like a good investment for these old cars..

Thanks for the comments Ron. The coolest thing about the electric fans is, when it's 95F degrees outside and you shut your car off the fans continue to run until they reach the thermostat turnoff setting. :headbang: I think I will still install an overflow bottle also.
 
Spent quite a bit of time in the shop today - I am motivated! - I want to see that new motor in there.

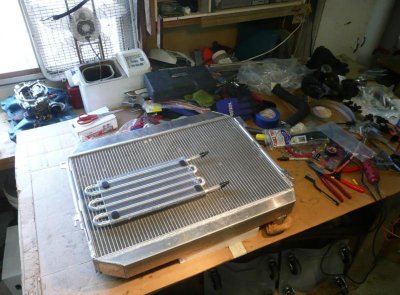
Mounted the Derale fan assembly to the radiator, took some time to also position correctly the tranny cooler. This really came out good.

Once the motor is in I will be able to install this whole assembly as one unit with quick disconnect wiring.

ef8.jpg

ef7.JPG

ef6.jpg

ef5.JPG

ef3.jpg

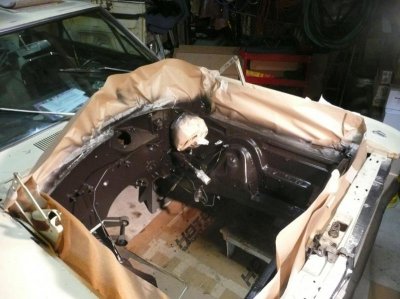
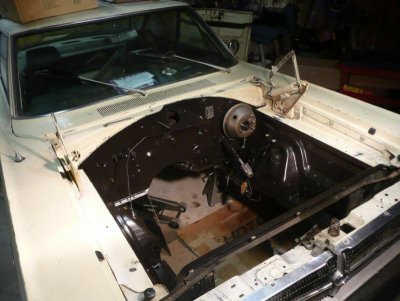
Masked off the lower engine bay and painted it.

eb1a.jpg

eb1.jpg

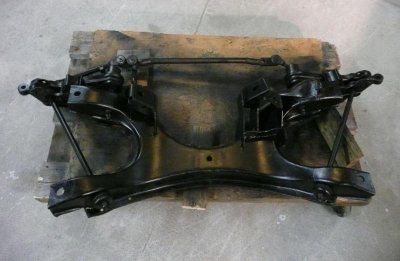
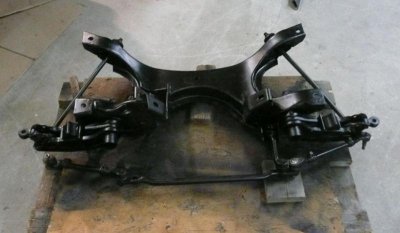
Got the K member painted up, still waiting on a couple of tie rod ends and I will also install the new steering gearbox.

km1.jpg

km2.jpg

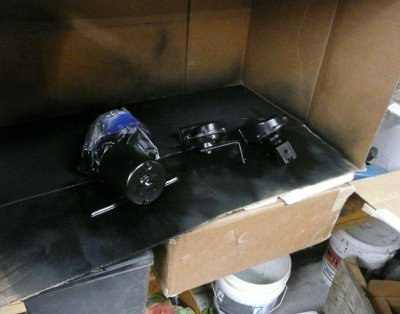
Cleaned up the wiper motor and horns too.

hwm.jpg

I am going to get on some engine bay wiring soon and also run new AN8 fuel line, also do some dash wiring. Fun stuff!

More to come.
 
Wow..Strolling right along. You must be pretty pumped.

Thanks Will!

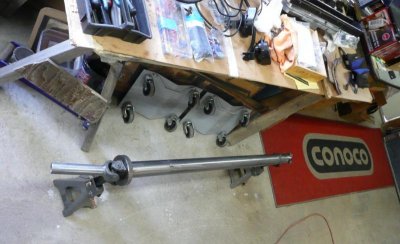
The 3M Bristle Disc cleans up the drive-line nice. I am going to clear coat it after cleanup.

dl1.jpg

dl2.JPG

Got my new steering gear installed today also.

kmnsg.JPG
 
Looking good, looking forward to seeing that motor in there.
 
Thanks Will!

The 3M Bristle Disc cleans up the drive-line nice. I am going to clear coat it after cleanup.

Wow, that does clean it up nicely!

I work for 3M, I'll have to see if I can score a deal on a few discs for my project.
 
Wow, that does clean it up nicely!

I work for 3M, I'll have to see if I can score a deal on a few discs for my project.

Hey GA, yes - these are the coolest discs for rust and scale removal, they just keep on working and don't get all plugged up like a sanding disc would. They do make allot of dust (like any sanding/buffing) - Should wear a hepa half mask when using these.

3M 24241, Ceramic Aluminum Oxide Arbor Bristle Disc, 4-1/2", 50 Grit


I got mine on ebay: http://www.ebay.com/itm/like/221384980331?lpid=82

Have fun!
 
Looks like you got a lot of nice goodies to go on your car.
You bet RRM! Were having fun now... Well, actually it's a S**T L**D of work, but as you well know, fun too!

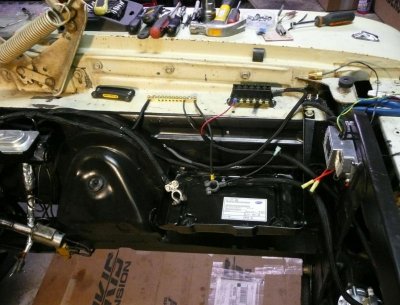
I am starting to mount a couple of things and getting my wiring harness put together, making sure all my electrical is up to snuff.

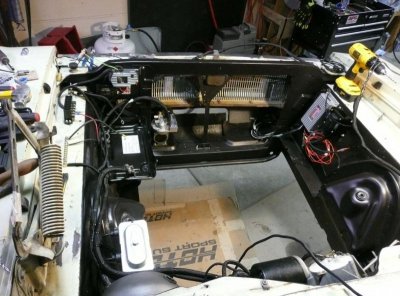
There sure is allot of nice room in the engine compartment with the K member and motor out! I can just pop in and out of there so easy, check mount locations, etc., it's nice to have room to work.

Here's some stuff I did this weekend.

Driveline came out nice, I etched it and clear coated it, that'll look good under the car. Will put some new U joints in also before I am finished.

DL3.jpg

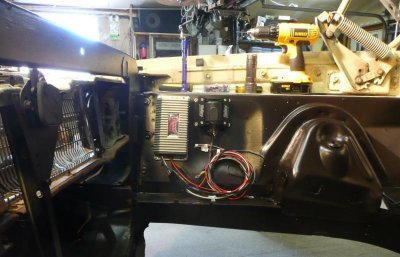
Mounted the ignition box and coil

Ignition-Coil.jpg

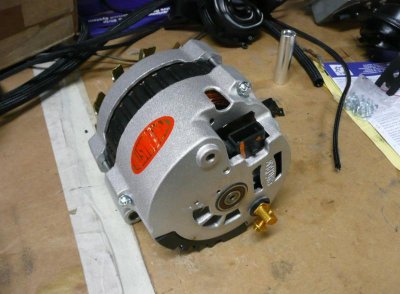
Here's my new powermaster 140amp alternator

PM1.jpg

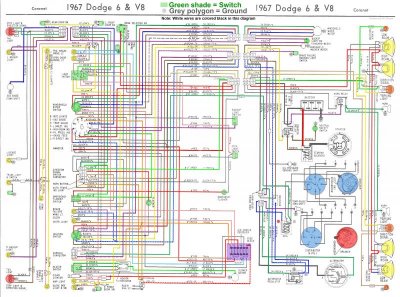
A nifty color wiring diagram of the car helps a ton, I could not count how many times I have looked at this, I have a big 3'X3' mounted on card board on my wall, latley I have been seen staring at it and head scratching a little, LOL!

67-Coronet-Wiring-Diagram-FULL-Color.jpg

More to come and thanks for looking.
 
Total Score!

I had the dash apart for wiring work and inside under the glove box compartment was the most awesome retro artifact known to the 1967 Dodge Coronet in Billings Montana...

Behold - The LITA Cassette Tape box:

Lita.JPG

I am really fired up now!
 
Hey GA, yes - these are the coolest discs for rust and scale removal, they just keep on working and don't get all plugged up like a sanding disc would. They do make allot of dust (like any sanding/buffing) - Should wear a hepa half mask when using these.

3M 24241, Ceramic Aluminum Oxide Arbor Bristle Disc, 4-1/2", 50 Grit


I got mine on ebay: http://www.ebay.com/itm/like/221384980331?lpid=82

Have fun!

Thanks MT! Your driveshaft came out great! I will totally score a few of these.

Your project is looking good, it's a beautiful thing when you can start assembling un-molested parts onto your ride.
 
Hey GA, yes - these are the coolest discs for rust and scale removal, they just keep on working and don't get all plugged up like a sanding disc would. They do make allot of dust (like any sanding/buffing) - Should wear a hepa half mask when using these.

3M 24241, Ceramic Aluminum Oxide Arbor Bristle Disc, 4-1/2", 50 Grit


I got mine on ebay: http://www.ebay.com/itm/like/221384980331?lpid=82

Have fun!

Looks like it works great! It's not too aggressive that it removes metal? Do they last long? Might try this on my body panels.
 
Looks like it works great! It's not too aggressive that it removes metal? Do they last long? Might try this on my body panels.

As long as you don't get aggressive on any tight corners (the rubber bristles bust off) - can't hurt to try!

- - - Updated - - -

Happy Easter Everyone!

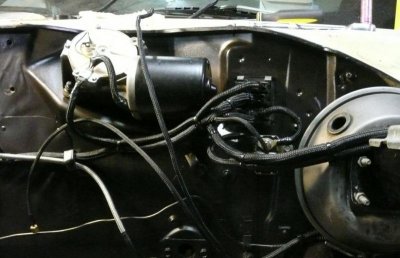
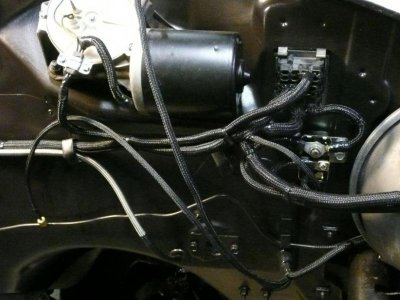
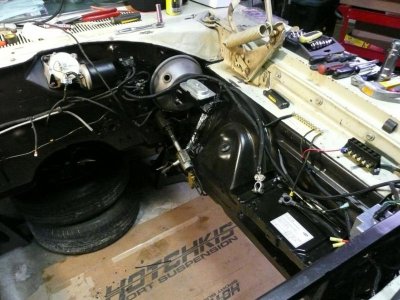
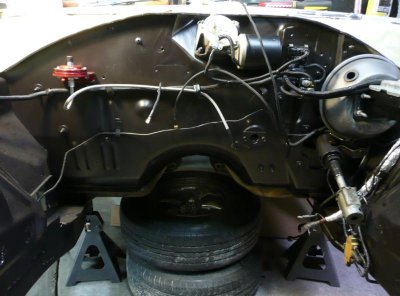
I finished a major milestone today: Completed rebuilding and restoring my engine bay wiring harness. Some of the wire needed replaced, but most was in great shape. I completely removed and unwrapped all the old vinyl and inspected every inch of the harness, I also removed the old resistor and bypassed the antiquated amp gauge. All the new and bypassed connections and splices were soldered, and was one crap load of work to say the least. I have always like wiring though, so I was a great feeling to get the part of the car fixed right.

The bulkhead connector was in surprisingly good shape, I did replace the ignition to starter relay connection, the connector pins are easily replaced and I found a good deal on them at ebay here.

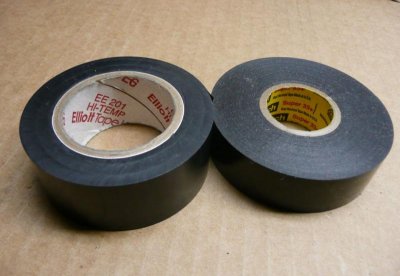
I used new high temp EE201 vinyl tape by Elliot and where needed some 3M Super 33+ electrical tape. – Thanks to FBBO for the Elliot vinyl tape tip! That stuff is awesome, glad I found it, what a great forum.

Also got a new starter relay here: Quicksilver Mopar

After the vinyl was all wrapped, I use four different sizes of TechFlex F6 braid to cover the harness.

It turned out really nice.

Finally getting to put things back together instead of scraping grease and cleaning gunk and rust out, makes for allot more fun project.

Had to put the vacuum assist pump in front of the driver side radiator down by the bumper, the thing is pretty fricken big to say the least.

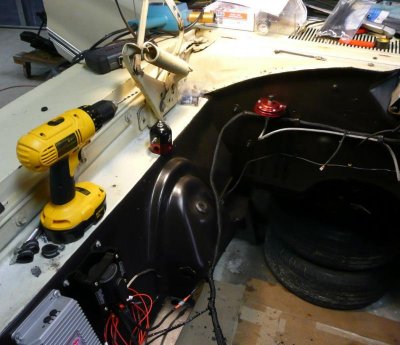
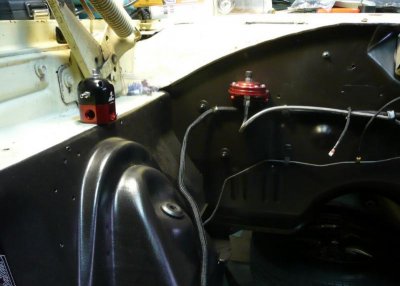
Tomorrow I am going to start mounting the fuel regulator and start running all the fuel lines – that will be fun!

More to come

Wire 1.jpg

Wire 2.jpg

Wire 3.jpg

Wire 4.jpg

Wire 5.jpg

Elliot EE201 - 3M Super 33.jpg

Front 1.jpg

Fuel 1.jpg

Fuel 2.jpg
 

Attachments

  • Wire 6.jpg
    Wire 6.jpg
    77.6 KB · Views: 499
NICE PROGRESS!! That engine bay is lookin sharp man, thanks for the motivation!!

I've seen a thread or two about how one shouldn't paint the bay black (not sure why) but it looks sharp from what I can tell. Kind of hides all the hose/wires.
 
That's gotta feel good getting that all behind you and I see you used the same wire wrap I did, really nice stuff. Man I really like that radiator, do the older Mopars have more room than the 69's because I couldn't get one to fit in mine and ended up going mechanical for now?
 
Auto Transport Service
Back
Top