• When you click on links to various merchants on this site and make a purchase, this can result in this site earning a commission. Affiliate programs and affiliations include, but are not limited to, the eBay Partner Network.

1967 Coronet Deluxe

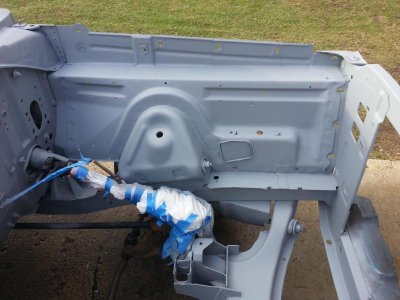
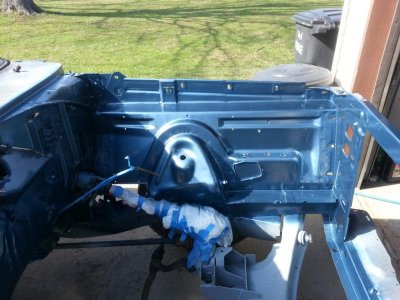
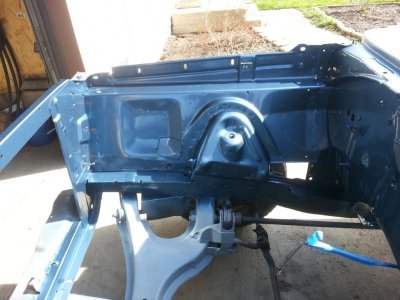
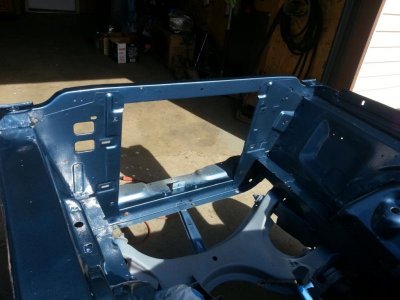
Well Saturday I was able to make a huge step and got the engine compartment primed. I ended up wetsanding the first coat of primer to help knock down sanding scratches and then laid down a second wet coat to help fill up gaps and it came out great. Now I just have to do a quick scuff and then lay down sealer then color. I would have done this on Sunday but elected to go beat myself offroad with a couple guys and the atv's....wow am I sore. It will probably be two weeks before I can get this thing in color because of a family event this upcoming weekend.

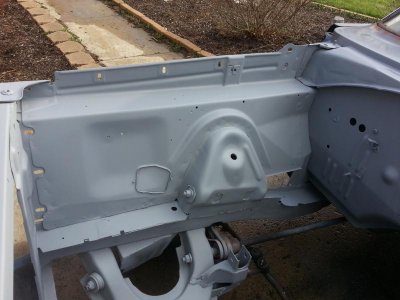
20130413_174321.jpg20130413_174326.jpg20130413_174331.jpg
 
Nice work, amazing how much better things look when they're a single color, even if only primered.
 
coming along very well keep us updated :blob1:
 
Thanks guys. Its absolutely amazing how wrinkled up the original panels are from the factory...that would never fly on today's cars. Makes me wonder why I try so hard to make things look smooth haha.

I think I am going to add a couple spots of filler on my patches sand and then seal and color. But that probably will be a little off with next weekend being consumed with other activities. Keep posted though guys, I am motivated to get the engine off the stand and in the car.

PS. I bought my clutch so I have 99% of the parts I need to get that accomplished!
 
That primer went on great, Looks like you really put some time into it! Cant wait to see it in color..
 
WOW!! looks freakin great KB!! little by little i can hear that Hemi a comin'
 
I can see you have completed a lot of hard work on your Coronet. I applaud you for such great efforts.
 
X4!!!

Looking good brother! After visiting and seeing your workspace (mostly outdoors :happy8:), this is all the more amazing! You da' man :headbang:

Now, which one of our Coronets will be done first?? I've got 4 weeks to do 12 weeks of work, how about you?
 
X4!!!

Looking good brother! After visiting and seeing your workspace (mostly outdoors :happy8:), this is all the more amazing! You da' man :headbang:

Now, which one of our Coronets will be done first?? I've got 4 weeks to do 12 weeks of work, how about you?

Thanks to all for the comments. Well I WILL get this engine in before the end of May come hell or high water... (which with the weather lately may be the high water part). As for drivable one can only tell. I still need fuel and brake lines, a chassis wiring harness, you name it...my earlier goal of driving it in May was nothing more than a dream...but I will get it road worthy this year. I'll have more progress this upcoming weekend since I get some good garage time. (Thank you wife and mother in law)

I also need to head to a local salvage yard for a couple parts, the thin sheet steel scatter gaurd for the block and a piece which bolts to the engine and the bell housing of the trans (if anybody has these two for a late model hemi and a scatter shield for a dakota I need them).

But to finally answer your question Mike, I think you'll win to driving it.
 
Just read your whole thread, very inspirational. I really admire the ambition you have to tackle some of the things you have. Love your car and can't wait for your next installment.
John
 
Well I went out to look at the paint again and I love how it came out, its 24 hours old and already hardening up nicely just sitting in my tiny garage. I just wanted to give you guys the info in case you were interested.

the paint is Nason Ful-Cryll II (not 881 blue but slightly different). The sealer I used I would have to go look at the bottle but is Dupont industrial coatings. The spot primer was just an inexpensive Nason primer $20/qt from local carquest. Also All of this was applied with a $10 Harbor Frieght HVLP gun which works fantastic. It's capable of doing a better job painting then I know how...(setting up the gun is still a challenge for me)

So don't think you can't do this or afford to. ALL of the paint I have used and purchased (I have enough for the whole car) cost me $400 and my supplies so far around $50 including two spray guns, disposable cans, etc. I got a bit of a discount on the paint but I am sure it wouldn't be a huge amount more at your local carquest.

Oh and the black paint I have used through out this build is $10/qt at lowes/menards and is just rustoleum.
 
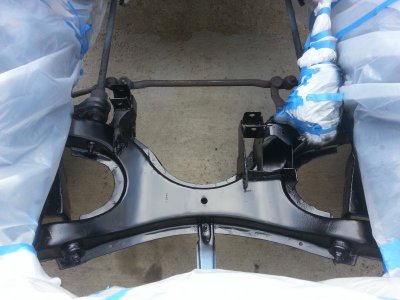
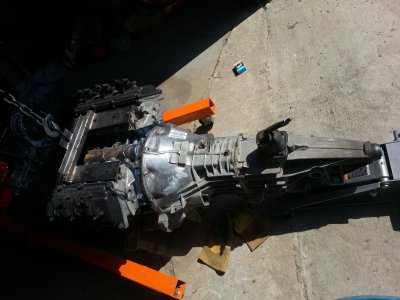
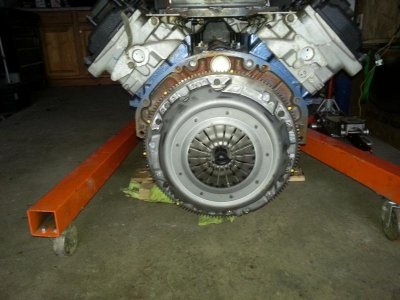
I should have some very good pictures tomorrow... but today was very productive. I can say that the Hemi is 100% ready to go back home and the transmission is as well. The clutch and flywheel fit perfectly inside the bell housing which I was taking a chance on that. To remind everybody I am using a 2500 series Ram clutch and flywheel with a 2001 Dakota 5 speed (nv3500). It looks like the starter I had laying in the shed from the dakota I parted out will work as well. I haven't tested yet but I think it will work. So far this package has worked out to be about the most cost effective way to put a 5 speed into a B-body. $450 for the trans, $80 for the flywheel, $150 for the clutch plus bolts...not to shabby.

20130426_171310.jpg20130427_153020.jpg20130427_190841.jpg
 
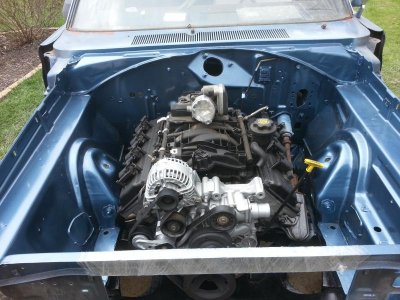
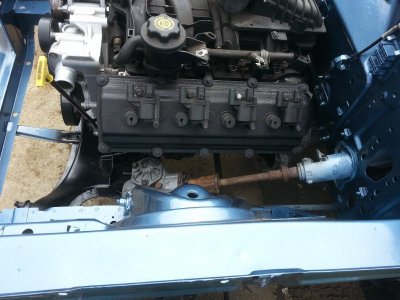
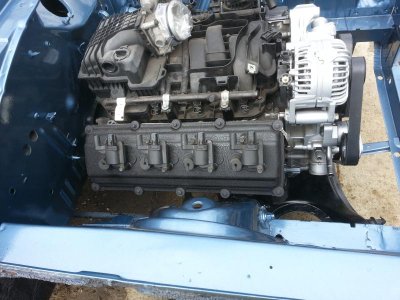
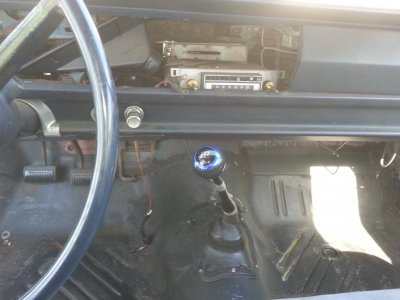
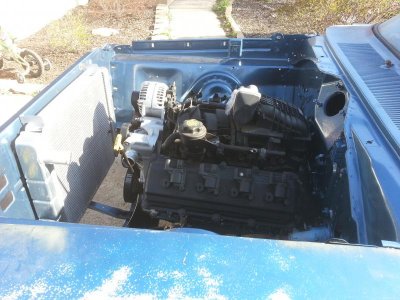
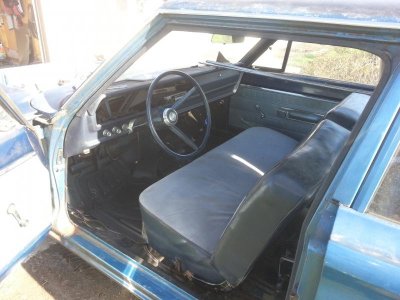
Well today was very productive. The engine went in without a hitch and with a buddy the trans wasn't too bad to get in either. It is finally in for the long haul. I got the radiator back in and the shifter modified to be perfect. The bench seat went back in as well. Some may notice that I did not paint the steering shaft or column. That is because I expect to remove those at some point and will finish them then.

Now I just need to make/find a dust shield for underneath, install the wiring, fuel lines, manifolds (my headers aren't going to work), re-install the gas tank...just a bit left but making good headway!


20130428_124512.jpg20130428_124518.jpg20130428_124525.jpg20130428_161656.jpg20130428_171821.jpg20130428_171830.jpg
 
Lookin good KB - the trans fit with out modifing the tunnel?
 
Lookin good KB - the trans fit with out modifing the tunnel?

Yes but I started my build with that in mind. So I made my trans mount and transferred that forward to the engine location. I don't know if a set of tti conversion mounts would provide the same result since I made mine from scratch. I did take about a 3/8" notch on a couple of the trans ribs back there but they are beefy and shouldn't be a problem. I didn't cut the cross member or floor for the trans (except for the shifter hole). I think those mounts are back somewhere around page 7.
 
Auto Transport Service
Back
Top