• When you click on links to various merchants on this site and make a purchase, this can result in this site earning a commission. Affiliate programs and affiliations include, but are not limited to, the eBay Partner Network.

1968 Charger, Ray Barton 528 Hemi, Pro-touring.

Looking good! Hemis are always tight fit on the passengers side.
 
Yeah, gotta love Ma Mopar offsetting the engines 1.5" starboard...makes for squeaky big block fitment. :)
What an awesome job you're doing on this build!
 
That's a lot of great progress:thumbsup:

Everything your doing looks great, love the stance!
 
Last edited:
Thank's guys! Encouraging words is always good to hear but feel free to bash me when I'm screwing something up. Constructive criticisme is appreciated as well!
 
Got the valve covers bolted but had to remove the brake booster again to fit the driver side...
Good thing I've invested in a wideband lambda because I have some carb tuning to do!
Mocked up the additional engine support that came with the Hemi. Tight fit, as usual.

IMG_20201202_204543.jpg IMG_20201202_202723.jpg
 
Detailing the engine bay, good feeling to mount things back in again.

IMG_20201203_194617_Bokeh.jpg
 
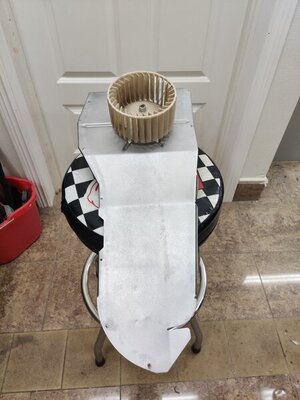
Finally found the missing piece from my heater with a lot of help from my dad and his Charger community! Good friday!

IMG_20201211_163329.jpg
 
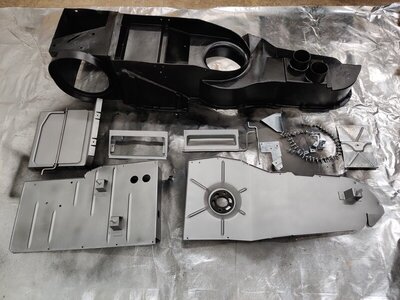
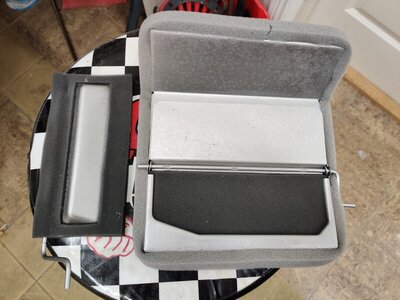
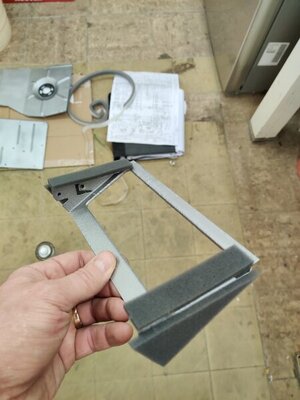
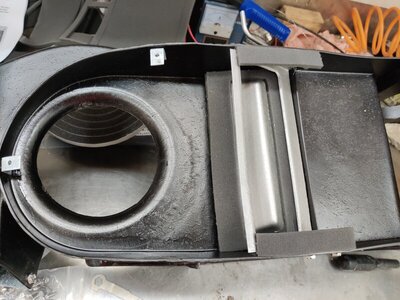
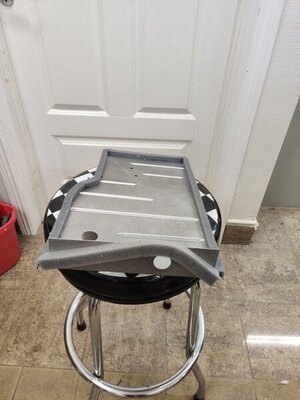
Almost done with the heater box. But I see know that I'm still missing a piece of the puzzle. Passenger side vent wire bracket. If anyone has pictures and measurements it would be appreciated.
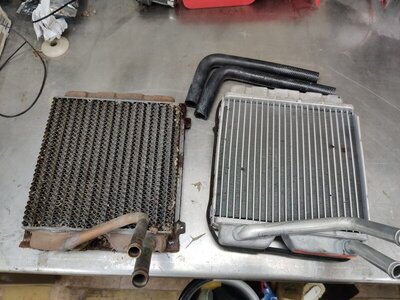
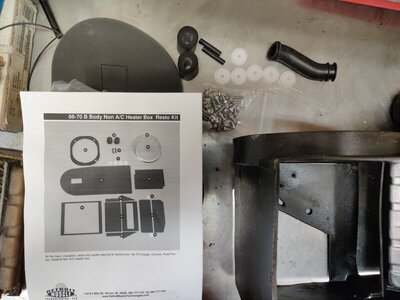
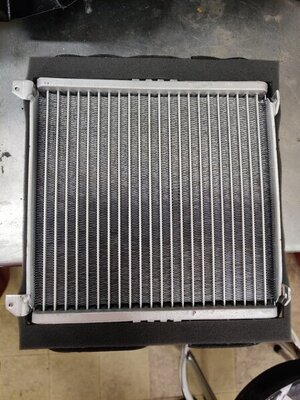
Everything is cleaned up, painted, zinc-plated and repaired. Had a rebuild kit from Detroit muscle tech that I bought like 8 years Ago that finally got put in use!.Cleaned and painted the front piece with epoxy satin black. Almost done.

IMG_20201129_193228.jpg IMG_20201206_133447.jpg IMG_20201206_153408.jpg IMG_20201206_154257.jpg IMG_20201206_164457.jpg IMG_20201206_164859.jpg IMG_20201206_165634.jpg IMG_20201207_200555.jpg IMG_20201208_145237.jpg IMG_20201212_193036.jpg
 
Almost done with the heater box. But I see know that I'm still missing a piece of the puzzle. Passenger side vent wire bracket. If anyone has pictures and measurements it would be appreciated.
Everything is cleaned up, painted, zinc-plated and repaired. Had a rebuild kit from Detroit muscle tech that I bought like 8 years Ago that finally got put in use!.Cleaned and painted the front piece with epoxy satin black. Almost done.

View attachment 1039193 View attachment 1039194 View attachment 1039195 View attachment 1039196 View attachment 1039197 View attachment 1039198 View attachment 1039199 View attachment 1039200 View attachment 1039205 View attachment 1039206
More of your great attention to detail!
Mike
 
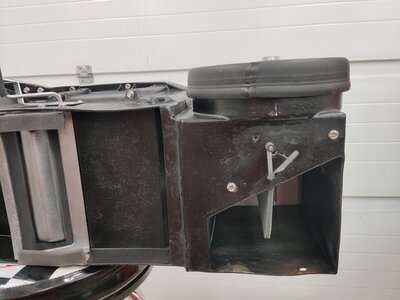
Completed the heater box and also took apart the driver side vent box. Put the plastic pieces through the dishwasher. Wife wasn't too happy but I was, with the result. Zinc-plated, painted and assembled.

IMG_20201217_202430.jpg IMG_20201217_202652.jpg IMG_20201218_153143.jpg IMG_20201218_153154.jpg IMG_20201218_153017.jpg
 
Since the zinc-plating was on I decided to do all stuff for the steering column also.

IMG_20201218_155544.jpg IMG_20201218_172354.jpg
 
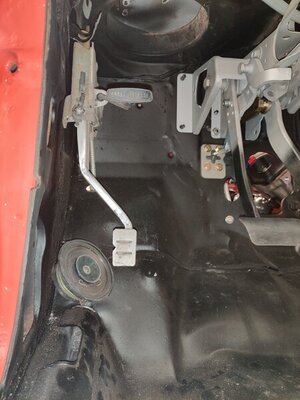
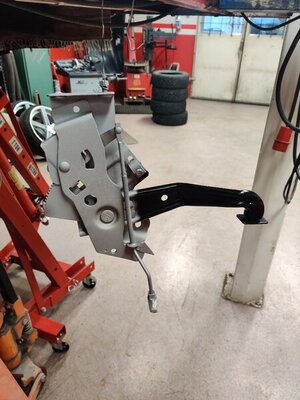
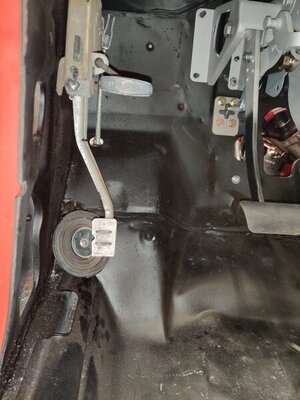
I competed in car audio building in my younger years so I'll just have to build a decent system in the Charger. And with that comes properly aligned kickpanels. To do that I felt I had to modify the parking brake slightly. Cut it up and changed the angles to move it out approx 35mm wich gave me enough room for 4" angles speakers. The idea is to get them directed to a point about 450mm above the trans tunnel. This has given me the best width and stereo definition in the past.
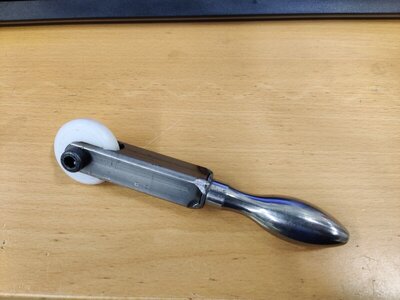
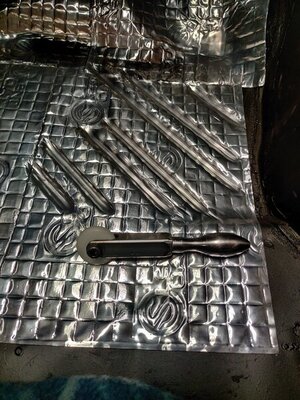
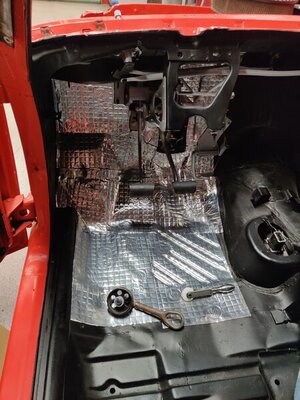
I made a tool to be able to press down the sound dampening plates in all tills, worked out fine.
It's tedious work..

IMG_20201210_202954.jpg IMG_20201210_210234.jpg IMG_20201220_130231.jpg IMG_20201219_122546.jpg IMG_20201220_182611.jpg IMG_20201220_182635.jpg
 
Damn it! Didn't think this would take so much time?!
Floorpans and firewall done, rest to go..

IMG_20201222_160738.jpg
 
Auto Transport Service
Back
Top