• When you click on links to various merchants on this site and make a purchase, this can result in this site earning a commission. Affiliate programs and affiliations include, but are not limited to, the eBay Partner Network.

1968 Charger, Ray Barton 528 Hemi, Pro-touring.

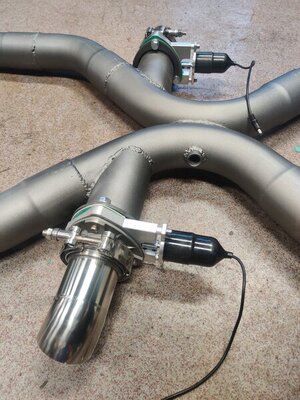
I suspect that the O2 reading won't be correct when the cut-outs are open but who cares, I'll adjust the mixture when they're closed anyways.
Yes, opening the cutouts will utterly corrupt the mix that the sensor will read. My dual band has the same problem, but use them for tuning with the cutouts closed and you are good.
I couldn't bear to go that route, "not specific enough" and got a dual band 2 sensor system so as to narrow down what side was doing what.
 
Yes, opening the cutouts will utterly corrupt the mix that the sensor will read.
I couldn't bear to go that route, and got a dual band 2 sensor system.
I will probably go for efi in the future, when that time comes I'll weld in dual sensors in the headers instead.
 
I will probably go for efi in the future, when that time comes I'll weld in dual sensors in the headers instead.
Great. The EFI unit should have "optimal locations" for the sensors.
The FiTech 3x2 EFI setup is SO sweet, but the 600 HP limit was too low for the aspirations I have for my 541 cu in stroker.
 
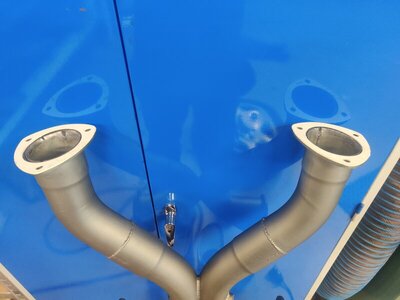
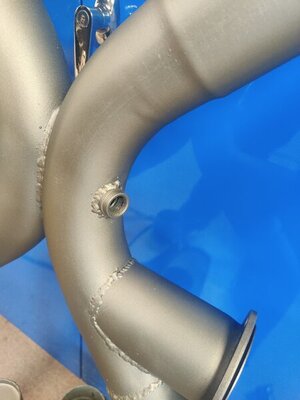
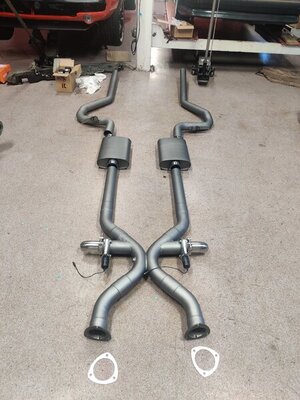
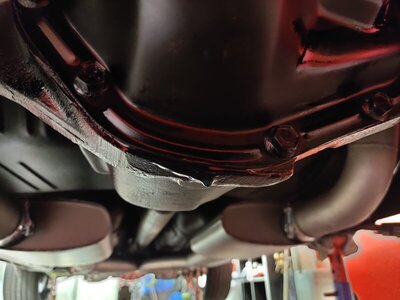
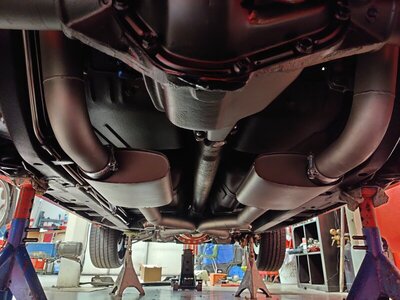
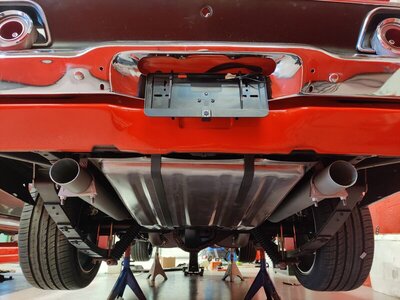
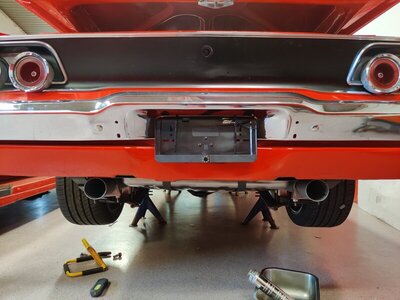
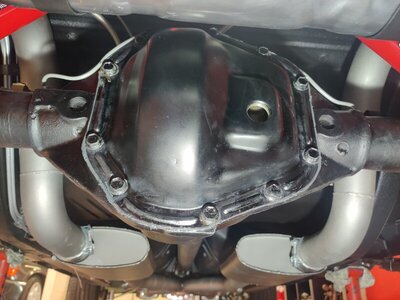
Exhaust completed and bolted in place. No valid excuses for not starting this beast now!
Tried filling up the dana and of course, the rear seal started leaking immediately! Brand new but as usual, it's crap.
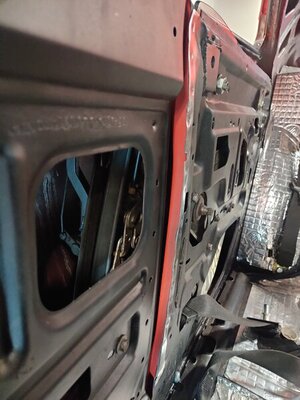
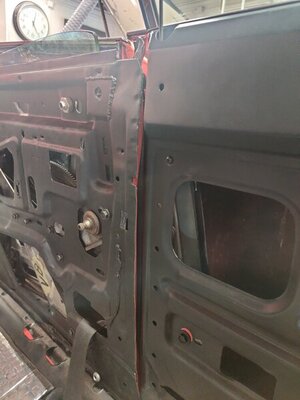
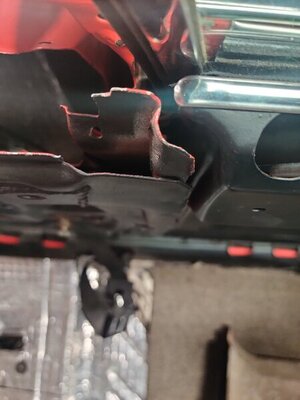
This car is always one step forward and two steps back. The passenger door lines up perfectly, gaps are really nice. But when i tried bolting in the locks and seals I couldn't get it to seal properly. After a lot of measurements and eye balling I've determined that the b-pillar is damaged from the old accident. I think the door has pushed the inside of the pillar slightly inwards and backwards. The difference from the driver side is approx. 5mm backwards and 8-9mm inwards. I could shim the lock so it works but the rubber seal won't stand a chance. It will leak water and it will be noisy when coming up to speed and I just can't live with that. The interior panels will look stupid also with big gaps.
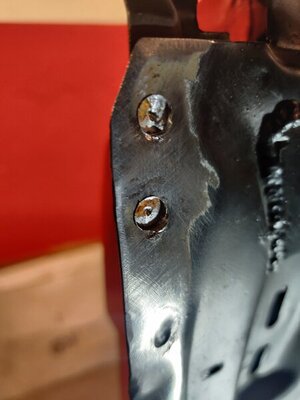
So, I've decided to drill out all the spotwelds on the inside of the b-pillar to be able to reshape it and massage it into the correct location. Never did anything like this before so wish me luck.
Let's just say I'm happy I decided to get it driving before I spend big money on a proffesional paint job!

IMG_20210826_182807.jpg IMG_20210826_182812.jpg IMG_20210826_190504.jpg IMG_20210826_190513.jpg IMG_20210827_140021.jpg IMG_20210827_140046.jpg IMG_20210827_140119.jpg IMG_20210827_140134.jpg IMG_20210827_134405.jpg
 
Some pictures of the sad gaps.. invested in a quality spotweld drillbit, worth it's weight in gold.
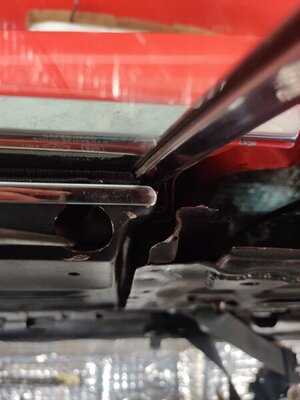
Took some pictures comparing both b-pillars.
You can clearly see that the passenger side panel is way to far in compared to the driver side. Pictures from above also shows that the passenger side gap is a lot bigger backwards. The rubber seal isn't close to touching the door. Sad, but I need to deal with it.

IMG_20210819_175800.jpg IMG_20210819_175814.jpg IMG_20210819_175912.jpg IMG_20210819_175936.jpg IMG_20210819_181401.jpg
 
Last edited:
Gee 1 step forward and 2 steps back you'll never be done!:rofl:
Think you meant 2 steps forward 1 back. I hope!
 
Is the actual seal leaking or is the leak coming around the pinion shaft splines for the yoke?
 
If you pull yoke and find a groove where seal rides Speedy Seal is the answer. If you install one put a thick piece of wood on top of installation cup, it takes good wack with a 1 kilo hammer.
sleeve.jpg
sleeve4.jpg
sleeve3.jpg
 
Last edited:
Thank's for the advice but it looks like it's just the rear cover seal.
 
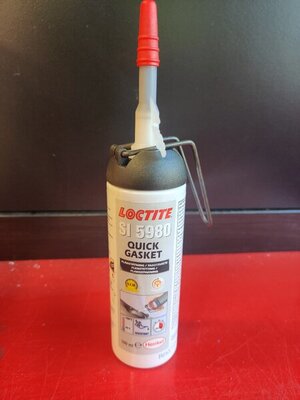
Removed the rear cover, cleaned and resealed. Let's hope it'll hold the oil on the inside this time. Used som Loctite sealer I found at the local stealer.
Man it's going slow now, lost momentum...

IMG_20210902_181215.jpg IMG_20210902_181247.jpg
 
Well it needs to be enjoyable otherwise u may start cutting corners, and we can’t have that. Sometimes u need to take breaks. It’s not a race. Good job looks good we aren’t going anywhere.
 
I got **** everywhere just to break things up ya i want to work on my charger but i get bored. And when i need a change i move on to a different project, got 7 now and when demotivated i drive the one under the cover and that’s on my aviator.
88E072DF-98CE-4D62-82A9-7ACCBF7A3D36.jpeg
4A720ECD-2291-44C3-AE93-07FF760B0594.jpeg
3F748829-5158-48D5-9AB9-ABC37D31F776.jpeg
983E2A03-400F-4C33-B91B-AE61C67389B5.jpeg
0781F3E9-7D1D-463C-95C5-939CA2D2235E.jpeg


C5BBB7AC-930E-46CF-A880-D86554CF9A5A.jpeg
 
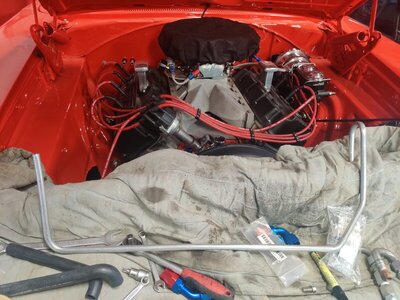
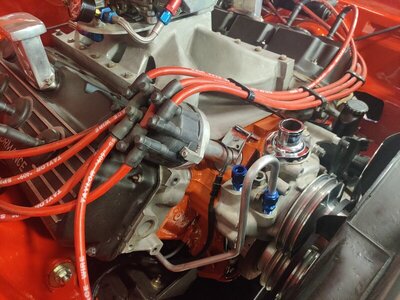
As usual, I find something new to tinker around with instead of starting up the Hemi. Now it's hardline supply to the heater box from the outlets in the water pump. I could not stand having rubber hoses lying across those beautiful valve covers. Got the first pipe bent and it looks decent. Well it fits atleast. That and some Russel AN-fittings cleaned it up.

IMG_20210918_121839.jpg IMG_20210918_121912.jpg
 
Not being critical, but are you confident that hard line will handle the flex and vibration?
I say that having dealt with numerous hydraulic line failures on equipment over the years.
Dave
 
I like the look but Dave P has a point. Is motor solid mount, will the vibrate and crack? What is the tubing made of?
 
Not being critical, but are you confident that hard line will handle the flex and vibration?
I say that having dealt with numerous hydraulic line failures on equipment over the years.
Dave
Don't worry guys. It Will be hardline to the bulkhead but the heater connection will be standard rubber hose for flex.
 
Auto Transport Service
Back
Top