• When you click on links to various merchants on this site and make a purchase, this can result in this site earning a commission. Affiliate programs and affiliations include, but are not limited to, the eBay Partner Network.

1968 Charger, Ray Barton 528 Hemi, Pro-touring.

Thank's Justin, finally finished the sauna and bar/relaxarea so I can concentrate on my charger!
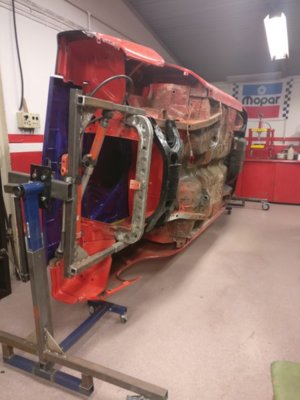
One question though, are these cars really as flexible and flimsy in the front as mine? When I turn the body I can literally see the front bend upwards from the weight, that really scared me. When in normal position the gaps between hood and fenders are perfect but when turned 90deg the weight on the front makes the gap disappear on the lower side and the upper side gap is suddenly an 1/2". Are all bodies like this or could mine be extra flimsy due to repairs after a possible collision?

IMG_20181213_202448.jpg IMG_20181213_202141.jpg IMG_20181213_202215.jpg
 
Do the frame connectors and body bracing then Post the flex results. Stitch welding the uni-body is what I would do also at this point. Huge stiffness gains can be had here.
 
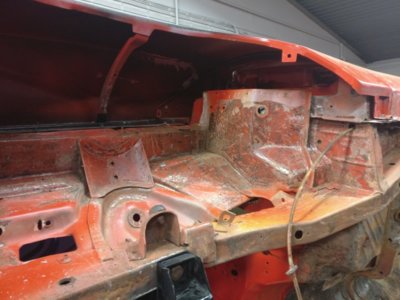
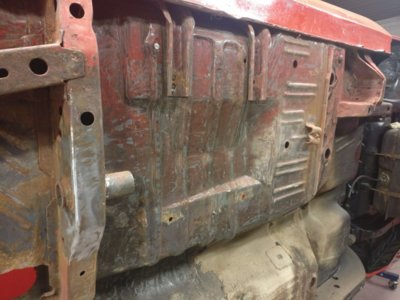
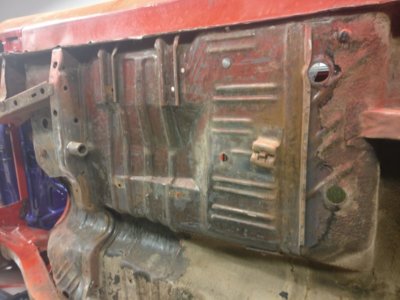
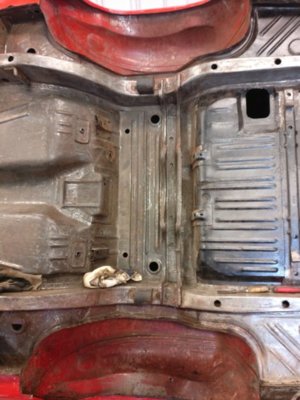
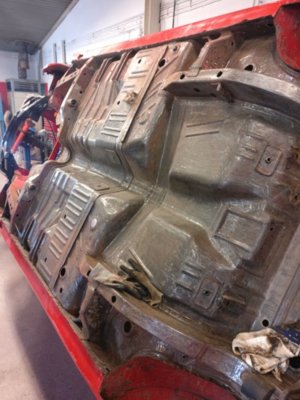
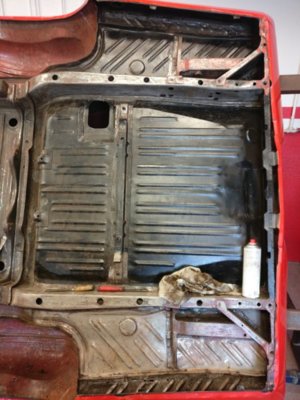
Scraping the floor. I am surprised about the condition! No rust at all so far... Knock on Wood..

IMG_20190109_173819.jpg IMG_20190109_173831.jpg IMG_20190110_174248.jpg IMG_20190110_174241.jpg
 
Thank's Justin, finally finished the sauna and bar/relaxarea so I can concentrate on my charger!
One question though, are these cars really as flexible and flimsy in the front as mine? When I turn the body I can literally see the front bend upwards from the weight, that really scared me. When in normal position the gaps between hood and fenders are perfect but when turned 90deg the weight on the front makes the gap disappear on the lower side and the upper side gap is suddenly an 1/2". Are all bodies like this or could mine be extra flimsy due to repairs after a possible collision?

View attachment 701309 View attachment 701311 View attachment 701312[/


Jarven the car is looking great - that pad looks like a party place looking for some international guests . Lol
 
That is for sure a great surprise and a lot of money savings on the body parts that you could have been in need for.
Great!
 
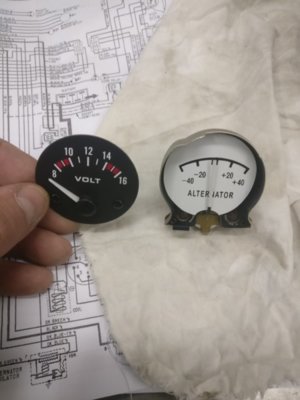
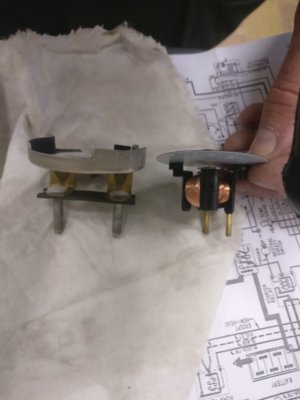
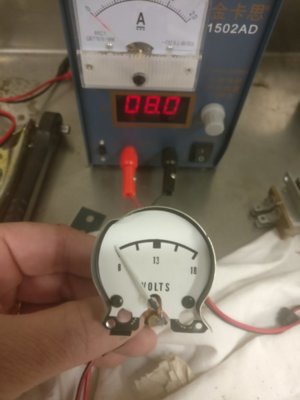
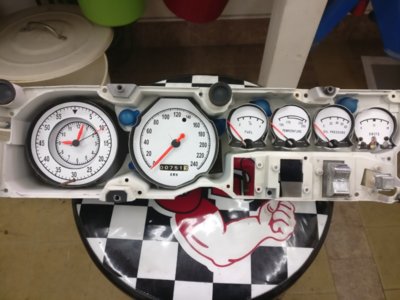
Just received the volt meter so decided to see if I could replace the ampmeter and I think it worked out ok.
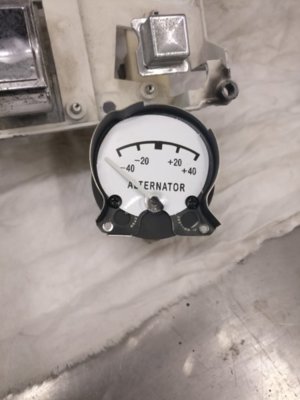
Butchered both meters. Removed the voltage faceplate from the new volt meter and replaced it with the oem ampmeter faceplate. I will superglue the oem needle to blend in with the others. All needles will also be painted with fluorescent orange paint for better contrast vs the white decals. Slapped the voltmeter decal on as well.

IMG_20190113_133007.jpg IMG_20190113_133012.jpg IMG_20190113_140133.jpg
 
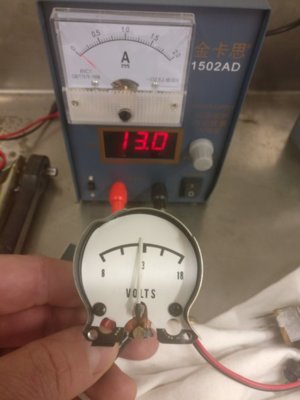
I will attach the needle when it is exactly at the 13V indication. If the 8V and 16V markers are slightly off does not matter much.

IMG_20190113_193856.jpg IMG_20190113_194020.jpg
 
Great looking build!

what wheels are you going with?
Thanks!
I have been thinking about this for a long while but it seems like I will be doing 20" steel wheels with dog dish. 8,5" in the front and 11" in the rear.
I like this look a lot..

10fa417d-dodge-charger-defector-5.jpg
 
All scraped underneath. Finally found some rust though in the trunk. Not much but need to take care of it. Can't wait to fit the us car tools stiffening kit. A bit sad about cutting up those nice rear wheel wells but it has to be done..
Tried fluorescent paint on the gauge needles.
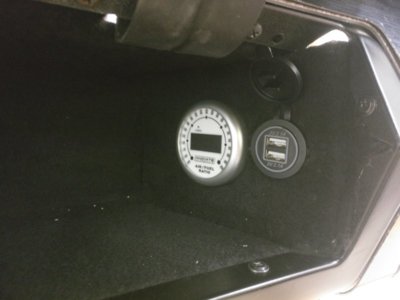
Added usb power outlets in the glove box next to the fuel/air ratio meter.

IMG_20190210_124649.jpg IMG_20190210_124613.jpg IMG_20190210_124621.jpg IMG_20190301_180014.jpg IMG_20190301_181307.jpg
 
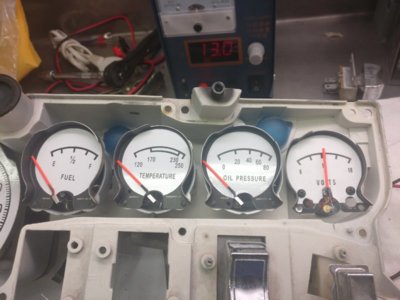
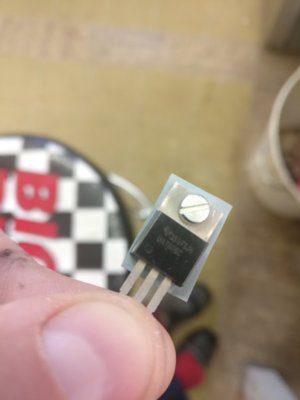
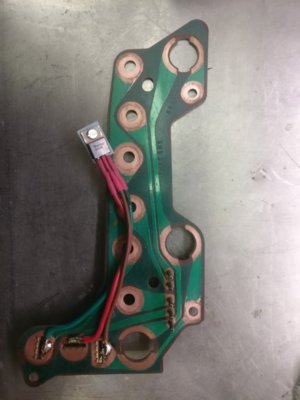
Removed the old 5V-regulator behind the gauges and replaced it with a 7805 solid state regulator. Tested the gauges and the temperature gauge was of course broken. Opened it up and found that the tiny wire inside had burnt right off, probably due to over voltage from the regulator. The fuel meter is also not 100% ok. It needs more than 5V to be able to move up to "full". It seems like a mechanical issue inside so I'll have a go and open that one up as well. Also installed the tic toc tach.
Removed the pcb and cleaned all surfaces, it was much needed.

IMG_20190307_200044.jpg IMG_20190310_172511.jpg IMG_20190310_173846.jpg
 
Removed the old 5V-regulator behind the gauges and replaced it with a 7805 solid state regulator. Tested the gauges and the temperature gauge was of course broken. Opened it up and found that the tiny wire inside had burnt right off, probably due to over voltage from the regulator. The fuel meter is also not 100% ok. It needs more than 5V to be able to move up to "full". It seems like a mechanical issue inside so I'll have a go and open that one up as well. Also installed the tic toc tach.
Removed the pcb and cleaned all surfaces, it was much needed.

View attachment 731635 View attachment 731636 View attachment 731637

Does the solid state regulator keep the lights from pulsing?
 
underneath look super clean! thats usually the biggest hurdle, especially here in the rust belt. :thumbsup:
 
Awesome project! I'm in the middle of doing a Plymouth Satellite. I've already added the subframe connectors and can say it made a huge difference in body stiffness. You have to weld then in when the body is out of the rotisserie and bak on it's wheels (or support the body where the front and rear end are supported).
 
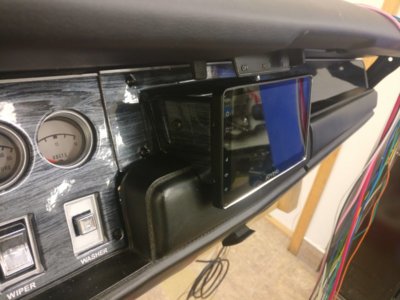
Finally finished the dash and all the new wiring. If anyone has the heater motor resistor available I would happily buy it..
A decent shape 3-step wiper motor is also interresting!
Ended up with with a big screen android stereo with backup camera, gps and a lot of other stuff..

IMG_20190812_194653.jpg
 
Auto Transport Service
Back
Top