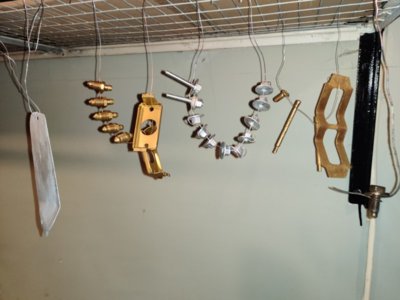
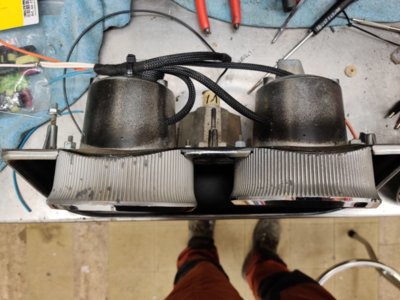
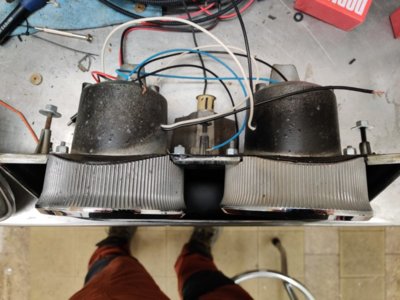
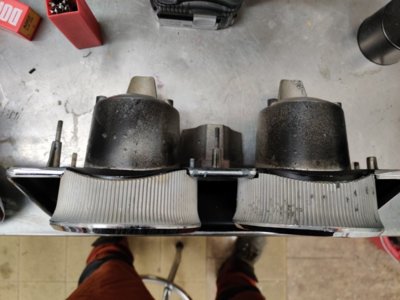
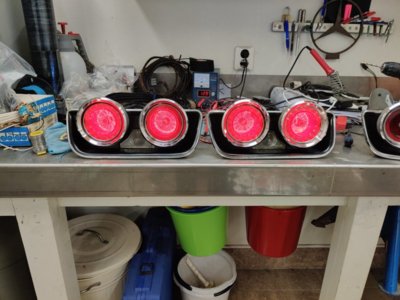
cool, does it emit any odors?
You are using an out of date browser. It may not display this or other websites correctly.
You should upgrade or use an alternative browser.
You should upgrade or use an alternative browser.
1968 Charger, Ray Barton 528 Hemi, Pro-touring.
- Thread starter Jarven1977
- Start date
Jarven1977
Well-Known Member
Yes, nitric acid, sulphuric acid etc, they emot some but I use lids on the containers.cool, does it emit any odors?
Jarven1977
Well-Known Member
- Local time
- 5:07 AM
- Joined
- Jul 17, 2008
- Messages
- 4,870
- Reaction score
- 2,881
- Location
- Southeastern, PA
Nice work Jarven.
Question on the dash - where did you get the lettering for the woodgrain pieces ?
Question on the dash - where did you get the lettering for the woodgrain pieces ?
Jarven1977
Well-Known Member
Found it on this website, but since I'm in Europe I looked for it here instead of the US.Nice work Jarven.
Question on the dash - where did you get the lettering for the woodgrain pieces ?
3mm White arial lettering stickers.
https://www.maritime-models.co.uk/acatalog/standard-model-lettering.html
Nice work and a nice build - sorry I missed this until now!
I added the US Car Tool stiffening to my 70 Road Runner. I also added a sector support kit. This is a bearing that connects to the K-member and holds the bottom of the steering below the Pittman arm. That, along with all new suspension bushings & parts and I am impressed with how well my car handles and how nice it is to drive.
Bottom line is the work you are doing to stiffen the chassis is well worth the effort. You will be glad you did!
Last edited:
Jarven1977
Well-Known Member
Thank's!Nice work and a nice build - sorry I missed this until now!
I added the US Car Toll stiffening to my 70 Road Runner. I also added a sector support kit. This is a bearing that connects to the K-member and holds the bottom of the steering below the Pittman arm. That, along with all new suspension bushings & parts and I am impressed with how well my car handles and how nice it is to drive.
Bottom line is the work you are doing to stiffen the chassis is well worth the effort. You will be glad you did!
Yeah I remember seeing that support before but haven't thought about doing it. Maybe I should, do you have pictures or info?
Jarven1977
Well-Known Member
Jarven1977
Well-Known Member
Thank's!
Yeah I remember seeing that support before but haven't thought about doing it. Maybe I should, do you have pictures or info?
Here is one minor thing I did to my K-member - added a reinforcing plate. In case you want to consider this:
https://www.forbbodiesonly.com/mopa...d-the-restoration.65096/page-5#post-910063610
Here is a post regarding the sector support kit:
https://www.forbbodiesonly.com/mopa...d-the-restoration.65096/page-9#post-910096581
Jarven1977
Well-Known Member
I work on Mercedes cars a lot and I think their brake and fuel line brackets are nice so I decided to use them on the Charger! Cheap and sturdy..
I will route everything on the sidewall of the subframe connector. Also had to raise the bracket for the parking brake since it was in the way of where I wanted the fuel and brake lines.
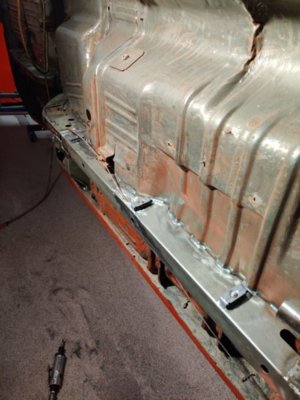
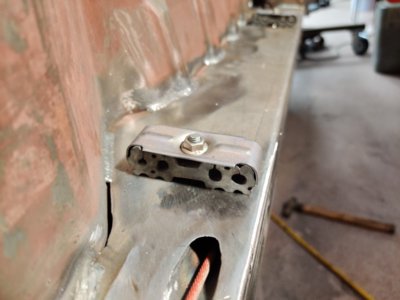
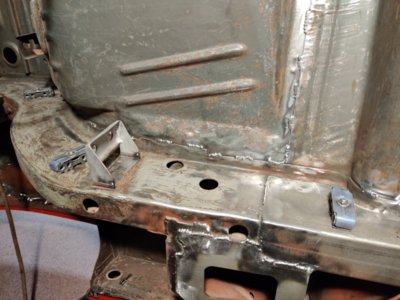
I will route everything on the sidewall of the subframe connector. Also had to raise the bracket for the parking brake since it was in the way of where I wanted the fuel and brake lines.


Jarven1977
Well-Known Member
Thank's for that info, will really consider that upgrade to the k-member!Here is one minor thing I did to my K-member - added a reinforcing plate. In case you want to consider this:
https://www.forbbodiesonly.com/mopa...d-the-restoration.65096/page-5#post-910063610
Here is a post regarding the sector support kit:
https://www.forbbodiesonly.com/mopa...d-the-restoration.65096/page-9#post-910096581
Jarven1977
Well-Known Member
Jarven1977
Well-Known Member
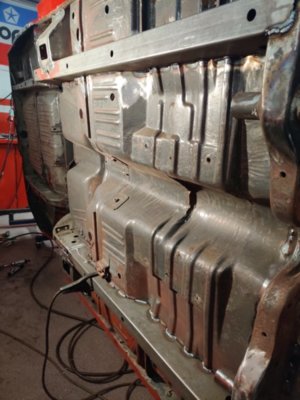
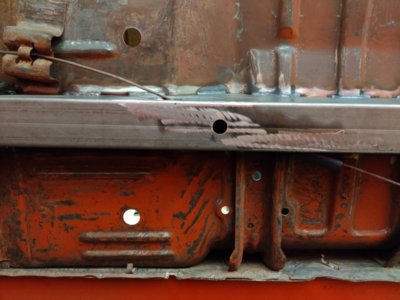
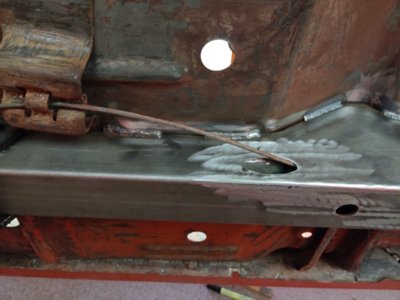
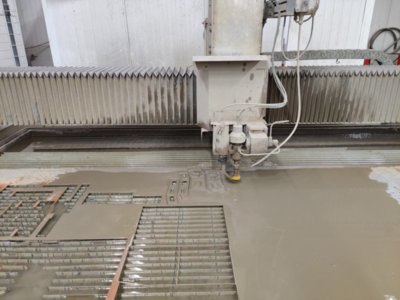
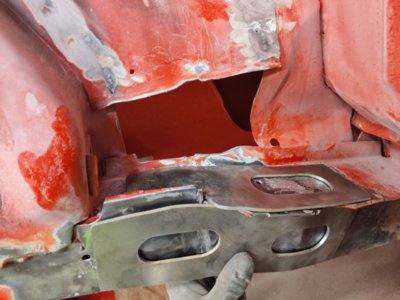
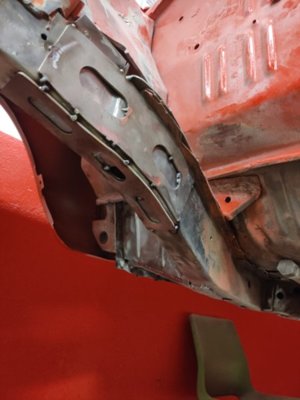
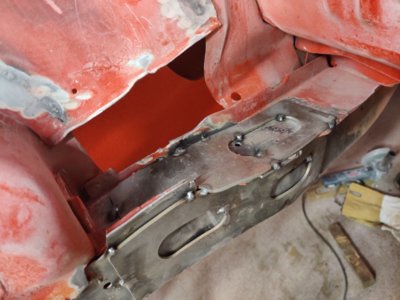
I'm lucky to have kind coworkers helping a colleague in distress. I made some templates, one guy made a cad-drawing and another started up the water jet cutter. And now I have reinforcement plates all around both frame rails.
I'm not worried about having the car look modified since it is a pro-touring car so I'm fine with the looks.
I'm not worried about having the car look modified since it is a pro-touring car so I'm fine with the looks.


Nice reinforcement plates. Are you going to fully weld them in (besides the spot welds)?I'm lucky to have kind coworkers helping a colleague in distress. I made some templates, one guy made a cad-drawing and another started up the water jet cutter. And now I have reinforcement plates all around both frame rails.
I'm not worried about having the car look modified since it is a pro-touring car so I'm fine with the looks.
Jarven1977
Well-Known Member
Yes, that was the plan, well, my brother will, he just doesn't know it yet. He is a licensed welder and much better at it than me!Nice reinforcement plates. Are you going to fully weld them in (besides the spot welds)?

Jarven1977
Well-Known Member
Jarven1977
Well-Known Member
So did you figure out the tail light differences (if there really are any)? I do not have any familiarity with 68 charger taillights, so I am afraid I cannot help.
Similar threads
- Replies
- 14
- Views
- 854
- Replies
- 8
- Views
- 2K
For Sale: Not Mine
1968 Dodge Charger 426 Hemi Survivor (For Sale, NOT Mine)
- Replies
- 30
- Views
- 2K
- Replies
- 2
- Views
- 218

