You are using an out of date browser. It may not display this or other websites correctly.
You should upgrade or use an alternative browser.
You should upgrade or use an alternative browser.
1968 Charger, Ray Barton 528 Hemi, Pro-touring.
- Thread starter Jarven1977
- Start date
Jarven1977
Well-Known Member
Jarven1977
Well-Known Member
pro451bee
Well-Known Member
Very nice work.
#soarertompa
Well-Known Member
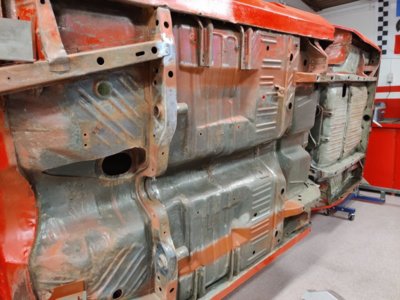
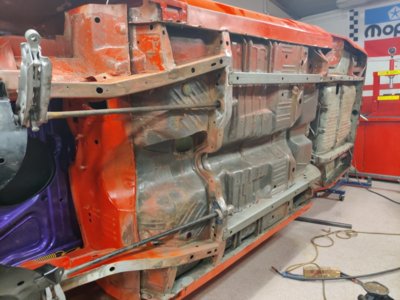
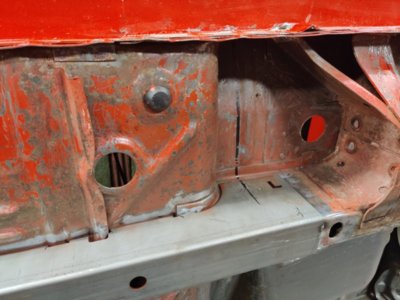
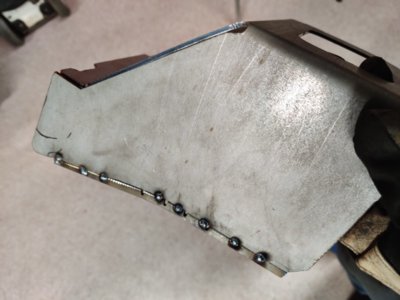
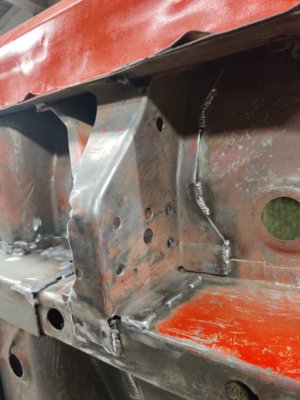
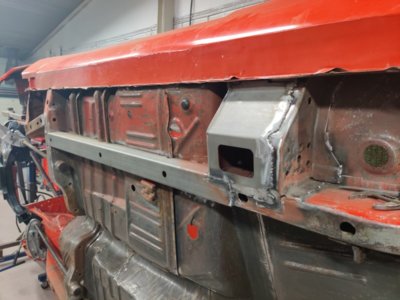
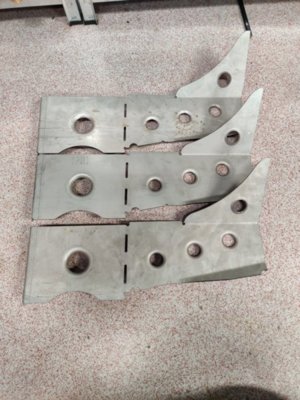
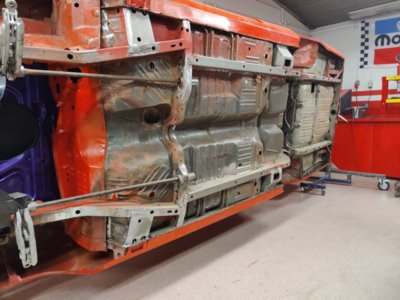
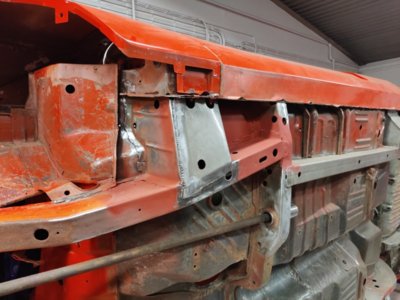
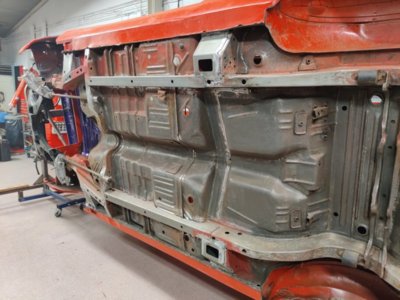
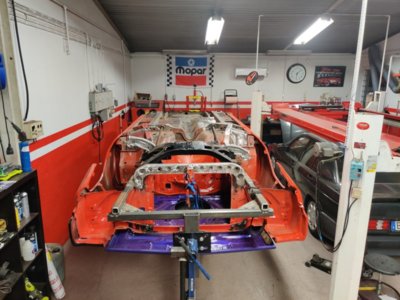
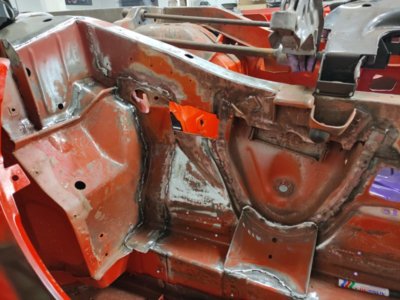
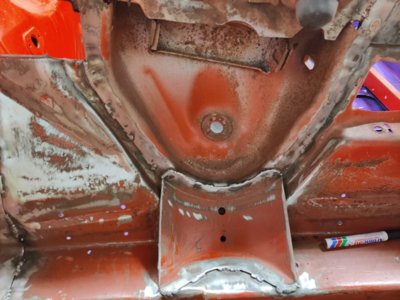
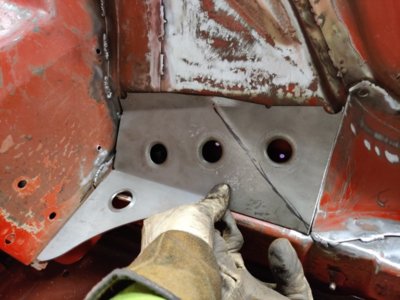
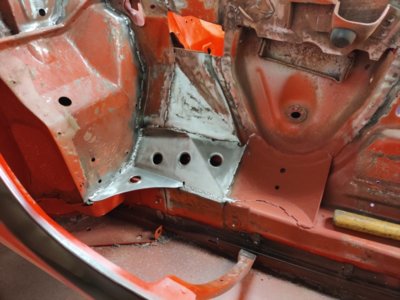
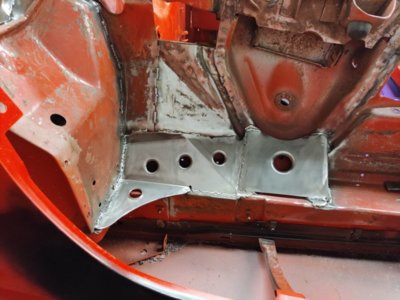
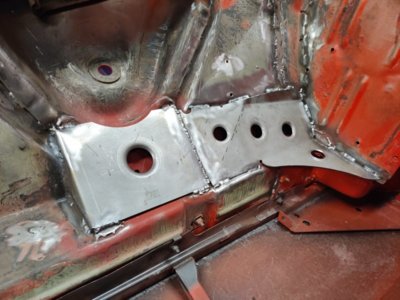
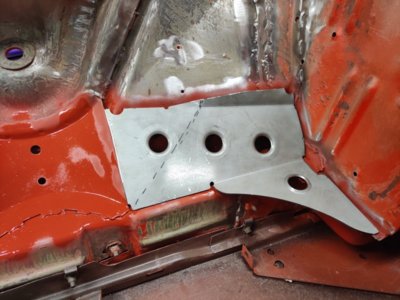
Looks great!Started installing the uscartools bracing kit.
It took some time to get a nice fit but atleast subframe connectors are tacked in place.
Wirebrushed and rustprotected.
Also decided to seam weld all critical places.

View attachment 868605 View attachment 868606 View attachment 868609 View attachment 868611 View attachment 868612 View attachment 868613
Subframe connectors is something I have on my to do list.
How was the fitment to the floorpan?
Jarven1977
Well-Known Member
There were some issues but it could be due to an old damage in the floor. Needed some trimming but still well worth the price! I'd do it again..Looks great!
Subframe connectors is something I have on my to do list.
How was the fitment to the floorpan?
Jarven1977
Well-Known Member
Jarven1977
Well-Known Member
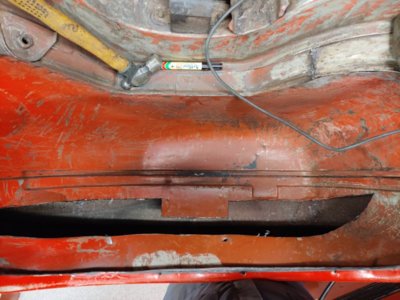
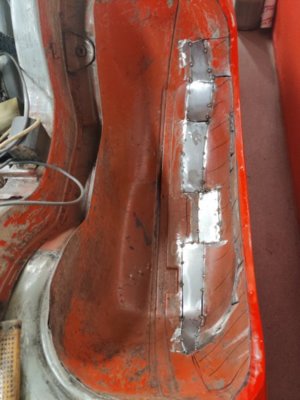
Did some cleaning up of old damage and seam welding on the front passenger side. Still waiting for brace.. stood a long time contemplating with the grinder in my hand if I should start cutting away that inner fender hump, but I chickened out
But I did modify the front fender brace to give me more room for pushing wheels higher up and outward inside the front fender.
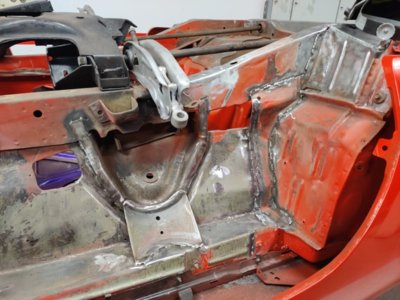
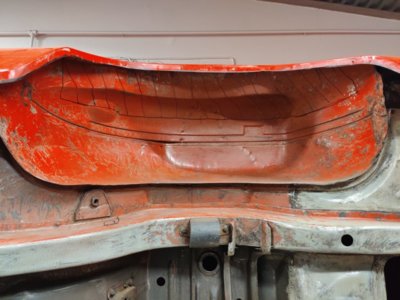


But I did modify the front fender brace to give me more room for pushing wheels higher up and outward inside the front fender.


Jarven1977
Well-Known Member
Jarven1977
Well-Known Member
Uscartools treated me nice and sent me a new passenger front brace, should arrive tomorrow!
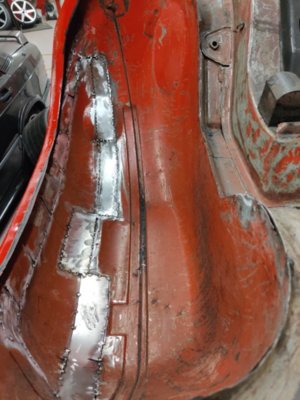
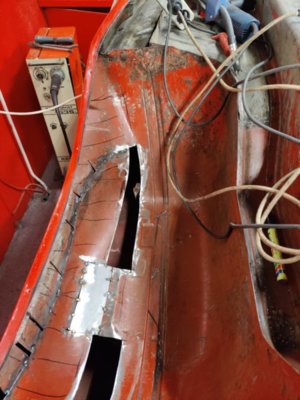
So, I cut up the rear wheel well to "de-hump" it.
Getting close to have it done on the passenger side but I didn't enjoy it through..
Tried some mock-up wheels to see what it looked like, ignore the tires, need more rubber!
Upside down photos look weird?
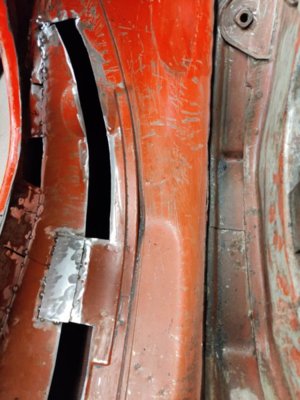
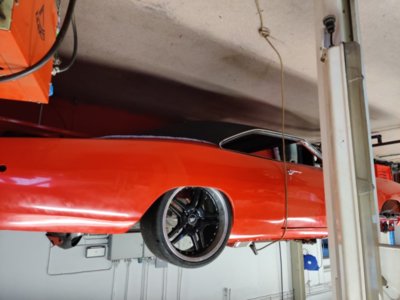
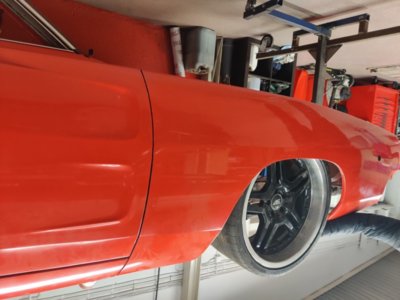
So, I cut up the rear wheel well to "de-hump" it.
Getting close to have it done on the passenger side but I didn't enjoy it through..
Tried some mock-up wheels to see what it looked like, ignore the tires, need more rubber!
Upside down photos look weird?


Jarven1977
Well-Known Member
Jarven1977
Well-Known Member
#soarertompa
Well-Known Member
Wow, really like the stance if that is what the finished product is going to be likeUscartools treated me nice and sent me a new passenger front brace, should arrive tomorrow!
So, I cut up the rear wheel well to "de-hump" it.
Getting close to have it done on the passenger side but I didn't enjoy it through..
Tried some mock-up wheels to see what it looked like, ignore the tires, need more rubber!
Upside down photos look weird?
View attachment 878784 View attachment 878785 View attachment 878786

Jarven1977
Well-Known Member
Jarven1977
Well-Known Member
Jarven1977
Well-Known Member
Jarven1977
Well-Known Member
Jarven1977
Well-Known Member
Similar threads
- Replies
- 28
- Views
- 4K
- Replies
- 6
- Views
- 421
- Replies
- 11
- Views
- 547

