- Local time
- 1:21 PM
- Joined
- Jan 1, 2013
- Messages
- 8,050
- Reaction score
- 3,464
- Location
- Mascoutah, Illinois
Thanks elk. i was under the impression you had narrowed down that the general copper (not orange LOL) metal flake colors that's been posted a lot
Thanks elk. i was under the impression you had narrowed down that the general copper (not orange LOL) metal flake colors that's been posted a lot
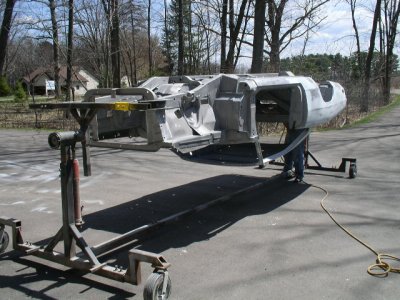
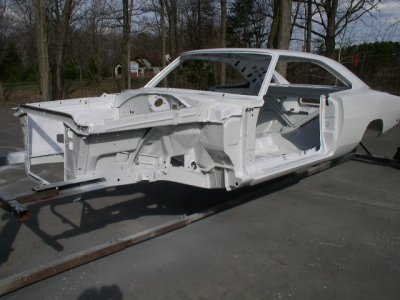
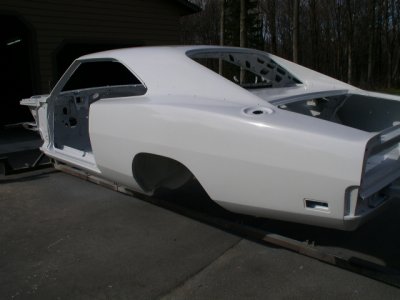
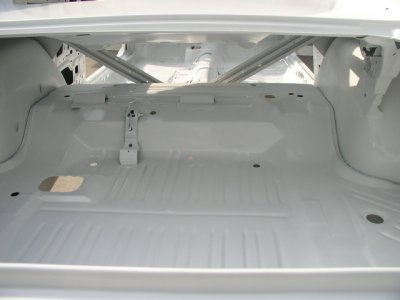
Did you happen to see counting cars last night on the discovery channel?
They did a 69 Charger. He bought the thing for 20 grand, fixed it up and sold it for 73 grand.
Anyway the color was close to the factory bronze, (not sure of the code) with a black vinyl top and bumble bee stripe.
It was SWEET!
Nice work Dude!!! You have a lot done – don’t kid yourself. Keep the momentum going. From my conversations with AMD they told me to check the fit of the lower corner of the rear windows on the quarters since the corner is a bit lazy. Sure enough I put my window molding against it and there is a nice 1/8” or so gap that will need some steel added in. Might want to check that if you haven’t already. I always liked that copper / bronze color. I had a 69 Cornet 500 in college that was that color and always go a lot of compliments on it.
Did you happen to see counting cars last night on the discovery channel?
They did a 69 Charger. He bought the thing for 20 grand, fixed it up and sold it for 73 grand.
Anyway the color was close to the factory bronze, (not sure of the code) with a black vinyl top and bumble bee stripe.
It was SWEET!
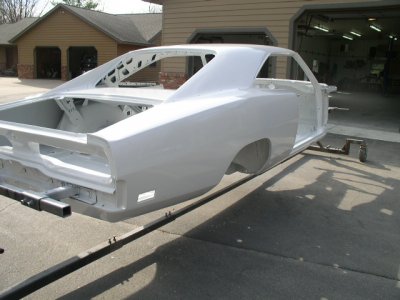
Don't hold back on the pics, me personally I like to see the bodywork. That's where the sins are committed or in your case things are executed with attention to detail. Awesome job, that car looks like it's fresh out of the factory:headbang: I'm still rooting for the copper sunset, in the end it's yours and you shouldn't listen to anyone but yourself. Good luck
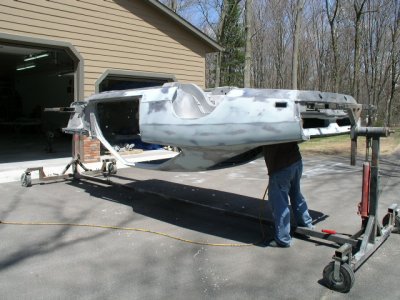
Wow, excellent work on the quarters.I for some reason didn't take many pictures showing the quarters before priming. Not that they ended up with a lot of filler, but basically were skim coated and long blocked out. Each side had a bad bulge right behind the wheel well. This was taken out with a shrinking disc, other high spots hammer & dollied out, and then skimmed over. The body line was horrible also. This is about the only shot I have before epoxy.
View attachment 116746
- - - Updated - - -
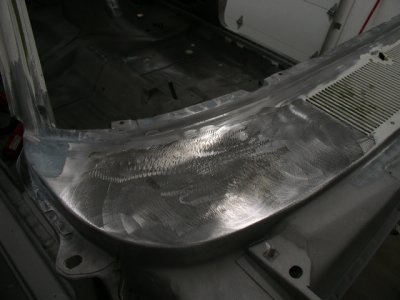
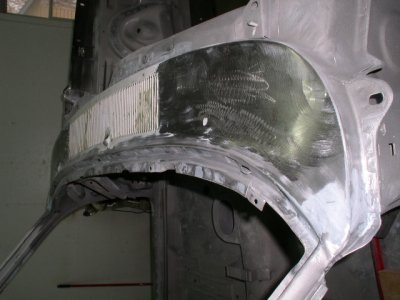
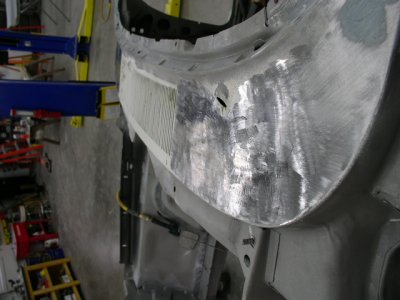
We also spent several hours getting the cowl straight. It looked like a small child walked across it and bent things down. I made a hook tool out of 1/8 X 1/2 stock and spent a lot of time with this and a small straight edge pulling the narrow vents into the correct position.
View attachment 116749View attachment 116747View attachment 116748
- - - Updated - - -
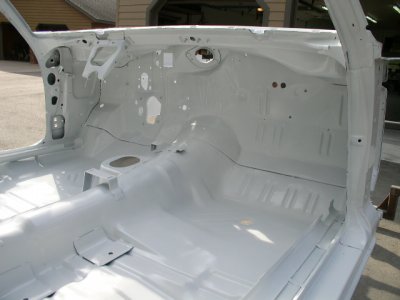
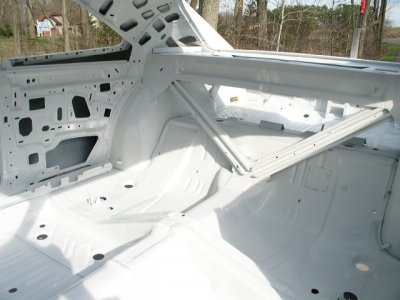
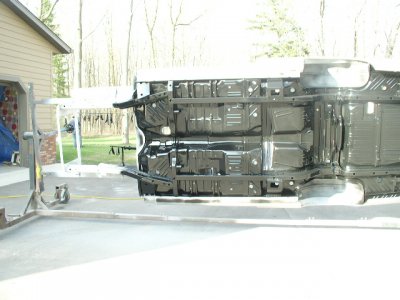
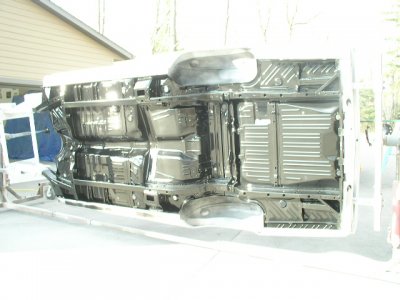
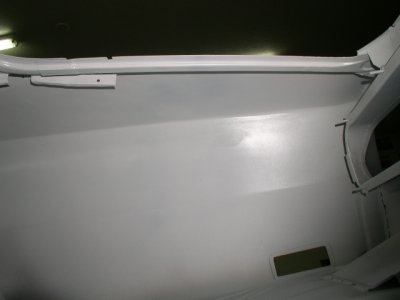
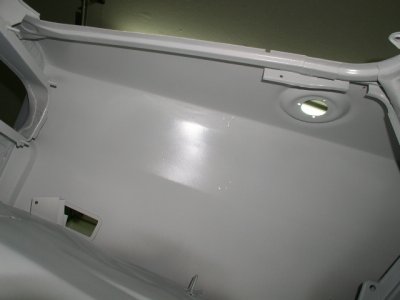
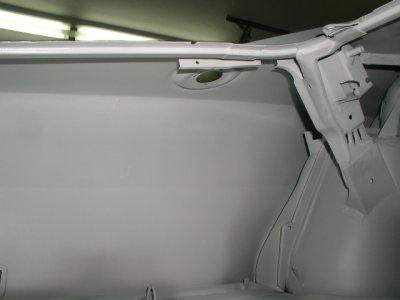
I spent alot of time on the inside and underside of the car to make it almost as good as the exterior. Here are a couple shots of the quarter seam inside the trunk.
View attachment 116750View attachment 116751View attachment 116752
