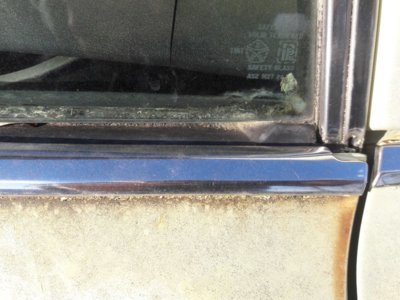
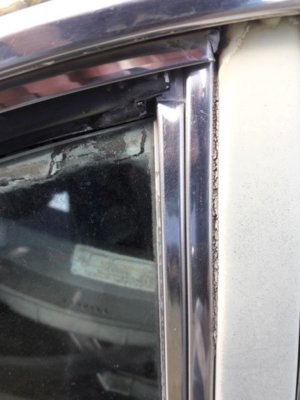
I will snap a couple of pictures of the 68 Road Runner to see if it helps to answer your question.
You are using an out of date browser. It may not display this or other websites correctly.
You should upgrade or use an alternative browser.
You should upgrade or use an alternative browser.
1969 Dodge Super Bee Coupe Restoration
- Thread starter dadsbee
- Start date
- Local time
- 9:32 PM
- Joined
- Jan 29, 2018
- Messages
- 22,890
- Reaction score
- 82,787
- Location
- Midland Ontario, Canada
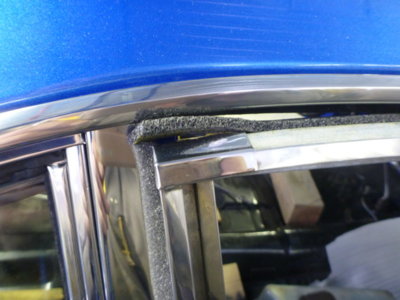
Roof rail inspection before installing sealing foam.
B post section slips onto the roof rail.
Roof rail foam glued in place and it also seemed fitting to add the same open cell foam, that I used on the rear window assembly, to the B post piece . Roof rail foam NOT glued at end of channel so B post piece can move to final location in door frame. FSM is totally useless when it comes to how Post cars go together.
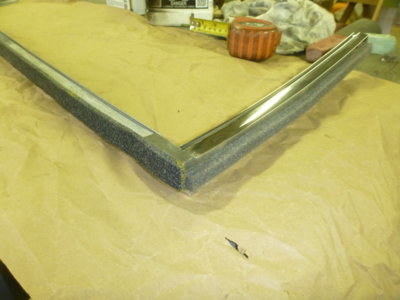
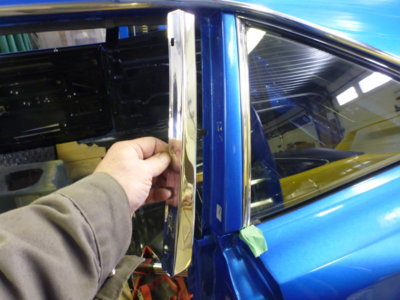
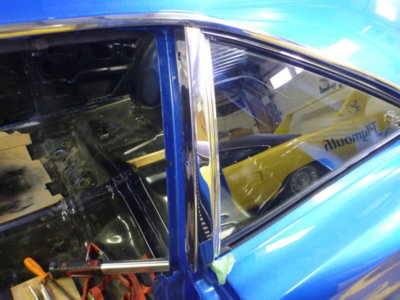
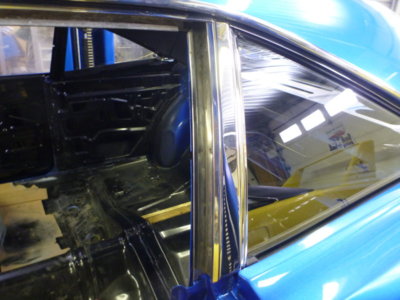
Stainless trim piece for the B post. Some post cars didn't get this piece and just stayed painted on the B post.
Trim piece loosely in place.
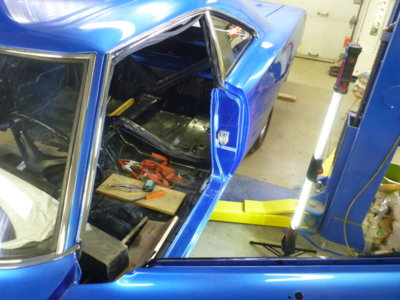
Roof rail and B post seal channels screwed into place.
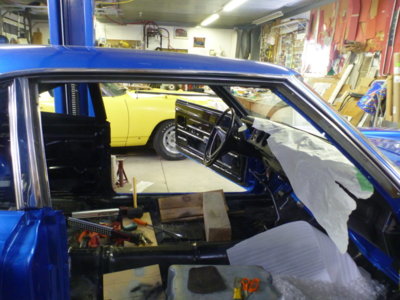
Passenger side. You can see where I left the rail seal loose at the end so the B post channel can find it's place.
Passenger side roof rail screwed into place.
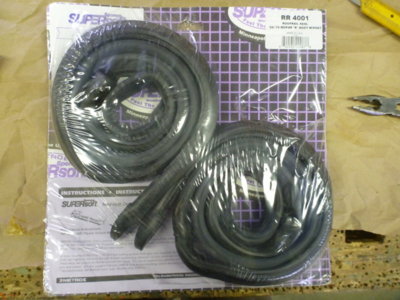
Roof rail seal that I bought and I'm using. Metro SuperSoft # RR 4001
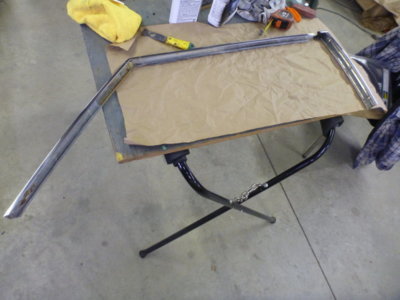
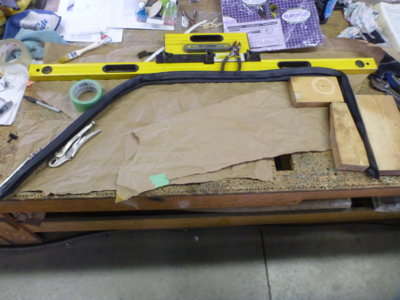
A quick straighten before install.


- Local time
- 9:32 PM
- Joined
- Jan 29, 2018
- Messages
- 22,890
- Reaction score
- 82,787
- Location
- Midland Ontario, Canada
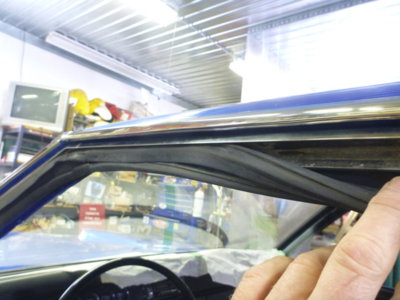
Working the seal into place. To avoid stretching I started at the B post corner as it was the most positive location. Then tucked the A post corner in place and the lower end on the A post where there is a location tab . Then worked the seal in between all locations.
Roof rail seal pegged in place.
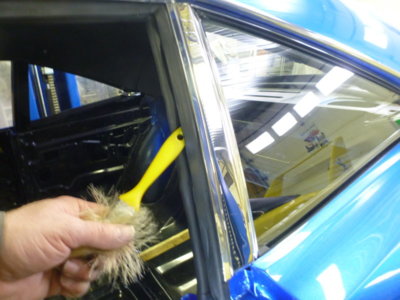
Again with the plastic brush handle soaked in window cleaner. Without the "lube" it's VERY easy to mar the surface of this seal material.
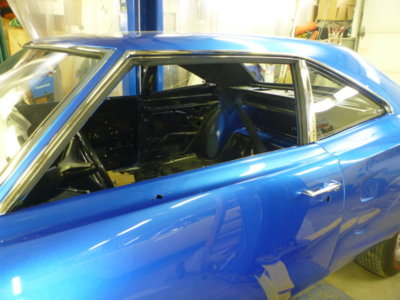
Drivers side roof rail seal in place.
Passenger side in place.
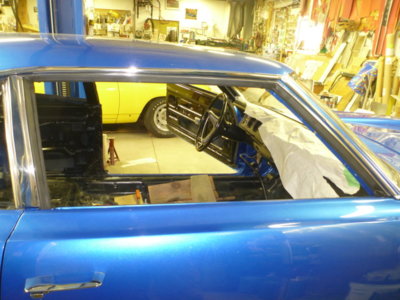
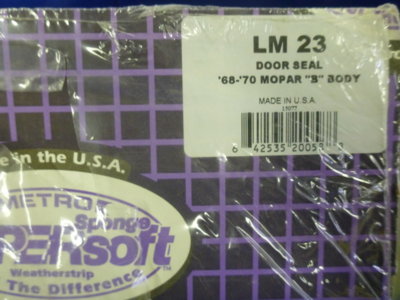
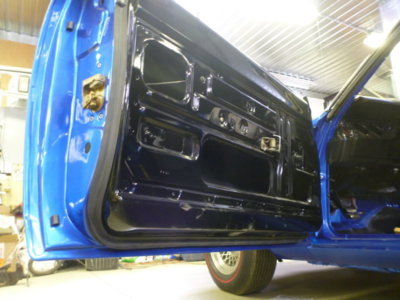
Door seals that I used # LM 23. They have been on since paint, but thought prudent to show part number and install.
Door seals fit VERY well. No glue on them, even though Metro states to use same between "pins".
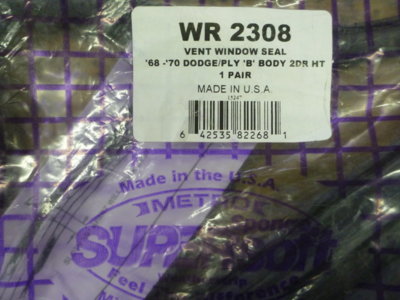
Front "wing" window seals. # WR 2308 for the pair.
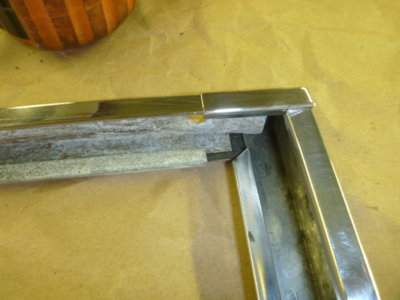
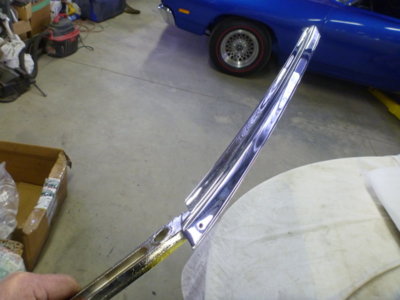
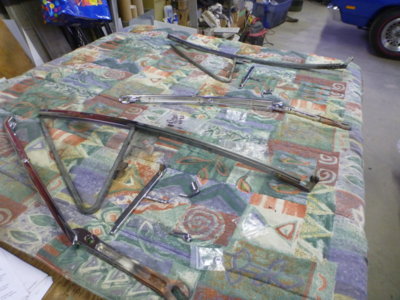
Wing window posts that were rechromed.
Now to put the puzzle together. Didn't even realize that the chrome / stainless polisher vendor didn't put them back together again.


- Local time
- 9:32 PM
- Joined
- Jan 29, 2018
- Messages
- 22,890
- Reaction score
- 82,787
- Location
- Midland Ontario, Canada
THANKS for taking the time Richard!!! So the seal is definitely just against the inside of the quarter panel and not flipped out onto the top of the quarter??Wayne, here is a couple of pictures showing the pop out rear window seals on a 68 Road Runner. Not sure if this helps, but these have never been out of the car.
You are correct in that it sits just inside the panel. Hard to tell since this car has the belt line moldings, but on my other sedan, it is just inside the panel.
- Local time
- 9:32 PM
- Joined
- Jan 29, 2018
- Messages
- 22,890
- Reaction score
- 82,787
- Location
- Midland Ontario, Canada
Okay Great, at least I know I'm fighting the right Monster! .. and will go back at it again tomorrow! THANKS!You are correct in that it sits just inside the panel. Hard to tell since this car has the belt line moldings, but on my other sedan, it is just inside the panel.
showard
Well-Known Member
Wayne, I sure have been enjoying the way you post detailed and informative restoration information and photos.
Keep up the good work.
Keep up the good work.

- Local time
- 9:32 PM
- Joined
- Jan 29, 2018
- Messages
- 22,890
- Reaction score
- 82,787
- Location
- Midland Ontario, Canada
Thanks for taking the time to comment, at times I wonder why I'm bothering spending all the extra hours to post details... when while I see the there is multiple views there is only a very select few that ever click the like icon or answer questions I come up against. I often think I'm putting the "audience" to sleep and boring people with too much detail.Wayne, I sure have been enjoying the way you post detailed and informative restoration information and photos.
Keep up the good work.
The Rebel
Well-Known Member
No no, it's VERY important to have a detailed record of your restoration. So much of the little details that were never documented need to be for future generations. So much of the mundane stuff done on the line probably may not even be documented.
Thanks for taking the time to comment, at times I wonder why I'm bothering spending all the extra hours to post details... when while I see the there is multiple views there is only a very select few that ever click the like icon or answer questions I come up against. I often think I'm putting the "audience" to sleep and boring people with too much detail.
khryslerkid
Well-Known Member
- Local time
- 9:32 PM
- Joined
- Mar 10, 2010
- Messages
- 31,690
- Reaction score
- 57,440
- Location
- Hanover, Pennslyvania
Thanks for taking the time to comment, at times I wonder why I'm bothering spending all the extra hours to post details... when while I see the there is multiple views there is only a very select few that ever click the like icon or answer questions I come up against. I often think I'm putting the "audience" to sleep and boring people with too much detail.
Documenting what you're doing on your particular model and year can be very beneficial to others. Ask me how I know.
I had similar thoughts posting what I went through on my '62 but after it was all said and done, the responses have been great. I'm still getting thanks on the documentation a year after I posted.
Keep up the good work, you're contributing to the hobby and getting self gratification at the same time.
- Local time
- 9:32 PM
- Joined
- Jan 29, 2018
- Messages
- 22,890
- Reaction score
- 82,787
- Location
- Midland Ontario, Canada
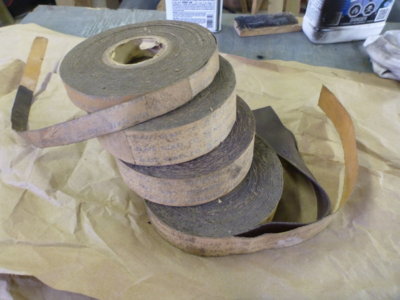
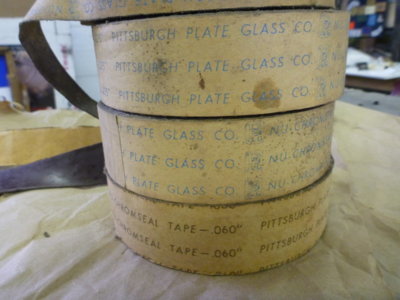
Was about to head to town to go see the glass guy when my brain said "go check your own shelves in the hangar".
Call it NOS glass setting tape, probably older than my car but still as good as the day it was made.. PPG even!
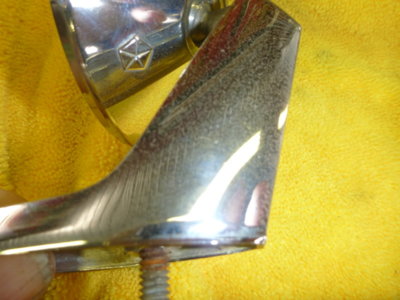
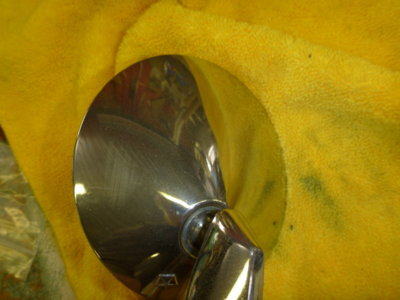
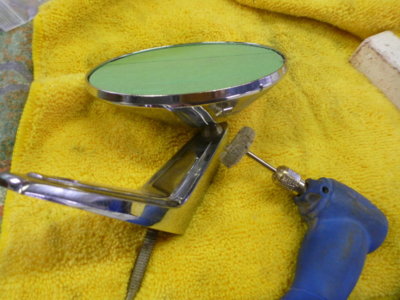
My OE mirror missed the "ship out for chrome" box, so we'll have to pretty it up the best we can.
Lots of tiny pit holes, but we'll see how well it cleans up. Have to be carefull not to go too far and have a copper looking mirror instead.
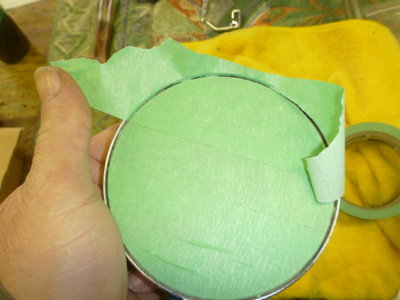
"Young Wayne" wouldn't have thought to tape the mirror off!
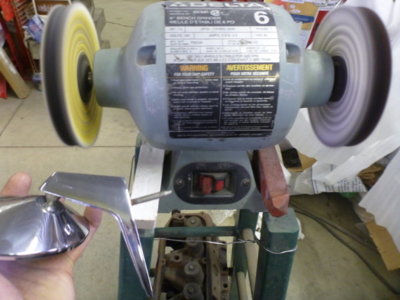
White cutting media on the yellow wheel and Rouge on the soft wheel. A bit of 2000 sand paper in a few places to boot.
Rubbed down with MAAS
Dremel to get into the tighter spots.
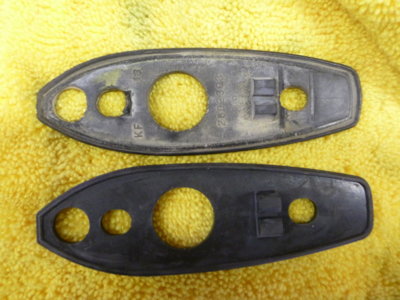
FINALLY, a reproduction part that is spot on with correct details, other than part number!
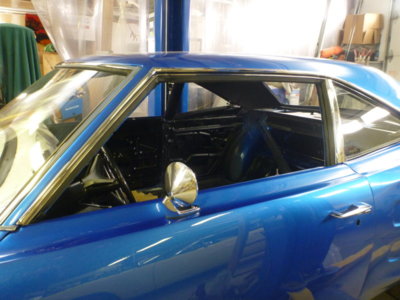
Mirror installed to car with new gasket, captive washer 1/4" nut on the stud inside the door and oval head philips screw from the top.


Last edited:
- Local time
- 9:32 PM
- Joined
- Jan 29, 2018
- Messages
- 22,890
- Reaction score
- 82,787
- Location
- Midland Ontario, Canada
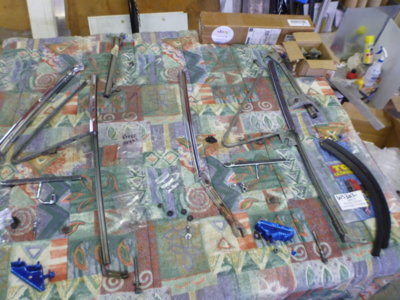
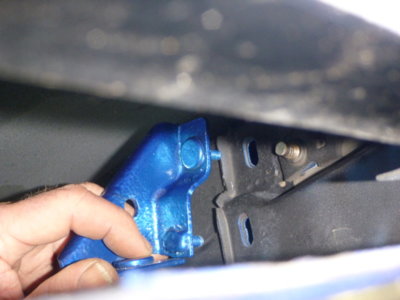
Making sure I've located all the parts for the puzzle to get the door glass done. Gotta thank the dozen + guys before me that documented at least part of the assembly and it's parts... as the FSM is lacking to say the least.
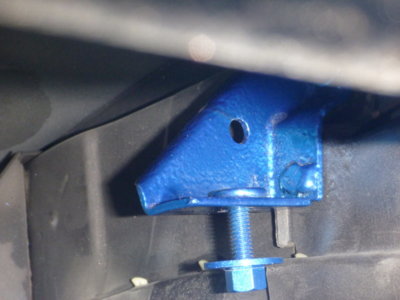
Installing the bracket, that holds the vent frame post, to the door fronts interior. NOTE: THIS BRACKET BELONGS IN THE OTHER DOOR.. UPSIDE DOWN HERE!
Bottom of the vent post sits over this bolt. NOTE: THIS BRACKET BELONGS IN THE OTHER DOOR.. UPSIDE DOWN HERE!
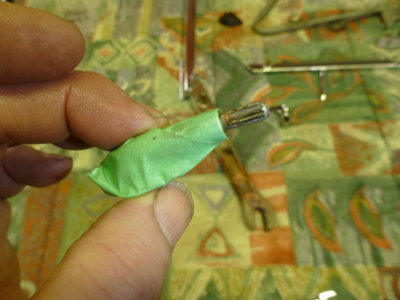
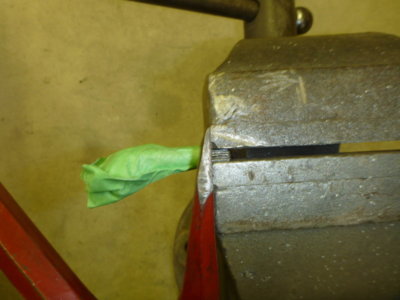
More chromer BS. Driver's side pin left jammed into swivel head and chromed. Pin is suppose to be mounted in vent frame.
Pin clamped in vice and crow bar to remove, of course damaging the new chrome on the swivel head because it slipped.
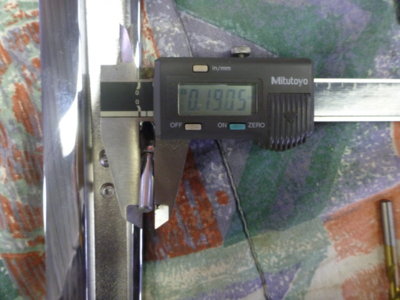
On the other side, they left the pin in and it got chromed, so is now larger in diameter than the hole in the swivel head it mates to.
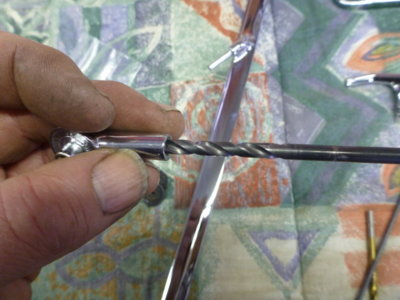
Had to ream that swivel head out to #12.
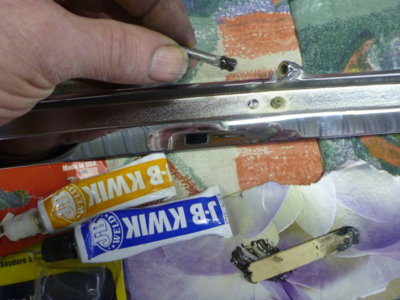
Installing the drivers side pin with some JB weld to keep it in. It's been rotating improperly there for 40+ years.
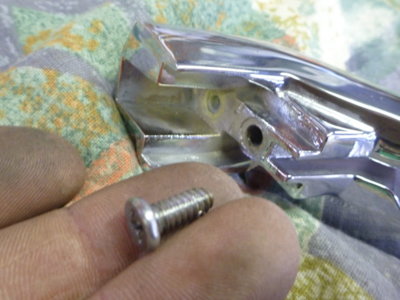
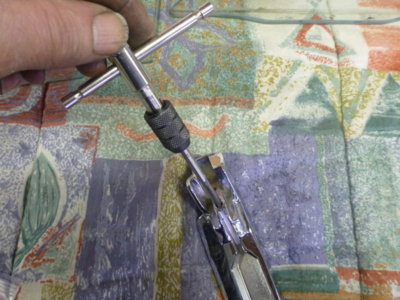
Special screw that holds the post and vent window frame together. 10-24 flat head with threads cleaned up.
Cleaning out the threads after chroming with a 10-24 tap.


Last edited:
- Local time
- 9:32 PM
- Joined
- Jan 29, 2018
- Messages
- 22,890
- Reaction score
- 82,787
- Location
- Midland Ontario, Canada
Looking at other installs and brackets for sale being identified as "left" side only etc, I think I may have the vent frame attach brackets in the wrong doors. The way I have them they fit nice and are supported by the flange in the door almost like that is what was intended, but others show them unsupported and "flat face" up, not down. Can anyone confirm I need to swap sides?? Thanks!
NOTE: I HAD THE BRACKETS UPSIDE DOWN! THEY GO FLAT SIDE UP AS SHOWN IN PICTURE #2 !


NOTE: I HAD THE BRACKETS UPSIDE DOWN! THEY GO FLAT SIDE UP AS SHOWN IN PICTURE #2 !
Last edited:
hunt2elk
Well-Known Member
I for one am not falling asleep or getting bored to death by all the detail in your postings Wayne. Quite the opposite. As I stated before I will be referencing your thread a bunch when putting my Bee back together. Mine came in boxes, so all your pics and attention to detail will help me tremendously. I am one who is guilty of starting a resto thread and then forgetting to take enough pictures and explaining the process I did. Some people just aren't good at such things, but you are.Thanks for taking the time to comment, at times I wonder why I'm bothering spending all the extra hours to post details... when while I see the there is multiple views there is only a very select few that ever click the like icon or answer questions I come up against. I often think I'm putting the "audience" to sleep and boring people with too much detail.
moparjohnny
Well-Known Member
wayne, your posting and showing detail of what you are doing and how you are doing these things is priceless,you and justin,joel, and all the other guys here doings cars you all are doing mopar a huge favor by building these back better than they were built from factory, i would nominate all the guys here for mopar builders awards.I for one am not falling asleep or getting bored to death by all the detail in your postings Wayne. Quite the opposite. As I stated before I will be referencing your thread a bunch when putting my Bee back together. Mine came in boxes, so all your pics and attention to detail will help me tremendously. I am one who is guilty of starting a resto thread and then forgetting to take enough pictures and explaining the process I did. Some people just aren't good at such things, but you are.
- Local time
- 9:32 PM
- Joined
- Jan 29, 2018
- Messages
- 22,890
- Reaction score
- 82,787
- Location
- Midland Ontario, Canada
Thanks Frankie!! Do you know which way the vent frame holders go in the door!!I check your progress almost every day, I don't say much but I enjoy watching the incredible effort and talent going into this car.
keep posting I love the details!
Frankie

440+6
Well-Known Member
They look correct in your pic but i cant remember as i did pretty much what you are doing to my own car but that was over 20 years ago.
dosent the manual show the location of the door parts?
dosent the manual show the location of the door parts?
- Local time
- 9:32 PM
- Joined
- Jan 29, 2018
- Messages
- 22,890
- Reaction score
- 82,787
- Location
- Midland Ontario, Canada
Nothing in the FSM that even shows what bolts hold a window frame in. Guess I need a parts manual to boot... The way I put them in makes sense as the bracket gets supported by the flange that sticks out of the door frame and seems to act as a good slider platform for the bracket for adjustments. Justin's are installed the other way in his pictures and I found a for sale add for a left side bracket and it would justify Justin's install as correct ! @moparnation74They look correct in your pic but i cant remember as i did pretty much what you are doing to my own car but that was over 20 years ago.
dosent the manual show the location of the door parts?
Similar threads
- Replies
- 68
- Views
- 4K
- Replies
- 4
- Views
- 564
- Replies
- 183
- Views
- 15K
- Replies
- 9
- Views
- 900

