chgr1
Well-Known Member
- Local time
- 9:11 AM
- Joined
- Feb 5, 2013
- Messages
- 77
- Reaction score
- 173
- Location
- Cedar Creek Near Austin Texas
Edited for clarity and added content:
Body work can be a PITA to get right and the products and techniques you use has a direct effect on how good the car looks after its done.
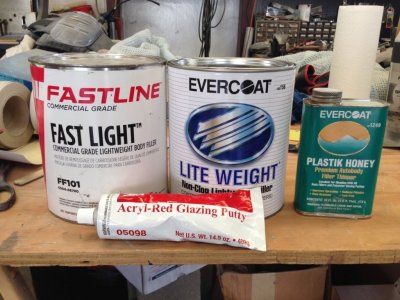
In the first pic are some of the products you might use. I don't recommend the Fastline body filler as it is a really cheap heaver strand , similar to the Bondo brand, product and clogs sanding paper and can leave you with extra work to do.
The Evercoat body filler product is very good, doesn't clog sanding paper and is a light strand filler. It is a more economical product then the Evercoat Rage product. I use the Plastik Honey product to thin down the evercoat product. The Honey makes the filler really smooth and more liquidity for a final skim coat filler, this , along with proper technique in mixing hardener to filler, reduces pin holes. As anyone knows that has done body work before, pin holes are a PITA!
Pin holes are caused by trapped air in the filler as you apply it or mix it. I avoid stirring the filler while mixing. I use an applicator in a swooping almost figure 8 motion (does that make sense) to mix it. And when you mix the hardener into the filler, the combined product will get warm due to the chemical reaction. If you get too much hardener in it, it will get really warm, almost to warm to hold in your hand, this could cause what I call bubbling of the filler due to the heat generated creating more pin holes.
Also The guy I studied under was a master craftsman, Bill Moses. His restorations have won multiple Concours d'elegance shows. His favorite saying when applying body filler was "Don't Play In The Putty". Don't keep working the filler when applying to the car. You get one or at the max two tries to apply it. If you keep working it you will introduce more pin holes and run the risk of it hardening as you work it and you will screw up the application.
The glazing putty is to fill really minor scratches and pin holes in your final work. Glazing putty is not meant to be used as a filler. There are two kinds of glazing putty, a one part as you see in the pic and a two part type that needs a hardener. You apply this type product in extremely thin coats then sand it down. Your almost using this type stuff as a guide coat to see if your work is done right. Keep in mind that you should use a paint sealer as a final primer coat prior to top coating. A primer sealer will seal in all the chemicals from filler and underlying primers, providing a barrier so that when you apply your top coat the reducer and other chemicals in the top coat paint will not attack or react with the other chemicals in body filler or under lying paint.
I once saw a car somebody did that they had used a lot of the red glazing putty as a filler, didn't use a final sealer primer, then top coated the car with white base / clear. You could see red splotches all over the car through the white top coat paint.
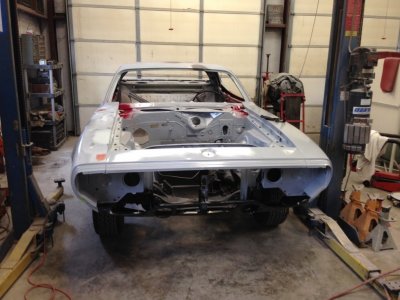
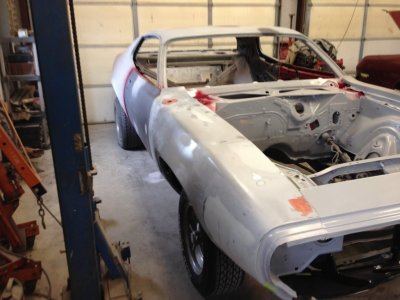
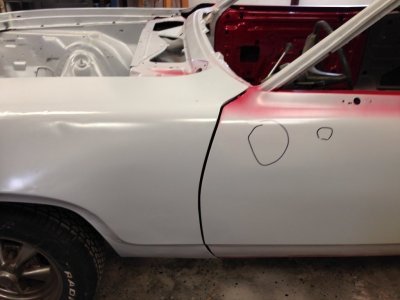
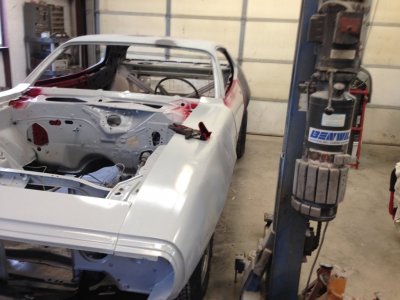
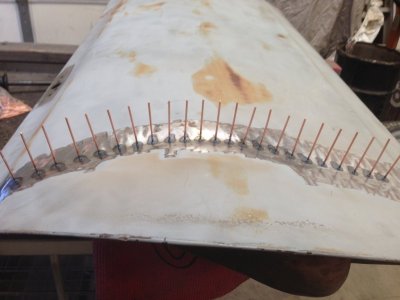
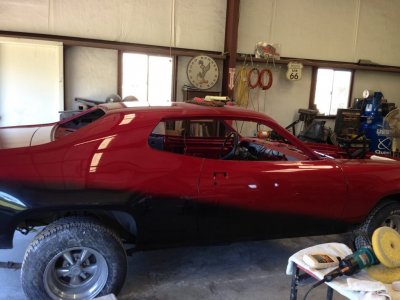
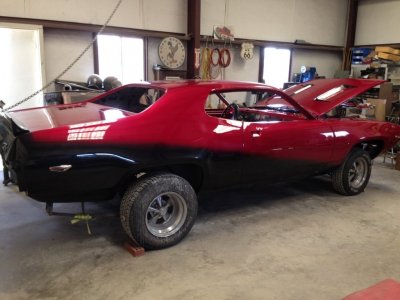
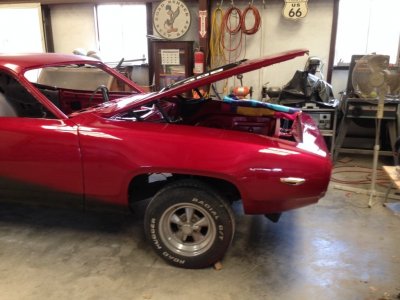
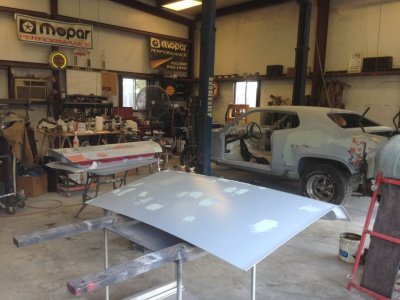
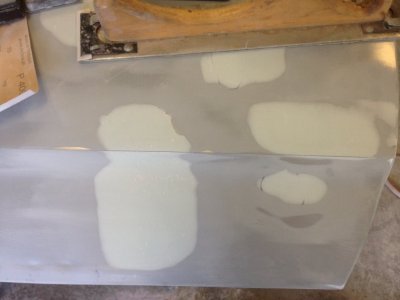
In the second pic you can see we are working on filling all the dents in the individual panels. Every panel, door and fender on this car, except the replaced right rear quarter needs a lot of work.
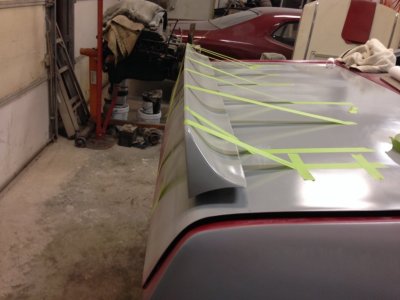
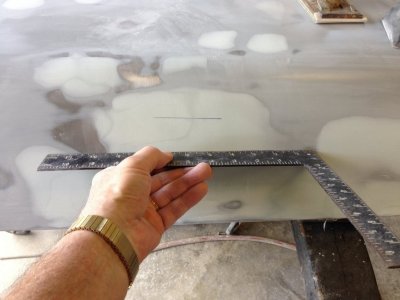
Something you can use to help you get dips and ripples sorted out in body filler is a straight edge. In areas where the filler is level across I draw a long horizontal line on the filler which reminds me "don't sand here", where its high ( your straight edge will seasaw back and forth on high spots) I draw short horizontal lines, Then just hand sand until the short lines disappear, now your level. You may have to sand out short lines multiple times to get all the high spots out.
Where the filler might be low in spots, and the straight edge will show you this as light gaps between the straight edge and the panel, I draw vertical short marks so I know where to add more filler. If you just use your hand to run across filled areas multiple times to find bumps and jumps, if your like me your hand will become numb to the touch and lie to you, a straight edge doesn't lie. If needs be create a cardboard template to ensure you have it straight especially on curved panels or panels with a crown.
All this is easier said than done. I'm not an expert body filler man, but I'm not too bad, it just takes me multiple tries to get it right. Where I get into trouble is along body lines, bend breaks and curvatures, getting them straight.
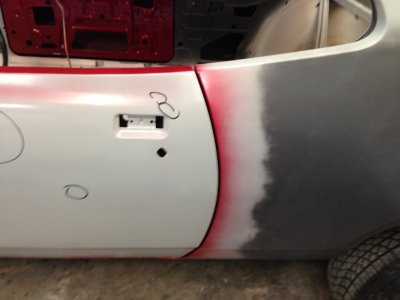
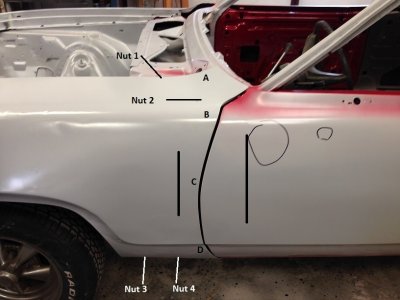
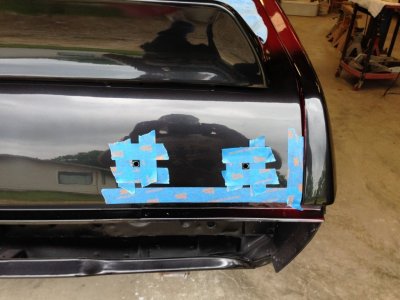
The biggest problem to fix is big dents right on body lines. In pic 877 you can see I have drawn a line across the body line brake on a door. What helps me is to put a piece of painters tape right across this line I drew, first above the break (bend) and hand sand the lower part right up to the tape line to get the body line break straight. the tape keeps you from sanding off any filler on the top side of the break line creating a curvy wormy body line. Once the bottom is done put a piece of tape on the bottom side of the break and sand the top. Now this will leave you with a straight body line but too sharp of a point on the break. You'll need to use 400 or 600 grit to dull or round the body line break to match the rest of the body line. Like I said all this is easier said than done.
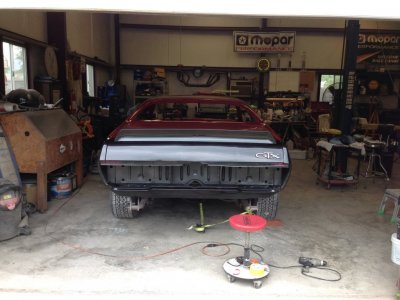
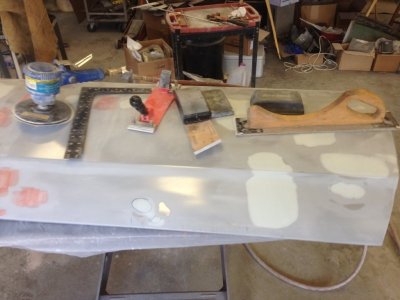
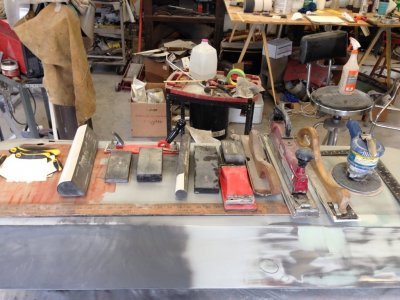
In pic 878 you can see some of the tools I am using. The red sander is a flexible tool I use for round or curve sanding, it can bend to contour to the body. I probably have 10 different hand sanders along with a DA, Straight line air board sander and palm sander.
Like I said all this is easier said than done, and body work is very time consuming.


Last edited:

