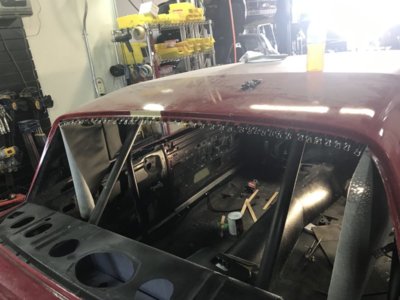
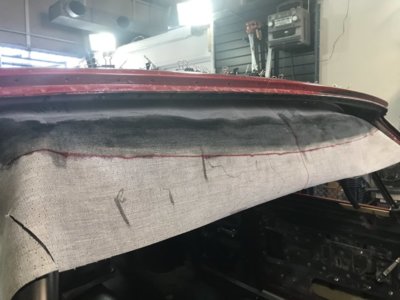
Been working steadily on the Fury, bouncing back and forth between different areas of the car while I wait for pieces to arrive, adhesive to dry, etc.
While waiting for the adhesive to dry around the edges of the headliner I decided to start working on the gauge cluster/layout. My gauges, custom ordered from Speedhut, arrive on Tuesday so the timing works out really well.
I went by a local metal supply house and they have a scrap pile you can search through so I scored 2 pieces 18" x 48" of 20 gauge for $5. Finally, something doesn't cost me an arm and a leg to buy! I made a template out of heavy art-board, transferred the shape onto a piece of steel, then began adding the necessary curves.
The factory gauge cluster looks flat, but it is definitely not, when looked at from the end there is a slight "S" curve in the panel and I wanted to emulate that. There's also a recessed area at the right end, which makes for a compound curve, so you'll see a slice in the metal just below the lower right screw.
I ordered a pretty typical array of gauges but specified 4" faces for the speedo and tach, as opposed to the typical 3 5/8". The original Fury cluster has 4 3 1/2" (roughly) "gauges" so they fill up the panel well and I wanted to get that same look and feel.
If you compare the picture above with this picture you'll see I've also trimmed the lower edge of the gauge panel, which I also rolled far more tightly, so the lower edge conforms to the dash really well. I'm going to use the same rubber "U-channel" around the gauge panel as I did for the tail light housings.
I am not a fan of flat gauge panels, they do the job but they just don't have the appearance I want so all the gauges will all be recessed at least 3/4" (maybe more) with a raised "surround" for each. It will be much easier to show the design as it progresses as opposed to trying to explain it, but I'm hoping for a clean, almost factory like appearance.
Oh yea, the 2 small circles at the far right end of the panel are for the seat heater switches; they're metal, latching push buttons that glow when power is sent to the seats. If I ever decide to add A/C it will be an under-dash unit so the controls will probably be integrated into the unit, and if not, I'll figure something out at that time.
I plan on using the Edelbrock Pro-Flo 4 efi system, which uses a 7" Android based pad, but I don't want the pad to be visible so I'm working on a way to hide the pad inside the dash so it's hidden from sight and slides out when I want/need it. My intent is to use the pad, combined with an amp and a Bluetooth adapter to play music; I don't want a radio in the dash.
The Speedhut gauges are awesome looking, and Speedhut allows you to customize colors, fonts, ticks, add a custom logo, etc., so below is a mock-up of what the 4" speedo will look like during the day. At night the face turns black and all the fonts glow, including the logo.
The Speedo is a GPS unit and includes a high-beam indicator and turn signals while the Tach includes programmable progressive shift lights. The 4 smaller gauges are fuel level, voltage, oil pressure, and water temp.
Can't wait to see how the Sport Fury logo looks!
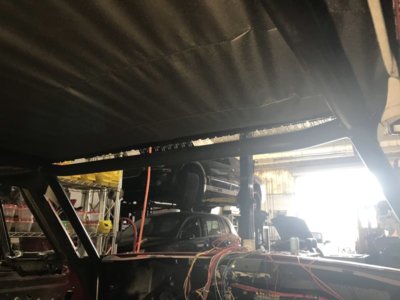
Once all the adhesive dried around the edges, AND my sail panels finally arrived, it was time to finish the headliner. For my first attempt at a headliner I am really proud of the results. Yes, there are definitely some areas that I'd like to have turned out better but there is no way I'm pulling this thing out and starting again!
I'm not sure what happened, whether it was something I screwed up or the headliner was a bit off when the seamstress sewed it together, but the rear most bow is not vertical, it's leaned forward, which made the listing difficult to slide into position and finishing the sail areas smoothly, extremely difficult. What makes me consider the headliner being a bit "wonky" is the fact all the other bows are perfectly situated and vertical, no bunching or wrinkling. Having never installed a headliner I have no idea, I mean, maybe all the bows should have been pulled/leaned backwards a bit, which would have made the rear bow closer to vertical. The problem then becomes the center bow, which is where I started; if you lean it backwards it interferes with the dome light assembly.
Like I said, I'm really proud and happy with the results, so here's a couple pix.
I hit the shop at 5am this morning and got all the moldings along the headliner in place, but then forgot to take pix, so I'll post them next time.


 )
)


