You are using an out of date browser. It may not display this or other websites correctly.
You should upgrade or use an alternative browser.
You should upgrade or use an alternative browser.
67 Coronet build thread
- Thread starter Mike67
- Start date
Mike67
Well-Known Member
Thanks Ugk! Ya I liked it on some other cars I had seen...plus I didn't realize that it only came down to the top of the windshield when I painted it...so I had only painted half way up the pillar....Awsome looks good. You went with the a the A pillar.
Last edited:
Ugk
Well-Known Member
I like it all the way down, just never saw it like that. Looking good.Thanks Ugk! Ya I liked it on some other cars I had seen...plus I didn't realize that it only came down to the top of the windshield when I painted it...so I had only want half way up the pillar....
Mike67
Well-Known Member
Mike67
Well-Known Member
Mike67
Well-Known Member
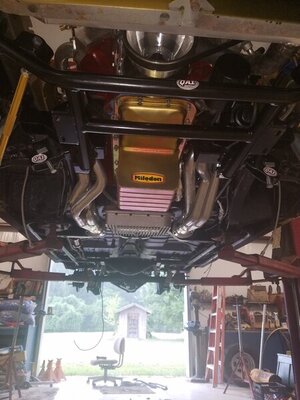
Got a few things done, mainly getting the underside clean and undercoated... covering that new pan was a tough call but I think it turned out pretty nice.
Also picked up my new ( recovered dashpad), mounted the MC
So I bought the hydroboost from a member here who said it was for 64-66 b body...this thing looks a little long, my MC is over my shock mount. Can anyone that's running a hydroboost measure from their firewall mount to the actual booster?

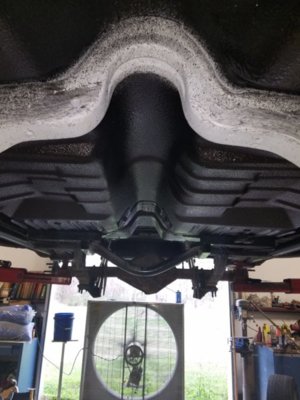
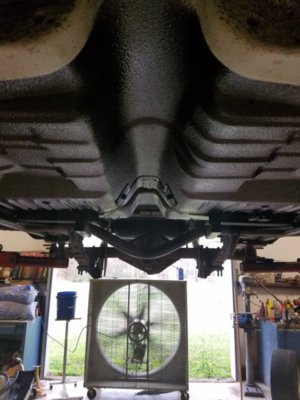
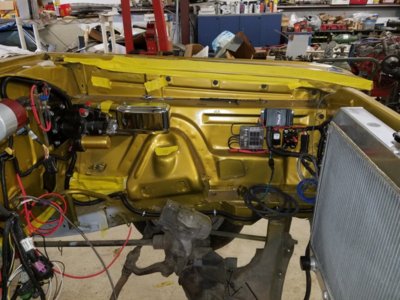
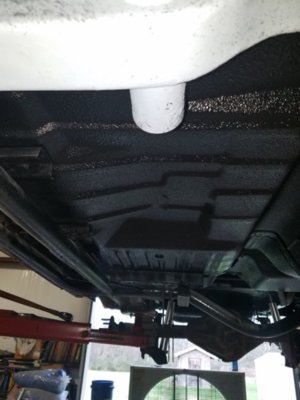
Also picked up my new ( recovered dashpad), mounted the MC
So I bought the hydroboost from a member here who said it was for 64-66 b body...this thing looks a little long, my MC is over my shock mount. Can anyone that's running a hydroboost measure from their firewall mount to the actual booster?


Last edited:
Glenwood
Well-Known Member
- Local time
- 5:55 AM
- Joined
- Jun 19, 2015
- Messages
- 2,925
- Reaction score
- 2,851
- Location
- Kawartha Lakes, Ontario
Looks good Mike...like new!
- Local time
- 4:55 AM
- Joined
- Dec 4, 2009
- Messages
- 39,055
- Reaction score
- 55,375
- Location
- Pasadena, Texas
Mike67
Well-Known Member
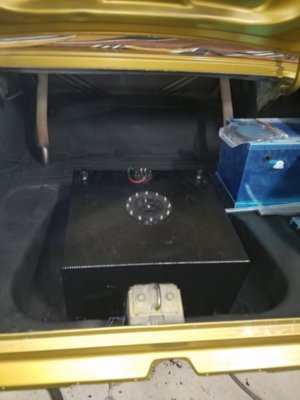
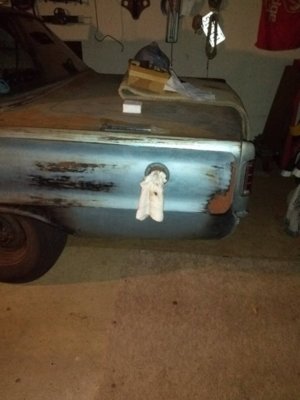
Haven't done much to mine in the last couple of weeks....and now it's on the....well, this.
View attachment 896955
Don't turn it into a storage bench, don't do it!!!
- Local time
- 4:55 AM
- Joined
- Dec 4, 2009
- Messages
- 39,055
- Reaction score
- 55,375
- Location
- Pasadena, Texas
The focus was with the rag in the gas fill lol but what little that's on it now is very temporary. The box has sand paper rolls in it and the carpet is my 'prayer' carpetDon't turn it into a storage bench, don't do it!!!
Mike67
Well-Known Member
Mike67
Well-Known Member
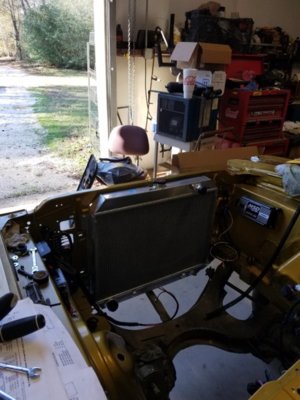
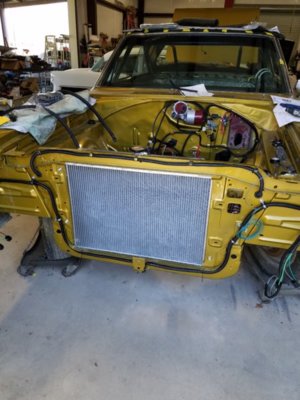
Have had a whole lot to take pics of lately but started putting the face back on... I've never seen the car like this, Its always been just the core support...
Brake lines are done, and fuel lines ran..
Does anyone have a detailed view of the grill assembly? The FSM has a very small and rudimentary pic . Thanks
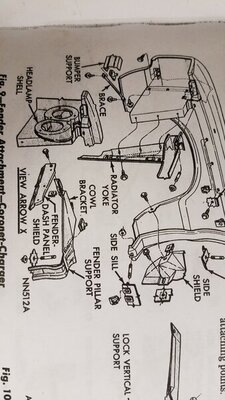
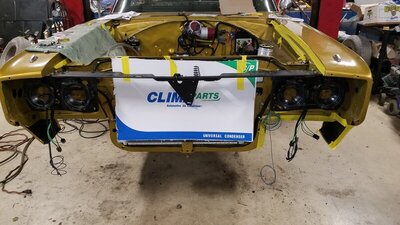
Brake lines are done, and fuel lines ran..
Does anyone have a detailed view of the grill assembly? The FSM has a very small and rudimentary pic . Thanks


- Local time
- 5:55 AM
- Joined
- Oct 16, 2014
- Messages
- 27,941
- Reaction score
- 66,030
- Location
- Salisbury, Vermont
Download the 67 parts manual from the MYMOPAR forum in the reference library and find the blowup of the grill to see what all goes together and how.Have had a whole lot to take pics of lately but started putting the face back on... I've never seen the car like this, Its always been just the core support...
Brake lines are done, and fuel lines ran..
Does anyone have a detailed view of the grill assembly? The FSM has a very small and rudimentary pic . Thanks
View attachment 951810 View attachment 951811
Mike67
Well-Known Member
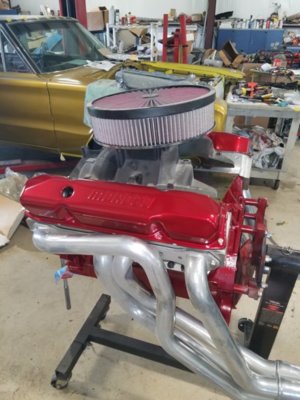
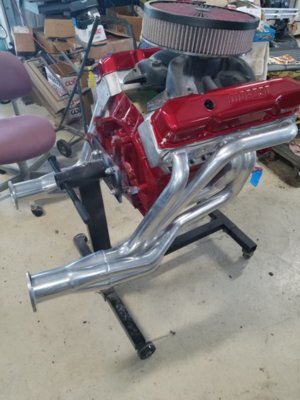
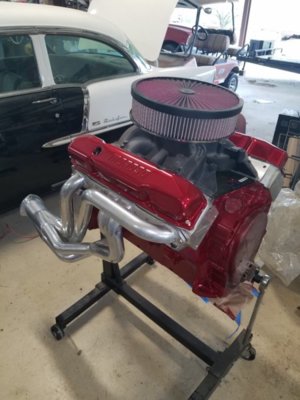
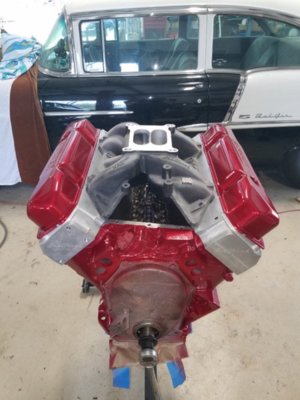
Well got my trans back, mated it up to the block have everything bolted together and ready to lower the car on to the k memeber.
Only problem I had was that my ARP heads studs interfered with my 452 header flanges below the ports. Luckily I had a set of 12 pt ARPs that I was able to swap with.
Also 2" headers will not mount with borgenson box installed. Had to remove it and reinstall. Plenty of clearance afterwards though.
Might be able to fire it off next weekend!!!!
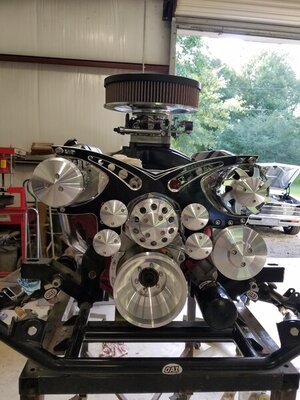
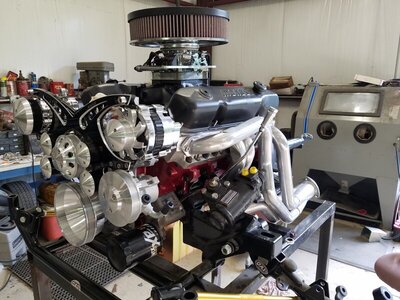


bearman
Well-Known Member
nice job that's going to be a great ride.Awsome looks good. You went with the a the A pillar.
Mike67
Well-Known Member
Thanks, I hope so....or it's going to be an expensive display of parts!!!! Lol!nice job that's going to be a great ride.
Mike67
Well-Known Member
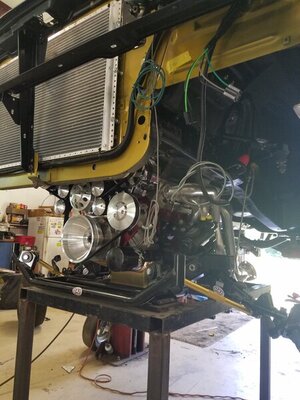
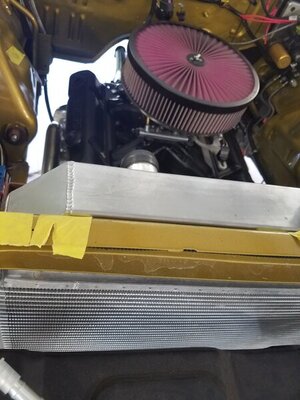
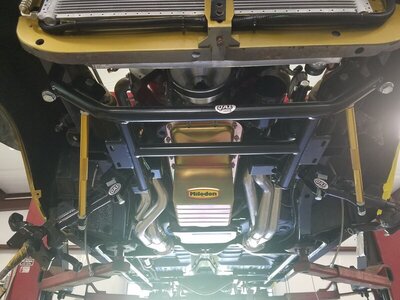
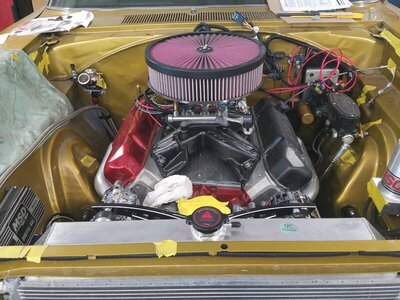
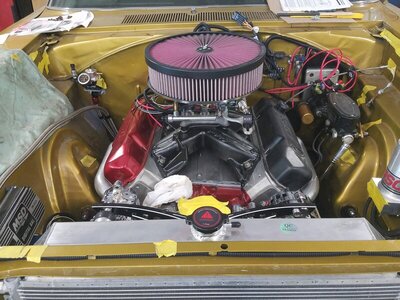
Well made some progress today, not as much as I had hoped though. Had to leave the shop early for my daughters prom...but I was able drop the car onto k member with the motor trans.
Man it was so nice , I did have to cut out my model mounts though. Wasnt going to use them anyway with thos build.
Went to install the PST t-bars and wouldnt you know it was barely touching the header. Probably would have cleared smaller tubes but mine are 2".Thank God for the lift, made it pretty easy to drop out from the bottom....2 times... hated to dent thè ceramic coating but had no choice. Its in!!! Had the black VCs on to keep from scratching the Painted ones, but actually kind of like them...
I am really disappointed that more of the serpentine set up cant be seen though..


Last edited:
Mike67
Well-Known Member
Mike67
Well-Known Member
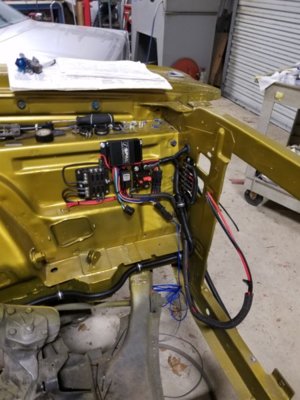
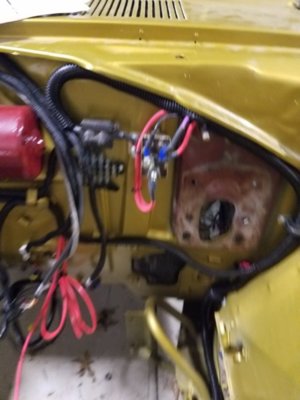
Not sure if I'm going to be able to light it off tommorow... closing on my re-fi.
Everything is made up except the battery and distributor side of the plug wires. Would have had that done but none in my area has a plug wire crimper...
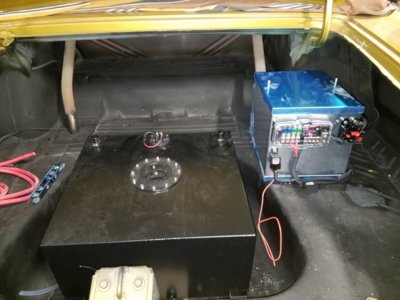
Had to wire up my speakers/sub and amp so I could install my fuel cell...
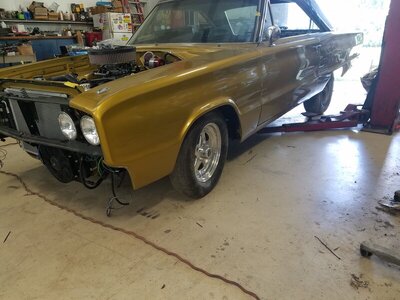
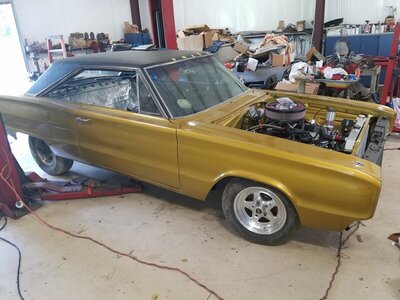
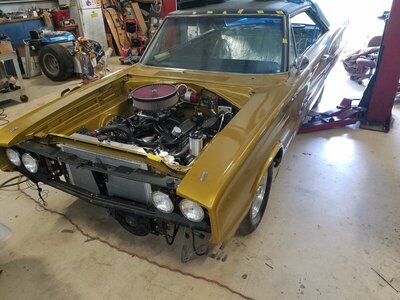
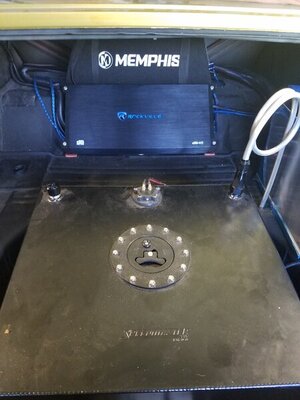
Everything is made up except the battery and distributor side of the plug wires. Would have had that done but none in my area has a plug wire crimper...
Had to wire up my speakers/sub and amp so I could install my fuel cell...


Similar threads
- Replies
- 20
- Views
- 1K
- Replies
- 0
- Views
- 206
- Replies
- 19
- Views
- 600

