You are using an out of date browser. It may not display this or other websites correctly.
You should upgrade or use an alternative browser.
You should upgrade or use an alternative browser.
70 Roadrunner restoration
- Thread starter TDawg
- Start date
Propwash
Well-Known Member
- Local time
- 12:44 AM
- Joined
- Oct 29, 2009
- Messages
- 9,710
- Reaction score
- 4,328
- Location
- Island of Misfit Toys
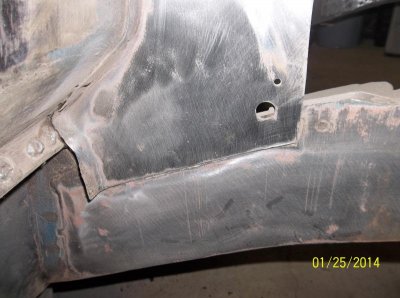
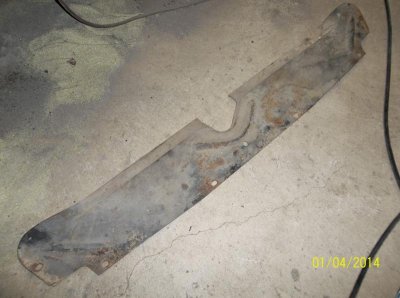
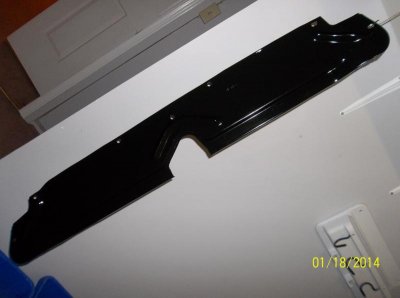
Well.....that piece is not typical, but it is pretty typical for the original piece to bust off. The two baby sized spot welds that held the original on were real flimsy. Good luck, nice concoction for the archives you got there.
1971 plymouth roadrunner
Well-Known Member
That is one rockin engine going into one rad ride
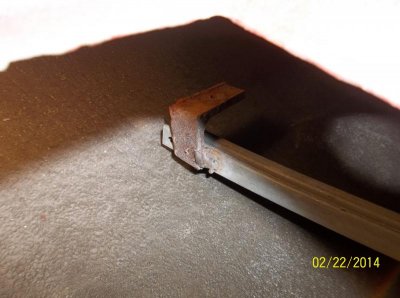
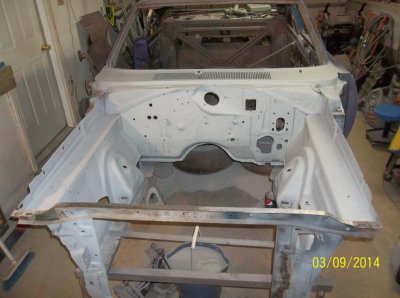
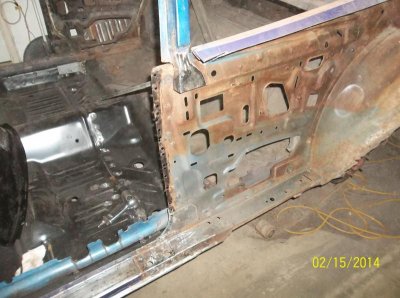
I've got one of those brackets laying around depending on which side it is, you are referring to the bottom of the vent window track right? Engine compartments looking much better.
- - - Updated - - -
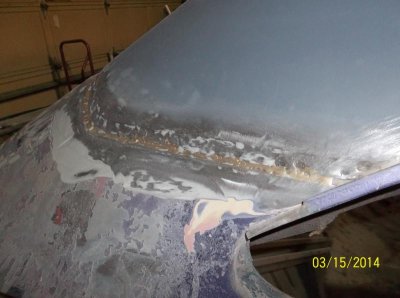
Yeah I don't think that seam is right, usually just spot welded on.
- - - Updated - - -
Yeah I don't think that seam is right, usually just spot welded on.
Thanks 747mopar, I've seen a couple of roof seams on this site, and they look like they are spot welded on. The bracket the picture is taken is on the driver's side door. You are correct, that is the bottom of the vent window track.
Ron 73
Deceased, But not forgotton
Looks like some good work you have going on TDawg! That engine bay looking ready for a power plant beast when the time comes! Love the body style on the 70 Road Runner my wife's real favorite of old days past, good luck on this build!
Propwash
Well-Known Member
- Local time
- 12:44 AM
- Joined
- Oct 29, 2009
- Messages
- 9,710
- Reaction score
- 4,328
- Location
- Island of Misfit Toys
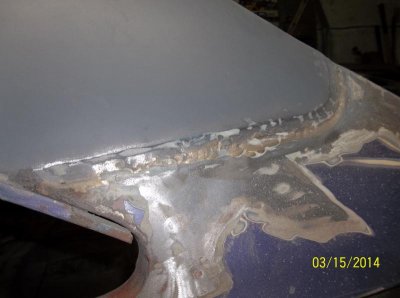
Wow...Someone wasn't playing games with the C-Pillar transition. Well, she's tough as nails now! You & 747 are dead on...spot welds with a couple little stitch welds in that quarter to roof seam.
Unfortunately when they brazed the quarters on, they warped them all to hell below the seam.... hence I peeled off bodyfill over 1/4 inch thick. That will be rectified with new AMD quarters.
- Local time
- 12:44 AM
- Joined
- Jan 1, 2013
- Messages
- 8,050
- Reaction score
- 3,467
- Location
- Mascoutah, Illinois
Unfortunately when they brazed the quarters on, they warped them all to hell below the seam.... hence I peeled off bodyfill over 1/4 inch thick. That will be rectified with new AMD quarters.
That's the attitude Tdawg ... keep the train moving. One pulls into the station make sure to put something on it cause another one is coming. Keep that up and you'll be done in no time
Ron 73
Deceased, But not forgotton
Unfortunately when they brazed the quarters on, they warped them all to hell below the seam.... hence I peeled off bodyfill over 1/4 inch thick. That will be rectified with new AMD quarters.
Ouch, But doing it right this time will mean no problems in the future, but it will get smoother! Thats what i tell myself when im in trouble with body parts that were meant for some science experiments..
mr. b
Well-Known Member
nice work looking good
Ron 73
Deceased, But not forgotton
Tdawg, that looks like some good work and seeing it with what you did in the car itself, she looking good for sure! i know it seems like forever doing one, but you have done some excellent work, im sure took more time then you wanted but looks great especially if you want to take it out and run it but its cool to be able to say "I did it" Keep on keepin on!!! 
Thanks for the encouragement Ron, I really appreciate it! I just have to remind myself not to get overwhelmed by the amount of work needed to bring her back from the ravages of time. Just break it up into small jobs at a time and hopefully that will work....
Ron 73
Deceased, But not forgotton
Please, Don't thank me man, ive been to many sites and first hand been in guys garages and seen there work and the best ive ever seen is right here, the guys here are taking cars and some that's in worse shape then any other ive seen and taken the time, the effort, money and done things most would say cant be done. Encouragement we all need because we all have bad times with things in life whether money or just plain trying to raise the young ones lol.. And you are right 100% sometimes if we look at these cars as a whole, its very easy to get discouraged but as one says here, look at one piece at a time and we will be able to do it and move on to that next piece, I appreciate your thoughts but you are the one doing the work, when its all done with you'll be able to look back and say "i did it" means as much to me as the first drive in one...Takes the dedication to the cars we really do love, they seem special so we somehow have the ability to go that extra mile!! Great work and good luck to you!.
hunt2elk
Well-Known Member
Great work so far TDawg. I have to give you a lot of credit for plugging ahead with such upbeat enthusiasm - and repairing everything correctly. This project has really turned out to be WAY more than you expected I'm sure. It's amazing how many hidden surprises get uncovered when tearing these cars totally apart. :VB toast:
Similar threads
- Replies
- 68
- Views
- 4K
- Replies
- 9
- Views
- 989

