• When you click on links to various merchants on this site and make a purchase, this can result in this site earning a commission. Affiliate programs and affiliations include, but are not limited to, the eBay Partner Network.

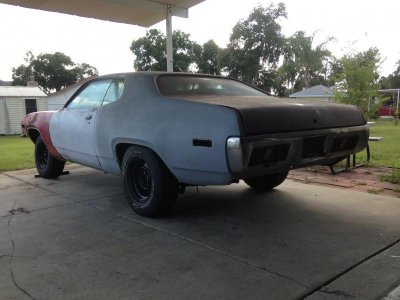
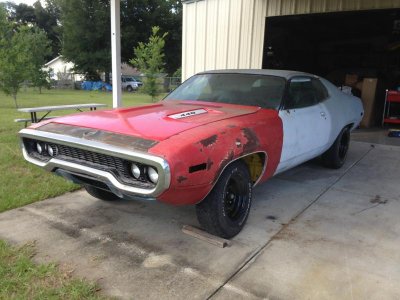
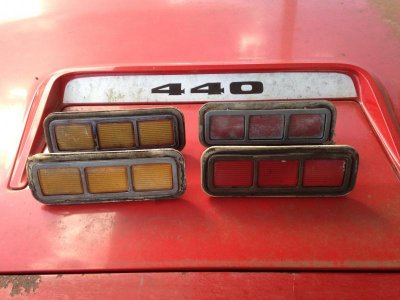
71 Road Runner Restoration Started

makes sense. I lost my Uncle Jim last month at 59 to a stroke. His place is overflowing with years of unfinished projects, including his unfinished shop building. He was too busy working and finding new projects, and sadly few were ever finished. Clint said it best..."a man has got to know his limitations"
 
View attachment 253702

- - - Updated - - -

Restored the door hinges. Disassembled / blasted them and installed new pins, bushings, roll pins, springs and rollers. I bought a rebuild kit a while ago from Jeff @521.

- - - Updated - - -

View attachment 253703

- - - Updated - - -

This is a close up of the upper hinge that shows the new door pin and bronze bushings..............

- - - Updated - - -

View attachment 253704

- - - Updated - - -

Followed by a close up of the lower hinge that has all new parts in it as well.

Bushings, spring, and roll pins make this a nice kit.

- - - Updated - - -


Hi Louis,
I have the same rebuild kit. I have found that there is not enough clearance between the hinges to fit the flange of the brass bush. Did you recess your flange or did you spread your hinge a little bit? I hope this makes sense.
 
Your right Basket Case. As you mentioned with the quote from Inspector Callahan, I have to agree...............

"A man has to know his limitations..........."

I want to enjoy driving my cars for a while, even though it is relaxing for me to turn wrenches on them.

Yes Chargerjase, it does make sense. I simply ground down the contact points a little to make the bushings fit in between the two parts. You will have to grind down enough to get the "E" clip to snap into position. Grind it down just a little, check it, repeat as necessary.............

Hope this helps you.

BTW, I just listed the 72 Satellite and the A4 Road Runner on C/L.

I will list the air grabber car after dinner................

Might post them up here too.
 
Wow Louis, It's a good thing I live way up north, or I would be REALLY tempted!
I just love those 71-72 Roadrunners!
 
Thanks Louis, I have been agonizing over how to do this for a while now. I was trying to come up a counter bore drill bit. I will just carefully shave the hinge to make it fit. Cheers for that

Jason
 
Hello again Jason.

Here is some more information that may help you on your quest to rebuild your hinges...............

You will probably need to drill out part of the hinge to allow room for the new bronze bushing to be pressed in. It would be best to measure the outside diameter of the bushing and use an appropriate sized drill bit. Most of the time this area gets worn so you may not need to open the hole up very much at all. Try test fitting the new bushings first before you start drilling.

Please be careful when you drill out the hinge. It would be best to mount the hinge in a bench vice before you start drilling. Otherwise, if the drill bit catches (or just as it is breaking through the back of the hole in the hinge) it can get accidentally ripped out of your hand and hurt you pretty bad.

Also I just listed the B-5 RR on C/L now. It's killing me................ But it will be best in the long run. Maybe tomorrow I will post them up here on FBBO too.

Take care and have a good night.
 
Thanks Louis, I will be careful. You are a real good guy mate and I appreciate your concern. I now have a clear picture of what to do thanks to you. I really hope you are able to sell your RR . I do feel your pain brother. I wish I could buy it myself.
 
News update....................

Yesterday I sold the B-5 blue RR and air grabber hood.

Hopefully she will get the TLC she deserves.
 
Another news update:

I had several people stop by and look at the 71 RR and 72 SSB.

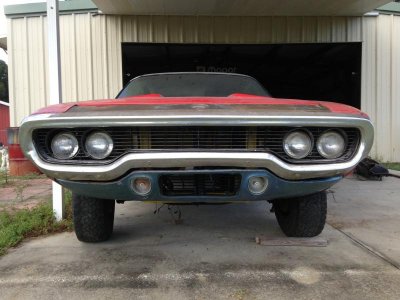
Since then I finally got the time to bolt on some of the parts that were missing from the 71. It has a very nice / complete front lower valance and front grill. Then I dug out the rally dash. I'm hoping to get it bolted back in so the car presents better.

- - - Updated - - -

image.jpgimage.jpgimage.jpgimage.jpgimage.jpg

- - - Updated - - -

While I was at it I went ahead and bolted on the set of 15 inch steel wheels that I had set aside for the car.

- - - Updated - - -

image.jpgimage.jpg

- - - Updated - - -

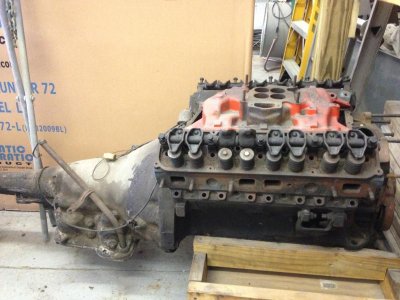
Then I brought out the original numbers matching 383.

Called it a day afterwards.
 
Bye bye Birdie....................

This afternoon was bittersweet.

I sold the A4 Winchester Gray Road Runner to a nice young couple who live reasonably close. Their plans are to restore it which is just what I wanted all along. I think it has gone to a good home. We are supposed to keep in touch and I'm looking forward to progress updates.

Earlier in the day I had someone else stop by, and they seemed to be very interested in purchasing the Satellite. The Dad is out of town right now and I should know something when he gets back, which should be in a week.

So my goal of "downsizing" so that I can concentrate on finishing up the 2 Challengers is getting closer.

2 down, 1 to go........................ Both Road Runners are gone. I may end up having some extra parts left over. I'll keep you all posted.

Meanwhile,

here is a little teaser of things to come....................

- - - Updated - - -

Six Pack Shaker kit.jpg

- - - Updated - - -

This is from the "Shakerhood.com" website

- - - Updated - - -

You all have a good night.
 
Chrismas in July

I just ordered some stuff for my 70 lime green Challenger. (I know, it's not a "B" body, still a cool Mopar though)

I had a new AMD "Shaker" hood for it, and I kept the complete "Six Pack" and 4 speed setup stuff when the Road Runners were sold.
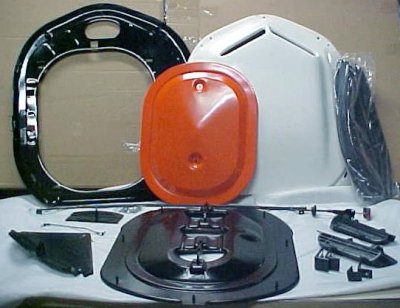
So I had to get the rest to make it complete. A company called Shakerhood.com is where I ordered the complete Shaker bubble assembly and cables from.

This is what should be shipped out tomorrow:

- - - Updated - - -
MVC-845S.jpg

- - - Updated - - -

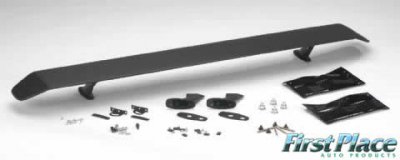
I also want a "Go-Wing" for the trunk lid.

I ordered this from "First Place Auto Products" and it should be shipped tomorrow as well.

- - - Updated - - -
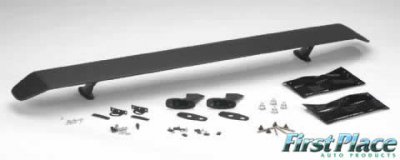
FP601-1.jpg

- - - Updated - - -

I'll post up the pictures when the new stuff comes in.

- - - Updated - - -

I know it may sound silly, but I want to get a lot of the hard stuff out of the way for the 70 car and start collecting parts for it as I can. (even though I won't be working on it for a while yet)

The misses and I decided on a nice color for the 73 Challenger which will be the next car I restore.

- - - Updated - - -
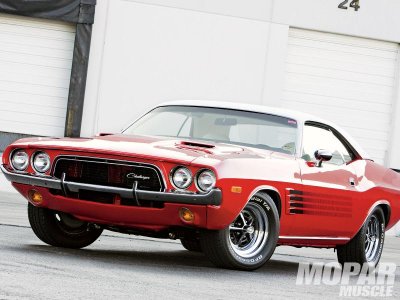
IMG_7164.jpg

- - - Updated - - -

Something like this, but with a black top instead of white.

- - - Updated - - -

This one looks like it's a 72 model year judging by the bumper guards.

- - - Updated - - -

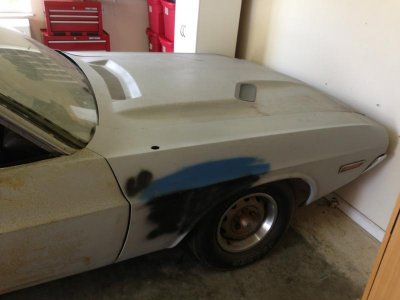
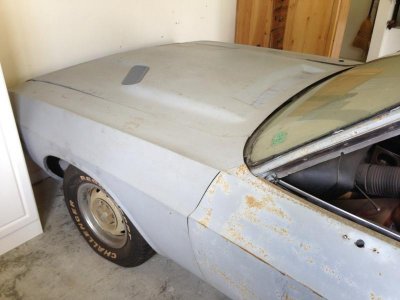
For right now, this is how our 73 Challenger looks.

We have a long way to go with it.................. But the body is really very solid. It has the typical lower quarter panel rust, but everything else is nice. Years ago I did some patch work on the floor pans. That was before AMD came to the rescue with one piece replacement metal for it. So I will end up putting complete quarters, a Dutchman, and front / rear floor pans in it.

- - - Updated - - -

IMG_8080.jpg

- - - Updated - - -

Have a good one !!!!!!!!!!!!!!!!
 
Louis, you'll get it and your truly right, its a MOPAR and i personalty enjoy when others share there other toys!!!
 
Well everyone, I've got some more news...................

Most of you know that I had the 72 SSB listed for sale on Craigslist if you have been following this thread. The two Road Runner projects are gone. I sold them.

I had various persons stop by and look at the car, but everyone was afraid it was too much of a project for them.

This was also brought to my attention here on FBBO where my Craigslist add was posted as "not mine". I watched what these FBBO members had to say and listened. What everyone said made perfect sense. So I decided to carry on with the 72 Satellite project. (The car is too solid in my opinion to cut up for parts, and I didn't want to just give the car away.)

I pulled the Craigslist add.

But I'm still going to stick with the original plan to make it a very nice driver to enjoy. 440 with a "Slap Stick"

For now, the Challengers will go back on the rear burner.................... again.

Sorry for the roller coaster ride.

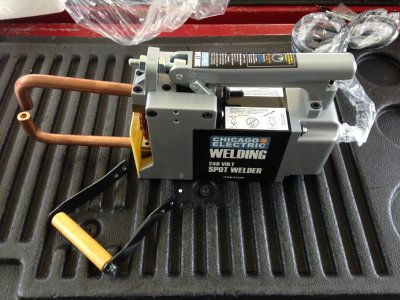
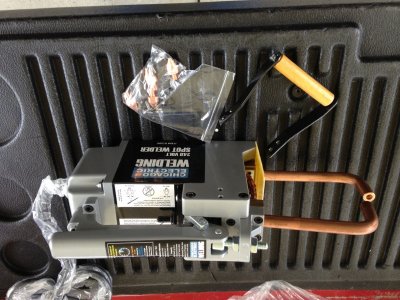
Meanwhile, I wanted to try something new. So I picked up a spot welder. It's not some big industrial style unit, but is supposedly capable of welding up to 3/16" steel. It also has a 50% duty cycle, and is 240 Volts, so it should be OK for what I need. The depth of the tongs will be the limiting factor.

(The next tool on the "wish list" is a stud welder so I can install the little chrome clip rivets.)

- - - Updated - - -

IMG_4163.jpgIMG_5598.jpg

- - - Updated - - -

When the Challenger Shaker stuff and "Go-Wing" arrive, I'll still post up some pictures.

Hope you all have a SAFE and Happy 4th of July.
 
I wonder if you could fashion some longer tongs out of copper pipe?

Good decision with the car. :)
 
I wonder if you could fashion some longer tongs out of copper pipe?

Good decision with the car. :)

I don't know if I could or not. I have to pull them out to see if they are solid copper or not. I have been looking at other longer style tips that can be purchased separately. I also have to make sure I have a decent source for the welding tips for this one.

Meanwhile I have been doing some more research on stud welders.

This is the one I am leaning towards purchasing next:

- - - Updated - - -

p39093.jpg

- - - Updated - - -

It will allow me to properly install those pesky little chrome clip studs that go around the windows and are used in some places for things like vinyl top chrome.

This unit has a good industrial type transformer and has a better arrangement for holding the studs in place while it is held vertical. Apparently on some of these welders if they are held in a vertical plane the stud will fall out making them not very "user friendly".

I always try to do my research and never scrimp on buying tools, especially on something like a welder. (after all welds are what hold our cars together)

- - - Updated - - -

Today I got a confirmation email on the "go wing" spoiler. It is on it's way now. Apparently there was a little SNAFU with it since it was ordered right before the Holiday. Hopefully I will see it soon.

Meanwhile, the complete "SHAKER" bubble assembly left Idaho a few days ago and is somewhere closer to my home........................

- - - Updated - - -

It was shipped the very next day after I ordered it.
 
Thanks for the lead msnicks.

I'll be checking into that for sure. I have been leaning towards getting the 9000 unit based on the reviews.

The "SHAKER" bubble assembly came in yesterday while I was at work. I'll be taking some pictures of it and posting them here soon. The "Go-Wing" is scheduled for delivery on Monday.

Please stay tuned .............
 
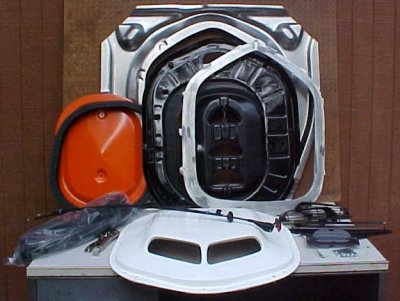
Here are some pictures of the Shaker bubble. It's a very nice, complete kit. I'm STOKED !!!!!
- - - Updated - - -

IMG_2166.jpgIMG_9801.jpg

- - - Updated - - -

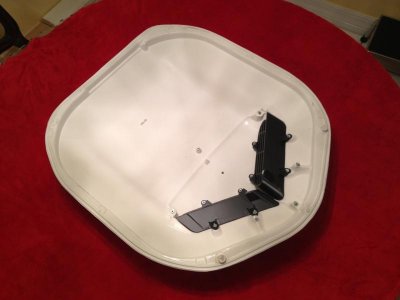
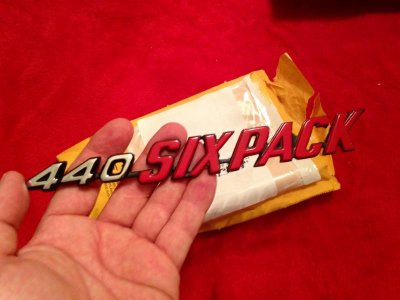
This is the bubble itself. Came with the metal grills installed. The holes have to be drilled out to mount it to the base and install the "440 SIX PACK" emblems.

- - - Updated - - -

This is the one considered the "upgrade" bubble.

- - - Updated - - -

IMG_1292.jpgIMG_1501.jpgIMG_6236.jpg

- - - Updated - - -

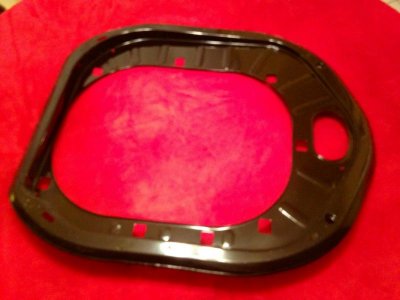
Here are a few shots of the Shaker outer base trim ring. The bell crank is installed.

- - - Updated - - -

It's dusty from the shipping material that was inside the box. Shredded paper makes a huge mess.............................

- - - Updated - - -

Protected the parts nicely though.

- - - Updated - - -

IMG_5706.jpg

- - - Updated - - -

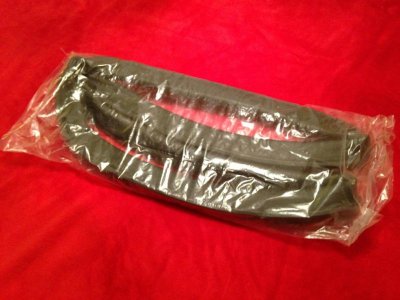
Shaker Hood seal.

- - - Updated - - -

IMG_0616.jpg

- - - Updated - - -

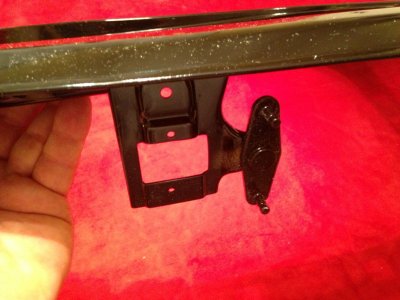
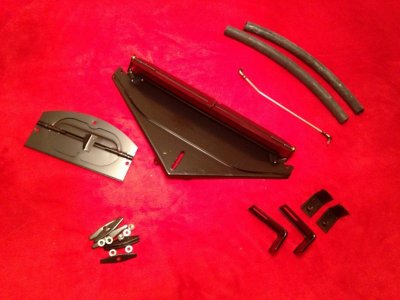
Cold / warm air doors, mounting feet, connecting rod, drain tubes and captive washers / nuts .

- - - Updated - - -

IMG_2331.jpgIMG_4991.jpg

- - - Updated - - -

IMG_8288.jpg

- - - Updated - - -

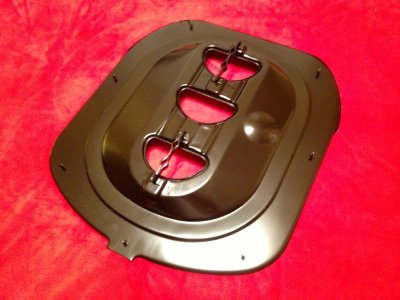
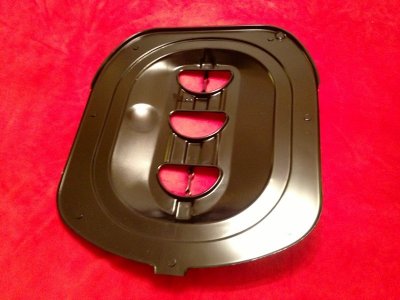
Six Pack base and air cleaner lid.

- - - Updated - - -

IMG_4096.jpg

- - - Updated - - -

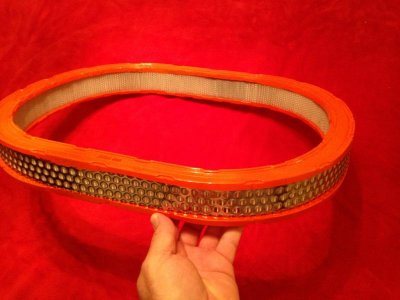
Six Pack air filter element......................

- - - Updated - - -

IMG_2823.jpgIMG_7421.jpg

- - - Updated - - -

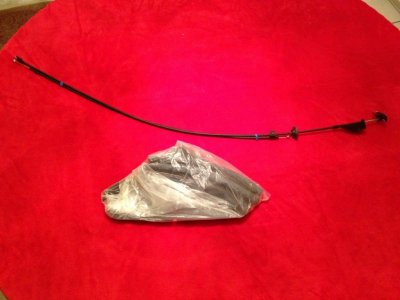
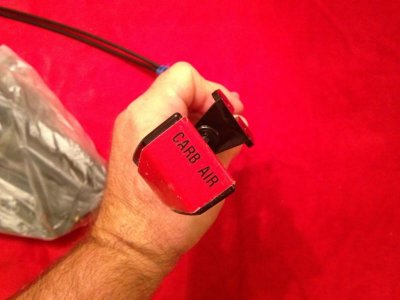
Carb air door cables

- - - Updated - - -

IMG_2990.jpgIMG_8641.jpg

- - - Updated - - -

So now this hood will go on my 73 Challenger.

- - - Updated - - -

IMG_0714.jpgIMG_5683.jpg

- - - Updated - - -

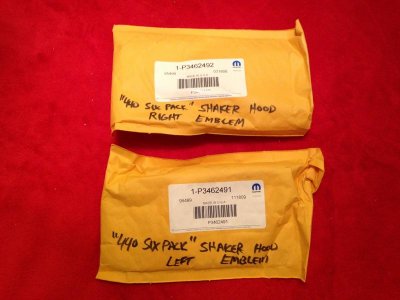
A few years ago I ordered these emblems from our local Dodge dealership. I have been waiting for this day for many years........................

- - - Updated - - -

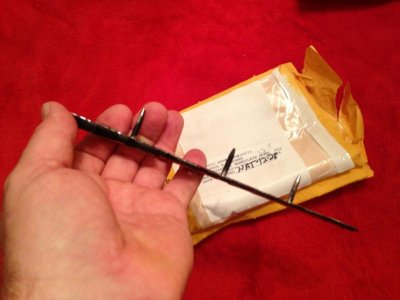
The emblem for a Shaker hood is a little different than one for a Rally hood.

Here is the difference:

- - - Updated - - -

IMG_1054.jpg

- - - Updated - - -

This is the one for the driver side. If you look close you will see where the front edge is thicker than the rest of the emblem. It tapers towards the back. The rally hood emblems are the same thickness front to rear.

- - - Updated - - -

The stud pattern may also be different. I didn't check that though.

Have a great weekend....................

- - - Updated - - -

FP601-1.jpg

- - - Updated - - -

Now hopefully on Monday........................
 
Auto Transport Service
Back
Top