• When you click on links to various merchants on this site and make a purchase, this can result in this site earning a commission. Affiliate programs and affiliations include, but are not limited to, the eBay Partner Network.

71 Road Runner Restoration Started

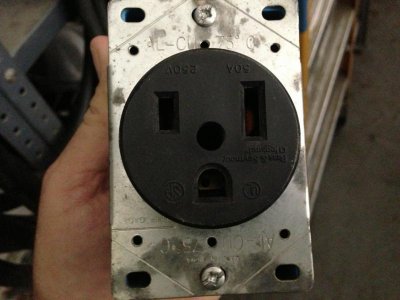
This afternoon I went out in the shop and tinkered with the new spot welder. First off I had to adjust the welding tongs and install the proper male plug for the outlet.

- - - Updated - - -
IMG_9498.jpg

- - - Updated - - -

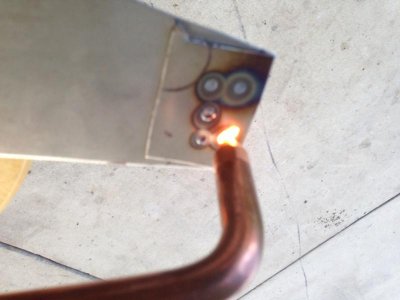
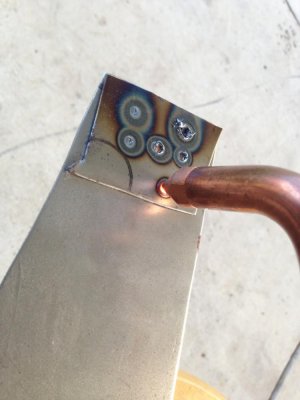
Once that was done I practiced on some scrap 18 gauge sheet I had laying around.

- - - Updated - - -
IMG_4554.jpg

- - - Updated - - -

This one is TOO hot......................

- - - Updated - - -
IMG_1371.jpg

- - - Updated - - -

This one is just right.....................

- - - Updated - - -
IMG_3381.jpg

- - - Updated - - -

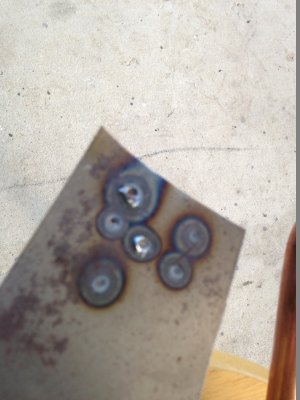
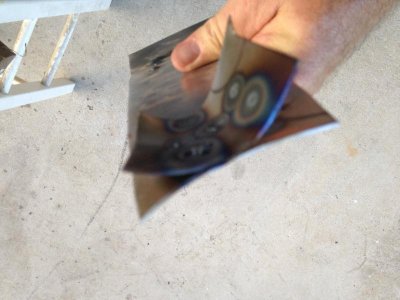
It's all in the timing and tip pressure. Once I got it sorted out I decided to try some "destruction" testing to see just how strong the welds were.

- - - Updated - - -
IMG_1298.jpg

- - - Updated - - -

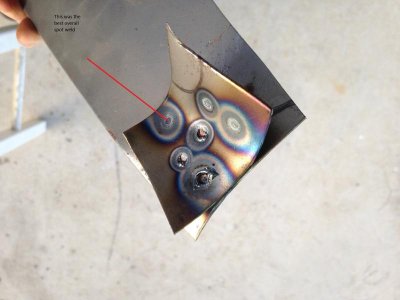
The two outside edge spot welds snapped real quick. I thought they would since these were my first attempts.

- - - Updated - - -
IMG_9499.jpg

- - - Updated - - -

This last photo shows the end results. I added a red pointer to show the best overall weld. It had a slight "dimple" to it and had good penetration. The others that stayed intact were just too hot and ended up melting away some metal, almost to the point of blowing out a hole in the metal.

- - - Updated - - -

I can see now why the factory used spot welding. It's very quick...................... Something you need for mass production.

I will have to practice with this for a while until I feel good enough to start welding on the cars with it.

It was a good investment.

Take care, and hope you all had a great weekend.
 
Challenger Update......................

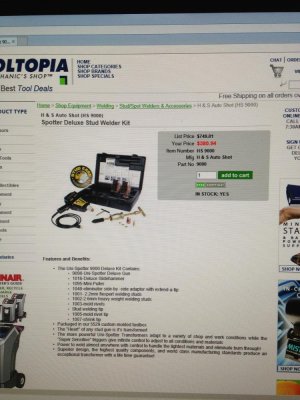
I want to begin with by thanking mrsnicks for the lead on the stud welder.

I went ahead a few hours ago and pulled the trigger on this. It should arrive in 2-3 business days and ships out tomorrow.

Thanks again !!!!!!!!!!!!!

- - - Updated - - -

IMG_7453.jpg

- - - Updated - - -

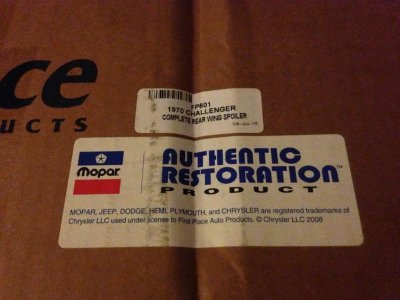
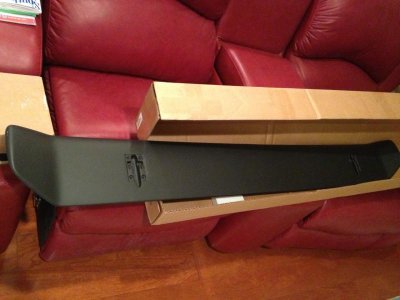
Meanwhile the "Go-Wing" arrived yesterday while I was at work. I managed to get a few photos of it a few minutes ago.

Here they are:

- - - Updated - - -

IMG_6885.jpgIMG_7671.jpg

- - - Updated - - -

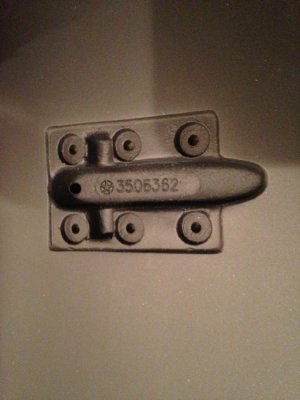
The wing looks really nice. This one has the "Mopar" part numbers cast into it under the pedestal mount.

- - - Updated - - -

(Not that you can see them when it's installed)

- - - Updated - - -

IMG_5949.jpg

- - - Updated - - -

IMG_8816.jpg

- - - Updated - - -

Back in the box for now.................................

You all have a good night.
 
Pretty cool . . . all kinds of new shineys for the car . . .doesn't get any better than that ! !

Whooohooooo ! ! !
 
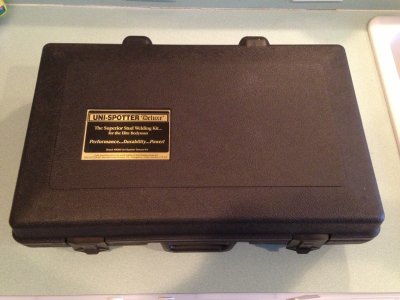
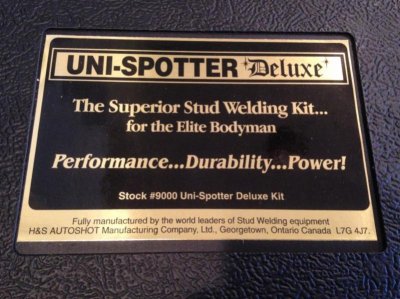
Stud Welder Arrived !!!!!!!!!!!!!!!

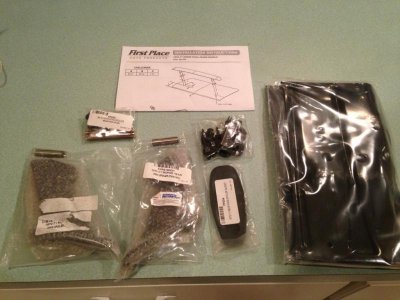
This was at my door step today......................

- - - Updated - - -

IMG_8604.jpg

- - - Updated - - -

IMG_1034.jpg

- - - Updated - - -

IMG_2506.jpg

- - - Updated - - -

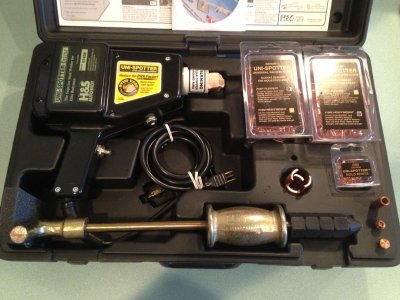
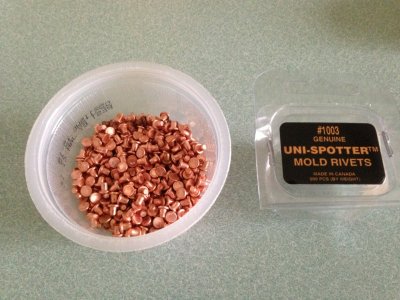
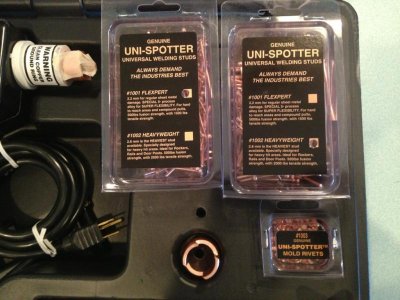
I didn't know how many of the chrome clip studs were in this kit so I ordered another package of them when I placed the order for the tool.

Looks like I'll have enough for 3 lifetimes now.............. 500 extra in the package.

- - - Updated - - -

IMG_1845.jpg

- - - Updated - - -

IMG_9050.jpgIMG_9107.jpg

- - - Updated - - -

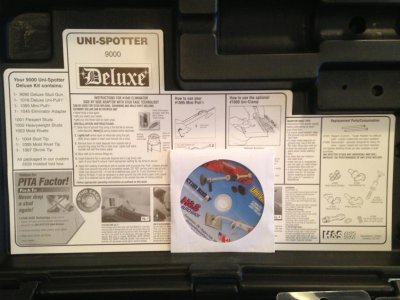
It came with HD pull studs and regular use ones. Looks like I'll be watching a DVD on how to operate it....................

- - - Updated - - -

IMG_5230.jpg

- - - Updated - - -

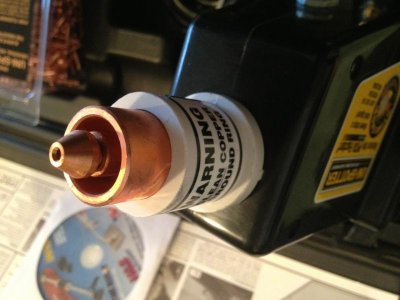
Here is the "business end".........................

- - - Updated - - -

It came with 4 tips.

- - - Updated - - -

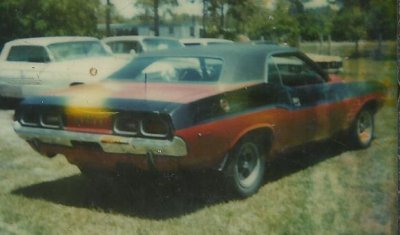
Earlier today I pulled out an old rear lower valance that I saved from my very first Challenger..............................

- - - Updated - - -

72 Challenger 01 001.jpg

- - - Updated - - -

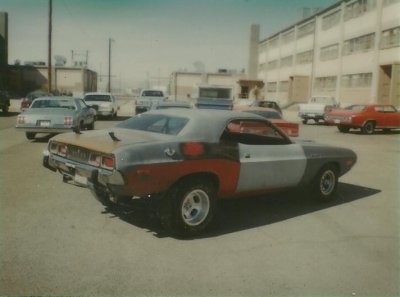
This is an OLD picture from way back in the day.......................

- - - Updated - - -

After this picture was taken I started replacing body panels on the car since it had some rust. The rear valance was one of those parts I replaced.

- - - Updated - - -

Another thing I did in my "Youth" was I jacked the rear end of the car up. Not being concerned back then I simply cut the valance to clear the extended spring shackles................

- - - Updated - - -

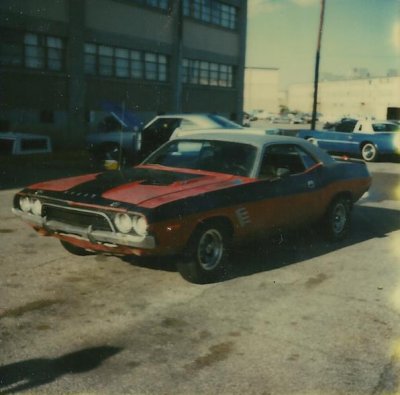
72 Challenger 03 001.jpg

- - - Updated - - -

Here the car is again during it's "transformation"........................................

- - - Updated - - -

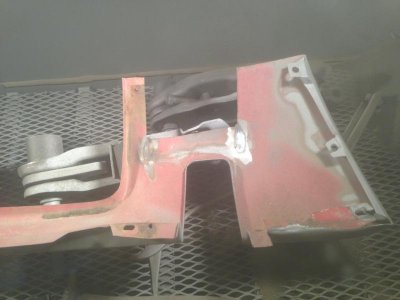
Anyhow today I started repair all of the damage I stupidly did when I was a kid..................

- - - Updated - - -

IMG_2099.jpg

- - - Updated - - -

In this picture you can see where I welded up the metal that was folded under and you can see the huge missing section.

- - - Updated - - -

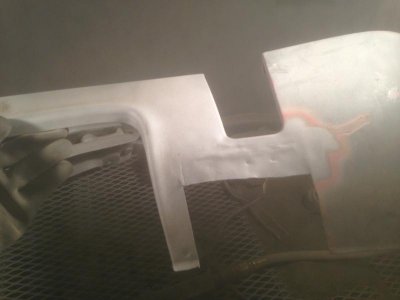
IMG_1777.jpg

- - - Updated - - -

This is just a rough shaping. It will need a LOT more work.

- - - Updated - - -

IMG_8329.jpg

- - - Updated - - -

The valance was taken from a red 70 Challenger that I found in a salvage yard back in the mid 80's.

- - - Updated - - -

I will still have to cut a metal patch and weld it in on each side, along with some more hammer / dolly time to get it straight.

The 73 valance mounts a little different than a 70-72 one.

- - - Updated - - -

012.jpg

- - - Updated - - -

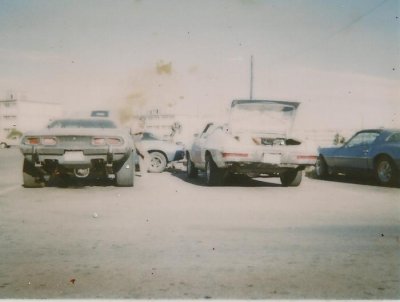
If you look close you will see the extended shackles I was talking about earlier in the post.

- - - Updated - - -

003.jpg

- - - Updated - - -

Here it is again on the left. At this point in the cars life, it was solid gray primer and it had a 440 in it with a 4 speed. (Sorry, but I had put a cheesy plastic chrome cover on the back of the 8.75)

- - - Updated - - -

Finding these old pictures was a walk down memory lane for sure.....................................

- - - Updated - - -

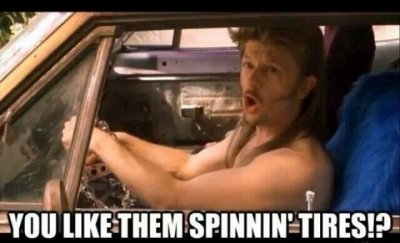
Kind of looks like something Joe Dirt would drive !!!!!!!!!!!!!!!!!!!!!

DANG !!!!!!!!!!!

- - - Updated - - -

You all have a good night.

- - - Updated - - -

7454418aef594dbba7bac367484ace53.jpg
 
Hey just read through most of your thread awesome work, I wish I had the time to do what you do
 
Hey just read through most of your thread awesome work, I wish I had the time to do what you do

Thanks Roger.

Unfortunately I haven't had too much time here lately to do anything out in the shop. A lot has been happening here lately and the projects haven't been priority.

That will soon change though.

Thanks again for the compliments.
 
Well it is Sunday morning and I was going through the projects section as usual and decided to go through this whole thread. Damn, your a busy guy and I hear ya on the "I'm not getting any younger" part. I think getting the satty to the point where it wouldn't be such a big
project for someone to take on is another option to look at. I always seem to have too much to do and not enough time to do it as well, hence getting rid of a lot of things that I didn't need or wouldn't get too and even down sized on my wood working tools. Best wishes
on your continued healing of the shoulders and continued good luck with your projects. I hope to one day get back to my project before I drop dead LOL.

Robert
 
Louis i pray for the continuing healing for you myself, im fighting an ulcer myself now but i still manage to plug away with stuff, i agree with speedfraek, you are one busy dude, looking real good to, Im glad to be able to come hear and get the inspiration to move on lol, im busy with wood mostly now but almost have it ready, canning season coming soon and when winter gets here, rest and recreation will come doing this stuff, hopefully looking as great as your work and so many others! Take care bud. :)
 
Well here is the update as promised:

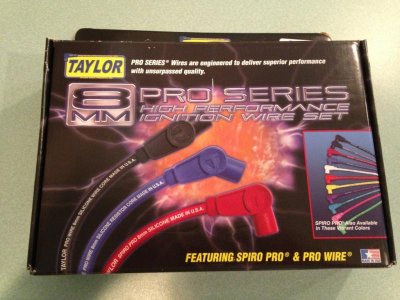
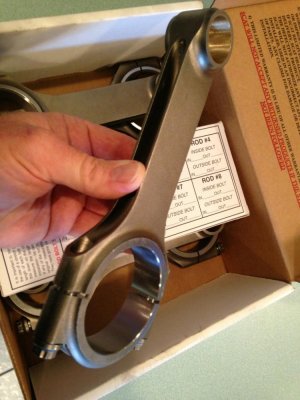
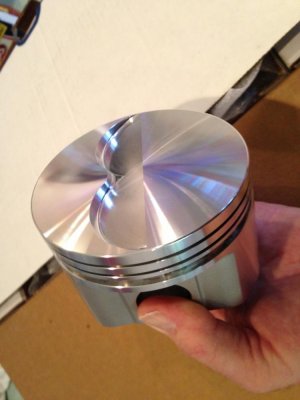
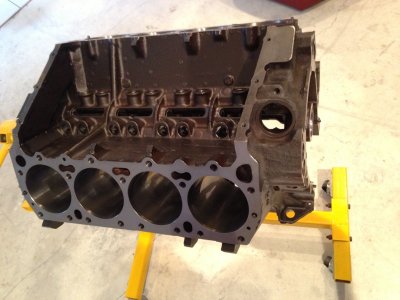
As mentioned above, there has been a lot going on here at the home front that has kept me from getting out in the shop. But I did manage to inventory a lot of parts that were going into my next 440 build. I made a list and started researching for parts that I needed. Ended up placing another order with Summit Racing.

Here is what arrived at the door today..............................

- - - Updated - - -

IMG_3950.jpg

- - - Updated - - -

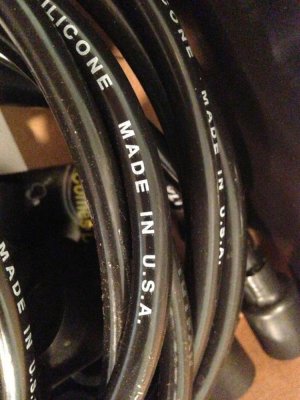
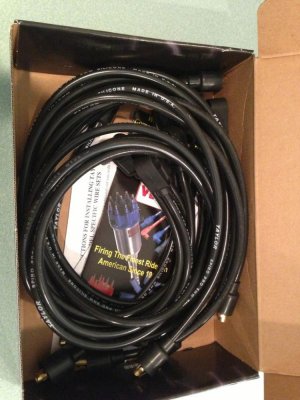
I hope these are the correct ones, like H2E used on his BEAUTIFUL black Charger (which is a work of art BTW). I will be getting a complete TTI exhaust for the 73 Challenger and think these will be OK with the headers. Made is the USA so I'm happy about that.......................

- - - Updated - - -

IMG_1578.jpgIMG_9347.jpg

- - - Updated - - -

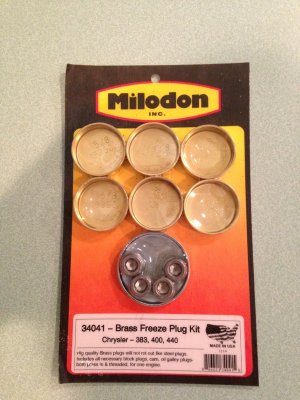
I wasn't too impressed with the original set of brass freeze plugs for the block. They seemed too shallow for my liking so I ordered a set of these:

- - - Updated - - -

IMG_1981.jpg

- - - Updated - - -

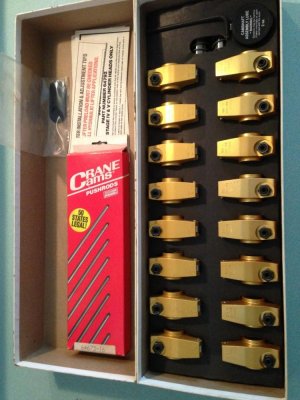
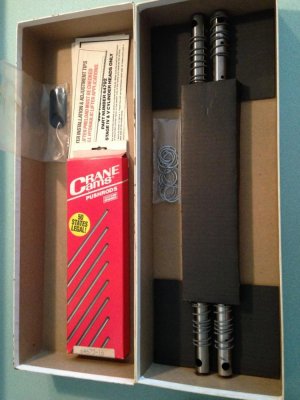
I ran across these again.............. "Gold" Crane roller rockers and pushrod set. I have had these things for YEARS and have been itching to install them on something.

- - - Updated - - -

IMG_3280.jpgIMG_8628.jpg

- - - Updated - - -

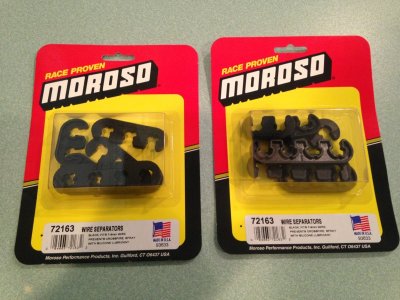
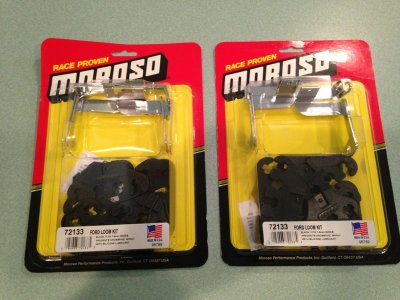
I needed something to keep the new wires routed away from the headers and wanted to keep it looking clean. So these were in order. (even though they say the "F"ord word on them)..................

- - - Updated - - -

IMG_4096.jpgIMG_9961.jpg

- - - Updated - - -

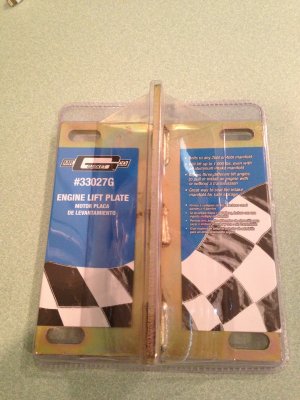
Once the engine is completed I will need something to properly lift it off my stand. (besides I've always wanted one of these and never owned one. figured it was about time)
- - - Updated - - -

IMG_3583.jpg

- - - Updated - - -

Engine lift plate that bolts to the intake manifold.
- - - Updated - - -

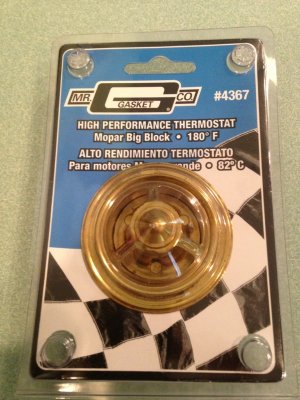
I needed a thermostat so I got a high flow one at 180 degrees rating.
- - - Updated - - -

IMG_0688.jpg

- - - Updated - - -

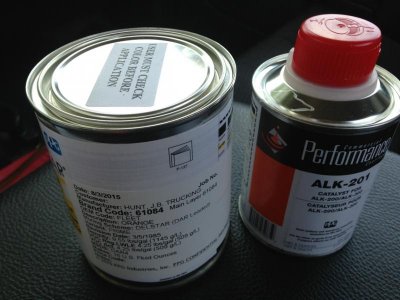
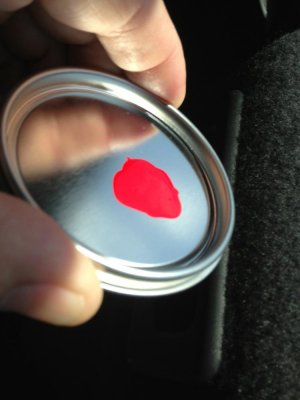
So earlier today I stopped by our local PPG paint distributor. I had them mix me up some "Hemi" orange (even though it doesn't say it is on the label). This was on the advice of my buddy who owns a local Mopar restoration shop. I looked at it when they opened the can for me and it looks like a Chrysler color to me.

- - - Updated - - -

IMG_9603.jpg

- - - Updated - - -

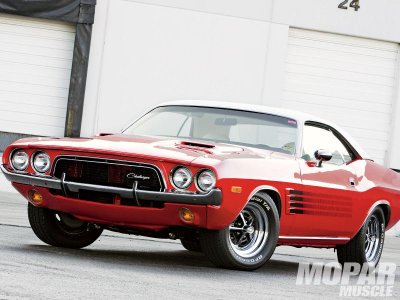
The goal for my Challenger is to look very similar to this one:

- - - Updated - - -

IMG_7778.jpg

- - - Updated - - -

But I want a black top instead of white.

- - - Updated - - -

and a black interior too....................

- - - Updated - - -

IMG_0035.jpg

- - - Updated - - -

So the local PPG jobber has this pre mixed red in the shop line brand. It's available in pre mixed quarts and gallons.

I think I found the color the car will be.

- - - Updated - - -

Its a base coat / clear coat system and is a lot less expensive than most reds. (if there is such a thing)

- - - Updated - - -

Now for the BOMBSHELL............................

- - - Updated - - -

It looks like I will be retiring in a week or so. It's funny how everything seems to happen for a reason. I'll miss the guys at work and the excitement of the job. I'm an adrenaline junkie at heart.

- - - Updated - - -

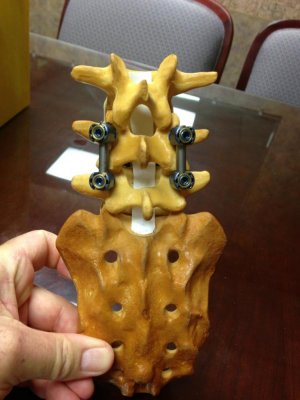
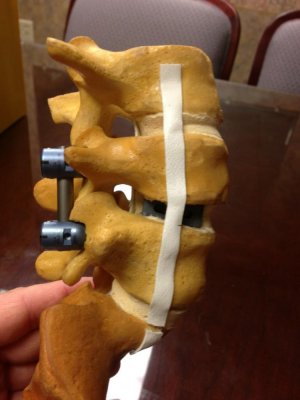
But my wife needs back surgery. They will be fusing L-4 and L-5 together. She wasn't a candidate for Laser surgery. Years ago she had a fusion done in her neck. We were very fortunate to get the same doctor this time. This will happen next week. The doctor told us that it will take about a full year for her to be 100% healed since it takes a long while for bone to fuse together.

So it looks like it's my time to take care of her, like she did for me when I was out with my shoulders.

Speaking of shoulders, I seriously doubt mine will ever be the same. I never regained a full range of motion and always have pain at the end of range movements.

I guess I'm getting old......................

- - - Updated - - -

IMG_3118.jpgIMG_4213.jpg

- - - Updated - - -

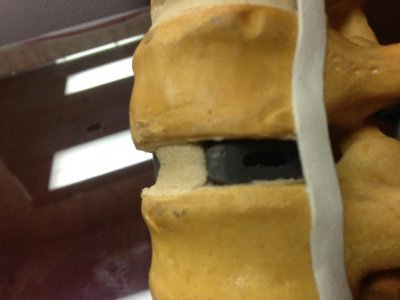
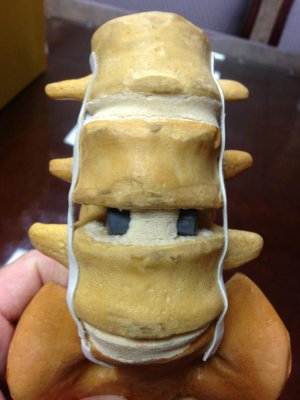
Here is a picture of a fancy model in the doctors office. This is what my wife will be going through.

- - - Updated - - -

IMG_3819.jpgIMG_4420.jpg

- - - Updated - - -

This shows the titanium disc that will be inserted since hers has worn completely out. Bone grows around this and uses it like a bridge to build new bone that will fuse these two vertebrate together.

- - - Updated - - -

I feel for her. She has been in so much pain lately.

Hopefully her suffering will end someday soon after the surgery.

Also there is another FBBO member who is going to purchase the 72 SSB. I will be reassembling it and the plan is to pick it up in October.

So it looks like my original plan to downsize to just the Challengers may still work out.....................

Remember, family first. Everything else falls into place once that is done.

You all take care and have a great evening.

- - - Updated - - -

A little teaser of things to come...........................

- - - Updated - - -

IMG_3284.jpgIMG_4408.jpgIMG_6522.jpgIMG_7528.jpg

- - - Updated - - -

Patent Pending 032.jpg

- - - Updated - - -

patent pending #6 004.jpg

- - - Updated - - -

Patent Pending #4 005.jpg
 
Louis, you HAVE been busy getting ready for an engine build. NICE!
I hope you show us some step by step with all the little tricks (I am up for some engine 101)
SWEET engine stand by the way!

I hope your wife's surgery goes well.
She will be OK with you at her side and through the healing process.
And your right about family before things!
 
Louis, please tell your wife my wife and i will keep her in our prayers for sure bud.. Wishing her well!!!

I to love that stand, ive been seriously thinking of building one, i have more room now and that would help a lot and not really take up room, my engine stand now is in a corner and i couldn't get it even out with out pulling the 69 out so talking about buying a engine stand with the wife i got to thinking of one of these, cant wait to see your progress on this stuff, you amaze me every time i get in hear with something! lol...
 
Louis, my thoughts are with your wife's health. I hope she gets better soon. You are right, family first and that is the right attitude to have. And after that, I look forward to seeing your sweet engine build.
 
The misses had her lower back surgery a few days ago. I'm happy to report the procedure went well for her. Hopefully she can come home in a few days.

Thanks go out from us for all of the well wishes and prayers.

Take care and I'll keep you posted.
 
He hope she has a fast quick recovery. Keep us posted and see you in October
 
Louis, hope your wife has a 100% recovery. I think downsizing will make it easier for you all around in doing things. Working on the car and taking care of the wife. Don't feel bad, it's been 2 years since I had my shoulder surgery and I still feel a "twinge" every once in a while. That color for you challenger is going to scream "menace to society" when you get it on.
 
Thanks Mark. Looking forward to seeing you guys again.

Your correct RR man. My shoulder still pops and cracks a lot. Each time it does I get a shooting pain.

I'm really liking that color red we picked out for the Challenger. They don't have an official name for it, only a part number. So I gave it a name.

The people who work at the paint supply store like what I came up with.

It's now called "Catch me, Arrest Me Red"!!!

Have some good news.

Today during lunch at the hospital the misses had a really cool visitor.

- - - Updated - - -

This is a Golden Retriever named Gracie.

- - - Updated - - -

Can someone please fix the photo ?????

- - - Updated - - -

This dog has been the best thing we have seen at the hospital. All of the patients love her.
 

Attachments

  • image.jpg
    image.jpg
    49.3 KB · Views: 288
More Good News ..............................

The misses is home from the hospital, and on her way to recovery !!!!!!!!!!!!!!!!!!!!!!!


As soon as I feel comfortable enough to head back out in the shop I will get started on putting the 72 SSB back together.

Recently our home computer quit working. I no longer have access to all of my old email contacts.

So if your reading this Rick, please give me a call on my cell. Things are still a go for October.

I tried to call you last night.

Take care everyone.
 
Thanks Mark for the well wishes for Sandy. She is getting better a little each day.

Hope you get your fuel problems sorted out with your Charger.

- - - Updated - - -

Just a few minutes ago I called my friend Ted Stephens.

I pulled the trigger on a BUNCH of AMD sheet metal for the 73 Challenger. I bought some parts for my 70 "Lime Green" car at the same time.

With the 73 Challenger I want to tuck the bumpers in closer to the body and get away from the big bumper guards. (a decision I may regret later if someone hits it).

I just like the way the bumpers look on the earlier cars.

- - - Updated - - -

Here is a list of stuff that is on the way. The parts should arrive around the middle of next week. The only exception is the front bumpers which Ted will be bringing to the Garlits show in November.

- - - Updated - - -

Speaking of the show, I will probably be heading there myself with a few vendor spots this year. I will have the enclosed car hauler packed up with stuff I will no longer be needing.

So come on by and see me if you attend the show.

- - - Updated - - -

850-2570-2_800.jpg

- - - Updated - - -

Trunk lid with spoiler cut outs for the "Go-Wing" on my 1970 car.

- - - Updated - - -

100-2572_800.jpg990-2572_800.jpg

- - - Updated - - -

Front and rear bumpers from a 72 model year car. These are the parts Ted will be bringing to the show for me.

- - - Updated - - -

105-2570-1S_800.jpg

- - - Updated - - -

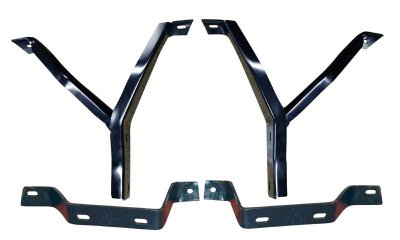
Front and rear bumper brackets for the new bumpers. The fronts will have to be modified a little for them to work, since the 73 Cars were a little different. I went with 72 bumpers so my jack would still work. The 70-71 cars used a hook, where 72 - up used a slot.

- - - Updated - - -

400-1571_800.jpg410-2571-P_800.jpg

- - - Updated - - -

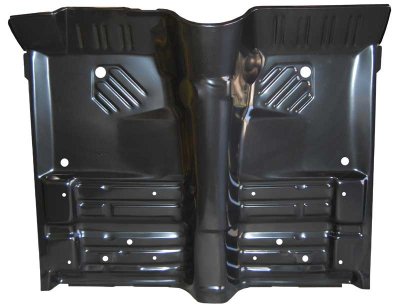
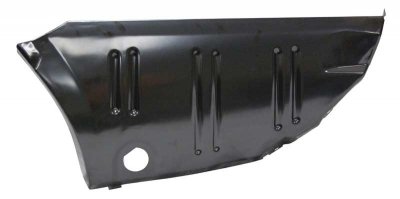
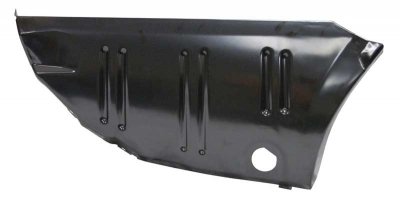
OEM style one piece floor pans for the 73 car. Years ago when I bought the car I attempted to replace the rear sections and the only thing available was the parts from a 'Cuda. They were 2 inches shorter than those from a Challenger and had to be modified to work. I never was really happy with the outcome, so they are getting done right this time......................

- - - Updated - - -

420-1570_800.jpg

- - - Updated - - -

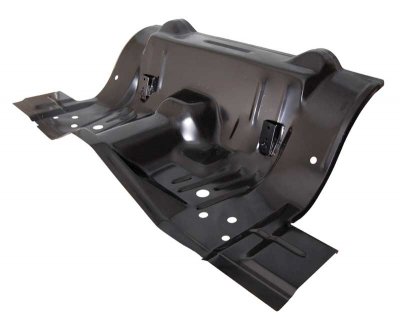
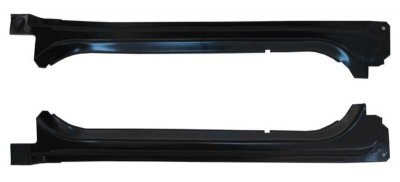
Under the seat pan. Both cars had some pin holes in this section, with the 70 being a lot worse. I will attempt to weld up the holes in the 73 first. If i'm not successful or if I don't like the outcome I will replace this part. If everything works out, I will keep this part for the 70.

- - - Updated - - -

425-1570-S_800.jpg

- - - Updated - - -

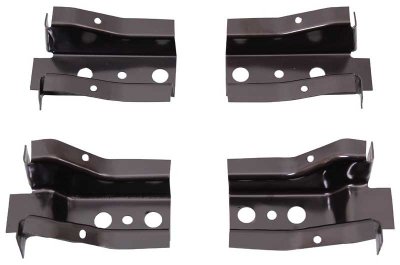
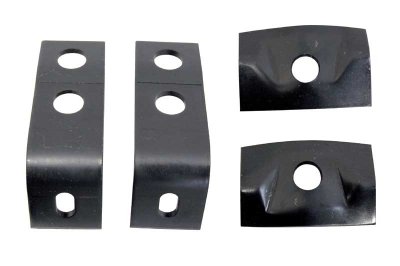
Floor pan brackets...................... Just in case I need them.

They will fit either car.

- - - Updated - - -

650-2570_800.jpg

- - - Updated - - -

"Dutchman" or trunk filler panel. This will go on the 73 for sure since I will be replacing the quarter panels and this section has some rust on it.................

- - - Updated - - -

700-2572-L_800.jpg700-2572-R_800.jpg

- - - Updated - - -

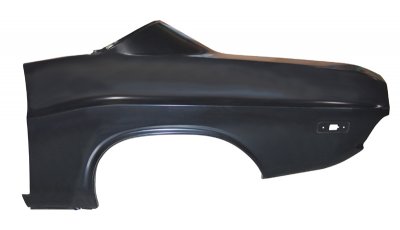
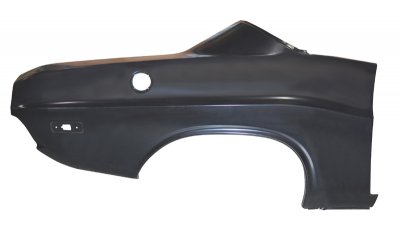
Full OEM style rear quarters for the 73. Originally I cut out the lower sections and had planned on replacing the lower half. Then along came factory style OEM full quarters to the rescue................

- - - Updated - - -

840-2570-L_800.jpg840-2570-R_800.jpg

- - - Updated - - -

The trunk extensions are actually quite good on the 73. There were only a few VERY small pin holes in them (one or two on each side) after they were blasted. I will try to weld the holes shut and retain the original metal here.

These parts were primarily intended for my 70 car.

- - - Updated - - -

825-2570-S_800.jpg

- - - Updated - - -

Trunk gutters..................... Both cars need these parts. But I only had enough money budgeted for one set at the moment.

- - - Updated - - -

960-2570-T_800.jpg

- - - Updated - - -

Dual exhaust rear valance.

Since I have a really nice 1973 NOS part hanging on the 70 right now, (its from a later model year car and doesn't fit the way it should. It mounts differently) I will be needing one for the 70 car. This part is correct for 70-71 model years.

Sounds confusing, but it's worked out..............

- - - Updated - - -

980-2570-P_800.jpg981-2570-S_800.jpg

- - - Updated - - -

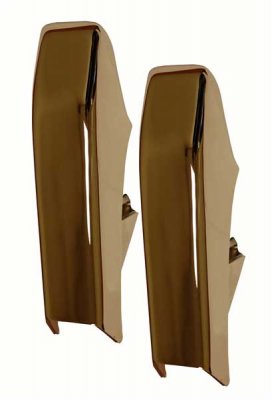
Rear bumper guards and brackets.

- - - Updated - - -

This is the style I need for the 73 car since I'm going retro with the early style bumpers.

- - - Updated - - -

All of these pictures came from the AMD website.

I will post up pictures of the actual parts once they arrive.

Until then, take care.
 
Auto Transport Service
Back
Top