• When you click on links to various merchants on this site and make a purchase, this can result in this site earning a commission. Affiliate programs and affiliations include, but are not limited to, the eBay Partner Network.

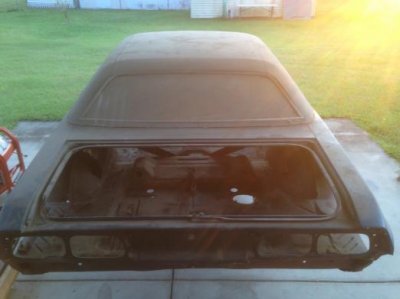
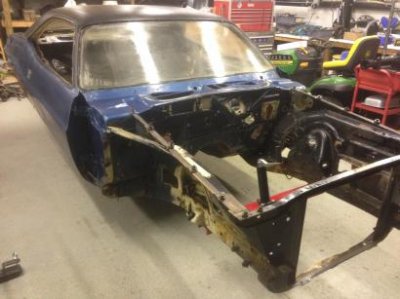
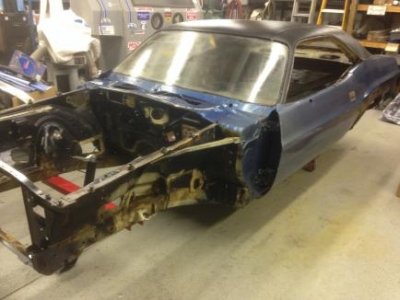
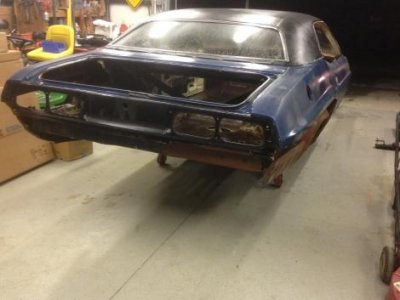
71 Road Runner Restoration Started

I was wonder what thoughts you'd have on something.

I finally got the dutchman panel and following your advise invested in a bunch of clekos.

If I can trial fit the wheelhouses, quarters etc it seems like to install the quarters it would be much easier to pre install the trunk gutters to the quarter and install the dutchman last.

Any reason this would be a bad idea?

I wouldn't install the Dutchman last, but that's your choice, since it can be done.

The front corners of the trunk gutters go under the Dutchman, and they are keyed off the alignment with the Dutchman. The trunk gutters are easy to install with everything in place. They pretty much slide into position once everything else is in proper placement. You will really be surprised how much they will stiffen up the rear quarters.

Each car will fit a little different than the next one. The factory had a 1/4" fitment tolerance allowance when these cars were being built. They were no where near the accuracy of modern production.

The top area of the AMD full quarters go under the back rearmost area of the roof rain gutter and the roof skin. (or you will have to trim some metal off them). They are also a little tricky at the lower rear portion of the door opening at the rocker panel joint. They fit very well other than these two small areas (which are still very good).

But I would still go ahead and trial fit everything first. Wheel housings, quarters, Dutchman etc.

Get everything lined up, and bolt the trunk lid and doors on also. Make sure the door openings and trunk gaps are where you want them.

The clekos will save you a lot of time and you'll be glad you bought them. Small self tapping sheet metal screws can work in a pinch too if you run out of clekos.

The beauty of the clekos is how easy they are to remove and install, plus they hold very well. (and they leave a small hole when it comes time for welding.)

But before I started any welding on anything, I would make sure everything is where you want it, with emphasis on the trunk / door gaps. It would also be a good idea to place the rear window chrome in place around the back glass opening. The chrome "kind of" locks together. The can then place it into / on the opening. This will be good enough for you to judge that your rear window will still fit once all the new metal is I place.

Hope this helps. I'm sure there are others here who have more experience than I when it comes to this stuff.

Please feel free to chime in..................
 
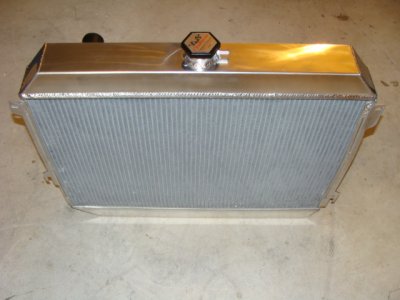
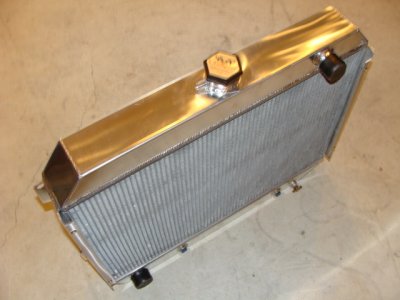
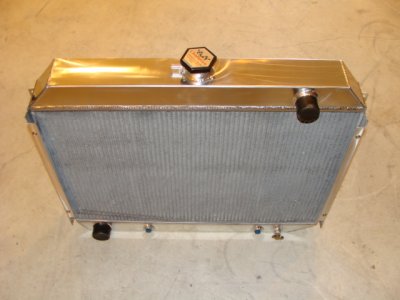
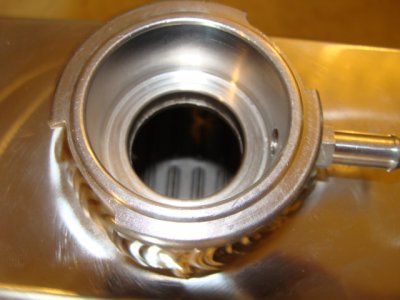
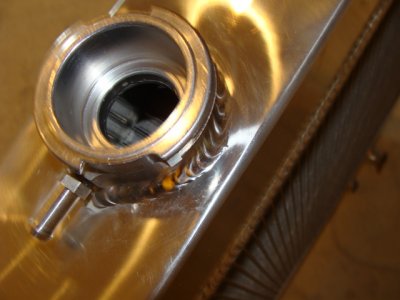
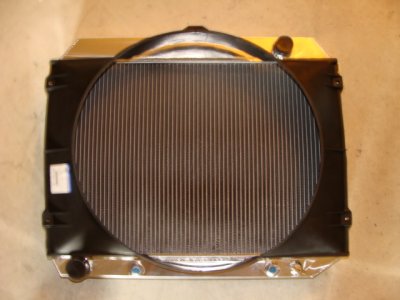
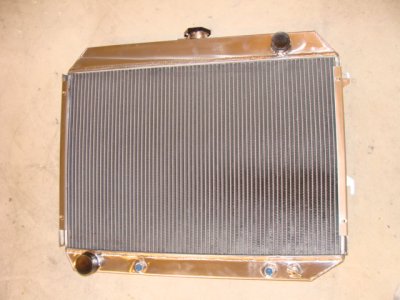
Late this afternoon, the new 4 row aluminum radiator arrived for the Challenger.

- - - Updated - - -

DSC04028.JPGDSC04029.JPGDSC04034.JPGDSC04035.JPG

- - - Updated - - -

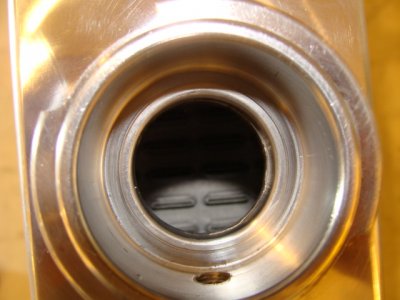
Here is how it looks inside......................................

- - - Updated - - -

DSC04030.JPGDSC04032.JPGDSC04033.JPG

- - - Updated - - -

Time will tell how it works. It looks good so far. I'm happy with it.

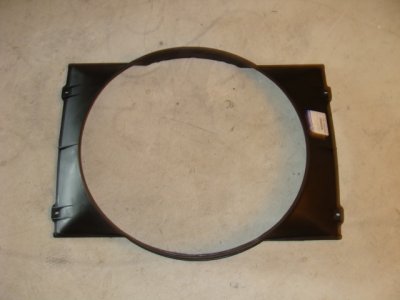
The new fan shroud arrived a few days ago. I was waiting to post up some pictures of it after the radiator arrived.

- - - Updated - - -

DSC04037.JPGDSC04038.JPG

- - - Updated - - -

It fit like a glove against the mounting holes on the radiator.

- - - Updated - - -

DSC04027.JPG

- - - Updated - - -

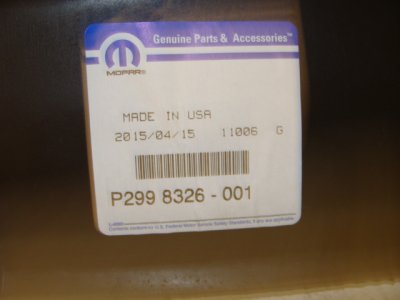
It should allow me to run a fan up to a 20 inch diameter. I took a close up picture of the Mopar part number in case any of you were curious about it.....................

- - - Updated - - -

I haven't been able to do anything as far as putting the 72 SSB back together over the last few days.

A previous co-worker from the Fire Department needed some mechanical help.

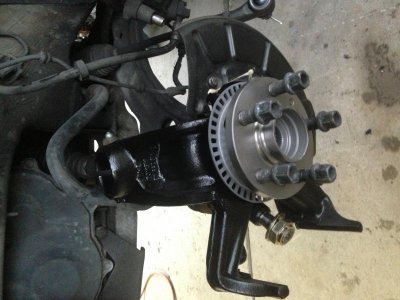
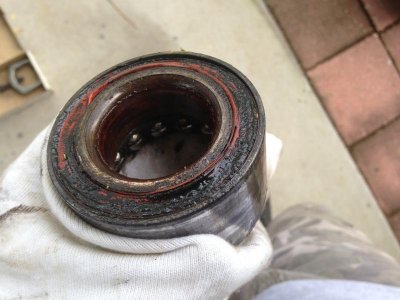
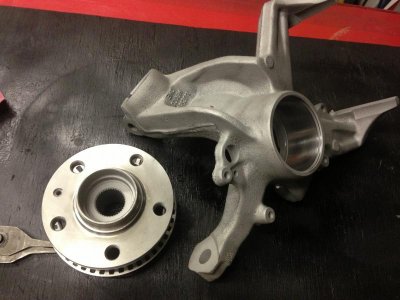
His soon to be step daughter has a 2002 VW Beetle with a 1.9 L Diesel in it. It needed a water pump, timing belt and a driver side front hub bearing.............. or so we thought at first.

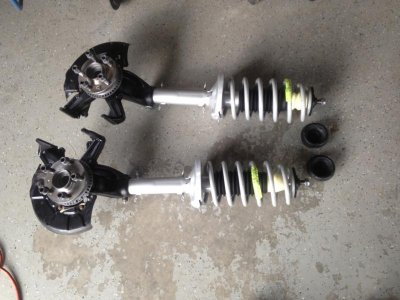
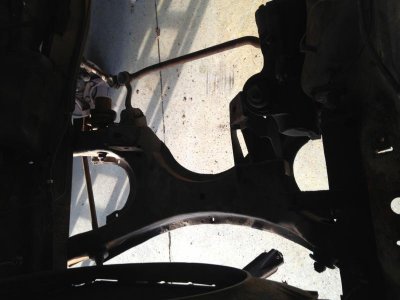
Once I took the front suspension apart I found it also had a torn outer CV boot, bad outer tie rod ends and lower ball joints. Plus the upper strut mounts were junk...............
So I set out to replace these items as well. I talked him into buying a new hub bearing for the passenger side and new struts since we had everything apart.

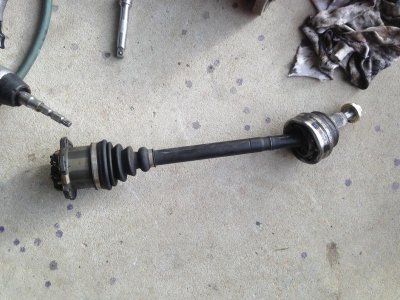
Good so far.................... Until I tried to split the outer CV joint from the axle. It would not budge.............. So tomorrow he is picking up a remanufactured axle. Crazy thing is it only cost $30 more than the boot.

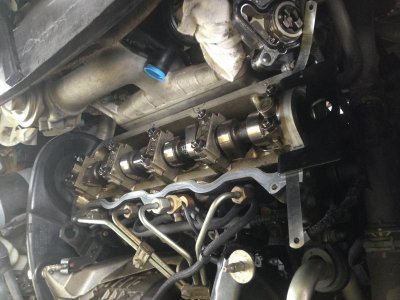
I had to locate / purchase a few specialty tools to hold the camshaft and the injector pump in time while I removed the timing belt. Plus I needed a special spanner wrench to put proper tension on the timing belt. Farfegnuggen !!!!!!!!!!!!!!!!!

- - - Updated - - -

She is a good kid and is working to save money for school.

I told him I'd help him out since he helped us some when I didn't have use of my shoulders. It's the right thing to do. What comes around goes around.

- - - Updated - - -

The misses is getting a little better each day.

We have been getting pounded with rain down here every day.

You all have a good night.

Here are some VW photos.

- - - Updated - - -

image.jpgimage.jpgimage.jpg

- - - Updated - - -

image.jpgimage.jpgimage.jpg
 

Attachments

  • image.jpg
    image.jpg
    31.1 KB · Views: 472
  • image.jpg
    image.jpg
    37.3 KB · Views: 488
  • image.jpg
    image.jpg
    48.4 KB · Views: 491
  • image.jpg
    image.jpg
    61.3 KB · Views: 490
  • image.jpg
    image.jpg
    63.5 KB · Views: 478
The beetle is all done.......................................

Now I can concentrate on putting the 72 Satellite back together.

- - - Updated - - -

Hopefully tomorrow I can make some progress.
 
Today the misses had an X-ray done on her lower back. It's part of the follow up after her surgery. She seems to be getting better each day.

When we got back home afterwards, I installed the K-frame.

- - - Updated - - -

image.jpg

- - - Updated - - -

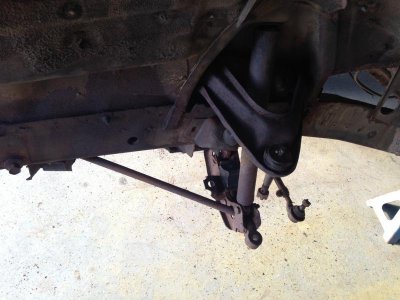
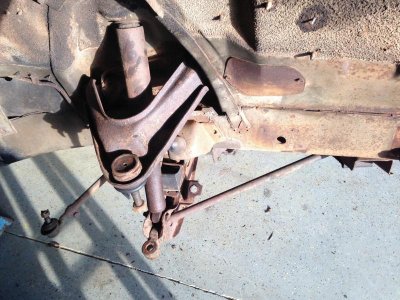
Then I bolted on the upper and lower control arms.

- - - Updated - - -

image.jpgimage.jpg

- - - Updated - - -

The original shocks were then installed.

I ran into a problem when it came time to install the spindles. Apparently when I originally removed these parts I buggered up the threads on the ball joints.

I have some new parts on hand, so tomorrow these new ball joints will get installed.

Hopefully the car will be back on four wheels soon.

Have a good one ..........
 
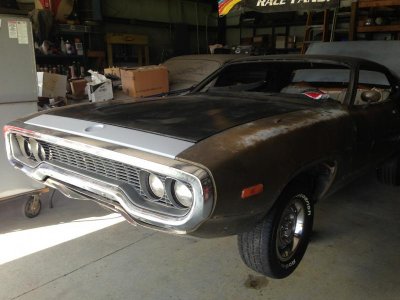
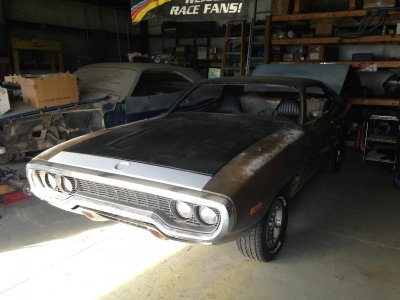
Over the last few days I got a lot done. Here are the results. It's back on the wheels again, and all of the sheet metal has been bolted back on. Steering column has been installed as have the seats.

- - - Updated - - -

image.jpgimage.jpg

- - - Updated - - -

Now she steers and rolls again !!!!!!

Looks like a car too.

You all have a good night.
 
Thanks Mark !!!!!!!!!!!!!!!!

I've made some more progress over the last few days.................

I buttoned up all of the little stuff under the hood, and I installed the front door roll up glass and window tracks.

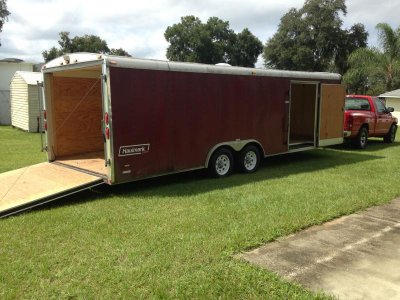
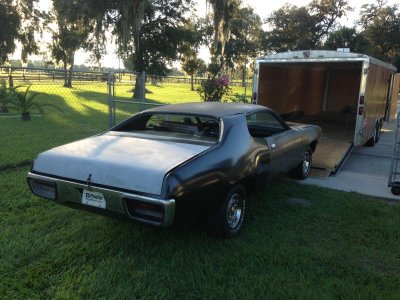
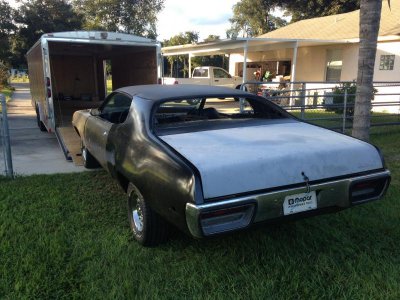
All of the remaining / extra items that went with the car have been placed inside it. It is now ready to be transported up North.

- - - Updated - - -
IMG_8277.jpgIMG_8278.jpgIMG_8279.jpg

- - - Updated - - -

Then today I cleaned out the "Bird's Nest"...............

- - - Updated - - -

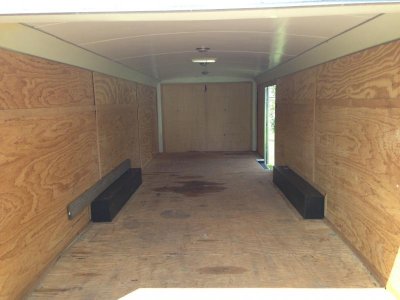
Several months ago I purchased a winch from Summit Racing. After borrowing my buddy's open trailer that had one, I was spoiled. (plus I don't want to take a chance with another shoulder injury)

So after the trailer was cleaned out, I finally got around to installing it in the hauler........................

- - - Updated - - -
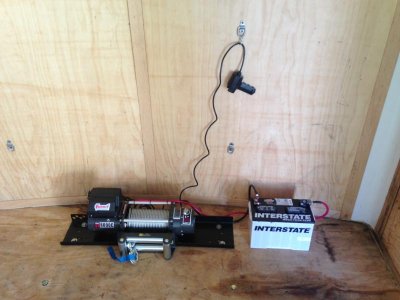
IMG_8280.jpgIMG_8281.jpg

- - - Updated - - -

Naturally I just HAD to try it out...........................

- - - Updated - - -
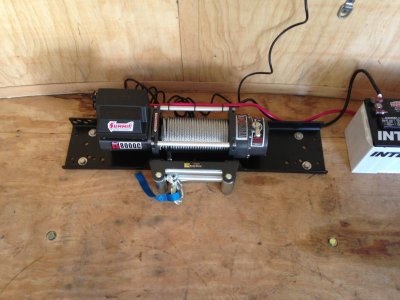
IMG_8282.jpgIMG_8283.jpg

- - - Updated - - -

So now the Satellite is ready for pickup. I have it stored inside the car hauler and the shop is opened up quite a bit with the Challenger all by it's lonesome in there................

- - - Updated - - -

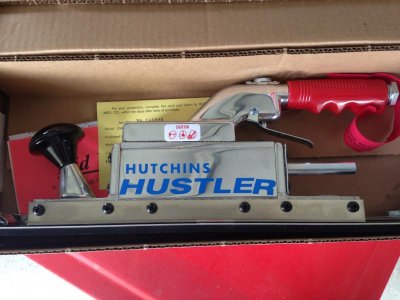
Several other "goodies" showed up over the last few days.

- - - Updated - - -

IMG_8272.jpgIMG_8274.jpg

- - - Updated - - -

Now I have to mount it somewhere.......................

- - - Updated - - -
IMG_8270.jpgIMG_8271.jpg

- - - Updated - - -

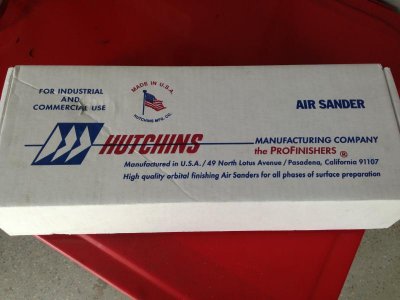
My old el cheapo "Viking" bit the dust during my last restoration when it jumped gears. I have always wanted one of these Hutchins. Made in the USA is a plus.

- - - Updated - - -

IMG_8275.jpgIMG_8276.jpg

- - - Updated - - -

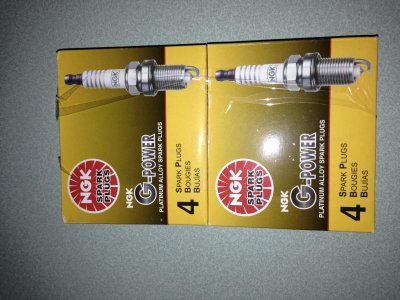
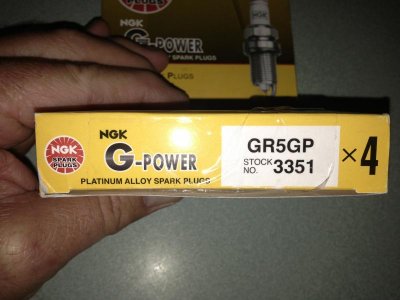
Got these to fit the 440 Source "Stealth" heads that will be going on the 440 for the Challenger. I've always had good luck with NGK's..................

- - - Updated - - -
IMG_8256.jpg

- - - Updated - - -

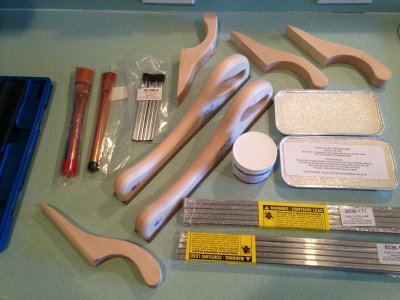
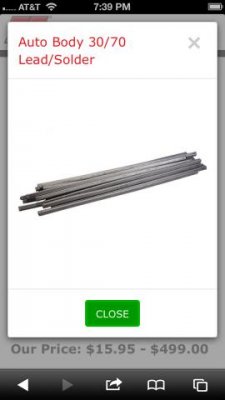
I ordered a body "Lead" kit. I want to try my hand at using this material on the rear quarter panel roof and rocker panel seams on the Challenger just like "Ma Mopar" did when they were new. They say it's an old art form.

I'm going to give it a go.....................

- - - Updated - - -
IMG_8257.jpg

- - - Updated - - -

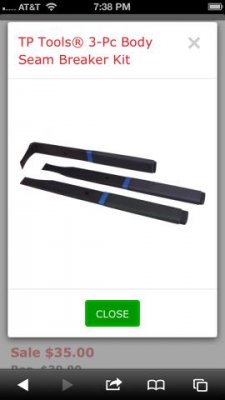
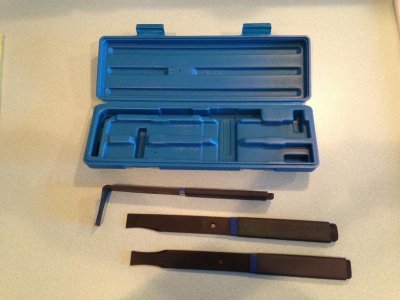
I'll be needing these to split the seams as I remove the old metal panels. Over the years I have beat my hands to pieces doing that removal work. I'm Trying to work a little smarter not harder.

- - - Updated - - -

I almost forgot, but when I ordered the body lead kit, I got some extra lead sticks. I'm sure I will end up with some of the material on the floor if I get it too hot.

- - - Updated - - -
IMG_8258.jpg

- - - Updated - - -

Anyhow, that's all folks !!!!!!!!!!!!!!!!!!

You all have a good evening.

- - - Updated - - -
IMG_1154.jpgIMG_1156.jpgIMG_1157.jpgIMG_1158.jpgIMG_1159.jpg

- - - Updated - - -

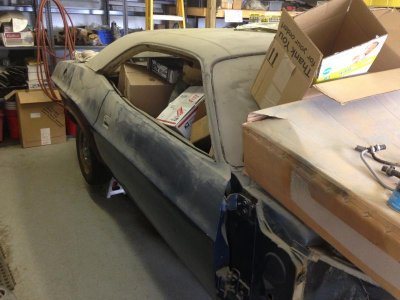
Just a little teaser of things to come.................................
 
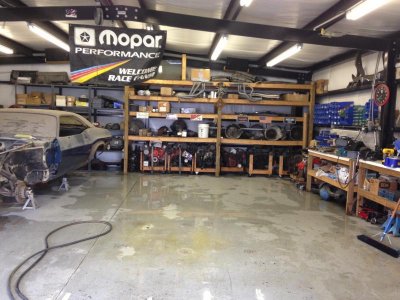
Yesterday I cleaned up the shop some in preparation for the work on the Challenger.

- - - Updated - - -

image.jpg

- - - Updated - - -

Today the body lead kit arrived along with the seam splitter tools.

- - - Updated - - -

image.jpgimage.jpg

- - - Updated - - -

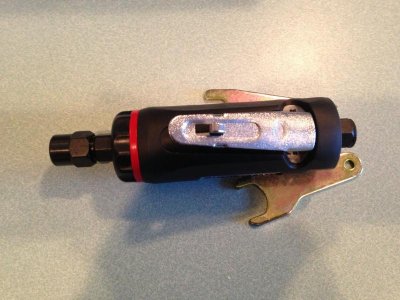
And lastly the little die grinder showed up too.

- - - Updated - - -

image.jpg

- - - Updated - - -

That's all for tonight. Have a good one.

PS : I just pre registered for the upcoming Garlits show in November. I reserved four vendor spaces. Stop by and see us.
 
Very nice build, really enjoying following along.
Where did you buy the sending unit tool from?

Hey CDN72SE,

While looking for some 4 speed stuff I just found that Brewer's Performance has them for sale. That may have been where I originally purchased mine. It's been quite a while since I bought it, and now I'm not 100% sure exactly who I got mine from.

Anyhow, here is the link:
http://brewersperformance.com/proddetail.asp?prod=FTS-LRW

Hope this helps..................
 
On Thursday I ordered everything that I was missing to complete the 4 speed conversion on the 73 Challenger. So around next Tuesday I should be getting two fairly large boxes from Brewer's Performance. I'll post up some pictures of the parts once they arrive.

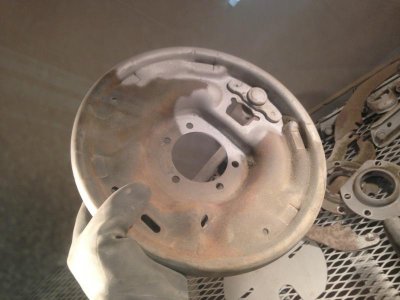
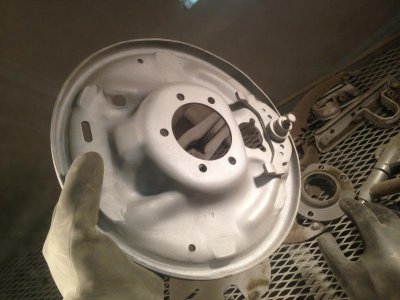
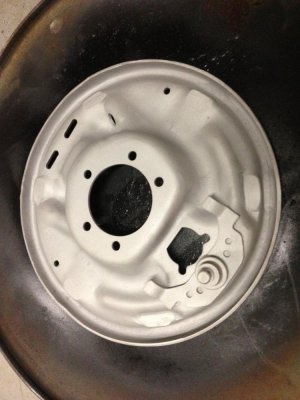
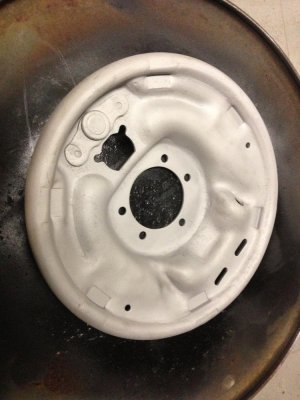
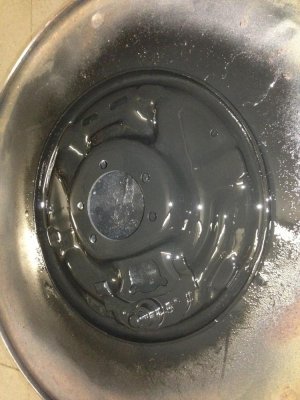
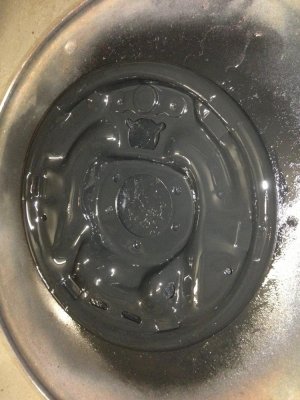
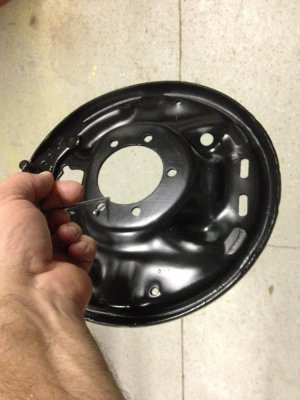
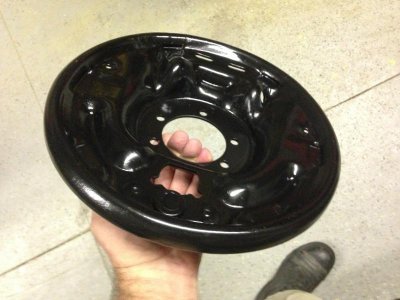
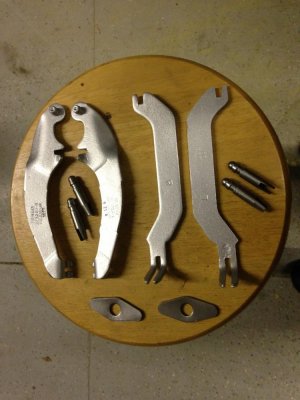
Today was a great day out in the shop. I was able to make some good progress on the rear brake assemblies. I am upgrading the car from 10" rears to 11" brakes.

- - - Updated - - -

image.jpg

- - - Updated - - -

Here is what the backing plates looked like when I started blasting them in the cabinet.

- - - Updated - - -

image.jpgimage.jpgimage.jpg

- - - Updated - - -

The appearance is night and day once they were cleaned to nice bare metal.

- - - Updated - - -

image.jpgimage.jpg

- - - Updated - - -

They look brand new after a good coat of black paint.

- - - Updated - - -

image.jpgimage.jpg

- - - Updated - - -

Then the small parts received the same treatment.

- - - Updated - - -

image.jpg

- - - Updated - - -

Hopefully tomorrow will be another good day in the shop.

You all take care.
 
Where did you buy the lead kit from?


I bought it from TP Tools in Ohio.

- - - Updated - - -

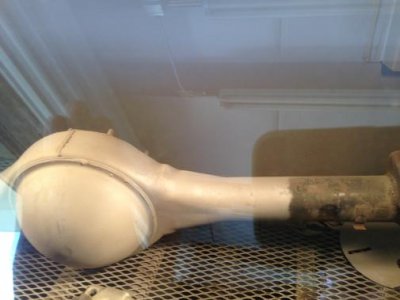
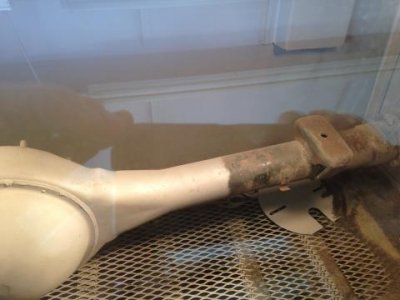
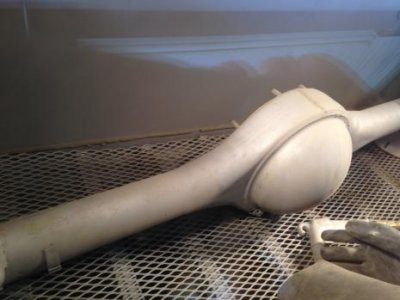
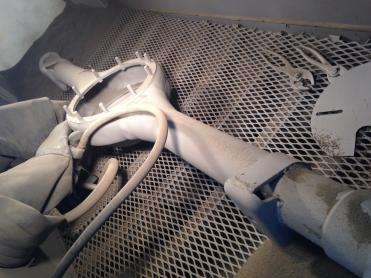
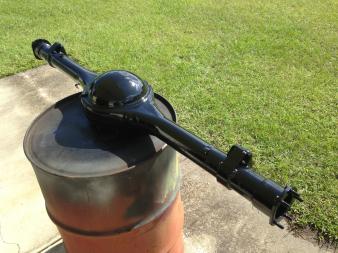
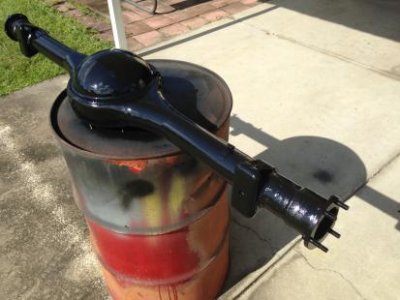
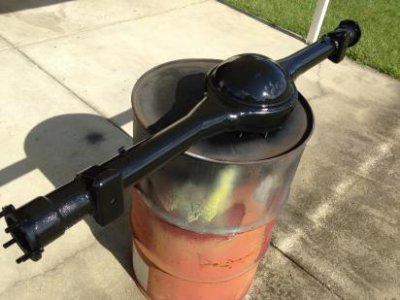
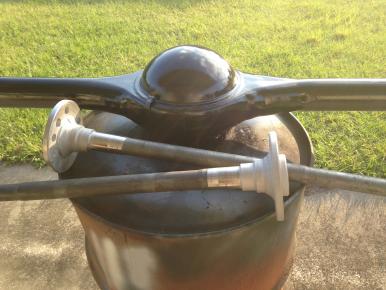
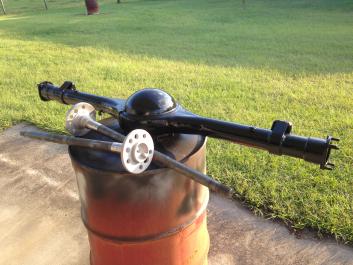
Today was another good day. I have an 8 3/4" rear end housing from a Challenger that has had the spring perches moved inboard by 2 inches. So I cleaned and degreaser it. It then made a trip through the glass bead cabinet.

- - - Updated - - -

image.jpgimage.jpgimage.jpgimage.jpg

- - - Updated - - -

Then it received a good coat of gloss black.

- - - Updated - - -

image.jpgimage.jpgimage.jpg

- - - Updated - - -

Then I proceeded to press off the old bearings from the matching axles. Once this was done, I cleaned / degreased them. The axles then made a trip in the cabinet too.

- - - Updated - - -

image.jpgimage.jpg

- - - Updated - - -

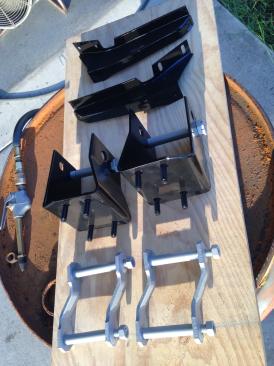
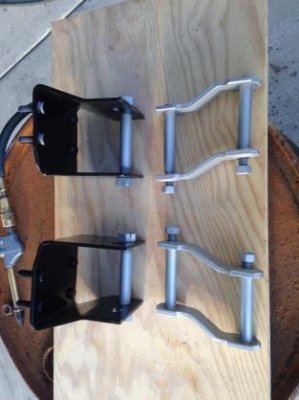
Then I turned my attention to the offset spring hangers. They followed the same process as the other parts did.

- - - Updated - - -

image.jpgimage.jpg

- - - Updated - - -

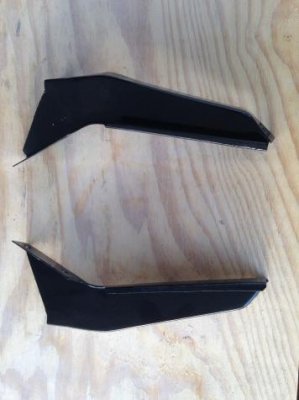
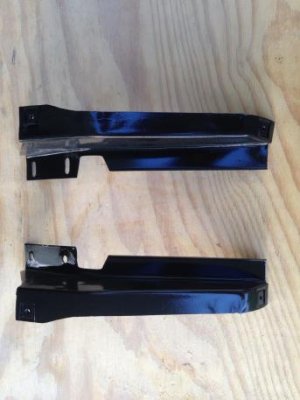
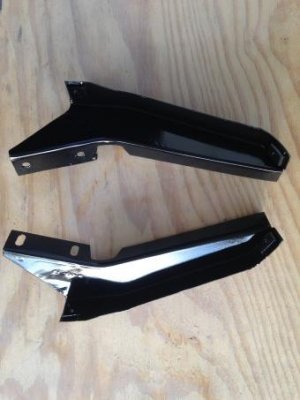
The final parts that I finished today were the rear lower valance brackets.

- - - Updated - - -

image.jpgimage.jpgimage.jpg

- - - Updated - - -

Then I called it a day and closed up the shop for the day.

You all have a good one.
 
Today the four speed stuff came in. Here are some pics.

- - - Updated - - -

image.jpg

- - - Updated - - -

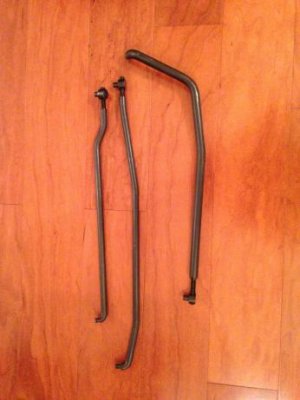
Shifter linkages.

- - - Updated - - -

image.jpg

- - - Updated - - -

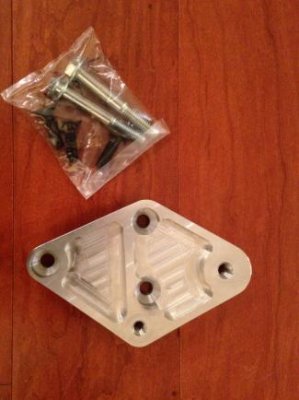
Shifter mounting bracket

- - - Updated - - -

image.jpg

- - - Updated - - -

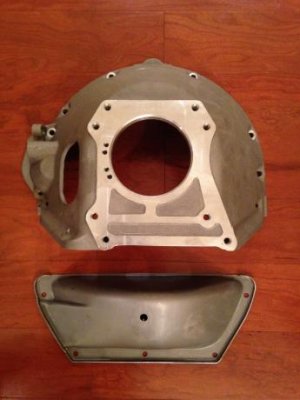
Reproduction bell housing and steel inspection cover

- - - Updated - - -

image.jpg

- - - Updated - - -

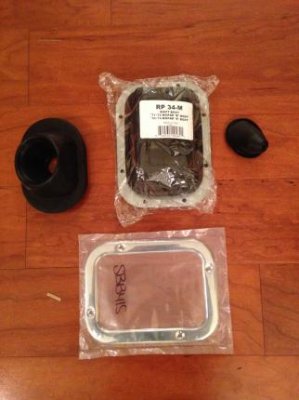
Various boots. Clutch fork / bell housing, firewall, and shifter boot with bezel

- - - Updated - - -

image.jpgimage.jpg

- - - Updated - - -

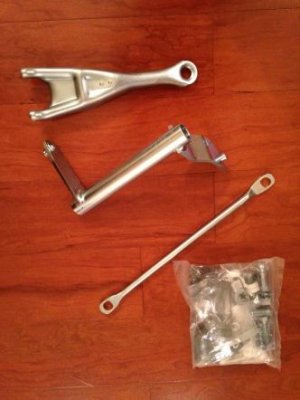
Clutch fork, pedal to clutch fork rod, frame rail bracket

- - - Updated - - -

And clutch bell crank

- - - Updated - - -

The small bag contains all of the small hardware such as bolts, screws, clutch adjustment linkage, bell crank bushings and pivots etc.

- - - Updated - - -

image.jpgimage.jpgimage.jpgimage.jpg

- - - Updated - - -

This four speed console is for the 1970 Challenger. I'm going to use the one I kept from the road runner in the 73 Challenger since they are the same.

- - - Updated - - -

image.jpgimage.jpg

- - - Updated - - -

These parts are what I needed to complete another set of loaded 10" rear backing plates. I plan on having several sets of these available for sale at the Garlits show in November, along with some freshly rebuilt big block 727's, torque converters, console and linkage / console mounting brackets. I will have several of these set ups for sale to. I plan on selling these as a kit ready to install in your E or B body cars. This will allow a person to convert to a console shifter setup as a package deal.

- - - Updated - - -

I will also have some 8 3/4's ready to bolt in too. (Mainly E bodies)

- - - Updated - - -

And a lot of other stuff too. Stop by and see us !!

Take care.

- - - Updated - - -

image.jpg

- - - Updated - - -

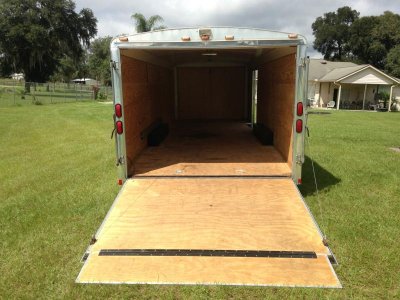
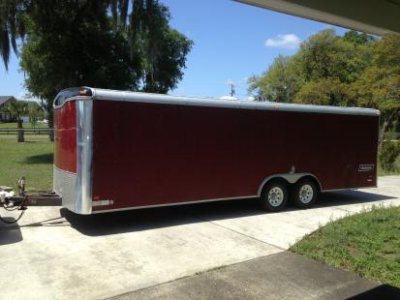
We will have the big red trailer loaded up with goodies !!!!!!!!!
 
Looking great 71grabber! Can't wait to see the lead work, I'm wanting to try it someday so I'll be watching.
 
I have never done any lead work before so I'm sure there will be a learning curve for me. So please don't expect me to get perfect results right off the bat.

- - - Updated - - -

Today after we had lunch with some good friends who are in town for Biketoberfest event.

When we got back home I went out to the shop and started working on the Challenger.

- - - Updated - - -

image.jpgimage.jpg

- - - Updated - - -

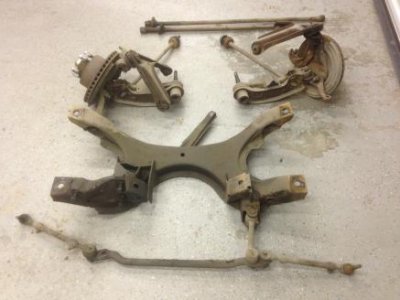
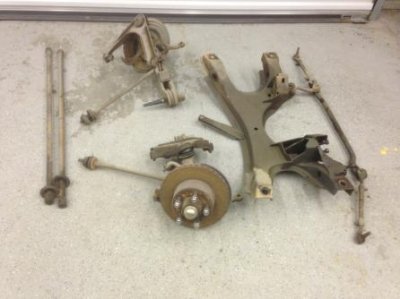
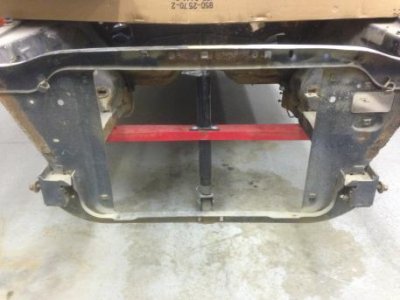
I removed the K Frame assembly.

- - - Updated - - -

image.jpgimage.jpgimage.jpg

- - - Updated - - -

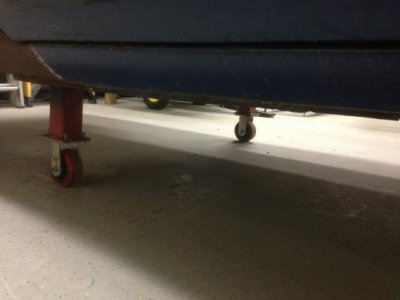
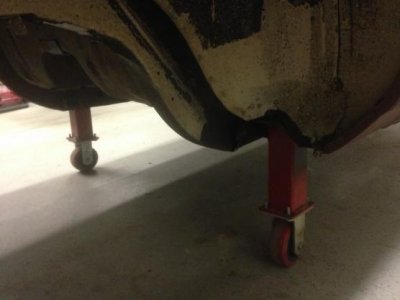
Then I installed the "rollers" I built for use when the suspension has been removed.

- - - Updated - - -

image.jpgimage.jpg

- - - Updated - - -

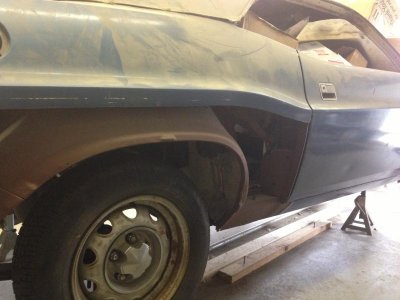
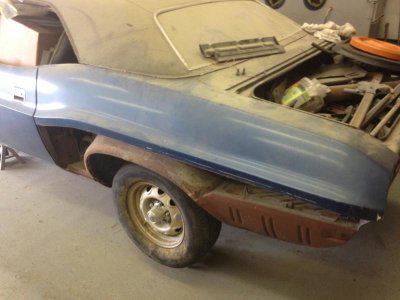
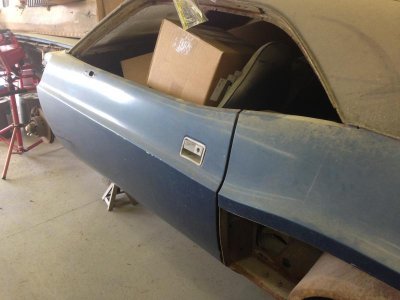
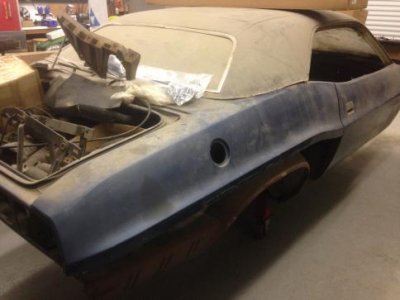
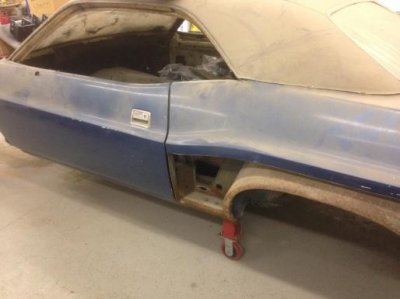
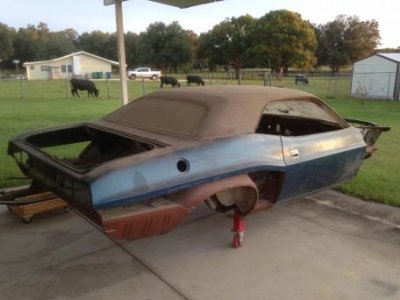
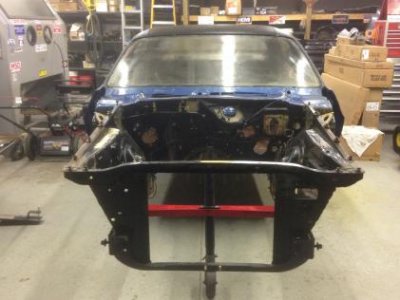
This is what the car looks like now. The next step is to roll the car outside the shop, unload it of all parts that have been stored inside it over the past few years, and give it a good washing.

Then I can start removing the sheet metal that needs replacing.

Take care.
 
Today I unloaded everything that was stored in the Challenger. Then I pushed the car outside. This is the first time that daylight has been on the car in years !!!!!

- - - Updated - - -

image.jpgimage.jpgimage.jpg

- - - Updated - - -

Here is how the interior of the car looked before I started cleaning it up.

- - - Updated - - -

image.jpgimage.jpgimage.jpg

- - - Updated - - -

The next step involved the pressure washer.........

- - - Updated - - -

image.jpgimage.jpgimage.jpgimage.jpg

- - - Updated - - -

It doesn't even look like the same car!!!

- - - Updated - - -

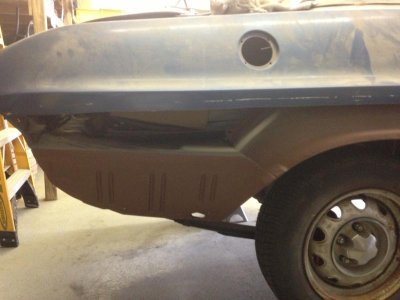
Here are a few pictures of the inside after I cleaned it.
- - - Updated - - -

image.jpgimage.jpgimage.jpg

- - - Updated - - -

Now all I have to do is buff the paint a little and slap some wheels on it!!!!!

You a have a good one.
 

Attachments

  • image.jpg
    image.jpg
    23.3 KB · Views: 193
  • image.jpg
    image.jpg
    22.8 KB · Views: 189
Auto Transport Service
Back
Top