• When you click on links to various merchants on this site and make a purchase, this can result in this site earning a commission. Affiliate programs and affiliations include, but are not limited to, the eBay Partner Network.

71 Road Runner Restoration Started

Today I tried to mow our yard................... Mother Nature had another plan though. I got the front half mowed and was headed back to mow the rest of the yard. Then it started POURING rain..............

- - - Updated - - -

So I parked the mower and started tinkering in the shop. That's when I noticed the timing cover wasn't cleaned for the 440 engine that will be going into the Challenger.

I went to work at it....................

- - - Updated - - -

Once I degreased it, removed the old front seal and gasket material, it went into the glass bead cabinet.

- - - Updated - - -
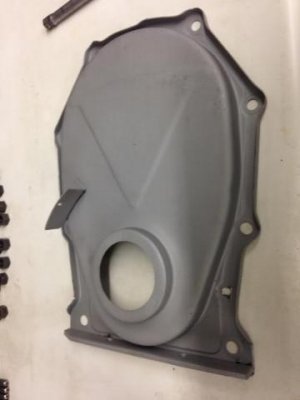
timing cover1.jpg

- - - Updated - - -

This is how it looked afterward.

- - - Updated - - -
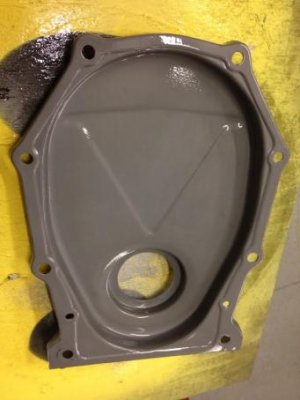
timing cover.jpg

- - - Updated - - -

To keep it from flash rusting with the humidity, I sprayed a light coat of clear engine enamel on the inside of the cover. Here the paint is still wet. It dried with a "semi-gloss" sheen to it. That could have been due to the light amount of paint applied or the humidity today. Either one could have done it................

- - - Updated - - -
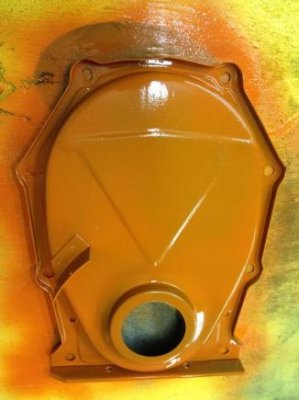
timing cover2.jpg

- - - Updated - - -

Once the inside portion was dry, I sprayed another light coat of rattle can "Hemi Orange" on the front.

- - - Updated - - -

I didn't want to go crazy with coverage because the whole engine will get sprayed using my spray gun.

It's not much, but any progress is progress.

Have a good one...................
 
Today's Progress ............................
I have been pretty sick over the past 5 days or so. The doctor thought I may have pneumonia, and I had a chest x-ray done to find out for sure. They gave me a bunch of antibiotics and stuff to allow me to breathe a little easier.

Yesterday I finally started feeling much better, and today I went to work on the car.

- - - Updated - - -

I was able to remove all of the little "scrap" pieces that were left after the rear wheel housings were cut out.

- - - Updated - - -

I used a small hand held torch to burn out the seam sealer so I could get the existing spot welds.

wheel housing.jpgwheel housing2.jpg

- - - Updated - - -

Then I went to work on the front floor pan. I still needed to remove a lot of the metal of the front section....................
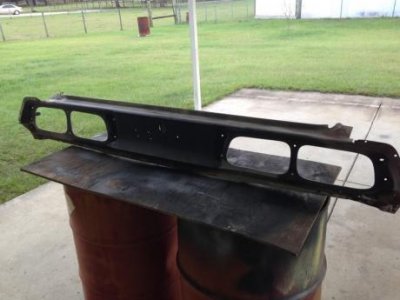
Same process, burn out the seam sealer to get to the spot welds.

- - - Updated - - -

floor pan.1png.jpgfloor pan.jpg

- - - Updated - - -

The front seam is still attached to the firewall. But I have everything cleaned up so I can get the spot welds cut out.

- - - Updated - - -

floor pan.2png.jpg

- - - Updated - - -

Here you can see what's left of the front seam.

- - - Updated - - -

Then I got busy on the front core support.............................
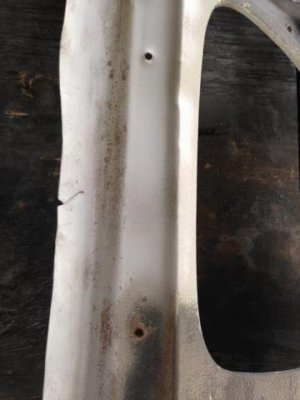
- - - Updated - - -

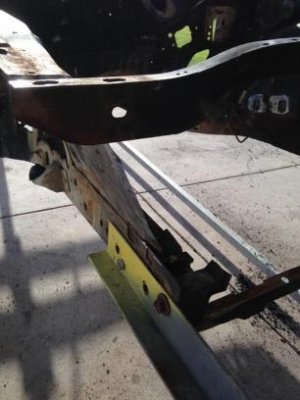
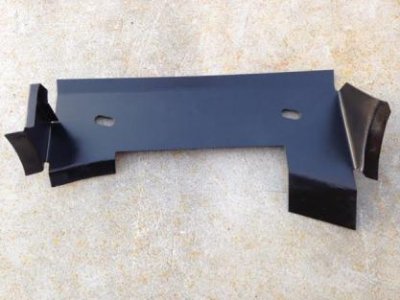
This car started out with a 318 and a 22 inch radiator. Since I'm putting a 440 in it with an aluminum 4 row radiator, the opening had to be modified to allow the new radiator to fit properly.

- - - Updated - - -

The new opening will allow a 26 inch radiator to be installed, and it will look factory correct once I'm done.

- - - Updated - - -

core support.jpg

This is the original opening.

core support1.jpg

- - - Updated - - -

The second picture shows the new part to be installed........................
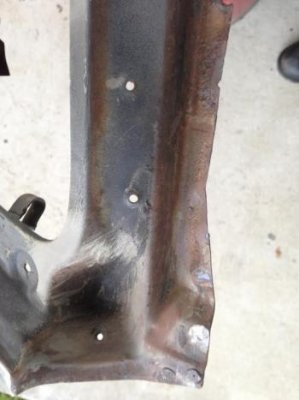
- - - Updated - - -

core support5.jpg

- - - Updated - - -

Here you can see how much bigger it will make the opening.

- - - Updated - - -

So I started cutting this part out....................
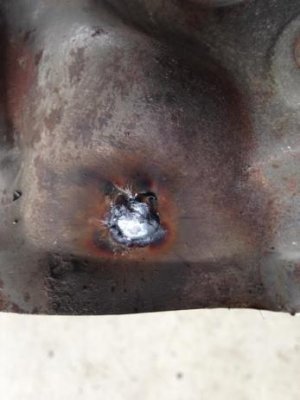
- - - Updated - - -

core support9.jpgcore support10.jpg

- - - Updated - - -

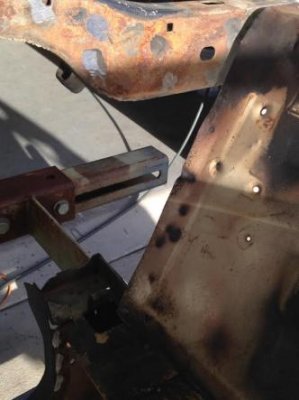
Then I started fitting the new piece in position.

- - - Updated - - -

core support6.jpgcore support7.jpg

- - - Updated - - -

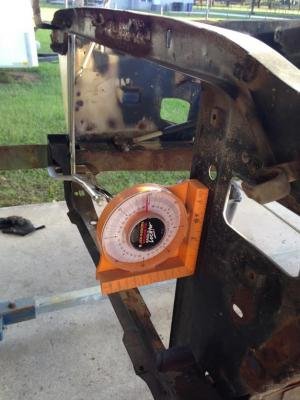
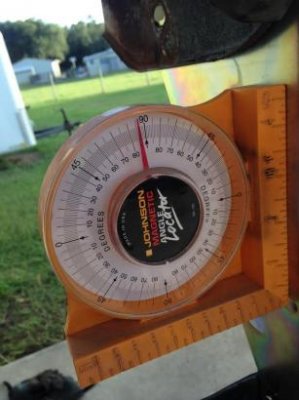
I used an angle gauge to make sure it was in vertical alignment with the driver side. Once it was set at the proper degree, I clamped it in place.

- - - Updated - - -

Tomorrow I will test fit the new radiator to see if any other final adjustments need to be done. If things work out as hoped for, I will spot weld this part in place tomorrow.

- - - Updated - - -

core support1.jpg

- - - Updated - - -

Before the new part was clamped into position............................
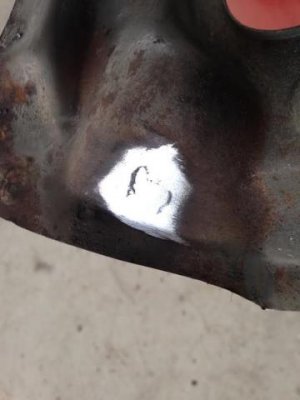
- - - Updated - - -

core support.jpg

- - - Updated - - -

and after........................
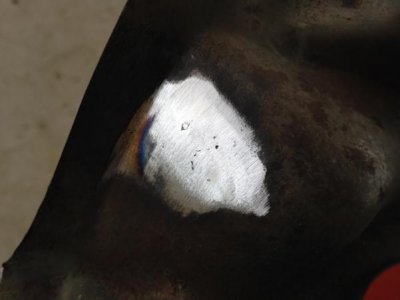
I will have to clean this area down to nice clean rust free metal before it gets welded in it's final position.

Stay tuned, and I hope you all had a GREAT Thanksgiving !!!!!!!!!!!!!!!
 
Today I didn't get to do as much on the car as I originally wanted to. But that's OK by me. We had a great day visiting with some good friends and had a nice lunch together instead.

- - - Updated - - -

After we got back home, I broke out the glass bead cabinet...........................
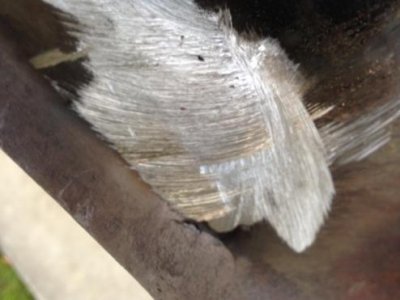
I mean this literally. I rolled it outside the shop and went to work.

- - - Updated - - -

I started cleaning a few parts. These parts were now ready for cleaning. I had to remove the small scrap pieces of metal that were still spot welded in position.

- - - Updated - - -

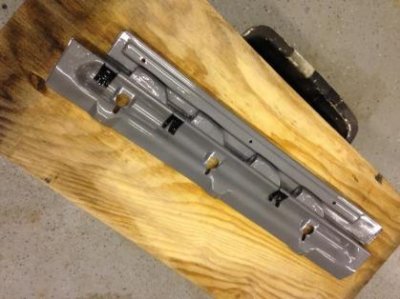
jack bracket.jpg

- - - Updated - - -

This is the large jack bracket that is spot welded onto the driver side wheel house.

- - - Updated - - -

jack bracket1.jpgjack bracket2.jpg

- - - Updated - - -

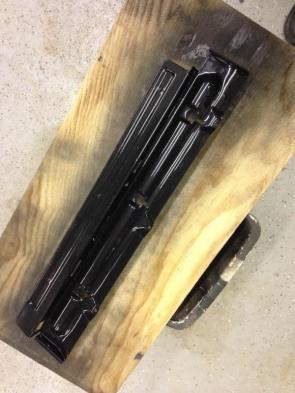
Here is the same part after painting.......................
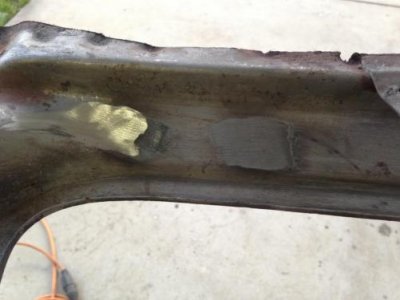
- - - Updated - - -

Hinge supports.jpg

- - - Updated - - -

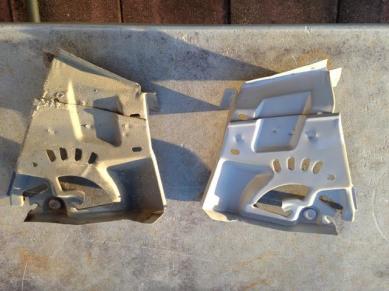
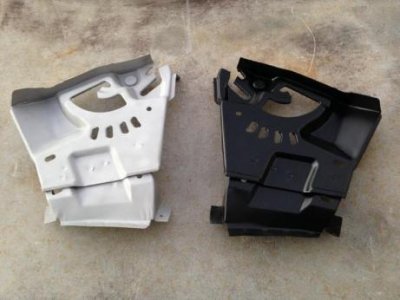
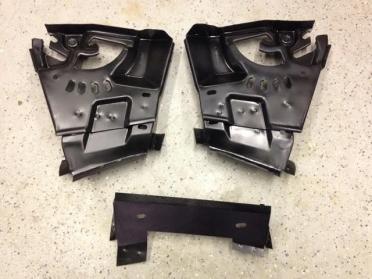
These are the trunk hinge support brackets. These parts locate the trunk hinges and provide an anchor for the trunk lid torsion bars.

The one on the left has not been glass beaded at this point. The one on the right side has and is now ready for painting.

- - - Updated - - -

Hinge supports1.jpg

- - - Updated - - -

IN this photo, both parts have now been glass beaded. The one on the right has been painted as well.

- - - Updated - - -

finished parts.jpg

- - - Updated - - -

Here we have the finished parts, ready to go back on the car when the time is right. The glass beading really makes them look brand new.

That's all folks !!!!!!!!!!!!!!!!

Have a good one.
 
That looks like a really good job. Well I can honestly say it is after spending today with Louis and his wife.
I would also like to say thank you again for helping me with some adjustment work to the Charger, and the storage.
Thanks again buddy.
 
Today I managed to get a little done on the tail panel for the Challenger.....................
- - - Updated - - -

weld tail panel5.jpg

- - - Updated - - -

In 1973, the Challenger had a small rubber trim strip that ran across the rear of the car that acted as a filler part in between the bumper and the tail panel.

- - - Updated - - -

I am removing that part since I am going to tuck the bumpers in like they did from 1972 and earlier.

- - - Updated - - -

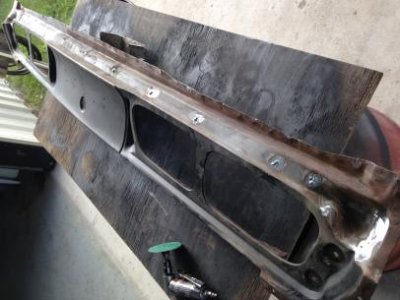
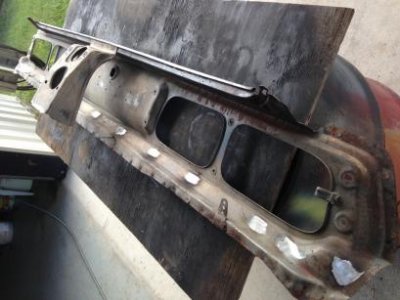
Because of this rubber filler strip, there were mounting / screw holes in the tail panel.

- - - Updated - - -

weld tail panel6.jpgweld tail panel8.jpg

- - - Updated - - -

In these last two close up photos, you can see some of them.

- - - Updated - - -

weld tail panel.jpg

- - - Updated - - -

Here is one after I welded it closed. It looks like I need to change out my gas bottle...............
- - - Updated - - -

weld tail panel1.jpg

- - - Updated - - -

Here is the same spot after some sandpaper flap wheel action...............
- - - Updated - - -

So I added a little more weld, then ground it down again to this..............
- - - Updated - - -

weld tail panel2.jpg

- - - Updated - - -

Then I filled in a few more of these small holes by welding them closed.

- - - Updated - - -

weld tail panel3.jpgweld tail panel4.jpg

- - - Updated - - -

I still have to finish welding the rest of the holes shut. Once that is done, I can glass bead the entire panel and it will be ready to re-install when the time comes.

- - - Updated - - -

This procedure is done on both sides of the panel to make sure it is done correctly and will only need a minimal amount of filler material once it's installed.

Have a good one............
 
Today I was able to finish the tail panel welding.

- - - Updated - - -

image.jpgimage.jpg

- - - Updated - - -

Now it's ready to get glass beaded.

- - - Updated - - -

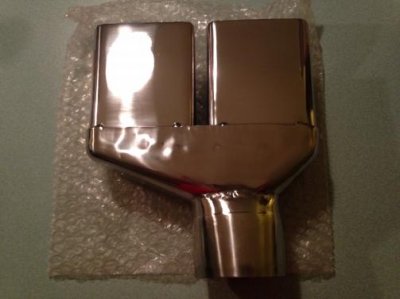
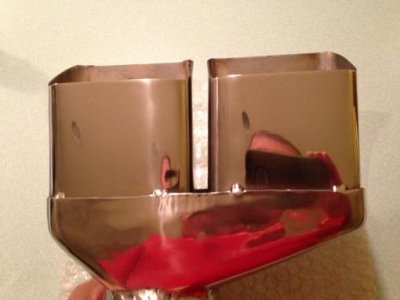
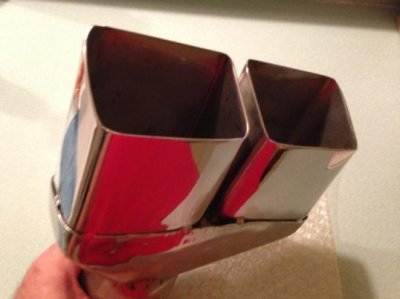
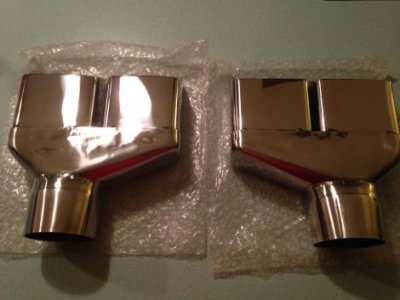
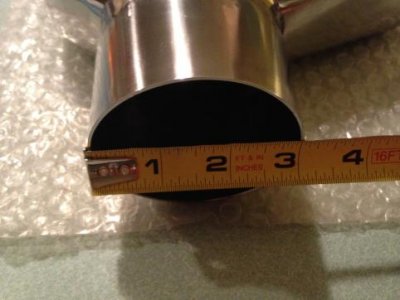
Later this afternoon the exhaust tips arrived.

- - - Updated - - -

image.jpgimage.jpgimage.jpg

- - - Updated - - -

They look pretty nice. Even better in person.

- - - Updated - - -

image.jpgimage.jpg

- - - Updated - - -

The car will have a 3 inch exhaust system all the way out back.

That's all for now !!!!!!!!
 
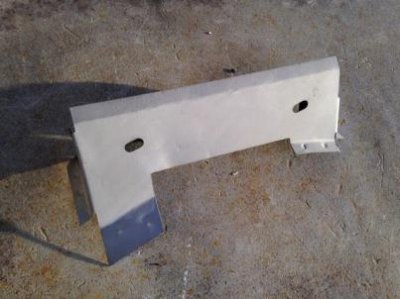
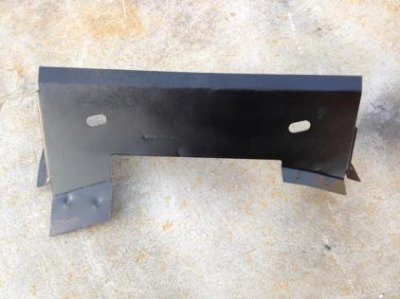
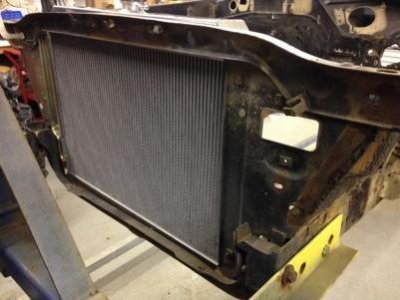
I also replaced the passenger side rad mounting to open up to a 26". Fit perfectly. One thing I just found out as I'm reassemblying - the new panel doesn't have the integral threads for hanging the horns and horn relay. Have to use a nut and bolt.
 
Louis, i know ive said it before but i just have to say it again, your work you do and i would believe even if you had to mend up a rice burner is awesome, it's nice to check in hear and see you hard at work after so many problems, i to hope ill be back at home hear and be able to post the work on my 69, winter is hear now and although i need to cut some more wood, my little shop ill be in most of the 6 days i have :) looking forward to back on "MOPAR" track lol.... Keep up the great work bud, be seeing you guys around our projects very soon!!! :) RON...
 
Thanks everyone for the kind words...................
- - - Updated - - -

I also replaced the passenger side rad mounting to open up to a 26". Fit perfectly. One thing I just found out as I'm reassemblying - the new panel doesn't have the integral threads for hanging the horns and horn relay. Have to use a nut and bolt.

Luckily on my Challenger the horn relay is one the fuse panel under the dash. The horns mount on the hood latch vertical assembly, so I dodged that bullet too. Overall I am very pleased with how the part fits too.

- - - Updated - - -

Over the last few days I didn't get too much done on the car other than order some more goodies.....................
I ordered a set of 3 inch Flowmaster mufflers to fit the TTI system.

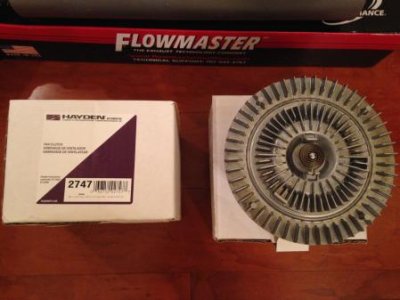
I have a Hayden fan clutch on the way and a 8 3/4" bearing / install kit for the 3.55 gear set I'll be putting together. After thinking about it I have decided that the 3.91's will be too steep for my liking given the tire size on the car. It would have been fun from "Light to Light", but that's all.

- - - Updated - - -

We had some family guests in town, so the car took a back burner. I did manage to get a little done to it tonight.

Here is what I did:

- - - Updated - - -

Challenger Radiator test fit2.jpgChallenger Radiator test fit3.jpg

- - - Updated - - -

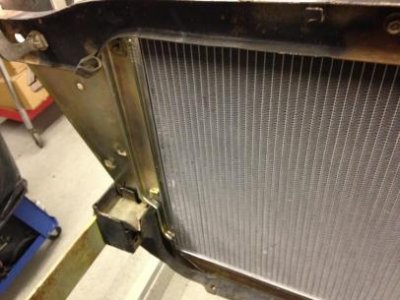
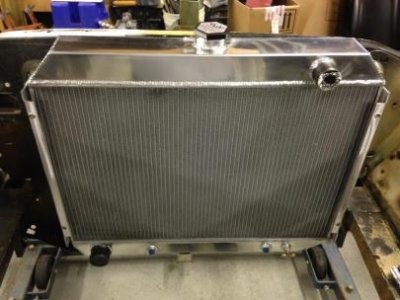
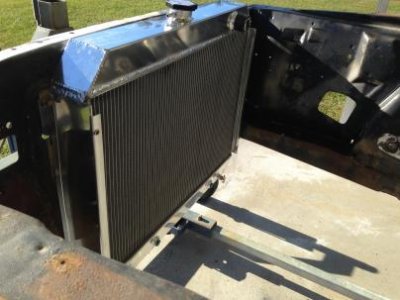
I test fitted the 4 row radiator on the new radiator opening. I'm very happy with the results. I will have to "tweak" things just a little, but it's a lot easier doing this now rather than later when things have been painted................
- - - Updated - - -

Challenger Radiator test fit5.jpg

- - - Updated - - -

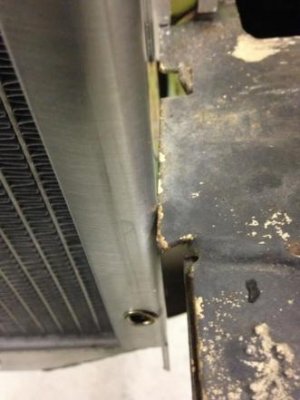
It's tight here on the passenger side by the frame rail. I may be able to shift everything over just enough to compensate for this, or I may have to elongate the radiator mounts just a little. I also thought about shaving a little off the inside of the frame rail. It may be a combination of all of these.................
- - - Updated - - -

Challenger Radiator test fit.jpgChallenger Radiator test fit1.jpgChallenger Radiator test fit6.jpg

- - - Updated - - -

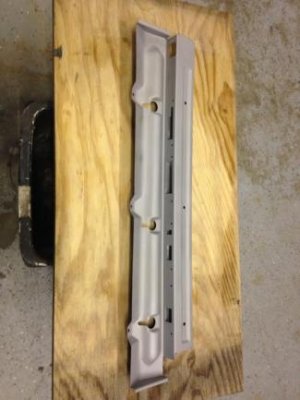
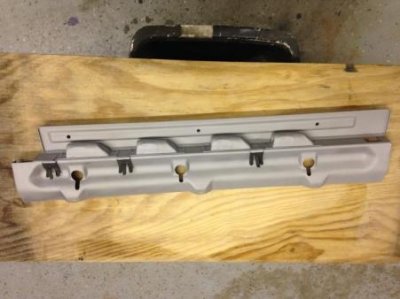
I also glass beaded the "Rally" dash light bar. These light bars have 4 lights in them to illuminate the gauge cluster instead of the "Standard: dash with only 3 lights.
- - - Updated - - -

Rally light bar.jpgRally light bar1.jpg

- - - Updated - - -

Then I clear coated the back side of it to prevent it from rusting.

- - - Updated - - -

Rally light bar2.jpg

- - - Updated - - -

This was followed by a coat of flat black on the other side.

- - - Updated - - -

Rally light bar3.jpg

- - - Updated - - -

In these photos, the paint hasn't dried yet. The part still looks shiny because the paint is wet.

- - - Updated - - -

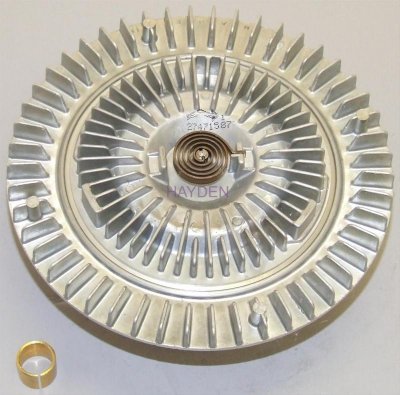
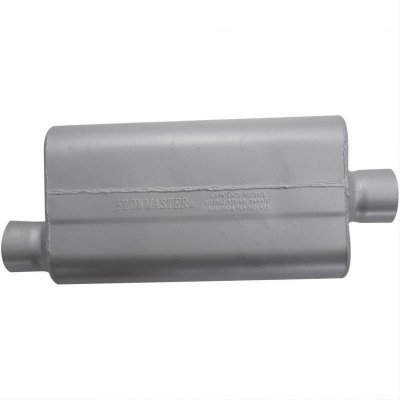
Here are a few "stock" photos taken from Summit racing's website of some of the parts I ordered last night.

- - - Updated - - -

HDA-2747_xl.jpg

- - - Updated - - -

Hayden fan clutch.................

- - - Updated - - -

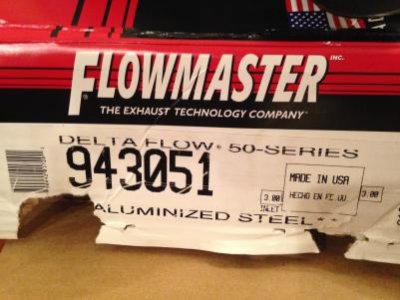
FLO-943051_SN_xl.jpg

- - - Updated - - -

a pair of 3 inch Flowmasters................

- - - Updated - - -

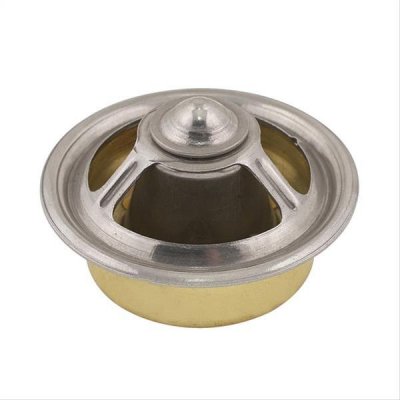
mrg-4363_bp_xl.jpg

- - - Updated - - -

a "high Flow" thermostat

- - - Updated - - -

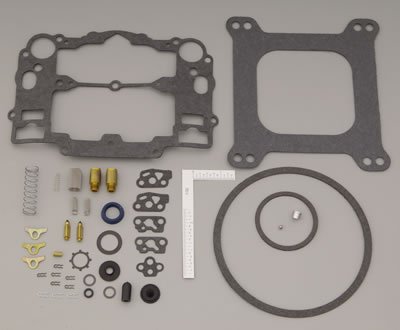
edl-1477_w.jpg

- - - Updated - - -

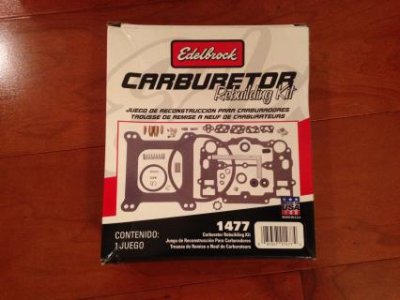
a carb rebuild kit for an Edelbrock AFB.

- - - Updated - - -

plus some other stuff is on the way.

Take care and have a good evening..
 
I'm sitting here watching GYC. So during the commercial breaks I'm posting up a few pictures of some of the parts that arrived from Summit Racing today.

They really shipped these items quickly.

So here goes.

- - - Updated - - -

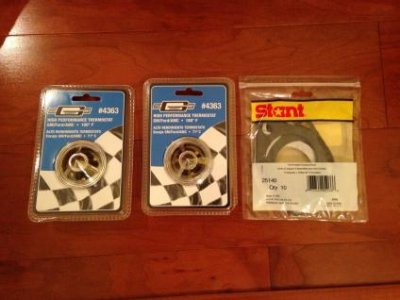
image.jpgimage.jpg

- - - Updated - - -

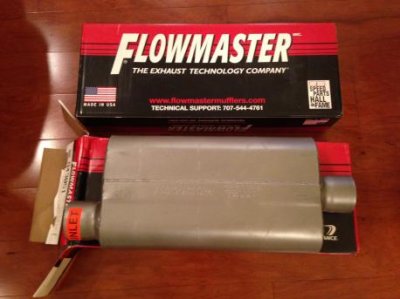
The Flow Master mufflers came in. I took the original Walker Turbo muffler part numbers and looked up the size specifications and matched it up with a similar sized one produced by Flow Master. These should be a very close fit size wise.

- - - Updated - - -

image.jpgimage.jpg

- - - Updated - - -

I ordered two thermostats and fan clutches. The reason behind this is that I have a good friend who needs a set of these parts as well.

- - - Updated - - -

image.jpg

- - - Updated - - -

And finally the carb rebuild kit arrived too. I'm still waiting on the gear install / bearing kit.

Back to the show.........
 
Just read through this whole thread today, and I have to say I'm kind of sad that I didn't get to see the SSB finished as a driver. However, I'm excited to see the work on the challengers!
 
Just read through this whole thread today, and I have to say I'm kind of sad that I didn't get to see the SSB finished as a driver. However, I'm excited to see the work on the challengers!

That was a LOT of reading !!!!! LOL Thank you. I still miss my other cars that were recently sold, (especially the 72 SSB) But I had to do it in order to make some progress on the two cars I really wanted to keep. As much as I wanted to, I finally realized that you can't have everything. (at my budget anyways)

So please stay tuned for more updates on the Challengers. With the Holiday season here and a few other odds and ends, I haven't done anything to the Challenger.

But.............. A few days ago, just before Christmas, the rest of the 3 inch TTI system came in. Later tonight I'll try to snap some pictures of it and post them up.

Meanwhile, I hope everyone had a wonderful Christmas, and that we all have a Happy, Productive and Safe New Year.

Later Folks !!!!!!!!!!!!!!!!!
 
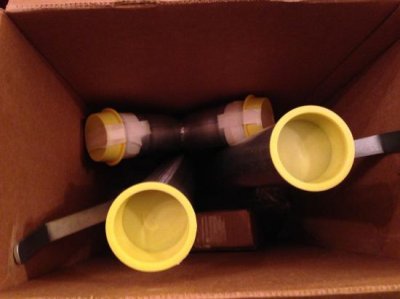
Here is the run down on the TTI system:

- - - Updated - - -

image.jpg

- - - Updated - - -

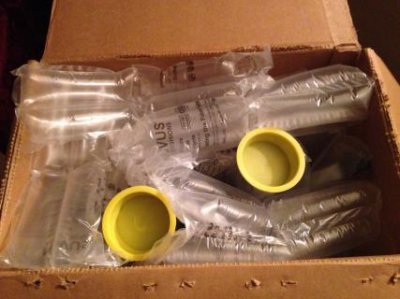
I opened the box to find things neatly packaged and well protected for shipping.

- - - Updated - - -

image.jpg

- - - Updated - - -

Once the bubble wrap was removed this is what was inside.

- - - Updated - - -

image.jpg

- - - Updated - - -

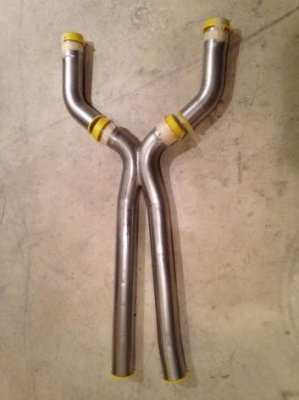
Here is the X-pipe

- - - Updated - - -

image.jpg

- - - Updated - - -

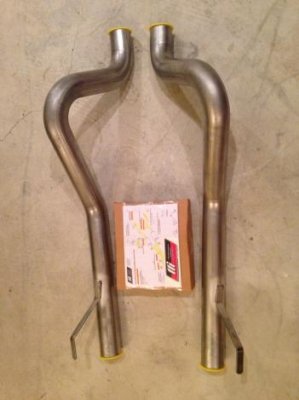
The tail pipes and hardware.

- - - Updated - - -

image.jpg

- - - Updated - - -

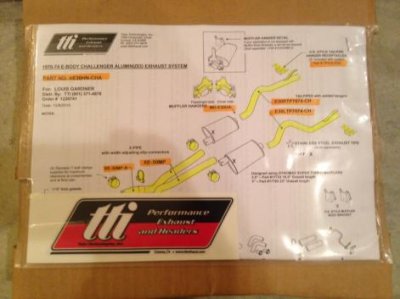
The instructions are on the back of the hardware box.

- - - Updated - - -

image.jpg

- - - Updated - - -

This is the very end of the tail pipe. This is where the chrome tips are mounted. This system is 3 inches all the way out back. It's going to sound great !!!!!!

- - - Updated - - -

image.jpg

- - - Updated - - -

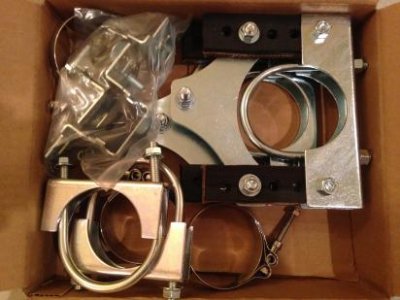
The contents inside the hardware box.

- - - Updated - - -

image.jpg

- - - Updated - - -

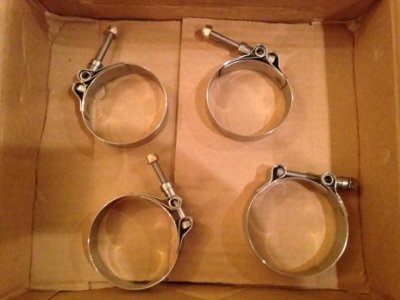
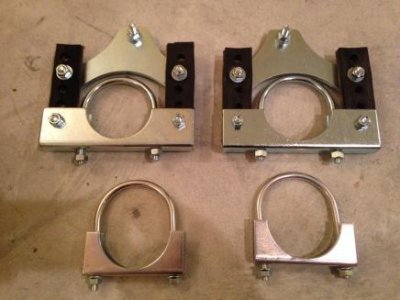
3 inch band clamps.

- - - Updated - - -

image.jpg

- - - Updated - - -

The tail pipe hangers.

- - - Updated - - -

image.jpg

- - - Updated - - -

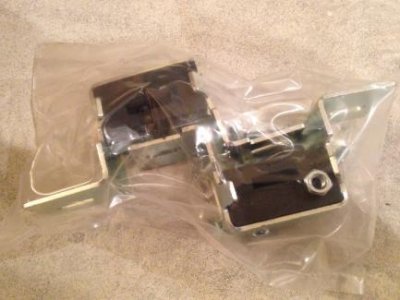
And finally the muffler hangers. I'm really looking forward to installing this system !!!! The one I installed on the last Challenger restoration really turned out great and fit like a glove. The other car had the turbo mufflers and sounded nice. This car will use Flow Master's on it for a more aggressive sound.

Well there ya have it. Christmas came a few days early at our house. I was just a slacker at posting it !!! LOL

Have a good one !!!!
 
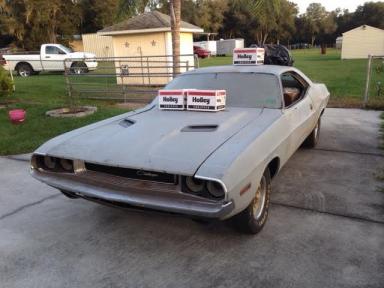
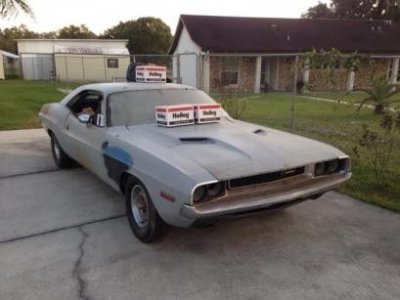
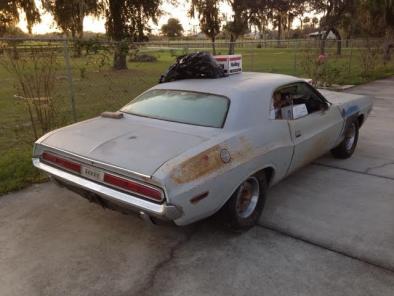
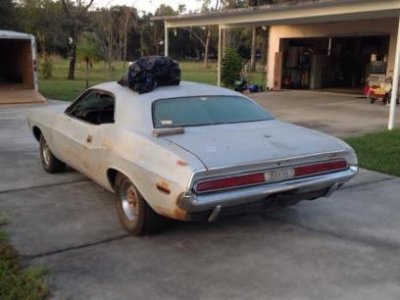
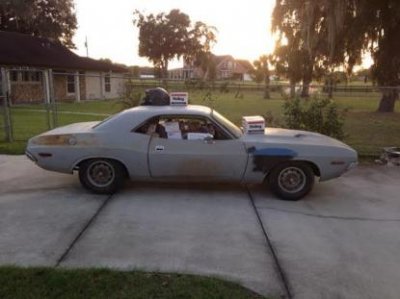
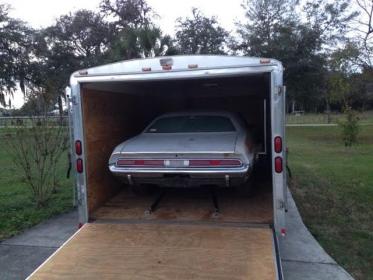
More progress has been made. I had to load my 70 Challenger into the enclosed car hauler to make room inside our home. (I need to finish a few house projects that I started a while ago. This is part of the plan)

It was in the garage and I'm sad to say it was basically being used as a storage table. I also had it jam packed with a bunch of new parts. Before loading the car into the trailer, I took all of the new parts out to keep them stored safely away inside our home. The trailer isn't humidity controlled, where the house is.

With the 70 Challenger in the enclosed trailer, I will have a lot easier access to it. The plan is to use the rally hood, trunk lid, and rear lower valance from this car, on the 73 Challenger that is on the rotisserie right now.......................... sounds a little confusing
- - - Updated - - -

70 Challenger Restoration 1.jpg70 Challenger Restoration 2.jpg

- - - Updated - - -

Here it is in the driveway.................

- - - Updated - - -

70 Challenger Restoration 4.jpg70 Challenger Restoration 5.jpg

- - - Updated - - -

A few more pictures.............................
- - - Updated - - -

70 Challenger Restoration 3.jpg

- - - Updated - - -

These were taken before the car was unloaded................................ If you look close inside you can see all of the parts I was talking about.
- - - Updated - - -

70 Challenger Restoration 6.jpg

- - - Updated - - -

Did I ever mention how much I LOVE the trailer winch !!!!!!!!!!!!!!!!!!

I don't know how I did it before. Work smart not hard.

- - - Updated - - -

70 Challenger Restoration 7.jpg

- - - Updated - - -

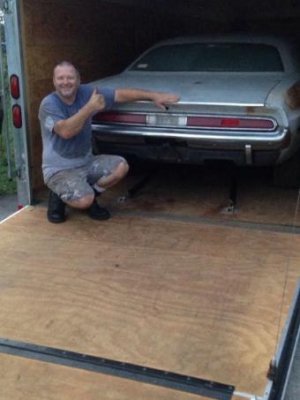
It's supposed to be winter now. But we have been setting record high temperatures down here in sunny Florida.

Just look at my T-shirt for proof !!!!!!!!!!!!!!!!

Here she is tucked away and strapped down for now.

Have a safe night tonight. Happy New Year's Eve !!!!!!!!!!!!
 
It's been a while since I've posted on here. I've been busy with other projects.

So today I was able to get a lot done on my Challenger.

- - - Updated - - -

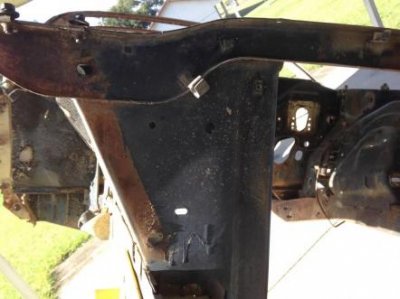
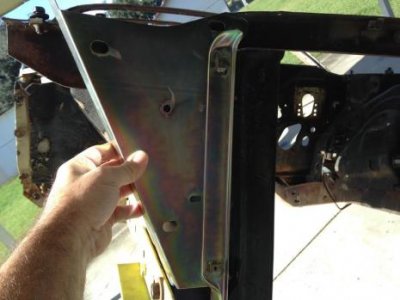
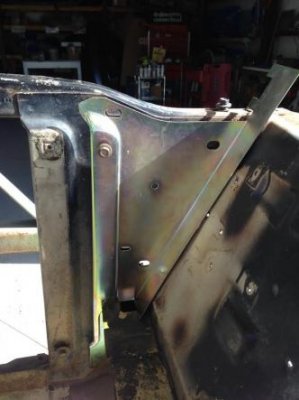
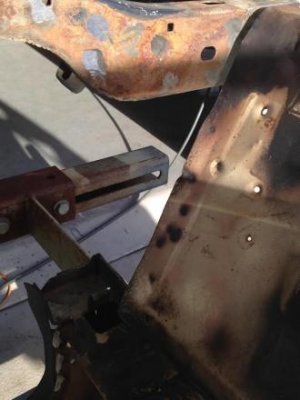
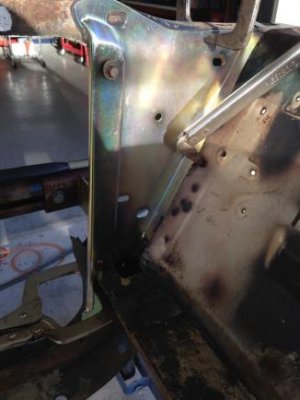
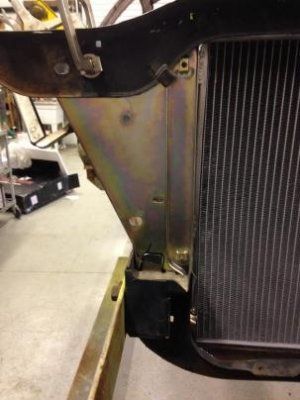
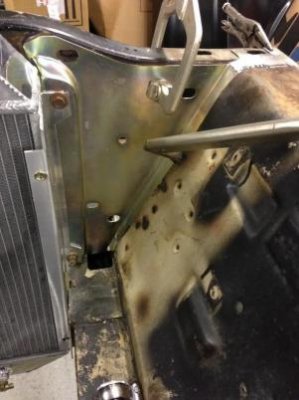
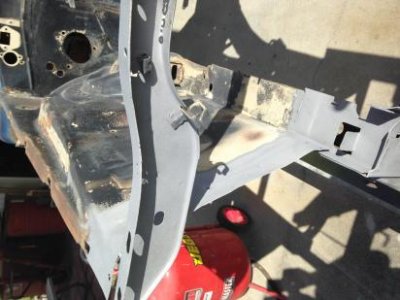
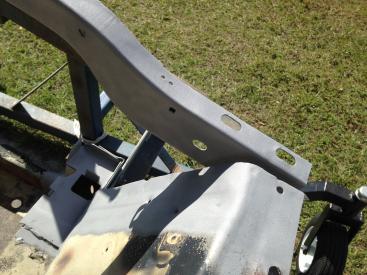
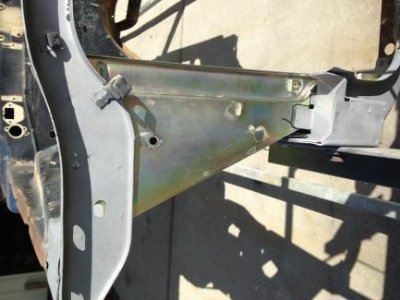
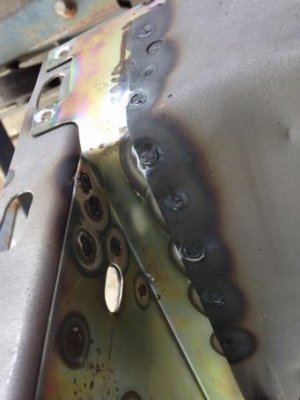
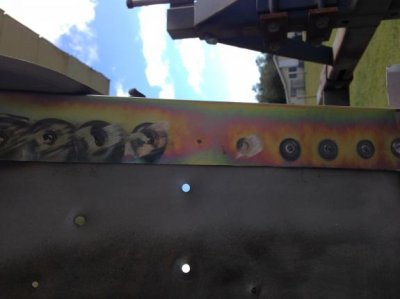
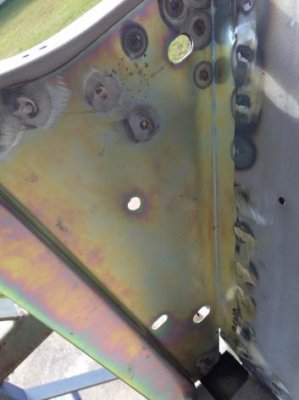
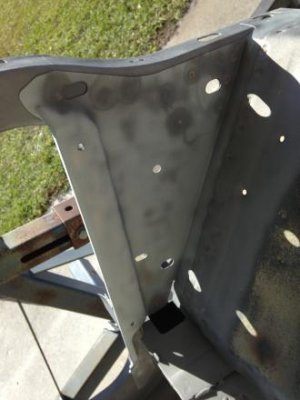
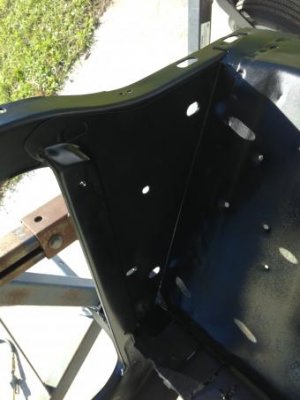
I installed the radiator side support.

- - - Updated - - -

Before I could weld the part in position I had to blast the areas surrounding the part down to clean bare metal.

- - - Updated - - -

image.jpg

- - - Updated - - -

image.jpg

- - - Updated - - -

Once the metal was clean I placed the new part in position.

- - - Updated - - -

image.jpg

- - - Updated - - -

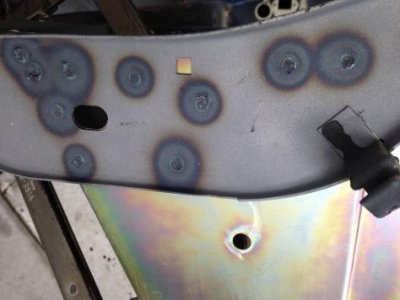
Then I got busy with the spot welding.

- - - Updated - - -

image.jpg

- - - Updated - - -

image.jpg

- - - Updated - - -

The welder tongs were not long enough to reach in some places so these areas had to be plug welded.

- - - Updated - - -

image.jpg

- - - Updated - - -

image.jpg

- - - Updated - - -

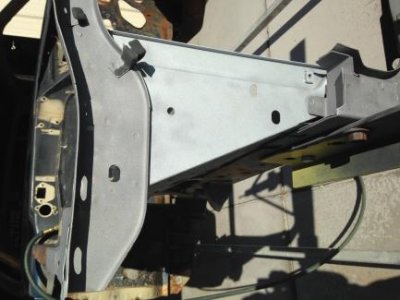
Then I blasted the new panel to give it some "tooth" for the paint to adhere to.

- - - Updated - - -

image.jpg

- - - Updated - - -

image.jpg

- - - Updated - - -

Then I blew everything off in preparation for the paint.

- - - Updated - - -

image.jpg

- - - Updated - - -

image.jpg

- - - Updated - - -

image.jpg

- - - Updated - - -

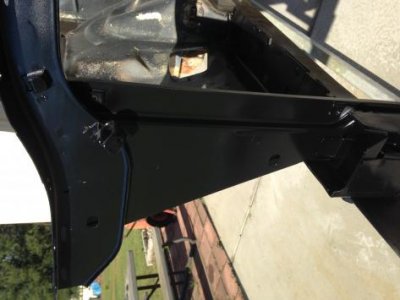
Once the panel was completed I began to strip off the undercoating.

- - - Updated - - -

image.jpg

- - - Updated - - -

Here I have finished the passenger side front fender well.

- - - Updated - - -

image.jpg

- - - Updated - - -

By removing the undercoating it makes the blasting go much faster.

- - - Updated - - -

Hopefully tomorrow I can get more of it removed from the car.

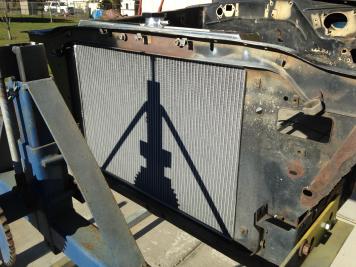
I also fitted the radiator and did the slight trimming to get it to fit really nice.

- - - Updated - - -

image.jpg

- - - Updated - - -

Here you can see there is ample clearance now. This area almost hit before.

- - - Updated - - -

image.jpg

- - - Updated - - -

image.jpg

- - - Updated - - -

Some of the pictures are rotated because I have been using my iPhone to post tonight.

That's all for today.

Have a good one!!!!!!
 
Just read through this whole thread today, and I have to say I'm kind of sad that I didn't get to see the SSB finished as a driver. However, I'm excited to see the work on the challengers!

I agree with dieselholic about the SSB and ofcouse the RR'71..!! But I still love the read your posts. I'm working the other way around , had a challenger and now have a '72 RR.

Like the radiator support post wih the great pics ...., thats a job I will need to do too.

Good to see your back on track Louis. .!
 
Thanks Petty Blue Bird !!!!!!!!!!!!! Replacing the radiator side support / opening isn't too bad of a job, as long as you have the car torn down far enough to get to the original factory welds. Shoot me a PM if you have any questions about it. Glad to help you if I can.

Years ago I had a 72 Rally Challenger that started life with a 340 and a 4 speed. It was originally B-5 blue with a black vinyl top and interior. I miss that car...................
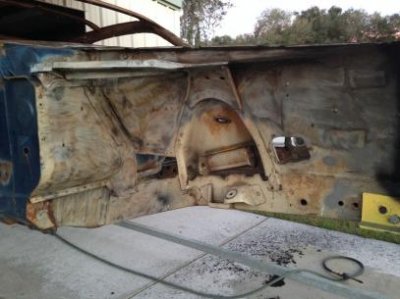
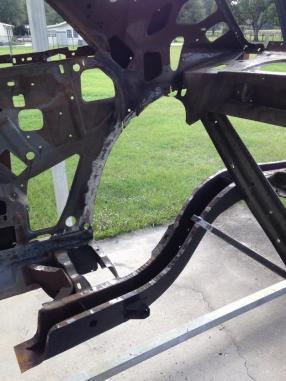
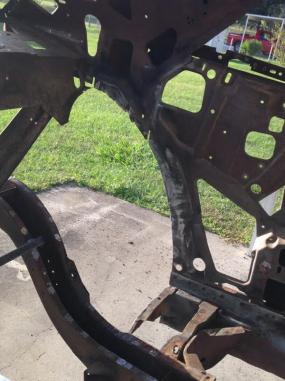
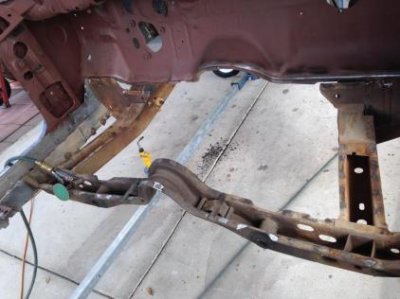
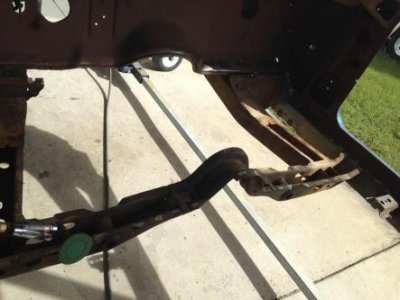
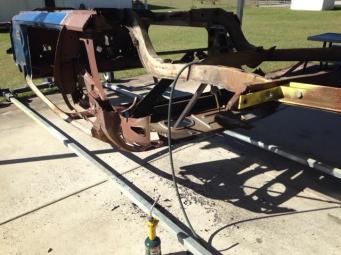
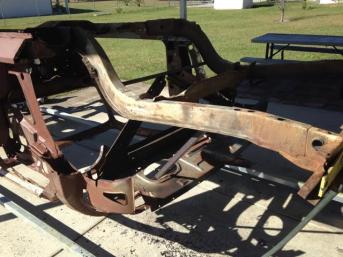
Today I managed to remove all of the remaining under coating and seam sealer that was left on the car.

- - - Updated - - -

Undercoating removal 1.jpg

- - - Updated - - -

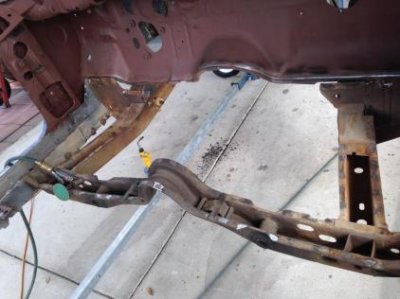
This picture shows the passenger side rear frame rail. The pictures are coming out better tonight because I'm posting them from my computer instead of my phone.................
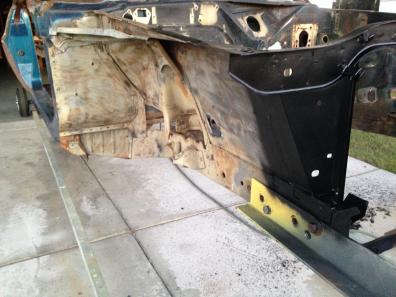
- - - Updated - - -

Undercoating removal 2.jpg

- - - Updated - - -

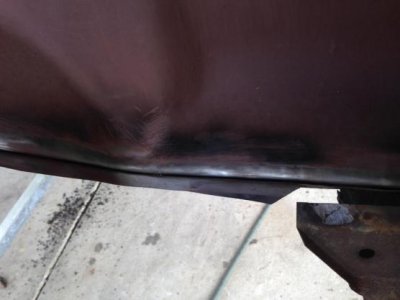
This one is more of a "close up" picture................
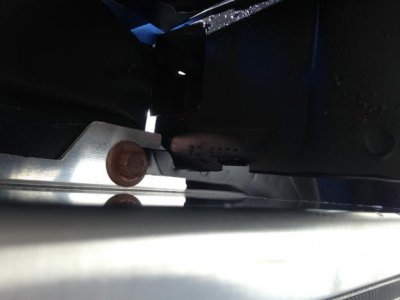
- - - Updated - - -

It takes a LOT of time to get into all of the little "nooks and crannies"..............
- - - Updated - - -

Undercoating removal 3.jpg

- - - Updated - - -

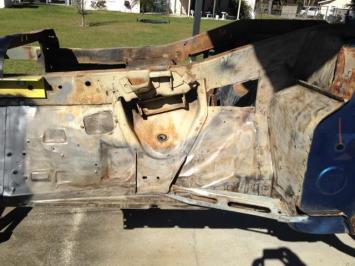
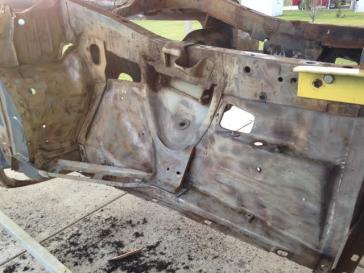
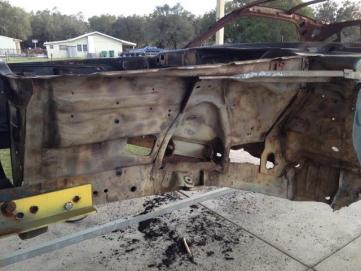
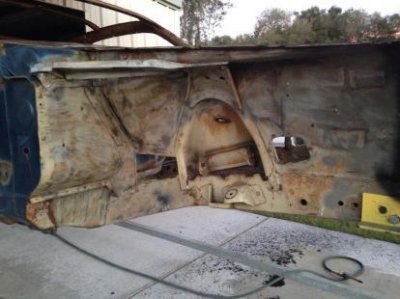
This is the passenger side front inner fender well area. This area was finished up yesterday.

- - - Updated - - -

Undercoating removal 4.jpg

- - - Updated - - -

This is the driver side that I finished up late this afternoon.

- - - Updated - - -

Undercoating removal 6.jpgUndercoating removal 7.jpg

- - - Updated - - -

These are the same areas after I flipped the car back in the normal "upright" position.

- - - Updated - - -

All that is left to do now is remove the front seam from what is left of the original front floor pan. Once that is done I can start blasting the car down to bare metal.

- - - Updated - - -

floor pan.1png.jpgfloor pan.2png.jpg

- - - Updated - - -

In these last two pictures you can see the small section of metal that still needs to be removed.

The nice thing is that once this is done (and the car has been blasted and painted in black epoxy paint) is that things will start going BACK on the car instead of taking more of it apart...............
That will be a turning point in the restoration of this car.

- - - Updated - - -

I'm looking forward to that.

That's all Folks !!!!!!!!!!!
 
Auto Transport Service
Back
Top