• When you click on links to various merchants on this site and make a purchase, this can result in this site earning a commission. Affiliate programs and affiliations include, but are not limited to, the eBay Partner Network.

71 Road Runner Restoration Started

Today I was able to get a whole lot done on the Challenger.

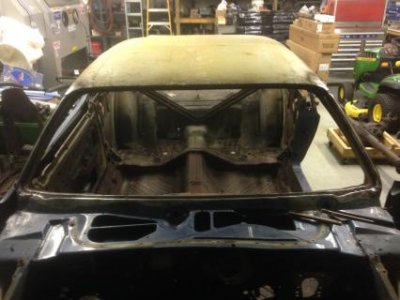
I started out by removing the rear window.

- - - Updated - - -
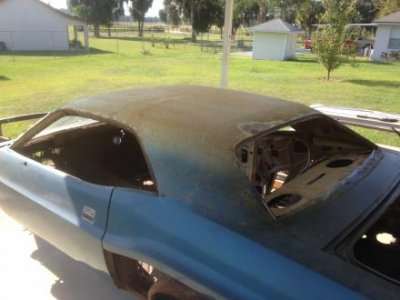
image.jpg

- - - Updated - - -

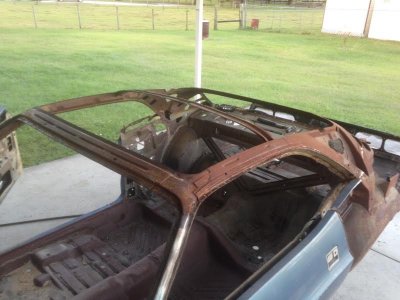
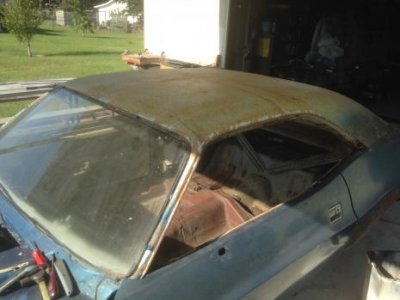
Then I pulled the vinyl top off to see what was lurking underneath.

- - - Updated - - -

View attachment 281931image.jpg
- - - Updated - - -

Luckily it wasn't too bad under there. But my opinion started to change as I dug deeper into it.

- - - Updated - - -
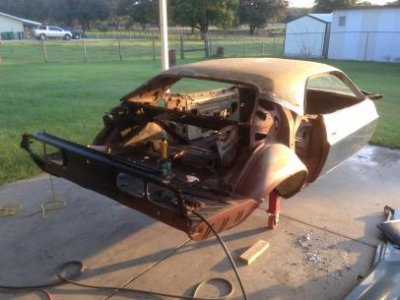
image.jpgimage.jpg

- - - Updated - - -

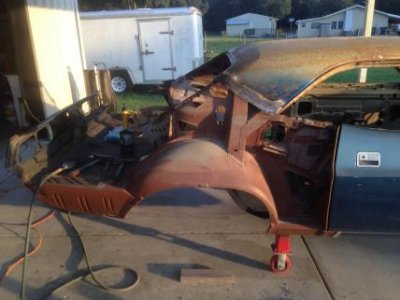
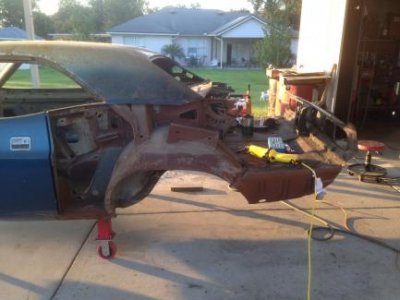
Then I continued to cut away at the "Dutchman" panel and rear quarters.

- - - Updated - - -
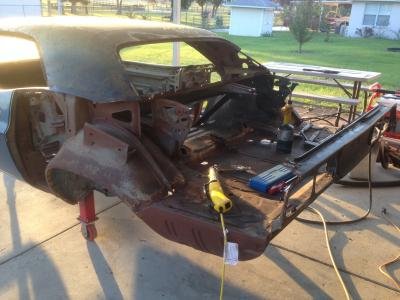
image.jpgimage.jpg

- - - Updated - - -

I found a whole in the driver side rear inner and outer wheel house just where the two parts joint together. If you look closely at the second to last photo you can see the light shining through the hole.

- - - Updated - - -

This hole was lurking behind the seam sealer. Once I removed the sealer the hole appeared. I also noticed the trunk floor had a small pinhole in it as well. I'm not so sure it will turn out so well after it's been blasted.

So it looks like my project just got more costly and time consuming to boot.

But the car will turn out better once these parts have been replaced.

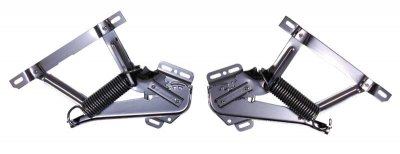
I'm going to get a new roof skin, trunk floor and inner and outer rear wheel houses for both sides. I've been toying around with the idea of getting a set of hood hinges and exhaust heat shields for the Challenger while I'm on a roll.

You all take care.
 
Today was a good day. Earlier we loaded up the 72 Satellite Sebring for its trip up north. Now that it's gone I miss it. Sort of like one of your kids leaving for college.......LOL But you can only have so many toys.


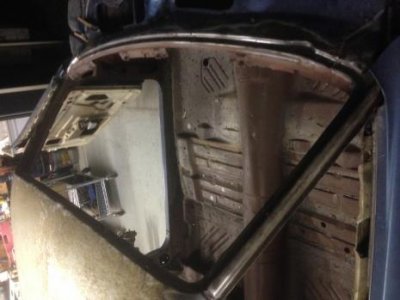
Later on during the day I removed the front windshield. I planned on replacing it so I didn't try to be too gentle with it. Even so I didn't want a bunch of broken glass splinters all over the place.

- - - Updated - - -

image.jpgimage.jpg

- - - Updated - - -

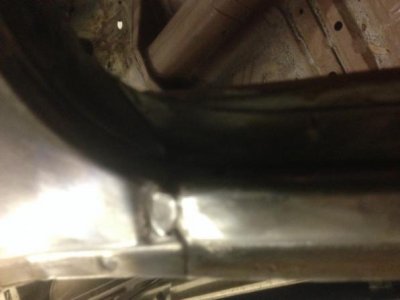
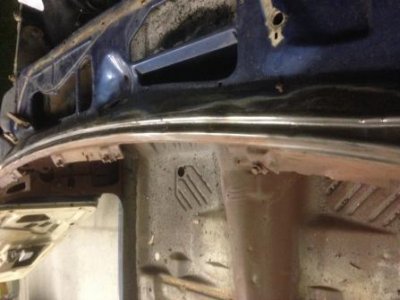
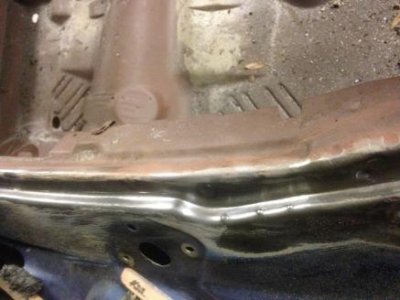
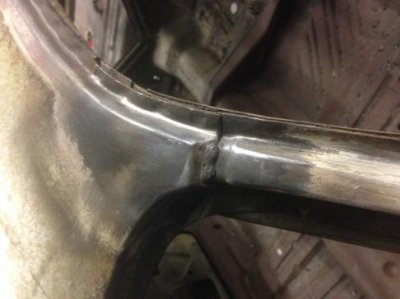
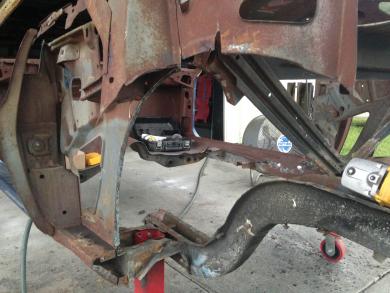
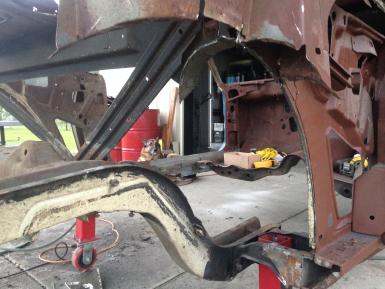
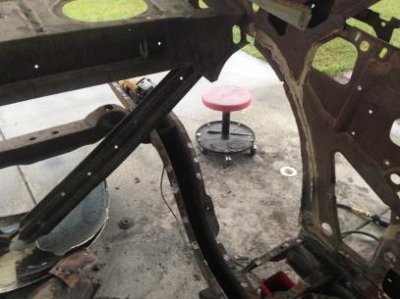
Then I started cleaning up around the window opening. I use a small torch and a wire brush to clean up the residue left once the glass is out. It works great but I wouldn't recommend this if the interior was still in the car.

- - - Updated - - -

image.jpgimage.jpgimage.jpgimage.jpg

- - - Updated - - -

Overall it cleaned up rather well.

Hope you all had a great weekend.
 
More AMD metal on the way...................

I didn't get anything done in the shop today. We had some other stuff going on...............

After giving the car a good "once over" last night (after it had been sitting idle in the shop for some time), I decided that I would need more parts for it. Rust was found in some areas that I didn't remember it being there previously.

I wanted to ensure the restoration was very nice and no short cuts were taken. Plus a lot of the time you can spend way more time into "massaging" an old panel that needs rust repair than you would if you simply replaced it with another one. AMD makes practically everything for this car, so....................... I made another parts list.

With that in mind, I made another call to my friend Ted Stephens. I ordered some more AMD sheet metal for the '73 Challenger.

Here is what is on the way: I will be picking these parts up from Ted at the Garlit's show.

- - - Updated - - -

600-2570_800.jpg

- - - Updated - - -

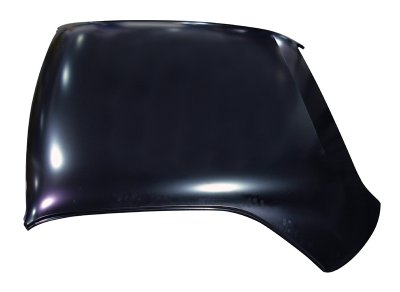
a new roof skin...............

- - - Updated - - -

760-1570-L_800.jpg760-1570-R_800.jpg

- - - Updated - - -

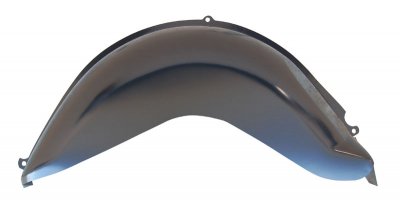
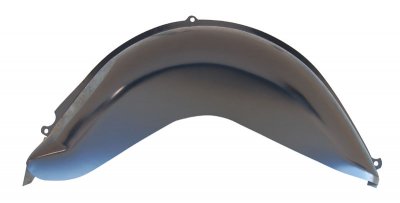
Passenger and driver side inner wheel house halves

- - - Updated - - -

770-2570-L_800.jpg770-2570-R_800.jpg

- - - Updated - - -

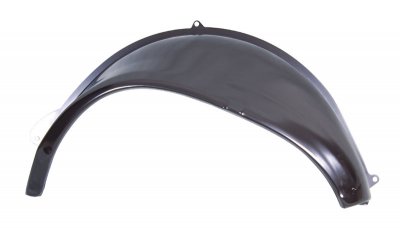
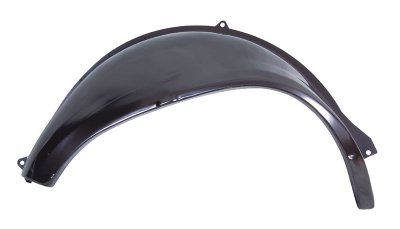
Passenger and driver side outer wheel well halves.......................

- - - Updated - - -

800-2571_800.jpg

- - - Updated - - -

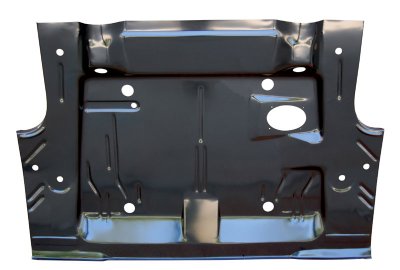
One piece trunk floor.................

- - - Updated - - -

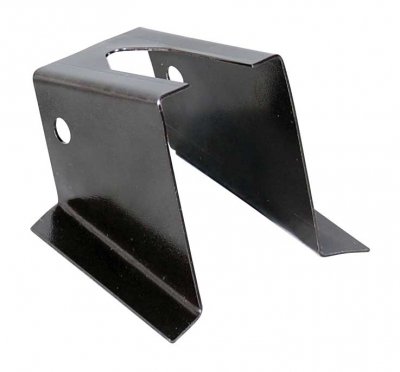
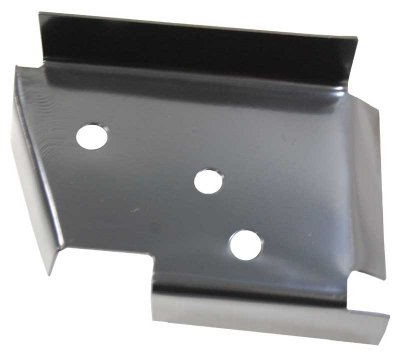
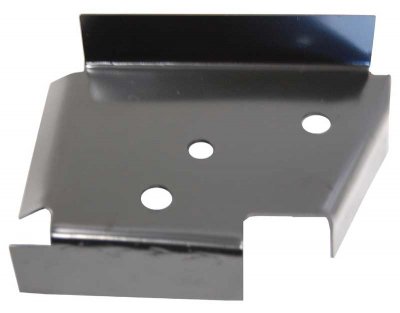
817-1570-1_800.jpg818-1570-1L_800.jpg818-1570-2L_800.jpg

- - - Updated - - -

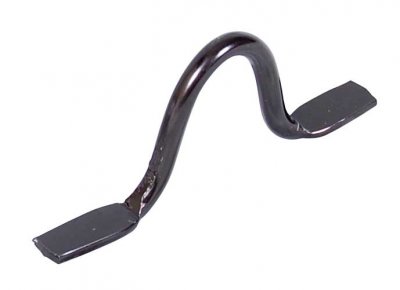
spare tire bracket and jack mounting brackets..................

- - - Updated - - -

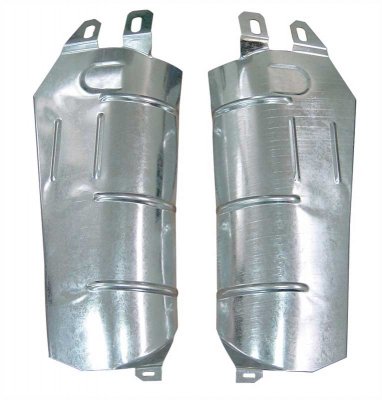
885-1570-S_800.jpg

- - - Updated - - -

Exhaust heat shields..............

- - - Updated - - -

871-1570-L_800.jpg871-1570-R_800.jpg

- - - Updated - - -

Rear cross member extensions...................

- - - Updated - - -

310-1570-P_800.jpg

- - - Updated - - -

and a set of hood hinges.

All of these photos came directly from AMD's web site.

- - - Updated - - -

I'll post up some pictures after I get them home.

Have a good one.....................
 
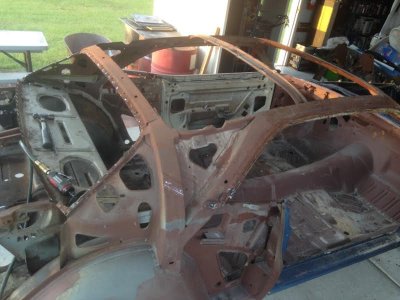
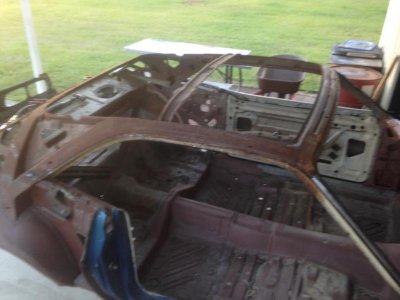
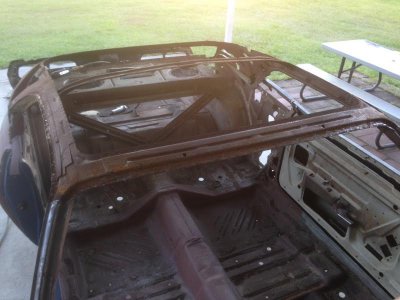
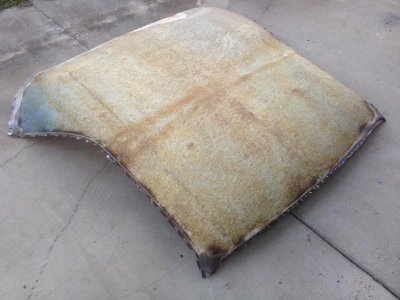
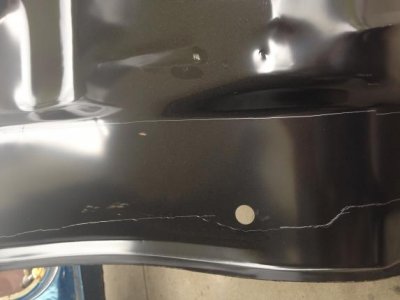
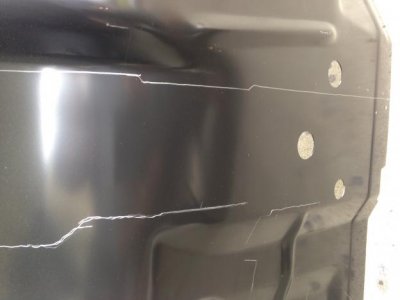
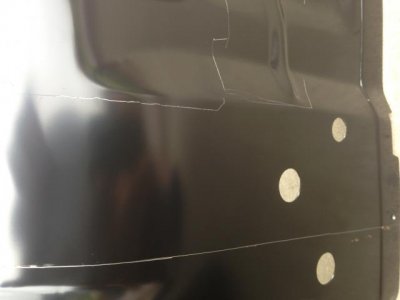
The Challenger outer roof skin has now been removed.

I spent a good portion of the afternoon grinding off all of the spot welds, while trying not to break through and hit the structural metal that is underneath it.

- - - Updated - - -

Here is what it looks like now......................

- - - Updated - - -

roof skin 1 .jpgroof skin 2 .jpgroof skin 3 .jpgroof skin 4 .jpg

- - - Updated - - -

Now I have great access to get into all of the little nooks and crannies when the car is getting blasted.

I still have to remove all of the floor sections, trunk floor / extensions, and wheel housings. This metal will get removed before the car gets blasted.

- - - Updated - - -

roof skin.jpg

- - - Updated - - -

Here is the roof skin. I'm going to take it to the Garlit's show in case someone wants it.

- - - Updated - - -

Now the rear quarters will be a little easier to install since the top edges fit under the roof skin.

- - - Updated - - -

Hopefully tomorrow I can take some more body measurements and documentation photos of everything before I start cutting off all of the other metal parts that need to be removed.

Have a good one !!!!!!!!!!!!!!!!
 
Love the updates!


Thanks Don !!!!!!!!!!!!

- - - Updated - - -

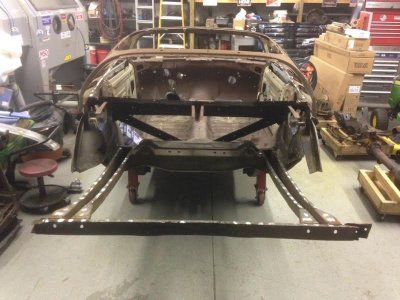
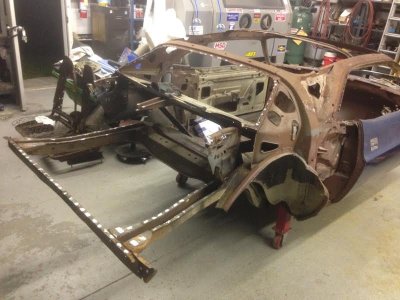
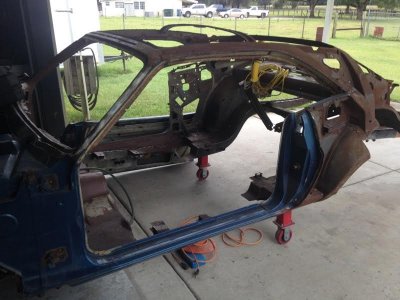
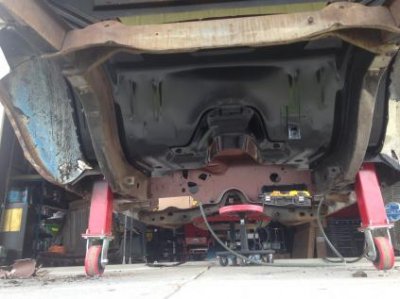
Today I removed the trunk floor, gas tank bracing and trunk extensions along with portions of the inner and outer wheel housings.

Man it's a whole lot lighter now !!!!!!!!!!!!!!! (and I only found ONE old mouse nest in a frame rail............)

Here are some progress pictures...............

- - - Updated - - -

Challenger trunk floor removal 1.jpgChallenger trunk floor removal 2.jpgChallenger trunk floor removal 4.jpgChallenger trunk floor removal.jpg

- - - Updated - - -

Maybe tomorrow I can start cutting out the floor pans.

But before I go too much further I need to remove the old under the seat pan and mark it so the new one can be installed square and correctly.

- - - Updated - - -

The "under the seat" floor section is the first one that gets installed. Everything else is keyed off that part. If it's not right then your headed for trouble later. I checked the frame rail dimensions on the Challenger both before and after the metal was cut out.

Everything is still square.................. (thank God)

- - - Updated - - -

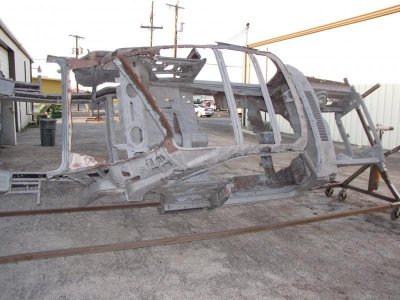
What's left will be a WHOLE lot easier to blast, and a much better job will be done.

That's all folks !!!!!!!
 
Are you at all concerned that everything might move around? Especially if you cut out the floors.
 
Are you at all concerned that everything might move around? Especially if you cut out the floors.

I am a little concerned with it. But I have noticed that by removing the floor pans and rear quarters / roof skin, the main structure (frame rails and cross members) are all still very rigid. Where I have the car currently supported also helps matters. I plan on putting the car on a rotisserie and blasting what is left down to bare metal. Also the car is getting VERY light since so much metal has been removed and this will also help.

Donny had a picture on here that shows a B-body car in similar condition to my Challenger and it doesn't have any additional supports that I can see. Here is the picture Donny posted that shows the car I'm talking about.

(Thanks in advance for the use of your picture Donny)

- - - Updated - - -

B Body Mopar on Rotisserie.jpg

- - - Updated - - -

Mean while, a few more new parts came in.....................

- - - Updated - - -

filler tube.jpgfiller tube1.jpg

- - - Updated - - -

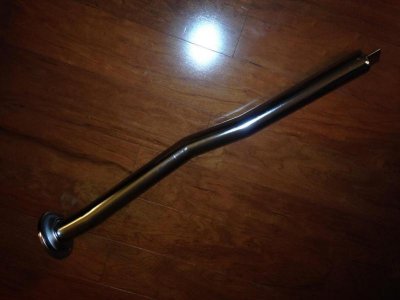
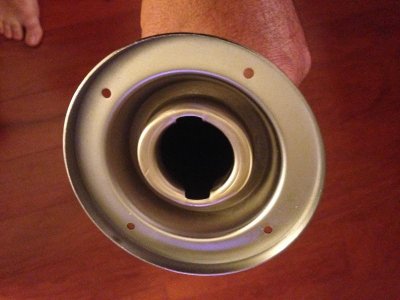
I ordered a new gas tank filler tube. This part is very visible when the trunk lid is open. I want this car to look brand new, inside and out.................

- - - Updated - - -

turn signal lens.jpgturn signal lens1.jpgturn signal lens2.jpg

- - - Updated - - -

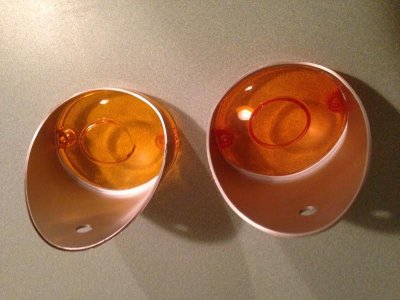
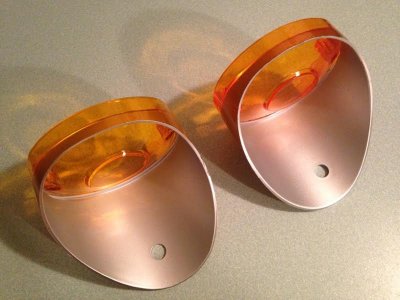
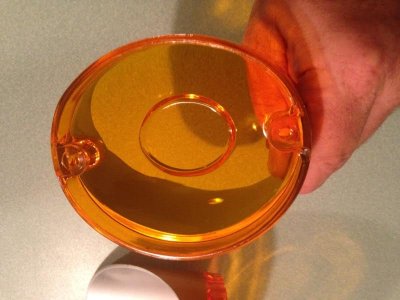
A new pair of turn signal lenses also arrived.

- - - Updated - - -

Over the last few days I did manage to get a little done on the Challenger. I'm still in the "removal" state of the restoration.

- - - Updated - - -

challenger floor removal6.jpgchallenger floor removal7.jpg

- - - Updated - - -

I unbolted the doors. This took a LOT of weight off the car just by this simple task. It's amazing at just how heavy a complete door weighs.

- - - Updated - - -

challenger floor removal.jpgchallenger floor removal1.jpgchallenger floor removal2.jpg

- - - Updated - - -

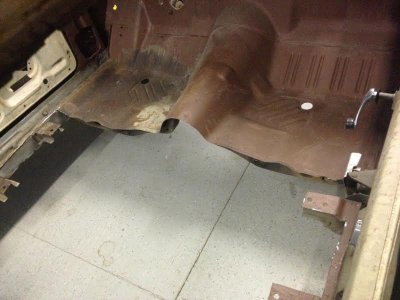
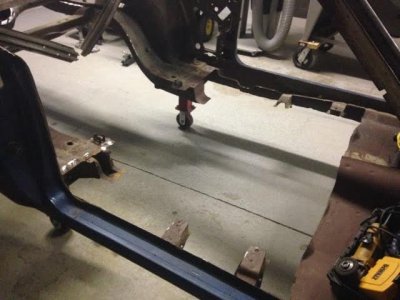
I also started removing the main portion of the floor pans. There is still some edge / trim work that needs to be done to remove the outermost sections of metal. Here in these photos I have cut away most of the metal that fell inside the spot welded areas.

- - - Updated - - -

I will be removing the entire front floor section that goes up to the lower edge of the firewall / cowling. You can see the seam in the top part of the last photo.

- - - Updated - - -

challenger floor removal16.jpgchallenger floor removal17.jpg

- - - Updated - - -

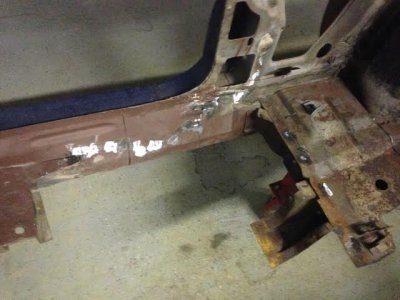
These two pictures show how the rear floor pan edge fit against the inner section of the rocker panel. In this spot I have removed all of the metal needed to allow for fitment of the new sheet metal.

- - - Updated - - -

I still have to go around the remaining edges and get the rest of the old metal out along the seam.

- - - Updated - - -

Before I remove the rear wheel housings, the rest of the "under the seat" pan has to be removed. Once it is, I will "temporarily fit the new part in it's place. This will allow me to set everything else back in it's original locations. I will post up more pictures as I go along with it.

- - - Updated - - -

I also ordered a few more AMD small parts that will make the installation of the floor go much quicker.

Here is what I'm getting:

- - - Updated - - -

442-2570-S_800.jpg

- - - Updated - - -

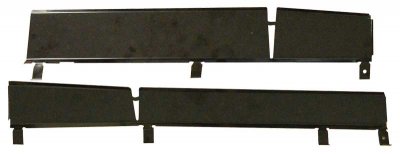
Wiring covers that go along the driver side edge by the carpet door sill plate.

- - - Updated - - -

870-1570_800.jpg

- - - Updated - - -

A new rear cross member. The original one had a few small pin holes in it in one spot. This will take care of that.

- - - Updated - - -

426-1570_800.jpg

- - - Updated - - -

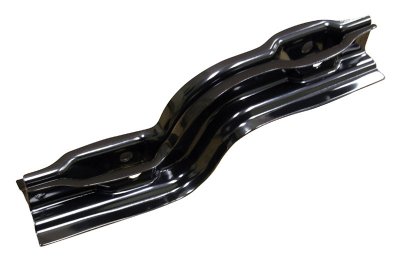
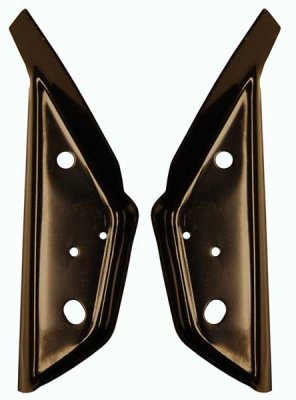
Rear floor pan braces. These parts mount on top of the rear floor pan sections, and then are secured to the inner section of the rear quarters where the roll up window hardware and tracks are mounted. These pieces have to come off in order to get the old floor sections out.

- - - Updated - - -

635-2570-S_800.jpg

- - - Updated - - -

Vinyl top chrome. This is the chrome that separates the vinyl edge from the painted section.

- - - Updated - - -

challenger floor removal13.jpgView attachment 285035

- - - Updated - - -

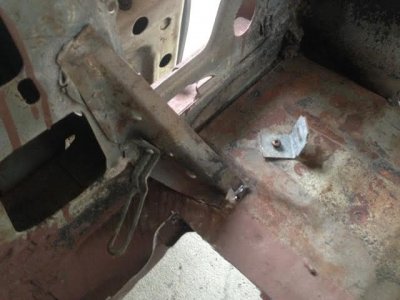
Here is how and where the rear floor pan brackets go.

- - - Updated - - -

There isn't going to be too much left to blast down to bare metal. Basically what will be left is the inner frame work / frame rails and everything forward of the firewall.

- - - Updated - - -

I've been spending most of my time getting stuff ready to take over to the Garlit's show. Hopefully soon after the show I can really spend most of my spare time on the Challenger.

You all have a good one.

- - - Updated - - -

Louis
You will soon be able to claim that it is 100% rust free!

Yes I will, and hopefully it will not be too much longer. Thanks again

- - - Updated - - -

challenger floor removal15.jpg
 
Looks good, coming along nicely!

The show Chop Cut Rebuild is replacing the metal on a 1970 'Cuda, but this better.
 
Flintstone-screencap.jpg

- - - Updated - - -

Cool !!! Thanks Car Nut !!!! This is how I think the car is right now ...................... LOL

Wilma !!!!! I'm HOME !!!!!!!!!!!!!!!!!!!!!!
 
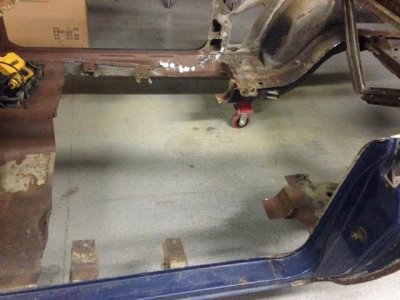
I'm VERY happy to report that today was another GOOD day out in the shop. I was able to finish removing the rest of the rear floor pan.

- - - Updated - - -

image.jpgimage.jpgimage.jpgimage.jpg

- - - Updated - - -

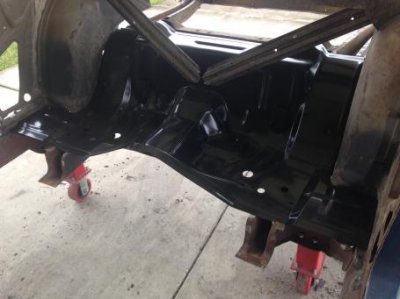
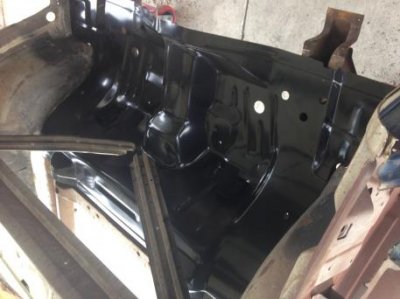
This allowed me to place the under the seat floor pan into position.

- - - Updated - - -

image.jpgimage.jpg

- - - Updated - - -

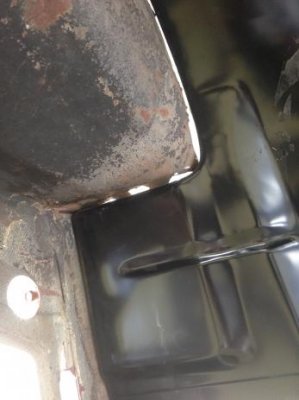
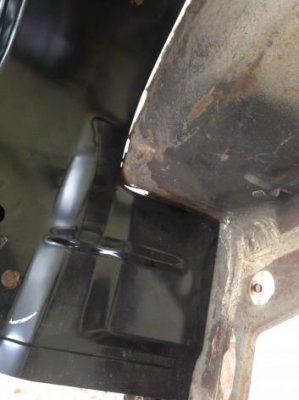
I used the existing wheel housing to position the part where it should be.

The fit was pretty good.

- - - Updated - - -

image.jpgimage.jpg

- - - Updated - - -

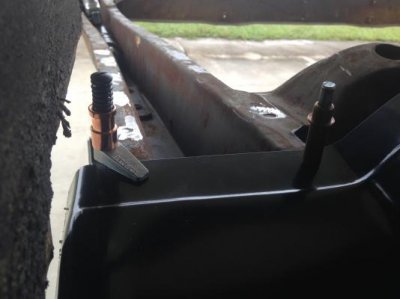
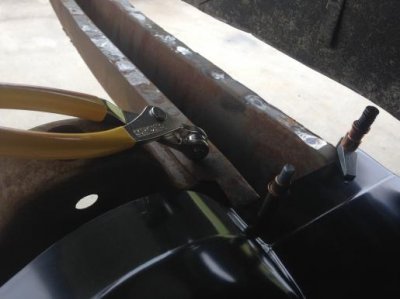
While it was in place I went ahead and secured it with "Cleko" fasteners.

- - - Updated - - -

image.jpgimage.jpg

- - - Updated - - -

image.jpgimage.jpg

- - - Updated - - -

Here is how it looked from under the car.

- - - Updated - - -

image.jpg

- - - Updated - - -

Then before I removed it I scribed marks on it using the outlines of the frame rails as a guide.

- - - Updated - - -

image.jpgimage.jpgimage.jpgimage.jpg

- - - Updated - - -

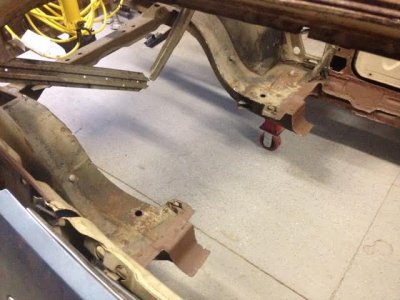
Once the new section was removed again I continued to cut out the rest of the rear wheel housings.

- - - Updated - - -

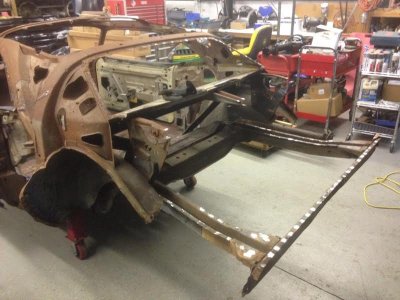
Once the housings were cut loose from the rear floor section the frame rails lost a lot of rigidity.

- - - Updated - - -

image.jpgimage.jpg

- - - Updated - - -

There are still a few small sections remaining of the housings that need to be removed. But the majority of the metal has been cut away.

- - - Updated - - -

image.jpgimage.jpg

- - - Updated - - -

I also removed the trunk hinge supports since after the wheel housings were cut away they were barely held in by a few spot welds on the package tray.

- - - Updated - - -

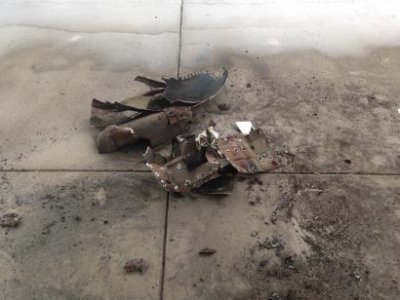
Here is what was removed from the car today:

- - - Updated - - -

image.jpg

- - - Updated - - -

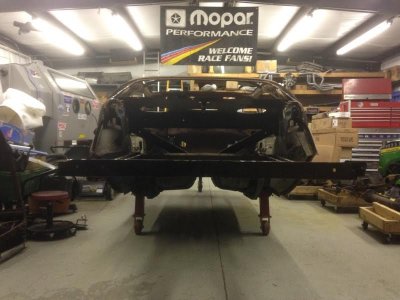
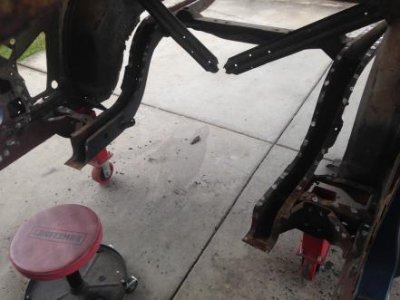
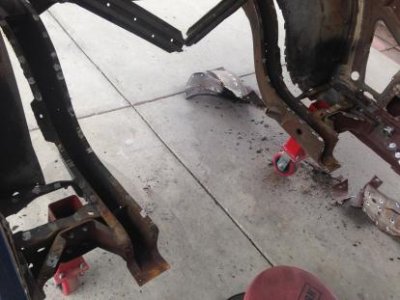
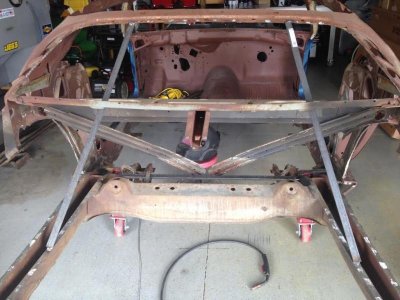
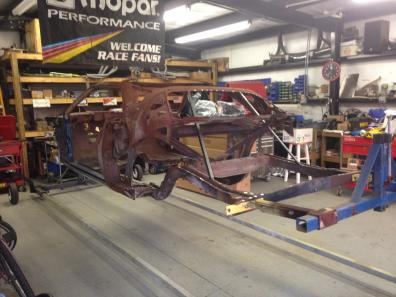
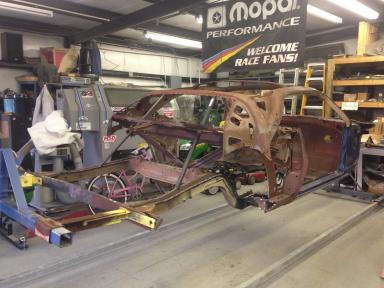
I'm not going to install the car on the rotisserie until I can brace the frame rails and get some of the rigidity back in the car.

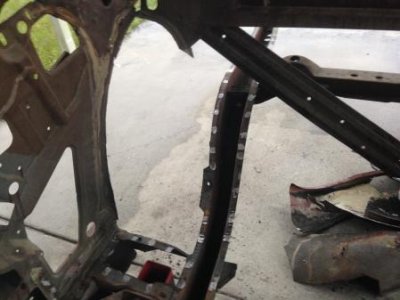
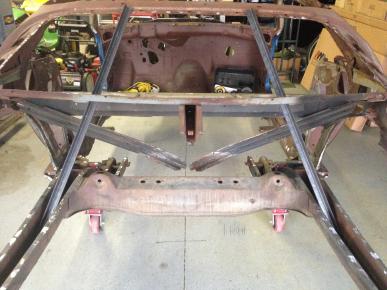
Here is the plan: I will weld in temporary braces that will go inside the rear frame rails and terminate on the underside of the roof supports.

These angle iron pieces are just sitting here but you get the hang of it.

- - - Updated - - -

image.jpg

- - - Updated - - -

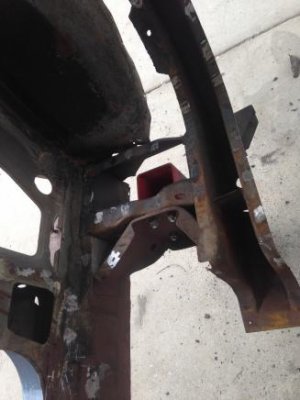
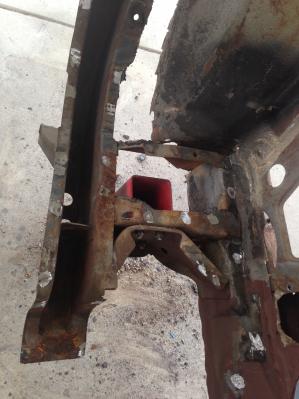
The steel reinforcements will pass through the speaker openings.

- - - Updated - - -

Once they are installed I will feel much better when the car is on the rotisserie getting blasted to bare metal.

- - - Updated - - -

After it has been taken down to bare metal the car will come back off the rotisserie for panel fitting and installation.

- - - Updated - - -

Have a good night!!! Tomorrow is another day.

- - - Updated - - -

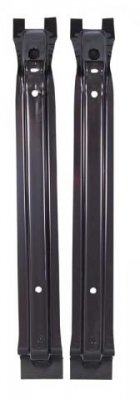
PS: yesterday I failed to mention that I ordered new AMD gas tank braces as well.

- - - Updated - - -

image.jpg
 
Louis, I think i'm going to crown you KING of Dismantling. You've taken this to a completely new level. And your explanations of everything is nothing short if informative.
 
Louis, I think i'm going to crown you KING of Dismantling. You've taken this to a completely new level. And your explanations of everything is nothing short if informative.

Thanks Roadrunnerman !!!!!!!!!!!!!

- - - Updated - - -

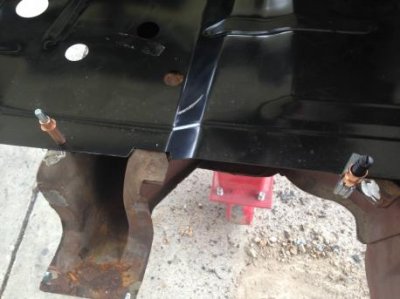
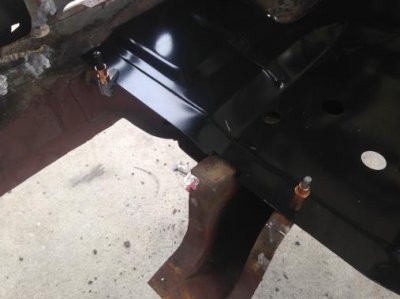
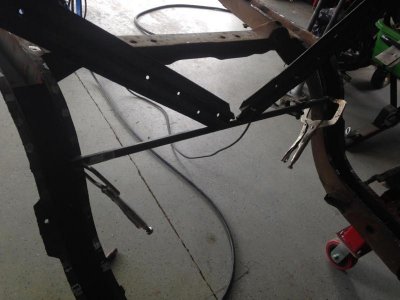
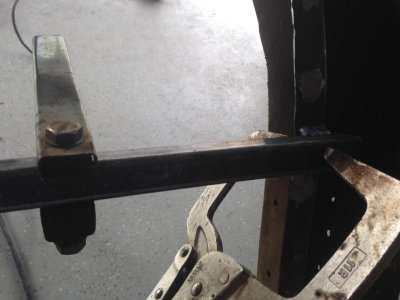
Today I welding in the extra bracing. Here are a few photos...................

- - - Updated - - -

reinforcement bracing.jpg

- - - Updated - - -

Then I came up with an idea to add extra rigidity to the car. I simply welded in another cross brace and then welded it to the diagonal floor braces. It really helped a lot.

- - - Updated - - -

reinforcement bracing1.jpgreinforcement bracing2.jpg

- - - Updated - - -

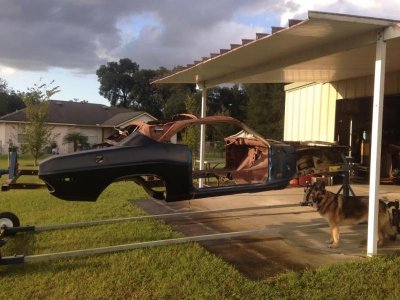
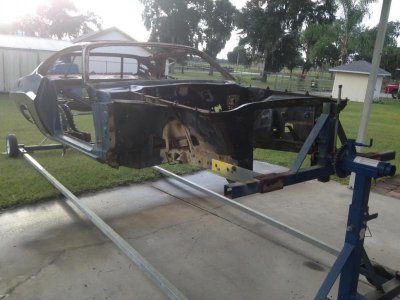
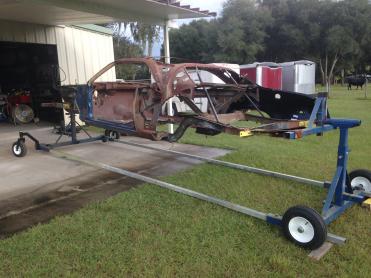
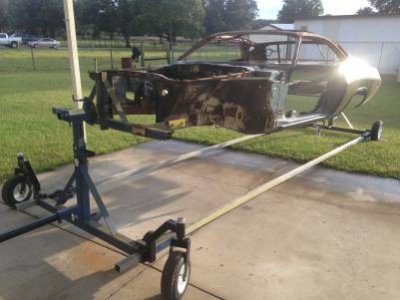
Then I got busy putting the car on the rotisserie.............

- - - Updated - - -

rotisserie.jpgrotisserie1.jpg

- - - Updated - - -

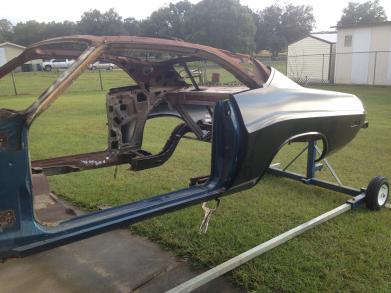
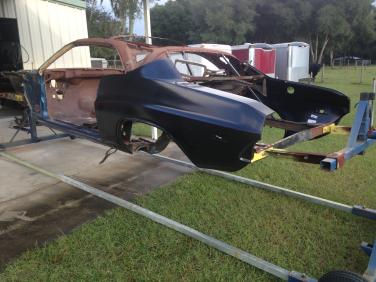
I couldn't help but set the rear quarters in place !!!!!!!!!!!!!!!!!!!!!!! (only used a few clamps, then they came back off.)

- - - Updated - - -

image.jpgimage.jpgimage.jpgimage.jpg

- - - Updated - - -

Then I installed the off road wheel kit for the "Whirlijig" rotisserie. These new wheels rock !!!! The whole assembly rolls around a whole lot easier now.

- - - Updated - - -

image.jpgimage.jpg

- - - Updated - - -

Then I removed the rear quarter panels and called it a night. Here the car is tucked away back in the shop.

That's all Folks!!!
 
Louis
When you sandblast the Challenger, make sure you don't warp the exterior sheet metal,,,,oh,,,,never mind, there is no exterior metal,,,lol. Your car is going to be better than new when you are done with it, keep up the good work! Looking forward to seeing this thing come together. What time frame do you have set, when you were working you said it could take up to two years to finish a car. At this rate, I can see you taking less than a year to finish this one off. Thanks again for the excellent documentation!
Rick
 
Thanks Rick !!!!!!!!!!!

That was good about warping the sheet metal.............. I guess that's another "benefit" of not having any to warp !!!!!!!!! LOL

Anyhow gang, I've been "pre-occupied" with getting things ready for the Mopar's with "Big Daddy" show this weekend. So that's why there hasn't been any recent postings on this thread.

Hopefully next week I can get fired up on the project again. (it sure would be nice to get this one done is a year)

Have a great weekend. If you're at the show stop by and see us !!!!!!!!!!!

Louis

- - - Updated - - -

I'll try to post up some new photos of the AMD Challenger parts that I'm picking up from Ted Stephens at the show. If time permits and I get a chance, I'll try to get some show pictures too.
 
We just got back home from the Garlit's show a little while ago. Had a good time and scored some good parts.

I sold some parts that I wasn't going to use, then turned around and bought a LOT of choice stuff for the Challenger.

I'm a self confessed "Parts junkie" I'll admit it............. (That's the first step........admitting you have a problem) LOL

Anyhow I'm beat..................

It was HOT over there. Got to meet Scott aka "GearAddict" who is a cool dude by the way.
 
Glad to hear you were able to sell some stuff.. I probably would have spent some money at the show if I weren't so busy trying to find a patch of shade to keep from passing out from heat exhaustion (I paid $10 for gatoraid, it was that hot).

I'll be giving your buddy a call as it sounds like we both have some part the other could use.
Good luck on the Challenger! Looks like your making tons of progress.
 
I haven't accomplished much on the car since the Garlits show. I had a few projects that I needed to complete. They are done now (other than the yard needs mowing again).

- - - Updated - - -

However progress is being made. The new 2" TTI ceramic coated headers arrived.

- - - Updated - - -

Here are a few photos of them.

- - - Updated - - -

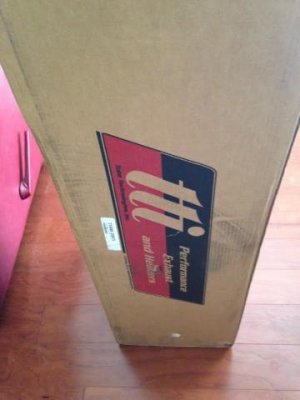
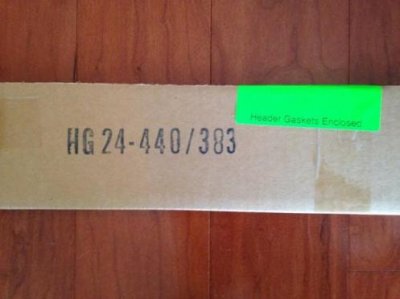
When we opened the garage door after lunch this big box was sitting outside.

- - - Updated - - -

TTI Headers8.jpg

- - - Updated - - -

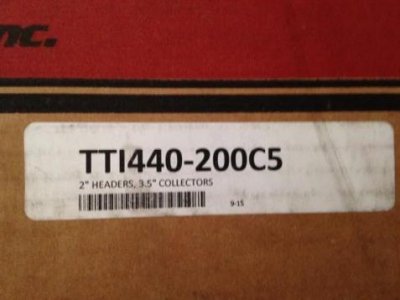
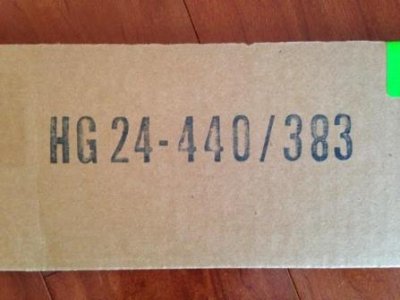
here is a close up of the part number

- - - Updated - - -

TTI Headers5.jpg

- - - Updated - - -

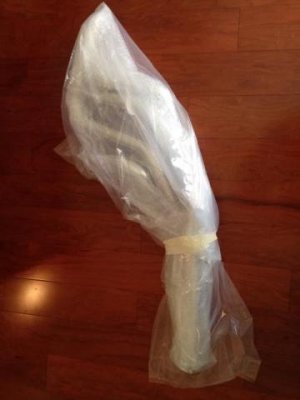
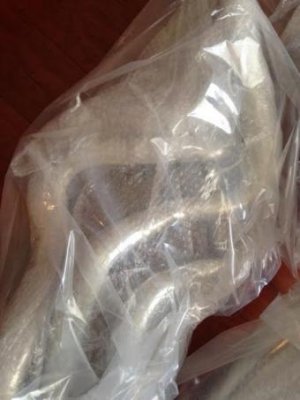
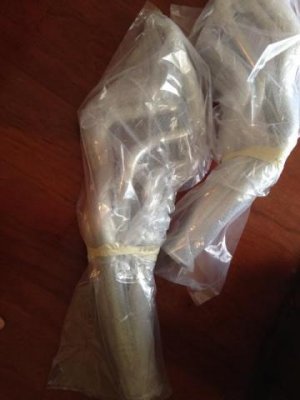
Once I opened the box these beauties were neatly packed inside.......................

- - - Updated - - -

TTI Headers1.jpgTTI Headers4.jpg

- - - Updated - - -

TTI Headers1.jpgTTI Headers4.jpg

- - - Updated - - -

TTI Headers.jpgTTI Headers7.jpg

- - - Updated - - -

I'm going to keep them wrapped up until they get installed on the engine. I have a set of Doug Thorley headers that will be used for the camshaft break in on the test run stand. That's what TTI recommends with the ceramic coating on initial start ups on fresh engines.

- - - Updated - - -

TTI Headers6.jpg

- - - Updated - - -

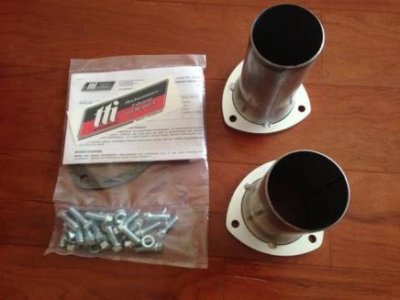
Here are the 3.5 inch collectors that reduce the system down to a 3 inch tube.

- - - Updated - - -

TTI Headers2.jpgTTI Headers3.jpg

- - - Updated - - -

Here are the header gaskets supplied with the header set.

- - - Updated - - -

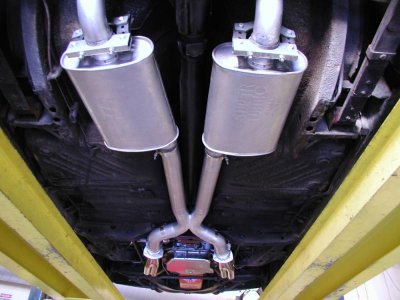
I've decided to give the "X-pipe" system a try. Because of that I had to get shifter linkages from a 71-72 model year Challenger to clear the pipes. In 73 and later the Challengers had a different style reverse linkage that would interfere with the system.

- - - Updated - - -

pic-X_Ebody.jpg

- - - Updated - - -

This is the picture of the X pipe system directly from TTI's web site. I'll be using Flow Master mufflers on mine though. I like the way they sound.

- - - Updated - - -

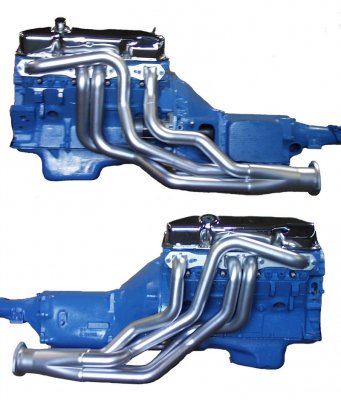
TTI440-200.jpg

- - - Updated - - -

Here is another picture directly from the TTI web site. This shows the style of header I have. I posted these up here because I didn't want to unwrap mine yet....................

- - - Updated - - -

Hopefully soon the rest of the system along with the tips will show up. They were not ordered at the same time. So there will be a delay.

Take care !!!!!!!!!!!!!!!
 
Auto Transport Service
Back
Top