• When you click on links to various merchants on this site and make a purchase, this can result in this site earning a commission. Affiliate programs and affiliations include, but are not limited to, the eBay Partner Network.

Don's 1969 Charger Restoration

Very Nicely Done there Don . . . you sure got a knack for this stuff ! ! ! Love to watch your work ! ! !
 
I have to agree, i to love to watch your work and certainly you are good at it!!! :)
 
Package shelf patch

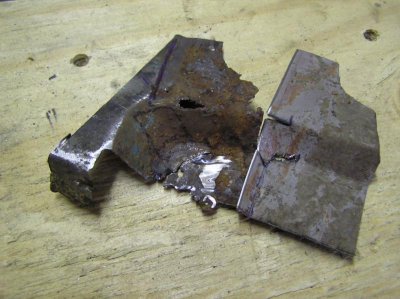
Moving on to the next patch.............

P1010001.jpg

P1010002.jpg

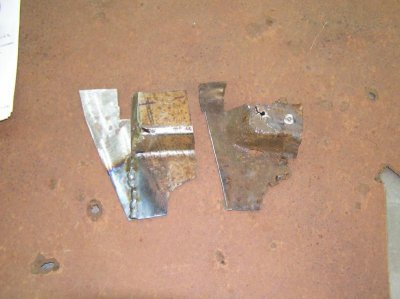
It worked so well on the last patch I used the old metal as a template to bend the new metal to.
P1010003.jpg

P1010004.jpg

P1010005.jpg

P1010006.jpg

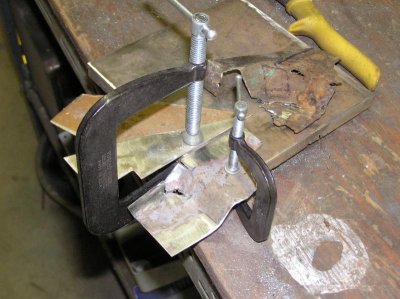
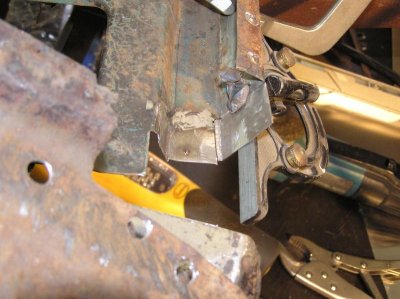
Next i added the triangle shaped piece (which was at a higher level)
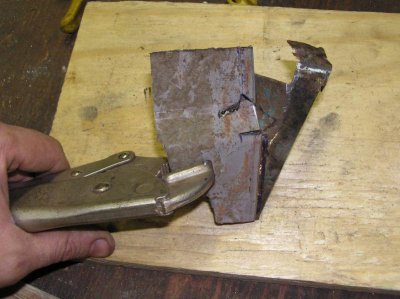
Basically what I did was I shimmed it with a scrap piece, lined everything up and clamped it down to a piece of flat stock, then welded it up!

P1010007.jpg

P1010008.jpg

P1010009.jpg

P1010010.jpg

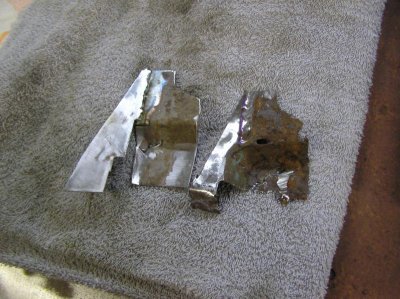
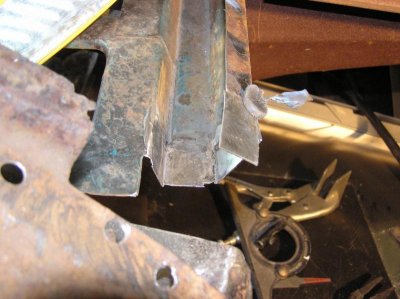
Ok this patch is close, so I went back and patched in that channel area. Not sure what it's for? Maybe to channel any water that gets in and give it a clear path were it will dump into the trunk? :eusa_naughty:

P1010011.jpg

P1010012.jpg

P1010013.jpg

P1010014.jpg

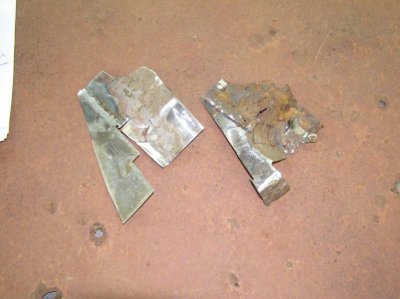
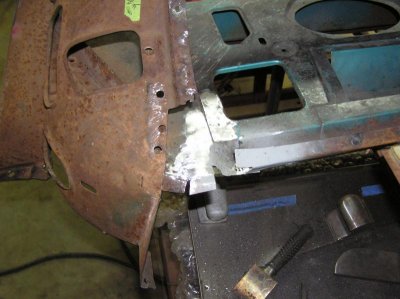
Alright here are the rest of the pics showing me getting all of the patches put together.
The grey paint is duplicolor weld threw primer. And I must say I am not impressed! When I welded with this stuff on, I kept getting thick plumes of smoke kinda like when you light a torch with no air pressure and you get that weird looking plume of soot floating around. Oh well I did change to something different that seems to work very well. More of that in the future!
P1010015.jpg

P1010015a.jpg

P1010016.jpg

P1010017.jpg

P1010018.jpg

P1010019.jpg

P1010020.jpg
 
Looks good Don! Nice fab work. For the weld thru primer I used the 3m stuff which worked pretty good. Good luck on the next patch!!!
 
Thanks Paul!
Is the 3m stuff your talking about the copper weld thru primer?
 
Thanks Paul!
Is the 3m stuff your talking about the copper weld thru primer?

Don I used the 3M weld thru II. It's a high zinc product and a silver color. Make sure you get all the exposed weld thru paint off the metal after it's all welded up since paint doesn't stick to this stuff. I used my spot sand blaster to clean it up.
 
Don, Your an inspiration to anyone building a car, Your work truly is amazing!!

- - - Updated - - -

And thank you!!!
 
Glad to see you back at it don. I was in the same vote as you with the rear window lower corner patch. It took a little figuring out n fab work but im all set now. Time n patience is a good thing when doing this . Lol
 
TIME, PATIENCE and MONEY are the keys to these restorations!


And, at any one time in our life, we're lucky to have (2) of them available . . . but we plug our way through it ! ! !

Nice work Don . . . keep at it ( I'm trying too ) . . . and keep us posted on your great "artwork" with the metal !
 
I wouldn't mind more MONEY and PATIENCE! lol, One is almost as hard as the other, they do kind of go hand n hand i think! :)
 
Lower A-pillar replacement

Time to update.....

I decided to attack my roached A-pillars!
I have been really dreading this, but after months and months of looking at and thinking about how to fix these, I can't put it off any longer, so hang on. This is gonna be fun!
(Detmatt1 has a thread that is similar to this that I used as inspiration THANKS MATT!)

The plan is to chop the lower a-pillar section on both sides, and replace them with donors that I picked up.

P1010064.jpg

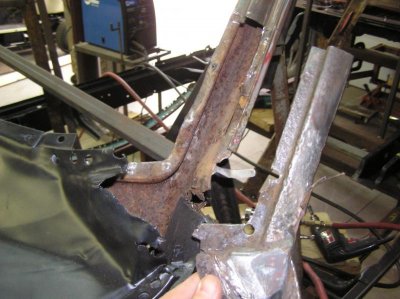
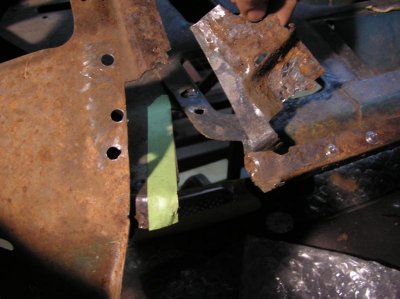
I carefully cut off the lower face. To see what I had to work with.
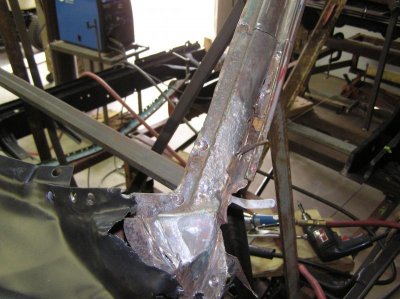
P1010019.jpg

P1010020.jpg

P1010021.jpg

P1010022.jpg


My dilemma!
How do I cut the old pillars off (nice straight cut) and cut the donor pillars to the exact same length?
And get everything perfectly aligned?
Stay with me as I try to explain my way through this.

The pillars have notches in them, so I decided I would compare the old pillars to the donor pillars.

This pic shows the notches, one on each end of the 6.410 dimension.
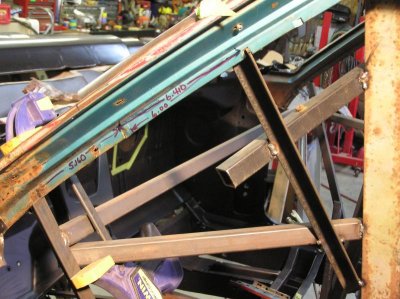
P1010034.jpg

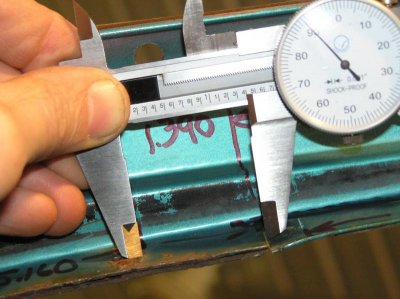
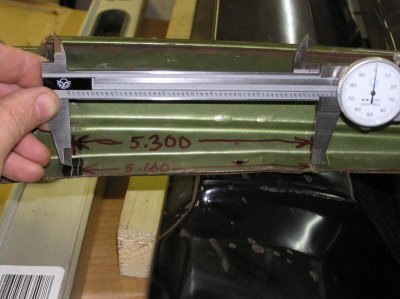
I only have a 6 inch caliper, so I measured down 6 inches, made a mark,
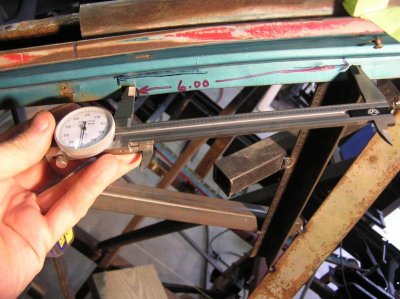
P1010023.jpg

then measured the last bit .410 for an overall of 6.410
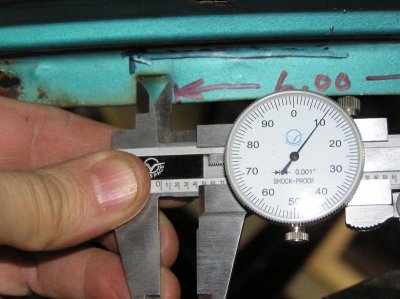
P1010024.jpg

Compared this 6.410 dimension to the donor pillar and WOW a perfect notch to notch match!
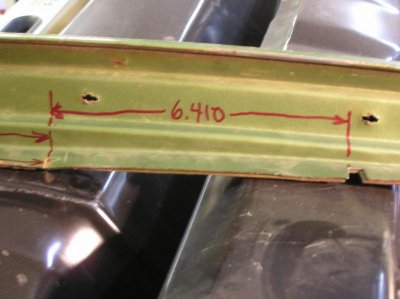
P1010038.jpg

I wanted another reference mark, so I measured down to the lower brace 5.160 and 5.300 (top and bottom side of brace)
(NOTE: I have an upper brace that is nested inside the top notch) (go back 4 pics and you will see it)
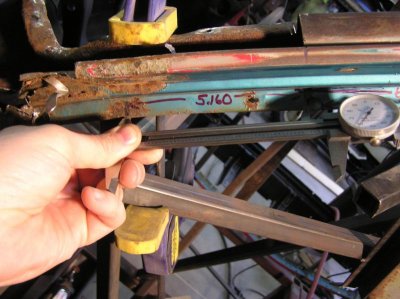
P1010029.jpg

I transferred these marks to the donor
P1010033.jpg

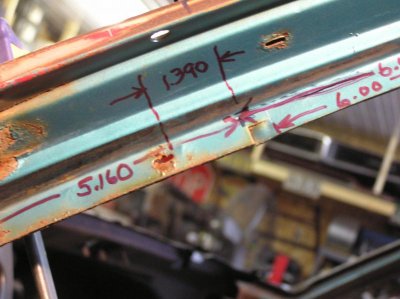
There was one other feature that was in common to old and new pillars It is a notched screw hole for the trim and door seal. It checked 1.390
P1010042.jpg

AND 1.390 in the donor pillar! I never would have thought that!
P1010045.jpg

Another close up of the old pillar
P1010047.jpg


To be continued.......................
 
Watching intently just encase I have to do something similar. I'm sure you'll get it perfect just look at the rest of your work.
 
Wow Don . . . with your attention to details, I'm sure that you'll pull this off without a hitch ! ! I'm watching because you make it look so easy !

( hate when it says "to be continued" right when they're getting to the good parts - argh ! )
 
Chop Chop

Time to cut!

This is what I came up with.
I cut a 2x4 to use as a guide for my sawzall.
I lined up the back side of the 2x4 with the notch. I cut the 2x4 long enough so it would cut inbetween the 1.390 dimension

P1010049.jpg

P1010050.jpg
 
more pics......

P1010051.jpg

P1010052.jpg

P1010053.jpg

P1010054.jpg

P1010057.jpg

P1010058.jpg

I was pleased with the cut. It cut easily and the 2x4 worked grate as a guide!

P1010059.jpg
 
Don't know what it's called in metal work ..but wouldn't a scarf join be stronger than a straight join?


I do luv your work though!
 

Attachments

  • image.jpg
    image.jpg
    22.2 KB · Views: 396
Auto Transport Service
Back
Top