• When you click on links to various merchants on this site and make a purchase, this can result in this site earning a commission. Affiliate programs and affiliations include, but are not limited to, the eBay Partner Network.

Don's 1969 Charger Restoration

Still waiting to find out the the address Don so it's not mine yet, I have two chargers now. Anyone want a 73 charger? lol. This has to be my favorite thread going now, can't wait for more pics! Good luck Don! All the best!
 
Yes dehump the outer wheeltub. It's way easier now that later!!! I know!
 
So if I dehump, what is the biggest size tire will fit inside the wheel wells?

If you don't dehump, 15x10's with a 295/50/15 will fit. How big are you thinking of going?
 
If you don't dehump, 15x10's with a 295/50/15 will fit. How big are you thinking of going?

As big as possible!
To be honest I really have not thought about it.
Is this what you put on your Charger?
 
Dehumping will also let you lower the car so you don't have to jack it up to keep it from rubbing. Not sure if the Charger has a different size wheelwell or not but the stock 68-70 RR's allow about a 12.5 section width with the right rim spacing. Also check your spring location as you may have to move them inboard to gain spring clearance.
 
Dehumping will also let you lower the car so you don't have to jack it up to keep it from rubbing. Not sure if the Charger has a different size wheelwell or not but the stock 68-70 RR's allow about a 12.5 section width with the right rim spacing. Also check your spring location as you may have to move them inboard to gain spring clearance.

The Chargers and Coronets have more room in the rear wheelwell area than Road Runners do. In my experience, the tires will rub on the inner wheelwells well before the springs, so I wouldn't go through the hassle of relocating the springs. Just my opinion.
 
As big as possible!
To be honest I really have not thought about it.
Is this what you put on your Charger?

Hey Mopar4Don . . . That was my thought too . . . and I figured out that while I have the car all stripped down ( with nothing on it to burn or melt ) that it was the best time for me to do the fab work to mini-tub ( give more room on the inside for the tire ) and de-hump ( give the most room for the outside of the tire ) at this time . . .

I would hate to have to go back into the car after I get it into paint and have to cut it up all over again - plus you'd have carpet, wires and a whole lot more to worry about burning.

The wheel well on my car now, measures 16 +/- inches wide . . . so I could possibly go 14-15" wide ? ? Now that's what I'm talking about ! ! !

Oh, and I did relocate the springs too . . .
 
Ok, it's been a while, time to catch everyone up.
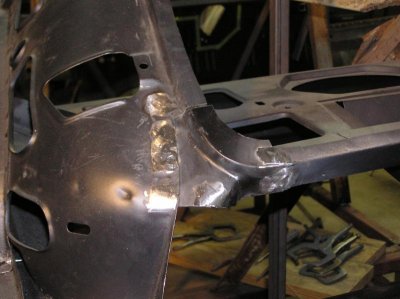
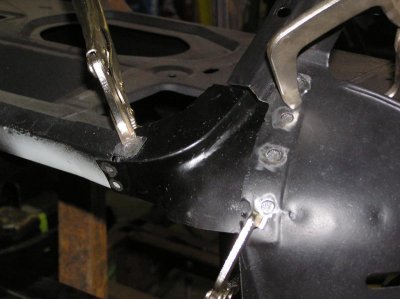
Got the rear window corners in
PB080021.jpg

PB080022.jpg

PB080024.jpg

PB080028.jpg

PB080030.jpg

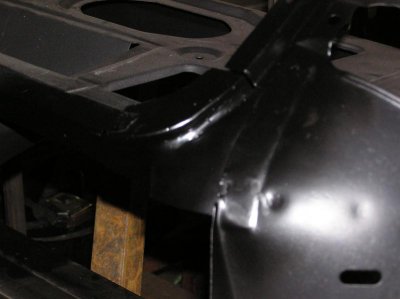
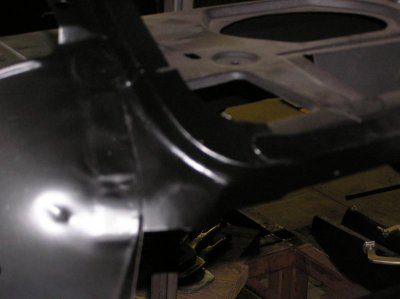
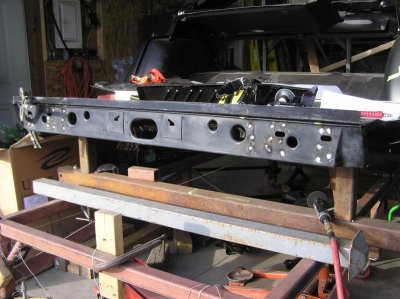
Got the rear crossmember burned in...
PC190002.jpg


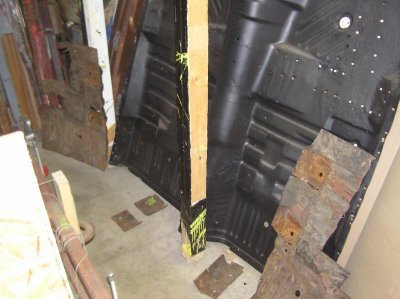
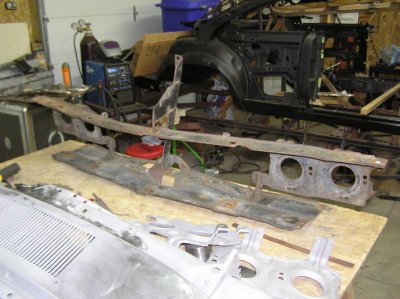
Did some digging through my pile of sheet metal parts to find the different brackets and small parts to get ready for the blaster.
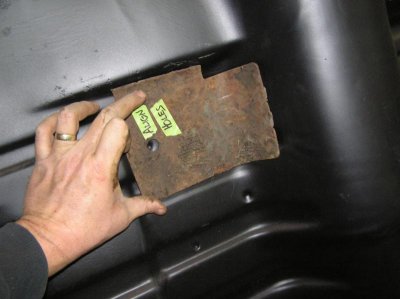
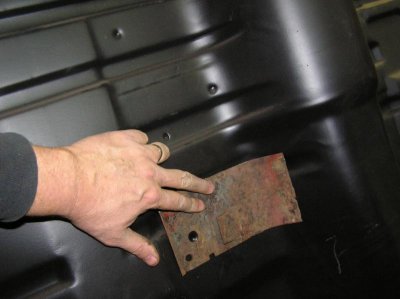
First I found the bucket seat brackets on the old floor pan
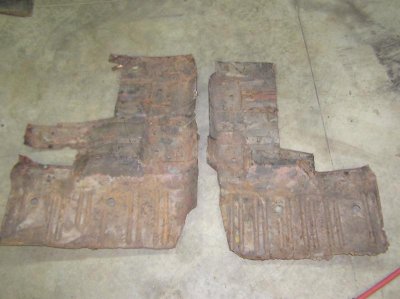
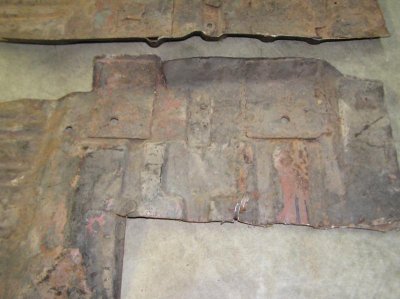
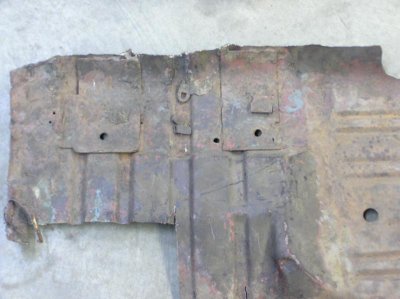
PC250005.jpg

PC250007.jpg

PC250010.jpg

Made some notes on how they align
(hole in the bracket aligns to the hole in the floor pan)
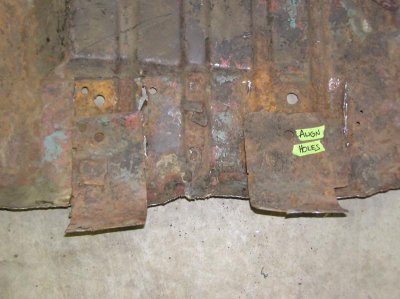
PC250018.jpg

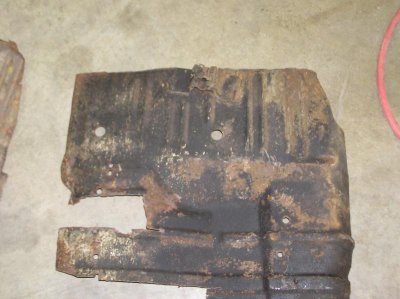
compared them to my floor pan
PC250023.jpg

NOTICE that this floor pan does not have holes for the bucket seat brackets!
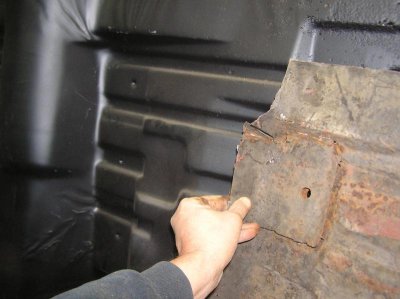
PC250024.jpg

Makes sense cause this floor pan came out of a 4 door coronet (bench seat)
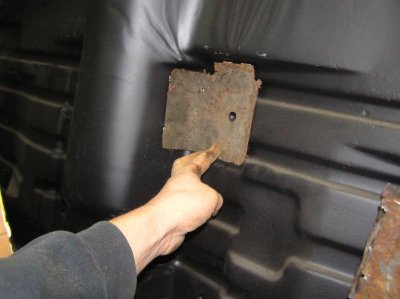
PC250025.jpg

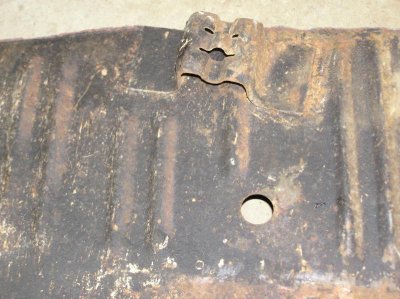
But notice the dimples in the floor pan.
They match perfectly to the holes in the brackets, so when its time those dimples will get drilled out.
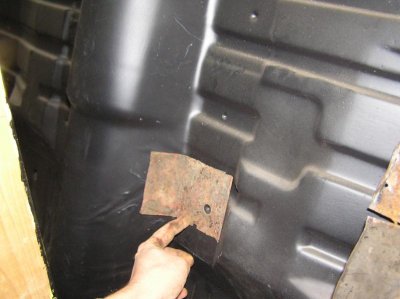
PC250026.jpg

PC250027.jpg

PC250028.jpg


Found the e-brake bracket.....

PC250014.jpg
PC250015.jpg


and one of the gas tank brackets,
the other gas tank bracket should be where the hole is in the pic....
PC250001.jpg


FOUND IT!
it was mounted directly beneath the spare tire bracket
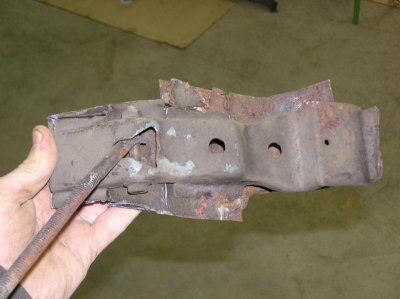
PC190012.jpg
PC190014.jpg
PC190015.jpg
PC190016.jpg

more to come ...............
 
Good stuff Don, always watching the progress, inspiration at its best bud!!! Thank you much....
 
looking really good Don! went to the DMV today and got the title to the RT i got a few weeks ago, was a bit of a run around with paperwork and statutory declarations etc but its mine legally now so the games begin! glad to see an update, one of my favourite threads! :headbang:
 
Great to see your still at it with more metal surgery! If my adventures ever bring me north I'll have to check this skeleton restoration out in person because it sure is impressive to see what you've got to start with.
 
looking really good Don! went to the DMV today and got the title to the RT i got a few weeks ago, was a bit of a run around with paperwork and statutory declarations etc but its mine legally now so the games begin! glad to see an update, one of my favourite threads! :headbang:
That's good news a fresh title! Definatly a good thing to do before sinking thousands of dollars into these cars!

Great to see your still at it with more metal surgery! If my adventures ever bring me north I'll have to check this skeleton restoration out in person because it sure is impressive to see what you've got to start with.
You are welcome to see my rig any time!
 
Me too, me too . . . if I make it back up to my stomping grounds, I'll have to stop in for a visit too Don ! ! !

Hi Kahn, just let me know, your always welcome. And the same for me. I have a relative that lives in SC.
 
Hi Kahn, just let me know, your always welcome. And the same for me. I have a relative that lives in SC.

You're welcome to stop by anytime as well Don . . . I'm not too far off I-77, which is about the only way for you to get through NC to SC . . . so it's not too much of a sidetrack to make a little time for a visit ! ! !

Then you can see the "mad-scientist" build in person . . . LMAO . . .
 
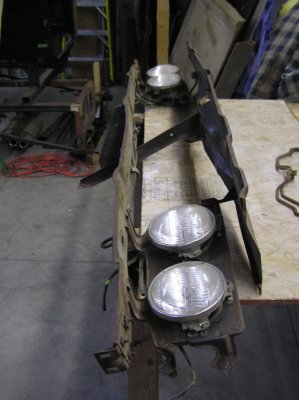
Grill support

Next on the list is the grill support.
P2014dec25c.JPG

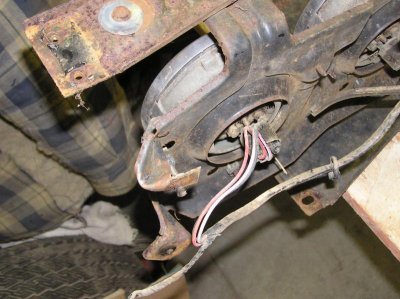
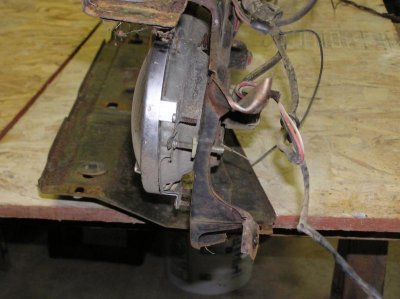
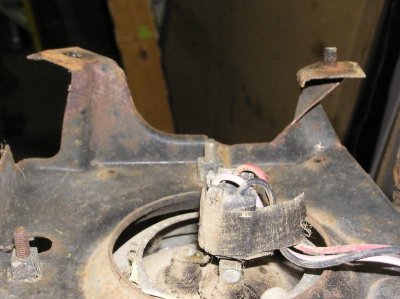
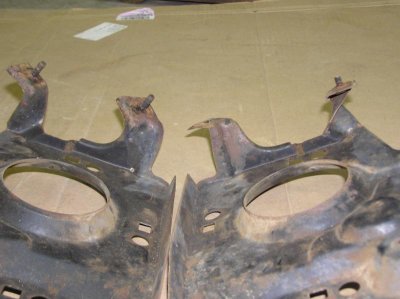
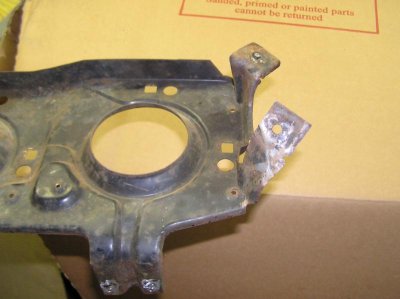
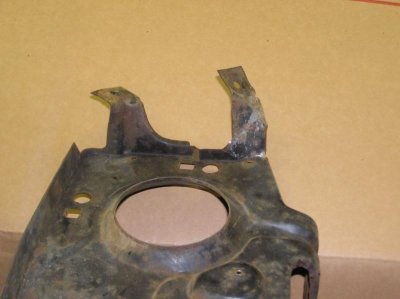
The headlight buckets need some attention.
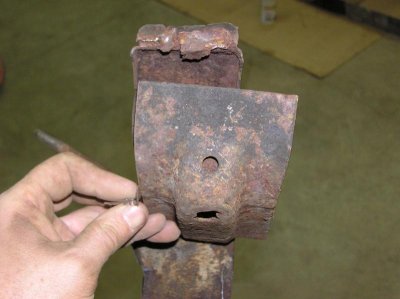
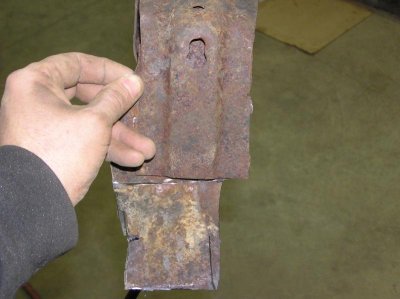
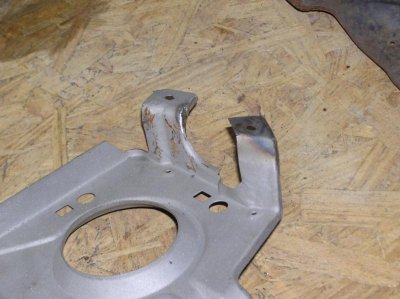
Notice the the ends have broken studs, and one of them is twisted

P1010072.jpg

P1010073.jpg

P1010086.jpg

P1010092.jpg
 
Grill support

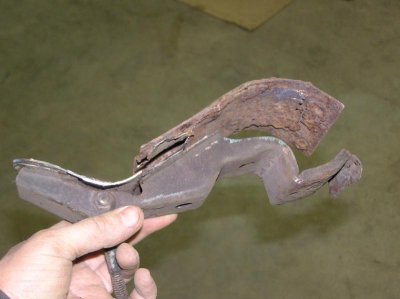
I untwisted the tab as best I could and got it in the ball park.

PC270036.jpg

PC270037.jpg

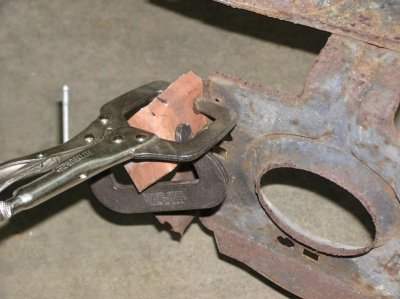
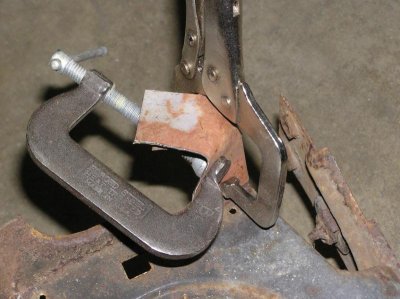
I have another grill support. So I used it and formed some new metal over the same tab.
Basically I made a template and used this template to bend the tab to the correct orientation.
Then I welded the edges to stiffen it up
PC270038.jpg


PC270039.jpg
Sorry, apparently I didn't get any more pics,
But here it is finished
P2160044.jpg

Here is my other grill support, it has problems also! But as long as I'm at it, I might as well fix it to!
P2140009.jpg
 
Auto Transport Service
Back
Top