• When you click on links to various merchants on this site and make a purchase, this can result in this site earning a commission. Affiliate programs and affiliations include, but are not limited to, the eBay Partner Network.

Don's 1969 Charger Restoration

60826392.jpg
 
Firewall primed

I have been a little worried about flash rust forming on the firewall repair so I finally got that area primed!

Built a temporary spray booth
P1230081.jpg

P1230082.jpg

P1230083.jpg

P1230084.jpg

P1230085.jpg

P1230086.jpg
 
Looks good Don. I can hardly wait to get to that stage.
How did the tenting work out? I was thinking about doing the same thing.
 
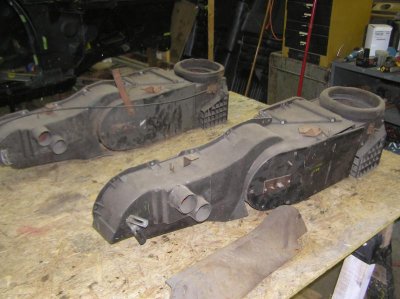
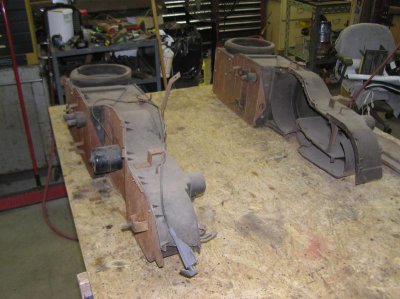
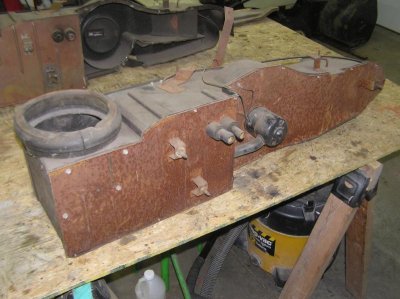
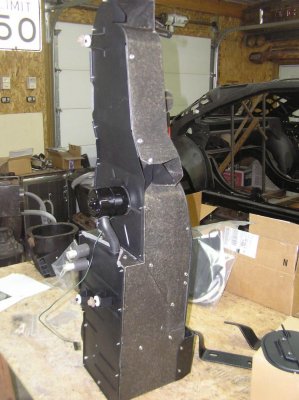
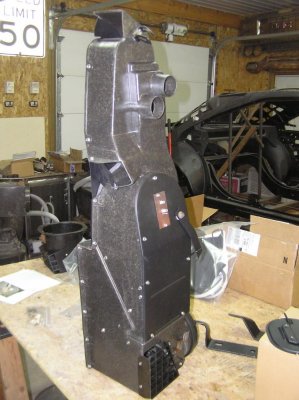
Heater box restoration

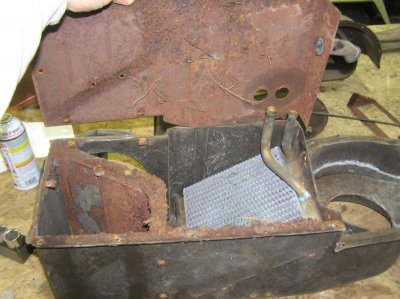
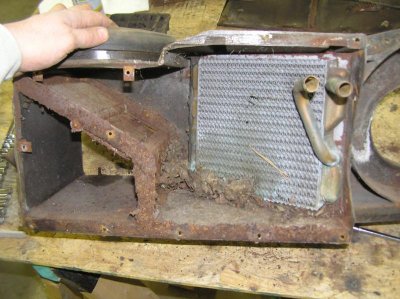
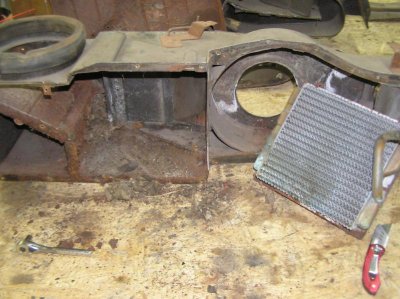
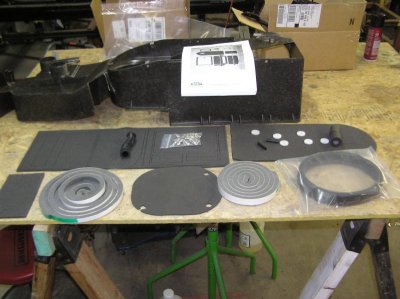
Here are some pictures of my heater box restoration.
I had two boxes to get one good one.

P1210055.jpg

P1210056.jpg

P1210057.jpg

Disassembly is pretty easy (just take lots of pics to refer to if need be)
And yes, it nasty if you had mice!

P1210075.jpg

P1210076.jpg

P1210078.jpg

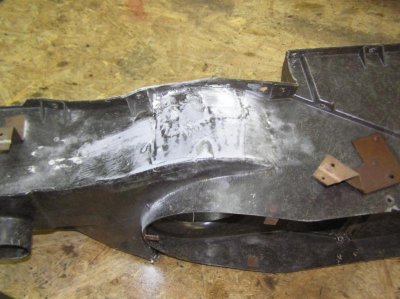
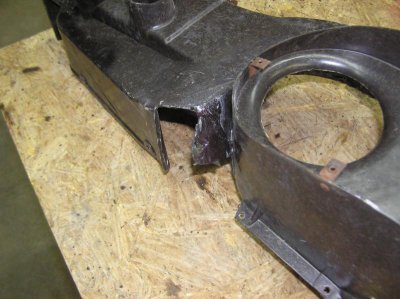
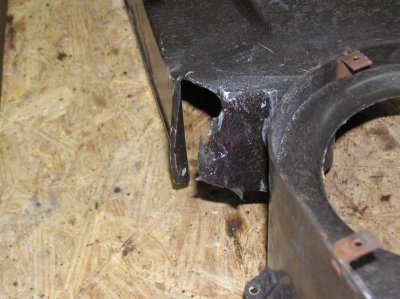
I had to do a little fiberglass repair in a couple of spots
sorry I didn't do a very good job of getting "in progress" pictures

P1300131.jpg

P1300132.jpg

P1300133.jpg

I bought the kit from DMT Detroit Muscle Technology

P2130153.jpg

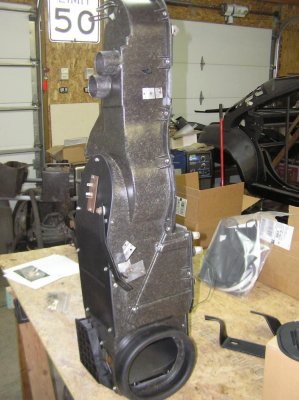
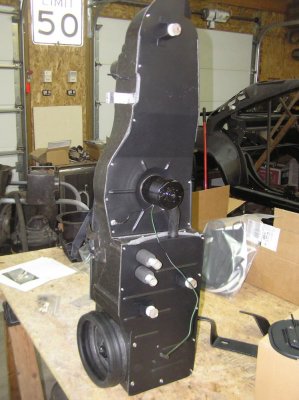
Here are some pics of the heater box complete

P2210003.jpg

P2210004.jpg

P2210005.jpg

P2210006.jpg

P1210055.jpg P1210056.jpg P1210057.jpg P1210075.jpg P1210076.jpg P1210078.jpg P1300131.jpg P1300132.jpg P1300133.jpg P2130153.jpg P2210003.jpg P2210004.jpg P2210005.jpg P2210006.jpg
 
Looks good Don! I have also been picking at some smaller stuff. Picked up a DMT heater box kit and am making one out of two as well. I also grabbed a grille harwAre kit and have disassembled my gauge cluster. Keep up the hood work!
 
Not bad at all Don. Mine is still tucked away in the rafters of my garage where it can stay right now. :) Keep the pics coming.
 
Nice job Don, nice to see some primer flying.
 
Looking good Don. Keep at it. It's going to be a fantastic charger.
 
I took some pics and will get them to you tonight regarding the trunk.
 
I keep leaving my phone jack at the garage errrrr. Anyway the pics aren't that good seeing how it's tight back there but looking at it the trunk floor pan is about a 1/2" from the bend in the floor pan to where it's welded to the crossmember, looking at the other side the crossmember lip is only an 1/8" inset from the bent lip of the floor where it welds to the tail light panel. The trunk extension seam measures 5 5/16" from the front of the turn signal opening. Hope this helps, I'll post the pics as soon as I remember to bring my jack with me so I can upload them.
 
Last edited:
Here's the pics, this one shows the 1/2" space between the bend and the crossmember.

20160416_223335.jpg


This is a shot looking threw one of the holes in the crossmember where you can see the 1/8" gap between the end of the crossmember lip and the tail light panel.

20160416_223608.jpg


And the trunk extension, because of the bedliner coating it's hard to pinpoint exactly but around 5 5/16" - 5 3/8".

20160416_225051.jpg
 
Here's the pics, this one shows the 1/2" space between the bend and the crossmember.


This is a shot looking threw one of the holes in the crossmember where you can see the 1/8" gap between the end of the crossmember lip and the tail light panel.


And the trunk extension, because of the bedliner coating it's hard to pinpoint exactly but around 5 5/16" - 5 3/8".
Thanks Devin,
I still have a lot of checking to do and your dimensions will help.
Say did you put new quarters on your car?
I am having a hard time getting the bottom of the quarters with the trunk extensions to line up with the bottom of the valance and valance corners
 
I put new quarters, valance, corners, trunk floor, tail light and Dutchman panels on mine. The corners and the Dutchman were the 2 biggest alignment issues. The valance needed the bend tightened up to pull the bottom of the panel up and the quarters can be manipulated up and down a bit.
 
If I remember correctly the corners needed a bit of massaging too.
 
Auto Transport Service
Back
Top