• When you click on links to various merchants on this site and make a purchase, this can result in this site earning a commission. Affiliate programs and affiliations include, but are not limited to, the eBay Partner Network.

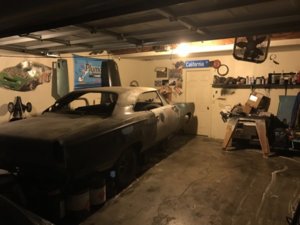
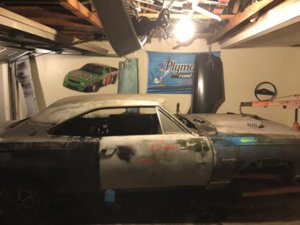
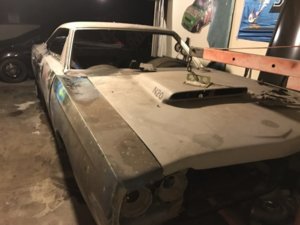
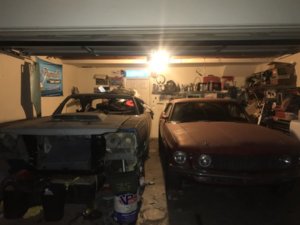
Finally Bought My Dream Car. 1969 Roadrunner Project

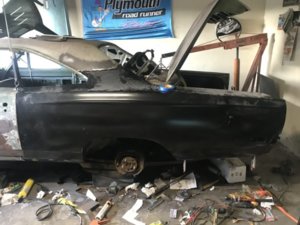
Sweet!!! Heck of a good feeling sliding the quarters on for the first time isn't it! Makes a guy feel like he's really turning the corner. Good work & happy spot welding!
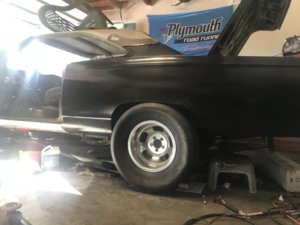
Gotta say having these quarters welded on is probably the best feeling I've ever had with this car.... It's to bad I still have to do the other side!

- - - Updated - - -

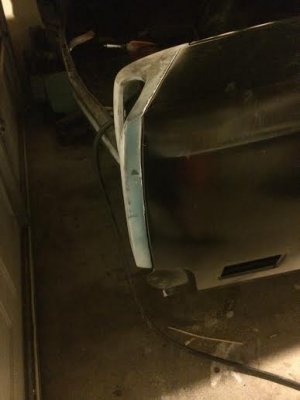
Worked on the tailight area today..Only took some minor modifications to get a good fit...I'll play with it more to get it perfect at a later time. I want to either tap the studs for a real nut or weld a new stud in place of the old ones on the tail light cover. The factory nuts dont grab as much as I'd want.
unnamed (1).jpg
unnamed (3).jpg
Not many spot welds left now...Only along the wheel lip and trunk extension. Roof area I'm saving for last. Still gotta figure out how I'm going to pull that roof line in to match. I'll figure it out
 
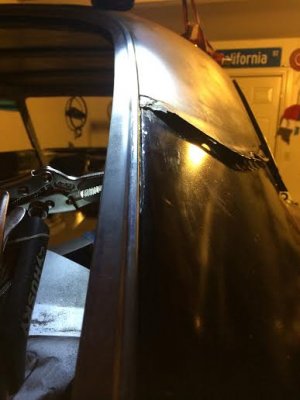
I remember a couple issues I had with the quarter to roof transition. One issue was the AMD quarter, where it turned into window opening was too tall. It made the quarter stick up higher than the roof skin. I cut the quarter in the window opening right at the radius where it lips in and seats on the underlying roof framing/opening. After doing that I was able to manipulate the quarter in a little bit to match the roof skin (issue you're dealing with). I don't think I was as bad off as you though. When I made the cut, I didn't really take much extra metal off besides what the thickness of the cutting wheel ate off. Obviously once I had everything aligned and trimmed to fit, I welded it all back up.

I can't tell from your pic's, but if your quarter is sticking up higher out of the window frame, that is one way to cure it. It also may help you manipulate the quarter in a bit. If not, I would recommend making a cut down quarter roof pillar so you can push out from the window opening on that area of the gap, and then reweld.
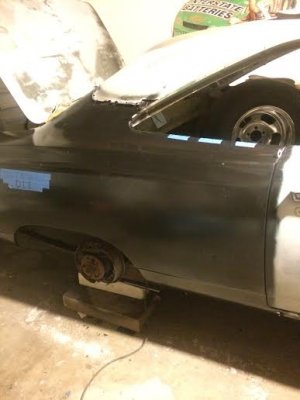
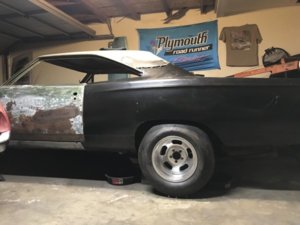
The previous picture is from before the quarter was really pulled into place. Here is a more recent picture image.jpg this is without touching the roof/quarter line so I think I can make it work with either a block of wood or a small cut like you mentioned. (The blue tape line is where it should be) I can see in the quarter itself the bend is slightly off towards the top compared to around the window corner. Speaking of the corner area I was able to pull it into placeimage.jpg. 90% of the quarter is welded on. Afterwards I'm going to go around the wheel opening lip with a little stitch welding just to be 100% positive it has a good bite
 
Nice! Real close....just about dialed in!
Yup!.. Just started to pull it in a little bit...Decided against a block of wood because knowing my luck I'd tater the whole quarter up somehow. Going pretty well I just gotta fine tune the cut with the trim...Tomorrow it will probably be done....After this and some stitch welding I'll start cutting the other quarter off and start all over again :sleepy1:
unnamed (4).jpg
 
JncHyTwh.jpg
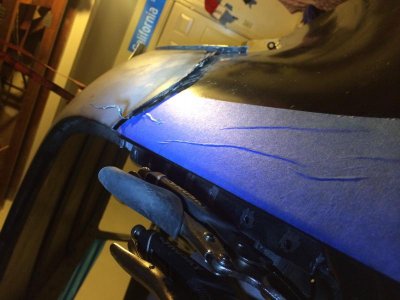
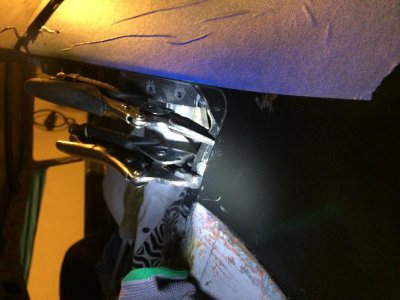
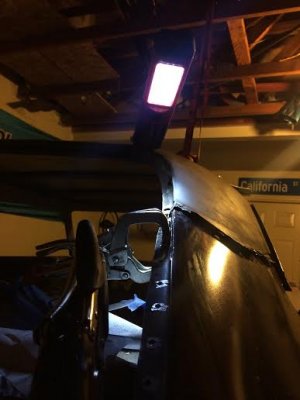
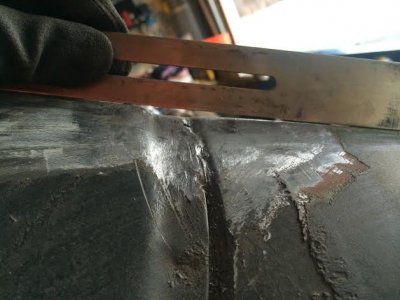
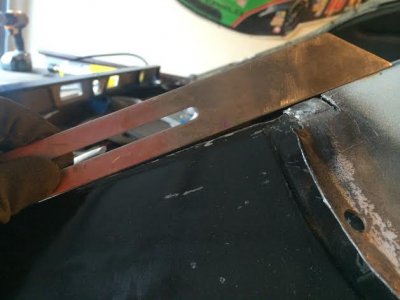
Round 2 of Stephen vs the trim line.....You can see the relief cut made it to where I was able to push it right where I want it.Think I got it pretty much dialed in. Reluctant to weld it up just yet. Debating on whether or not I should test fit the glass without any sealant/gasket.
This isnt to bad. First picture is the OG Quarter
unnamed (2).jpg
unnamed (3).jpg
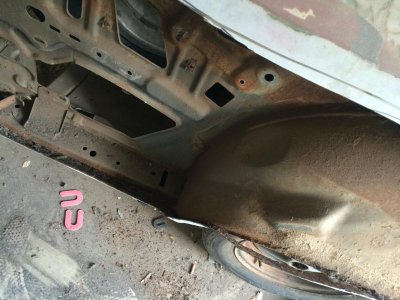
I think it will get better when i screw the roof to the quarter. Which I might just go out and do now before 9:30(My cut-off for today)..Would of got more done but I spent my day clearing out the opposite side of my garage in preparation for round 2 of the Full Quarter challenge. The driver side might be more challenging as I saw something I never noticed before. Which is the bottom of the quarter wheel lip is smashed in. We will see how that plays out.

- - - Updated - - -

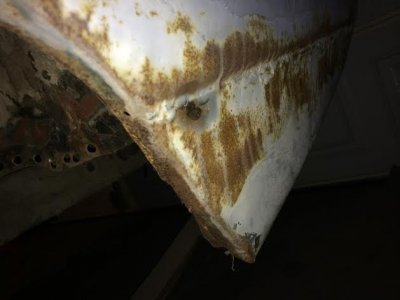
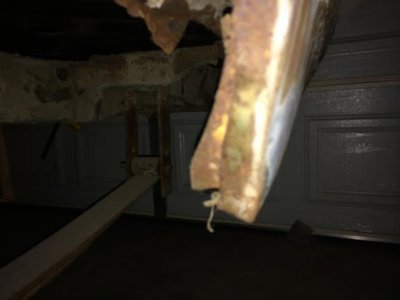
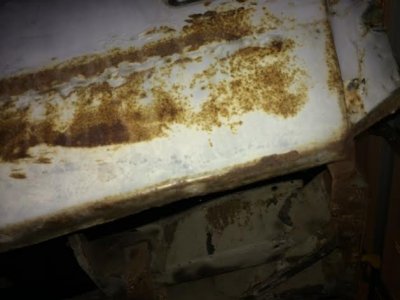
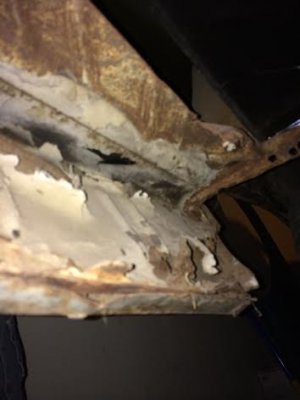
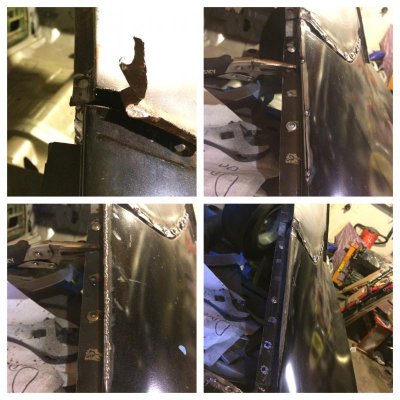
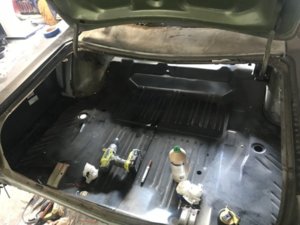
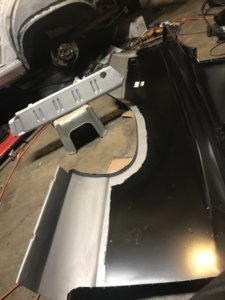
Also I would like to take some time to honorably mention whichever previous owner did this ingenious repair. Love the use of pop rivets on the lower lip and what I think is the brazing holding it all together. Last but not least (My favorite part on the car) they left the rotted out trunk extension in place then added another one over it, but... if that wasnt enough.. they added a third patch!...Stay Classy previous owners...Stay classy. I'll probably be keeping this trunk extension as a momento
unnamed (4).jpgunnamed (5).jpgunnamed (6).jpgunnamed (7).jpg
 
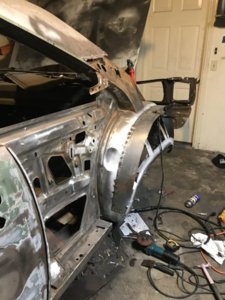
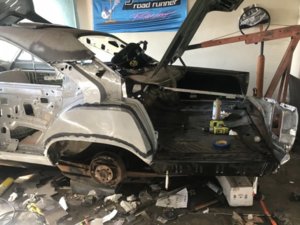
Ripped the driver side off today. Got a pleasant surprise when I found the outerwheelhouse house to be in good shape. I really thought it would be pretty mangled up. image.jpg
 
the Q/P on the car I am working on was the same way. looks like you've got it pretty close though. keep going man. it looks good.
 
the Q/P on the car I am working on was the same way. looks like you've got it pretty close though. keep going man. it looks good.
Out of curiosity, what method did you use to bring it in?...I couldn't bring myself to beat on it with a block of wood. Was to scared :eek:
 
I did the same thing you did. I cut it open and hit it with a BFH. these ones had the complete wrong c pillar radius front to rear till I beat it around. after that it was fine. of course the R side was on an off 8 times till I had it where I liked it. the L was on and off 7 times. but it was worth it. I ended up with hardly any mud work.
 
I did the same thing you did. I cut it open and hit it with a BFH. these ones had the complete wrong c pillar radius front to rear till I beat it around. after that it was fine. of course the R side was on an off 8 times till I had it where I liked it. the L was on and off 7 times. but it was worth it. I ended up with hardly any mud work.
Nice! Thats my goal also. Only real issue I had was with the trunk extension to quarter flange at the bottom of the wheelhouse. I dont know if it was from me extending the outer wheelhouse or what but I had to fold the flange at the last 4 inches(Really didnt want to but that was the easiest solution for me). Also was a real pain to bring the wheelhouse/quarter flange together but it cooperated with some hammer work and self tapping screws. I'm gonna go back and stitch weld some of that area in the future for peace of mind. I'm hoping the driver side is more friendly!

- - - Updated - - -

For a street/strip car that's gonna get the piss beat out if it...It will be fine. If it was a show car I would of come up with something else.
 
Well it certainly looks like you've been making some progress. Nice work.
 
I’m back. Been finally getting back to work on this thing . Gonna completely finish welding the drivers side 1/4 today

8E285C8C-0B34-4347-B5FB-C774C39F1B53.jpeg 91ABFE57-25E3-451F-9760-13670CCE7BCB.jpeg 19886F86-A6A8-4D64-B92E-9FF550015BF9.jpeg 5C46A5BF-6ED4-492F-B08B-64A8541013D3.jpeg 541E1E3E-641A-4758-9AAA-E9474836B70A.jpeg A4720CAB-CAF5-4C44-8FF3-0AEE856F696C.jpeg 5ECD88FC-23B3-486B-A9B0-2A7F152BF70E.jpeg 2B026332-2D87-43DD-A1EF-61D6E54D691D.jpeg 93C0DF1F-206F-42F6-AC86-5C537F58E72B.jpeg 3D209260-36BB-461F-BE45-0E639A65BBFB.jpeg
 
Short little break always helps....looks good
Thanks! Actually finishing up the 1/4 as we speak. I’ve worked on it here and there but it’s about time this thing gets driving. Goal is to get her on the street in a few months
 
Auto Transport Service
Back
Top