• When you click on links to various merchants on this site and make a purchase, this can result in this site earning a commission. Affiliate programs and affiliations include, but are not limited to, the eBay Partner Network.

Hawk-Rod: The Restoration

There we go!!!! Those bright colors need those little details like a stripe to contrast and really make them look great, nice job.

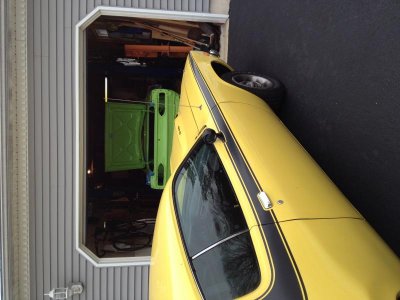
I totally agree. I remember when I first got my 73 Road Runner back and it was all bright yellow. I thought to myself "what the heck did I do???". But once I got the black stripe on it, it looked fantastic. The same is true with "the green machine"! A little bit of black really sets it off!
 
new page....... lets bring some color forward!

hawklid3_zps28b553ae.jpg


hawklid2_zpsecf64ec2.jpg


hawklid4_zpse5748051.jpg


hawklid5_zps22e3bf65.jpg
 
Hey eldubb440,
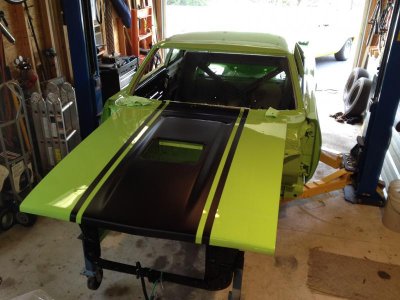
Great job on the body and paint! What product did you use on the hood for the satin black. I'm doing a 69 rr and am also doing the hood treatment.

Thanks
 
Hey eldubb440,
Great job on the body and paint! What product did you use on the hood for the satin black. I'm doing a 69 rr and am also doing the hood treatment.

Thanks

love this stuff.......... dont wax it, mask it if you have to buff or wax next to it........ clean it with windex, it's awesome

obviously, i cut/buff/polish before i mask and apply the black

SMM-HR010_AT_xl_zpsabd4a40d.jpg
 
while patiently waiting for a turkey sammich.........

if a picture is worth a thousand words, here are about 7000 of em........ Hawk better be sharpening his wrenches

almost2_zps8b07371b.jpg

almost3_zpsa35ff8fb.jpg

almost5_zps90aed11b.jpg

almost7_zps745f6d9c.jpg

almost6_zpsa820230a.jpg

almost4_zps4a867a4e.jpg

almost1_zpscebd9343.jpg


trunk lid is on too, but i forgot to take a pic...... oh well, Hawk will be flooding you guys with pics in the coming days..........this one is headed home!
 
Reassembly about to start!

Thanks for posting the pictures Mark!

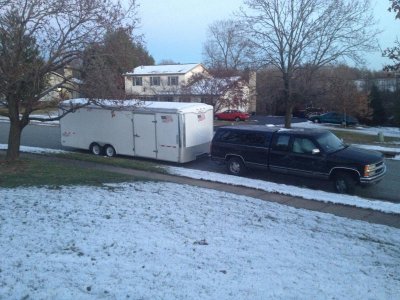
I just got back in. I had a fiasco with the tow rig. My father-in-law's dually and enclosed trailer was to be used to pick up the car. This way, my Road Runner body will stay clean from all the slop outdoors. Anyway, the truck broke down on interstate 80. The flatbed that came to rescue the dually blew a hydraulic line as it was tilting its bed down, so it was unable to help. Other flatbeds were too small to hold the truck: It has an 8 foot bed and 4 doors, along with the wide rear wheels.

At any rate, I finally got back to my house with a backup tow vehicle and the trailer. Now I will try for picking the car up tomorrow morning. Mark, thanks for the flexibility to come in on a Saturday!

I CAN'T WAIT!!! :th_krazy:

IMG_3407.jpg
 
Last edited:
Home!!!!

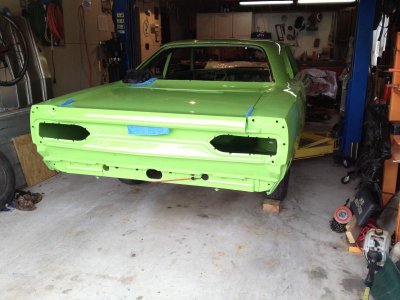
I got her home safely!!! A few pictures for your viewing pleasure... :grin:

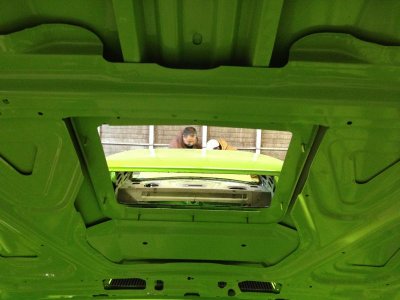
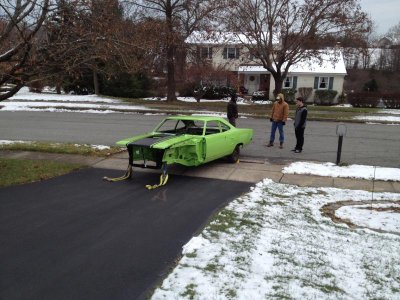
At Mark's shop - caught Mark (and my buddy with the hat on) through the air grabber hole and didn't even realize it when I took the picture!
IMG_3412.jpg

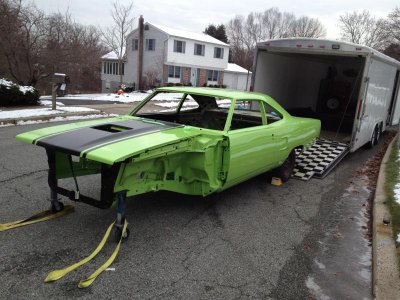
Safely home and out of the trailer.
IMG_3423.jpg

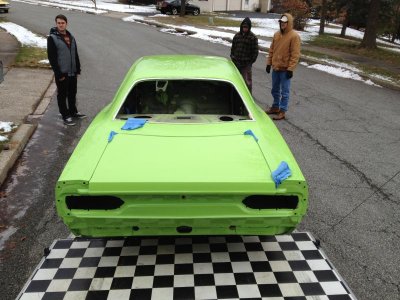
IMG_3425.jpg

I didn't have enough clearance to back the trailer up the driveway, so we had to muscle it up the driveway by hand.
IMG_3428.jpg

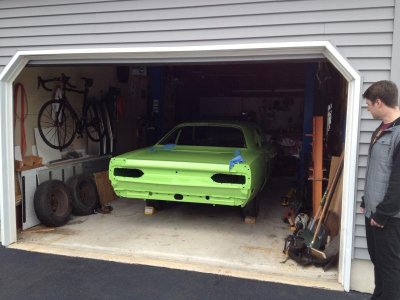
Safely in the garage!
IMG_3432.jpg

IMG_3434.jpg

^%$#! orientation again. Anyway, what a Mopar garage should look like!
IMG_3436.jpg

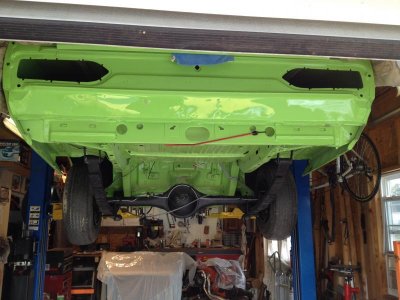
It is a tight workspace, but I can't complain. I am sure many of you would love to have a lift, so this is actually pretty decent. Now if I start attaching some stuff to the car I will get more room!
IMG_3445.jpg

Underneath
IMG_3447.jpg
 
Wow. Looking good Hawk. The fact that you got a lift will negate the small workspace quite a bit I think. Look forward to the progress.
 
raised up on the lift is probably the safest place for it when you aren't working on it.......... FYI, when we installed the rear, it got a little back heavy and had to adjust it on the lift, just be careful....

glad you made it home safe........ next time it leaves your house, you will be grabbing gears! looking forward to plenty of assembly pics; and as usual, i got you covered on my end.


.... and a little reminder of where we have been, and how far we have come

View attachment 169515

View attachment 161512
 
Congrats I know and can tell you are very excited Hawk !! It looks fantastic

Great work Eldubb
 
Yesterday after I got it home I had to go to second family thanksgiving dinner. :angryfire: Don't get me wrong, I have a great family (both my side and my wife's), but yesterday I wanted to be in the garage!!! Then today, I have to return the tow rig to my father-in-law as well as bring my son back to college. This means I will have very little garage time today as well. :sad3:

My son is really jealous of the color. He drives my first car, the yellow 73 Road Runner. He asked if I wanted to trade colors! He was checking out the car and I showed him the reproduced weld marks in the trunk floor. He said "This tells me all I need to know about the rest of the car. If this level of detail was put into a spot in the trunk that will be covered by a mat, you KNOW the rest was done well."

Now I need to hold up my end of the bargain and keep up the standards! There is a lot left to do, but hopefully in very short order there will be a lot of assembly pictures!
 
Looks great Hawk, but I gotta tell 'ya, it ain't gonna corner fer **** with those little wheels on the front, just sayin'.
 
That's awesome,, it's great to hear about somebody really going the extra mile to do it right when there are so many half assers out there. I know exactly what your talking about as far as the holidays go, love the families but I can only take so much sitting around.
 
Looks great Hawk, but I gotta tell 'ya, it ain't gonna corner fer **** with those little wheels on the front, just sayin'.

LOL. I thought that was the hot setup now: Rubber band tires to help cornering - I won't get ANY sidewall flex with those!!!


Thanks for all the positive comments. There is almost no spot on that body that isn't clean, dry and nice to work on. I still will do a little cleanup on the original floors, but everything else is clean as a whistle. It will be nice to put on clean parts on a clean body and not get all greasy and sloppy!
 
First, some dash repair:

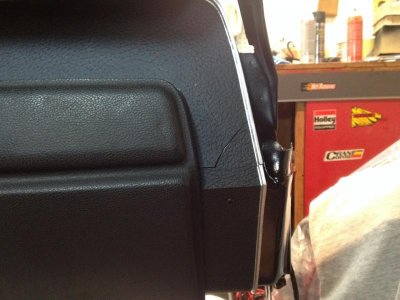
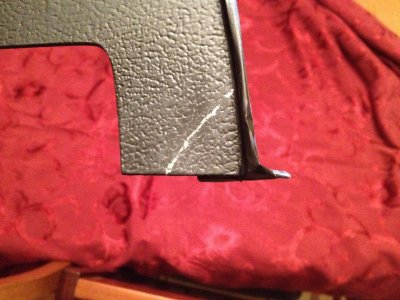
I had fixed a crack in my dash bezel that goes above the glove compartment door, but my fix didn't work. When I installed the bezel, the crack reappeared.
IMG_3367.jpg

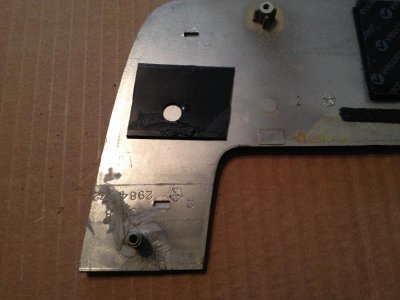
So I cut out a piece of plastic. I actually used a piece cut from an old cassette case LOL.
IMG_3382.jpg

I glued it on, then painted the front crack area to fill in any signs of the crack. Finally, I used an awl to scratch in some detail.
IMG_3400.jpg

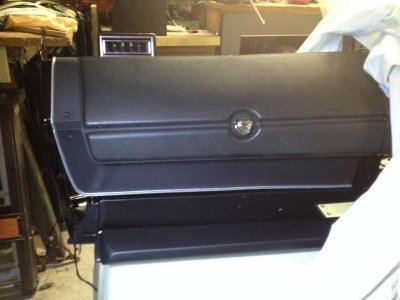
I repainted and attached the bezel. This picture didn't come out great, but it actually looks OK. If you know to look for it and inspect it closely, you'll see it faintly, but I doubt most people will ever see it. This will have to be good enough. Maybe in the future I can buy a replacement bezel and replace this one...
IMG_3455.jpg

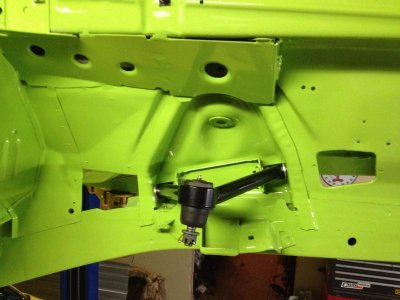
Then, to the BIG NEWS!!! I bolted on my first official parts on to the Road Runner: My new upper control arms from PST.
...One small step for Hawk, one giant leap for my Mopar!
IMG_3456.jpg
 
Auto Transport Service
Back
Top