a68postcar
Well-Known Member
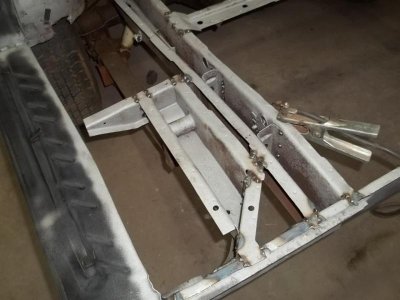
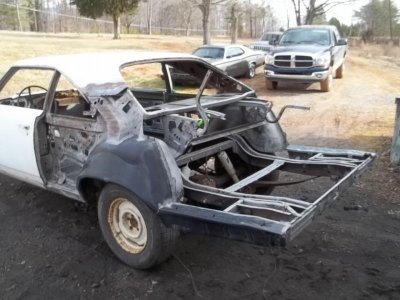
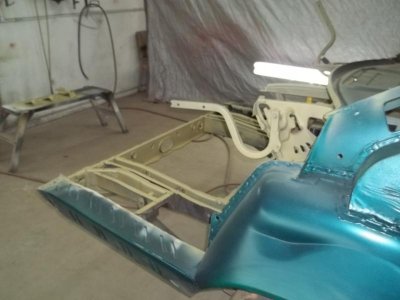
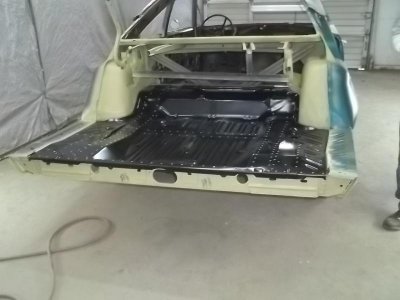
i would have to guess that this x-member is in the range of 10x tougher than the original though. the welder that hooked this thing had it goin on too. i cheat on alot of this stuff. fab a fixture here, rig a strut there. you know.
- - - Updated - - -
- - - Updated - - -
- - - Updated - - -
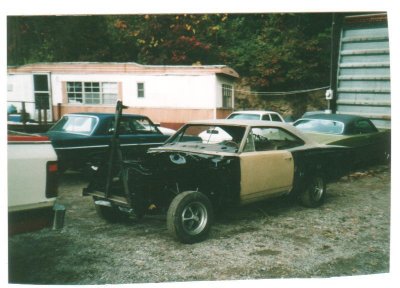
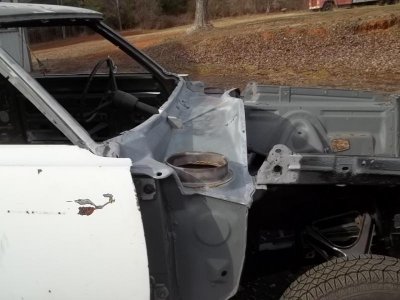
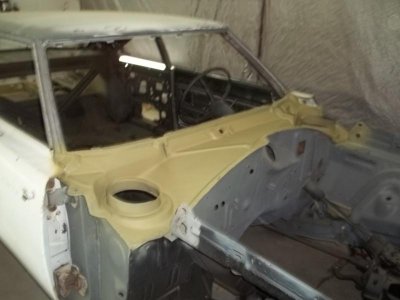
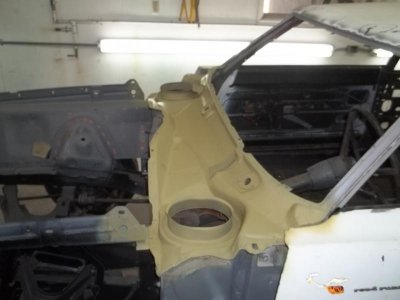
Interesting shock X-Member..lol. Guessing the air shocks lead to the demise of the last one. Good work on the outer cowl. After changing out mine on the '69, i'd recommend spending a good amount of time getting the bracket that goes from the inner fender to outer cowl lined up exactly like is was. Obviously contains the upper rear fender mount, and a miss-alignment could really turn into a can of worms when trying to square up the fenders, doors and hood. Keep up the good work!
- - - Updated - - -
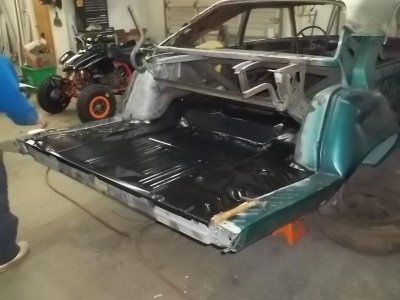
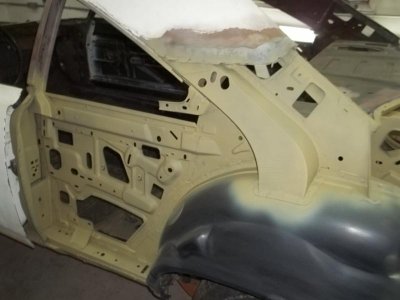
surgery, ha, no kidding. the things we do....."Lots of surgery", good to see you getting all of the rust out of it. Keep up the hard work
- - - Updated - - -
there has been some debate as to wheather to change it back. it just needs to be finished so it doesn't interfere with the top of the shock when it is installed. like it does now.I remember having to have a rear shock crossmember like that one built for my 74 RR. You're right Will, air shocks will lead to an early demise
- - - Updated - - -
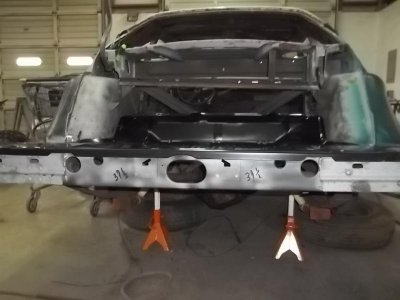
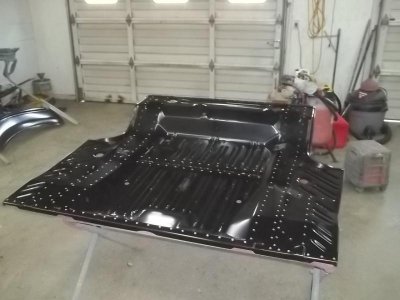
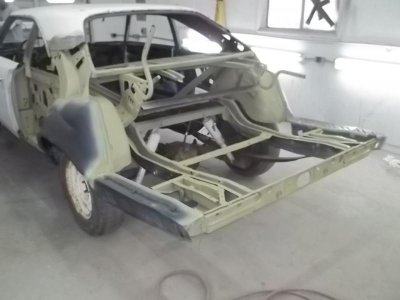
this stuff never ever ends, does it?Lots of work to go, but looks real nice so far.