• When you click on links to various merchants on this site and make a purchase, this can result in this site earning a commission. Affiliate programs and affiliations include, but are not limited to, the eBay Partner Network.

My charger restoration dream car

sweet welcome back, told you working on that charger is good therapy...lol:balloons::thumbsup:
 
Its great you are back on your feet again showard. Can't wait to see the continuation of your build. Good luck.
 
Congratulations on the new kidney and very lucky you have a loving brother. Get well and stay strong.
Nice job on the charger model. It would be nice if the real cars went together that fast.

Robert
 
Its great you are back on your feet again showard. Can't wait to see the continuation of your build. Good luck.
It is great to be back. The hard part is that I'm still restricted on what I can lift and be exposed to, but it is great to be doing something again.

- - - Updated - - -

Congratulations on the new kidney and very lucky you have a loving brother. Get well and stay strong.
Nice job on the charger model. It would be nice if the real cars went together that fast.

Robert
As I built the model I was thinking the same. I was wishing that things would be as easy.
 
Welcome back
Thank you GTX. It is great to be home again.
I Have been feeling great. I teach 7th grade CTE (Career and Technical Education) and because my immune system is shut down now, so that I don't reject my new kidney, I still need to stay home from work for a few more weeks. This has given me some time to work on my car as long as I don't over do it. I have been getting my suspension parts ready to get sand blasted and painted.

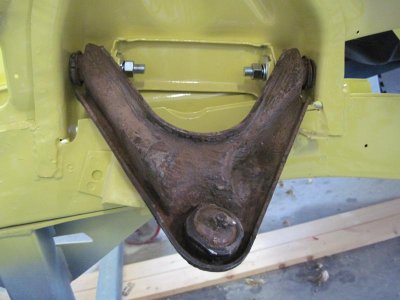
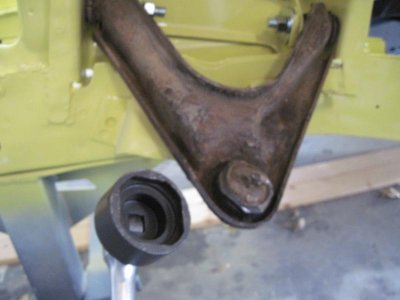
To take apart the upper control arms I have been following the information that Don gave me. I tried to take off the ball joints without the special socket but they were on too hard so I ordered the special socket from PST and mounted the control arm on the car so that I did not bent it out of shape when we torqued it off.
IMG_0784.jpg

IMG_0785.jpg

These ball joints still took some time to remove. I had my brother come to help because I am not suppose to strain very much yet.
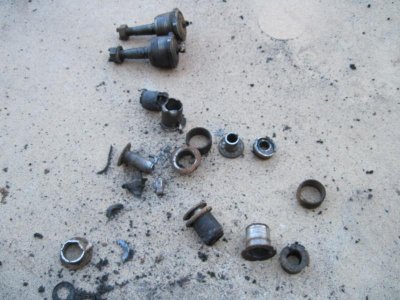
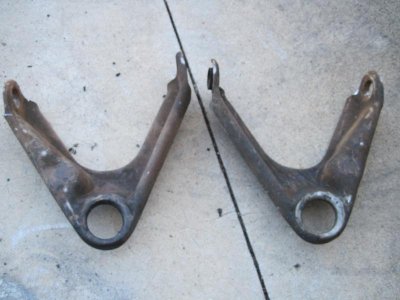
I then worked most of the day getting the other 4 bushings off. Here is the left over pile of pieces.
IMG_0791.jpg

IMG_0790.jpg
 
Looking good! And good to hear your feeling great!
Thank you, and thank you for that article about how to take apart the upper control arm. I would have had no idea and probably would have bent up my control arms.
 
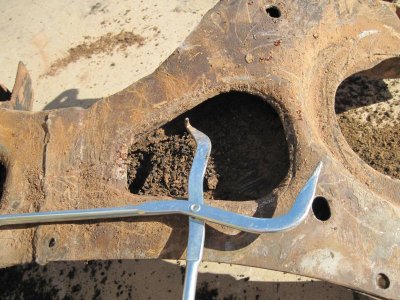
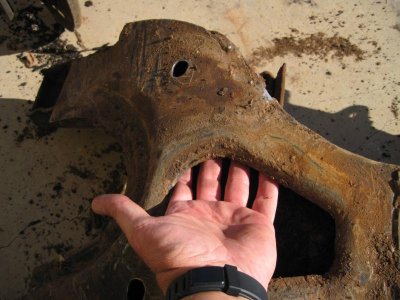
I have a question for anyone who might have a suggestion or example. I am getting my K frame ready to sand blast and paint. I noticed that inside are hard to reach places where there is a lot of oil and dirt.

IMG_0788.jpg

I know that sand blasting will not clean it out in the inside. Do any of you have any suggestions on how I might get that cleaned out? Would an engine shop boil it out? I don't want to sand blast it and repaint it with all that dirt inside. I have tried to scrape out as much as I could but there is plenty left.

IMG_0787.jpg
 
Last edited:
If you can get most of it scraped out, the blasting will get the rest. Just tell your blaster to give it some extra time in those areas. Wish I would have known you needed the balljoint socket, I would of sent ya mine. I'm putting my suspension stuff back on right now.
 
If you can get most of it scraped out, the blasting will get the rest. Just tell your blaster to give it some extra time in those areas. Wish I would have known you needed the balljoint socket, I would of sent ya mine. I'm putting my suspension stuff back on right now.
That is a good idea. I think that I can get most of the junk scraped out. I was wishing that I knew someone with a balljoint socket. I felt that it was a lot of money just to use a couple times.
 
When I blasted mine I could not get down inside of it. (I also tried cleaning it at the local car wash) Then when I welded the around the perimeter I had a hard time. I believe because there was grease and oil inside. If I had to do it over again I would get it boiled like you mentioned.
 
When I blasted mine I could not get down inside of it. (I also tried cleaning it at the local car wash) Then when I welded the around the perimeter I had a hard time. I believe because there was grease and oil inside. If I had to do it over again I would get it boiled like you mentioned.
I took it into the engine shop here in town to see if I could get it boiled but it was just a little to long to work in there machine so I guess I will clean it out the best I can. I will try to do a better job at scraping out the inside and then soak it with engine degreaser and power spray it out. Then take it to the blaster to have it sand blasted.
 
I don't know if your getting it powder coated, but I found out that in there process, they do a hot bath.
So maybe that might be an option.
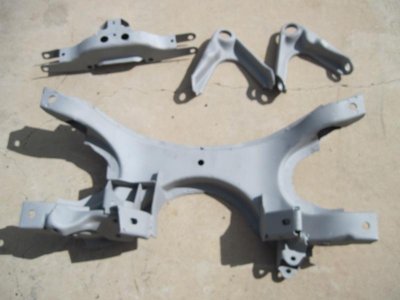
 
I decided that I would just have my K member sand blasted. After scraping it well and blasting it it looks clean. Some of the little hard to get areas did not get all of the way clean but they will also never be seen.
I also had the upper control arms, rear end, and transmission support cleaned.

IMG_0811.jpg

Sorry about the out of focus picture. I could not hold the camera still.

IMG_0808.jpg
 
Great progress! Have you bought any suspension rebuild parts yet?
 
Great progress! Have you bought any suspension rebuild parts yet?
Thanks GTX, I did buy the super front end rebuild kit from PST and I also got the disc break conversion kit, leaf springs, shackles, and engine mounts.

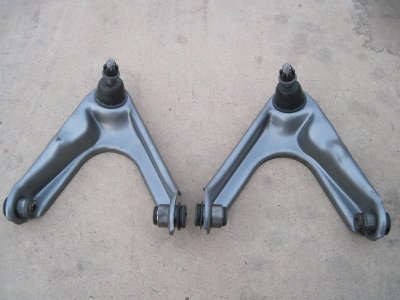
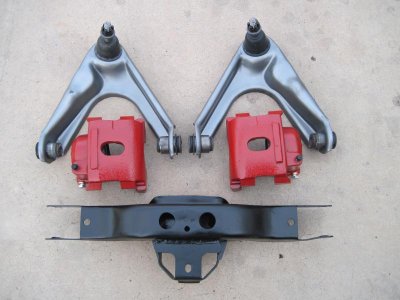
After some time and with the help of my son's muscles, I was able to get all of the bushings and ball joints on my upper control arms.

IMG_0814.jpg

I also got some of my other parts painted.

IMG_0816.jpg

- - - Updated - - -

I decided to keep my rear drum brakes. My old drums were worn thin and deeply groved so I bought new drums. They were only about $25 each.

IMG_0817.jpg
 
Auto Transport Service
Back
Top