• When you click on links to various merchants on this site and make a purchase, this can result in this site earning a commission. Affiliate programs and affiliations include, but are not limited to, the eBay Partner Network.

My charger restoration dream car

Not bad at all, I do believe you have mastered it! Ka-ool... :)
 
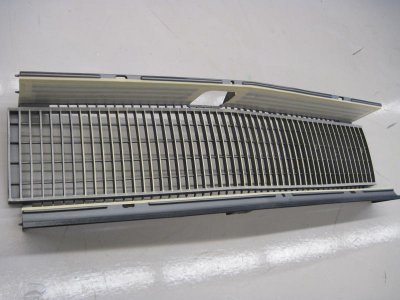
Some more progress with the grill.
IMG_0624.jpg
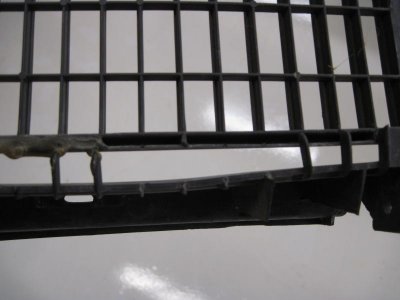
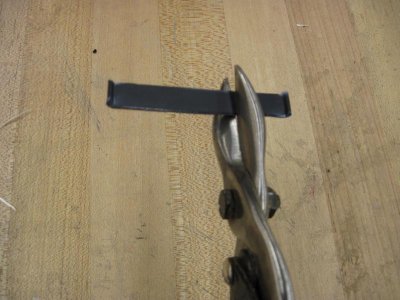
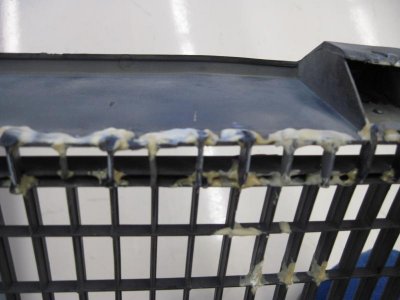
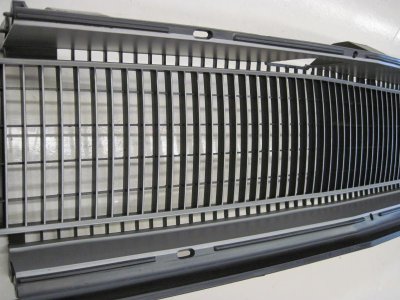
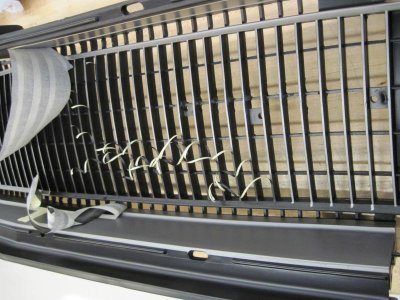
Many of the fins were broken or missing off of my grill. The missing fins I cut some strips of plastic and fit them with a dremel and the broken ones I reinforced with wire. I am doing all of the repairs on the back of the grill so that they will not be seen from the front.
IMG_0625.jpg

IMG_0627.jpg

extra grille 006.jpg

- - - Updated - - -

IMG_0624.jpg IMG_0625.jpg IMG_0627.jpg extra grille 006.jpg
 
Looking good showard! My grille is in really rough shape like yours so I'll be using some of all these ideas to fix mine. Keep up the good work!
 
Funny, mine is broken in the same spots, and missing the same little fins.
 
Good work showard, once it's painted up and looking from the front no one'll ever know it had been repaired.
 
That is looking great, I wish i knew where my pictures are of my grill in the 73, I had to do all this and using the JB weld, it took so long to dry and being impatient is not a good thing lol, ive since bought another grill for my 73 just in case of a mishap, this thread of yours is going to help me repair it bud! Thank you for sharing!!!
 
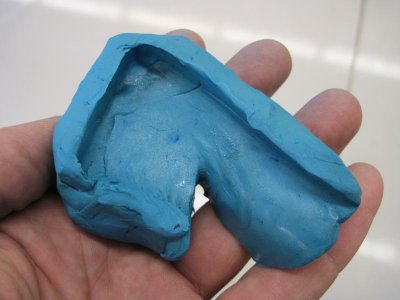
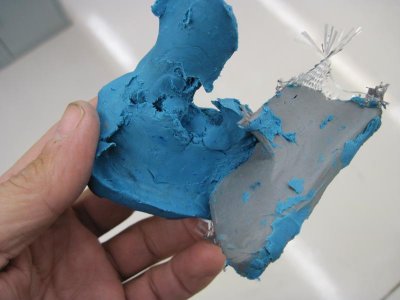
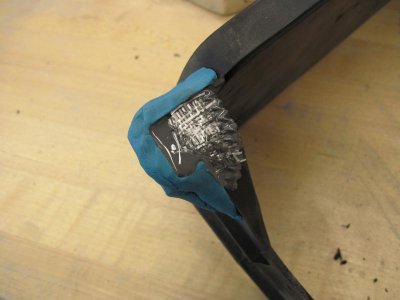
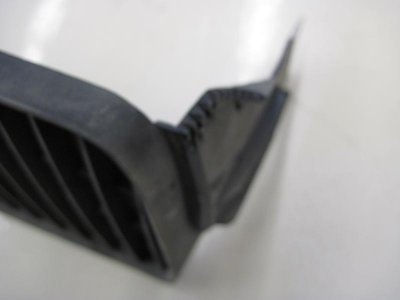
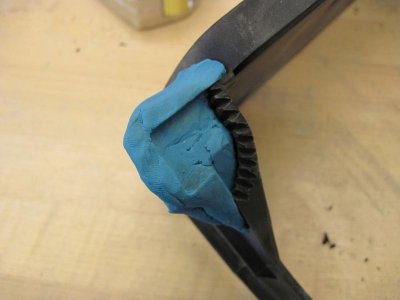
My grill was missing the tabs on the corners that poke out under the front bumper. I used modeling clay to make a mold from a grill that had these tabs.

IMG_0601.jpg

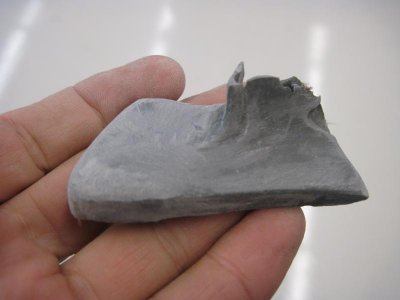
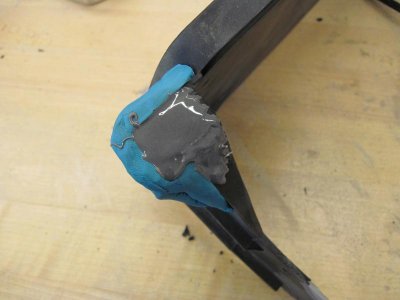
I poured the mold using epoxy and fiberglass.

IMG_0605.jpg

IMG_0606.jpg

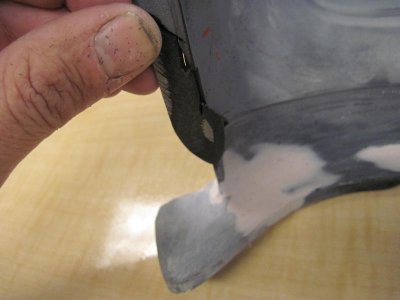
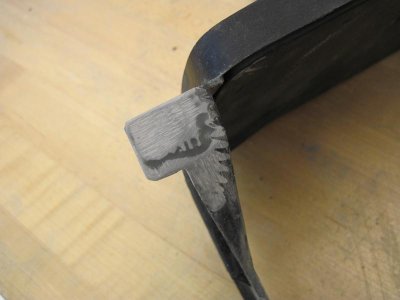
I cut and fit the part where it goes and glued it on.

IMG_0599.jpg

I am now sanding the filler to hide all cracks and imperfections.

IMG_0609.jpg

IMG_0601.jpg IMG_0605.jpg IMG_0606.jpg IMG_0599.jpg IMG_0609.jpg
 
Man that looks GREAT!Thanks for posting this i imagine this will help a lot of guys, including myself!!!
 
Looks like it came out well for you. If you buy a Plastex kit for plastic repairs, they basically do the same thing with their reusable molding bar.http://www.plastex.net/Product_Info.php
Thanks, I checked out the plastex sight. It looks to be a useful kit.

- - - Updated - - -

Man that looks GREAT!Thanks for posting this i imagine this will help a lot of guys, including myself!!!
Thank you Ron, your posts are always helpful for me also.
 
Continuing work on the grill... I painted it with the metal silver grey color that matches the original factory color. I than cut and put tape over all of the areas, including all of the face of the fins, that I wanted to remain gray and painted the rest of the plastic with a plastic black. After removing the tape the grill now looks like the original factory colors.
IMG_0629.jpg

IMG_0630.jpg

IMG_0631.jpg

IMG_0629.jpg IMG_0630.jpg IMG_0631.jpg
 
Very nice, those Charger grills are almost painful to restore but your making it look easy.
 
I've just finished reading this entire thread, and all I can say is WOW!! You're doing a magnificent job restoring a car that looked so bad most would just walk on by. Well done, and keep up the great work. :headbang:
 
top notch repair on the grille. you ought to buy a bunch of these and fix em up to sell. there has got to be a market for them.
 
Thank all of you for your positive feedback.

- - - Updated - - -

top notch repair on the grille. you ought to buy a bunch of these and fix em up to sell. there has got to be a market for them.
Thank you,
I have thought some about rebuilding others, they do take a great amount of time to fix though. I have a couple extra grills that I got for parts that I am rebuilding and I am going to take them down to the MATS in Vegas this weekend and maby sell them to recoup some of my money so that I can put it into other parts on my car.
 
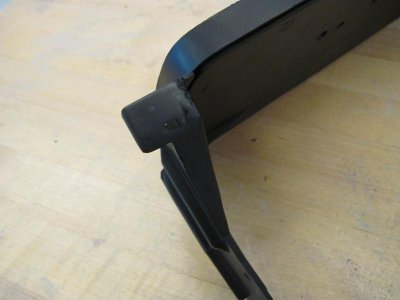
There were several pieces that I had to repair or re-fabricate on this grill. I thought that I would post one more fix just in case it might help give someone an idea that they could use or improve on. That is how I got my ideas, from threads posted on this sight.
One of the most common broken spots on these grills it the headlight door stop tab. Here are some pictures on how I replaced one.
IMG_0633.jpg

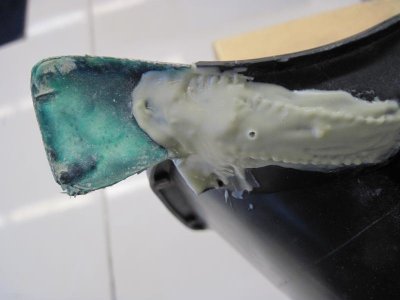
Again I used modeling clay to form the shape of the mold that I needed.

IMG_0635.jpg

I put a layer of JB Weld and then a layer of fiberglass twice (2 layers).
IMG_0636.jpg

IMG_0637.jpg

Shaped and sanded smooth.

IMG_0639.jpg

Painted.
IMG_0642.jpg

IMG_0633.jpg IMG_0635.jpg IMG_0636.jpg IMG_0637.jpg IMG_0639.jpg IMG_0642.jpg
 
Auto Transport Service
Back
Top