You are using an out of date browser. It may not display this or other websites correctly.
You should upgrade or use an alternative browser.
You should upgrade or use an alternative browser.
Rocky's Road Runner
- Thread starter RJ Squirrel
- Start date
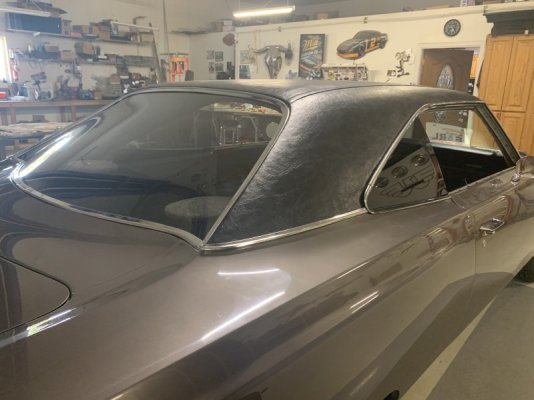
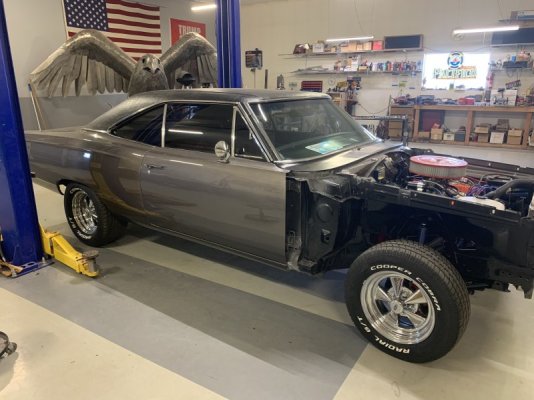
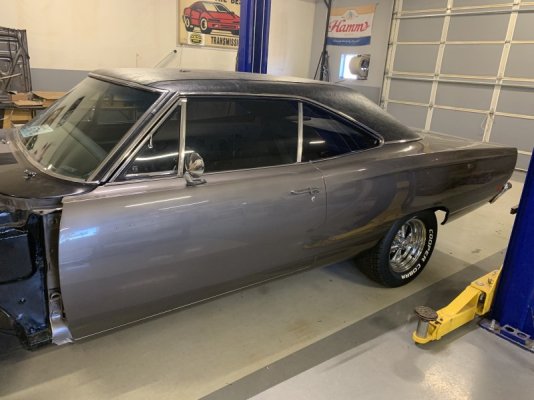
So at the end of the day we have a windshield. Real glad I did not try to do this myself, it was a challenge for the guys at the glass shop to get it in there. He said the windshield was bigger than it needed to be but thats the way it is with old cars and new aftermarket stuff. I had trouble getting the stainless trim on after I got it home too because the windshield pushed the rubber gasket out so far. 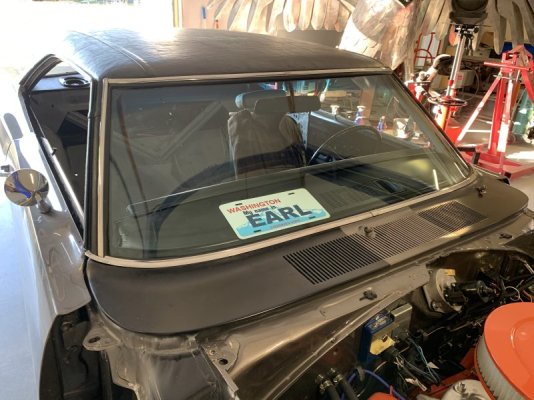

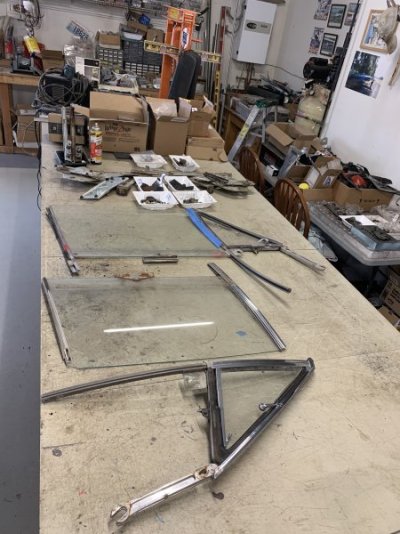
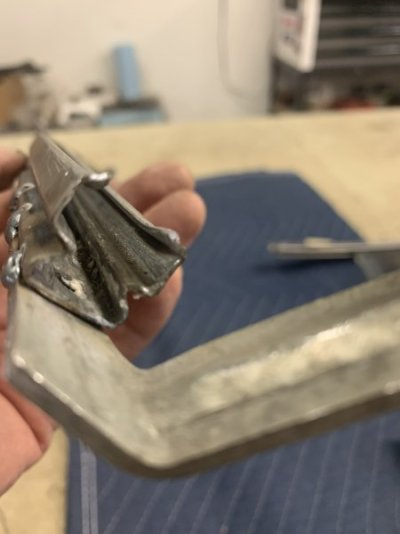
Will you let us know how they fit? The note on the DMT website has me a little concerned (and there are no reviews), but I have installed these when they were made by a different manufacturer and I know they are fragile. I need to buy 2 sets still.I am happy these front window glides are available now for a reasonable cost. DMT has them for 125 a set.
View attachment 1719699
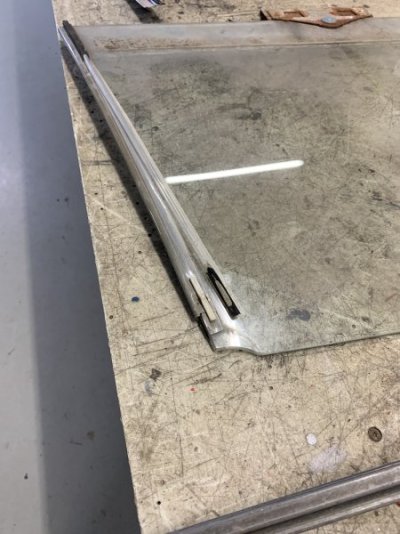
Mopar A Body 67-72 & B Body 68-70 Door Glass Division Channel Guide Set 2932230
Yes it would be great if they would put a few installation tips on the site but I can understand why they dont. I will post how I did mine when I figure it out myself!
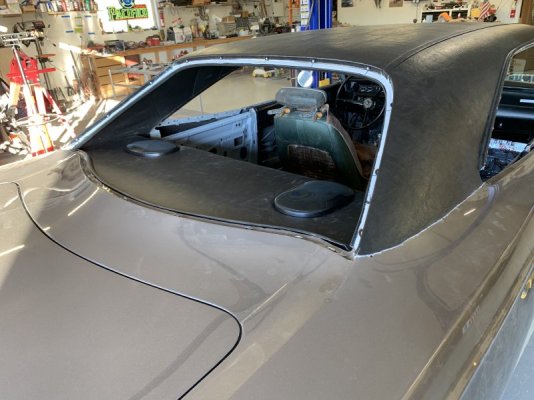
I put a light tint on the glass before it went in, 35% on the sides and 55% on back glass. That was a real clown show. I started with a roll 40" wide and 20 feet long. Wasted half of it trying to do the curvy back glass. Gave up and took it to a tint shop. Oh well I wanted it lighter than the sides anyway. Then I thought I would try something easy like the wing window glass. Did them over three times. Then the quarter window glass. Managed to get one of them first try- the other twice. So then did the side glass a couple times, and now I am completely out of the film.
And last night I put a big scratch in one of the quarters. Guess I better get another 20 foot roll of 35% coming...
But that back glass sure looks good!
And last night I put a big scratch in one of the quarters. Guess I better get another 20 foot roll of 35% coming...
But that back glass sure looks good!
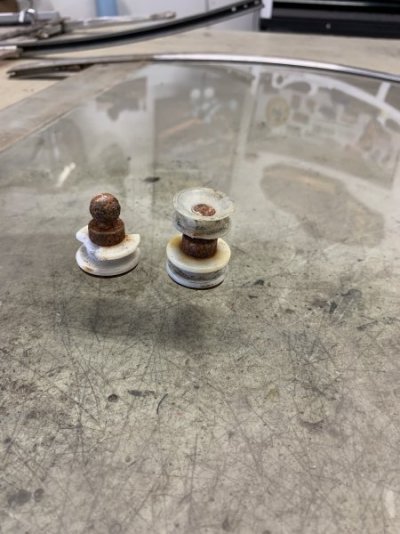
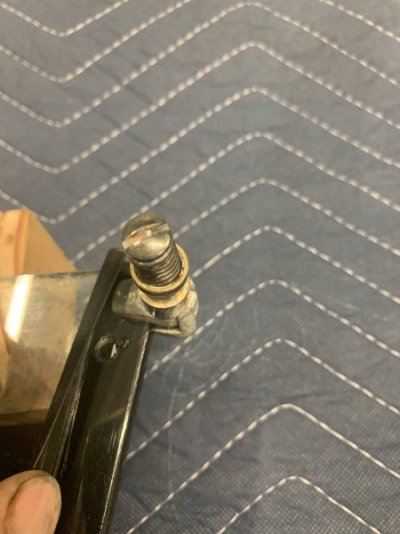
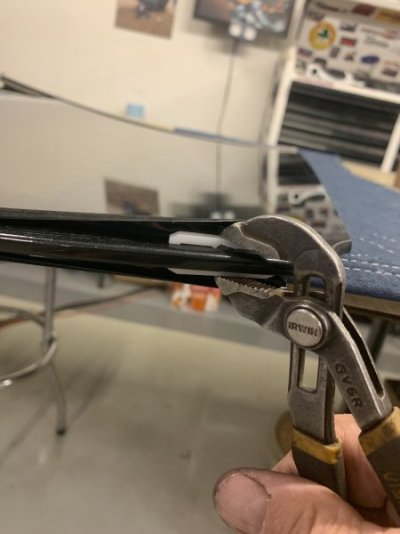
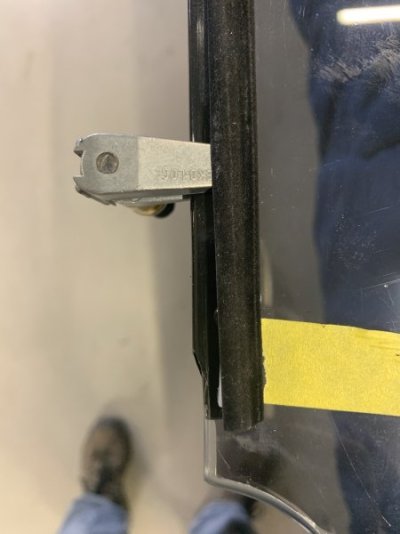
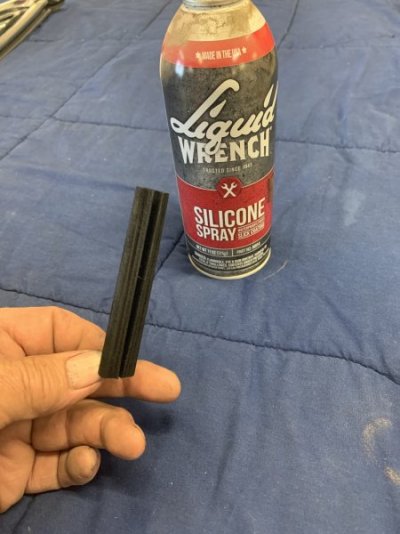
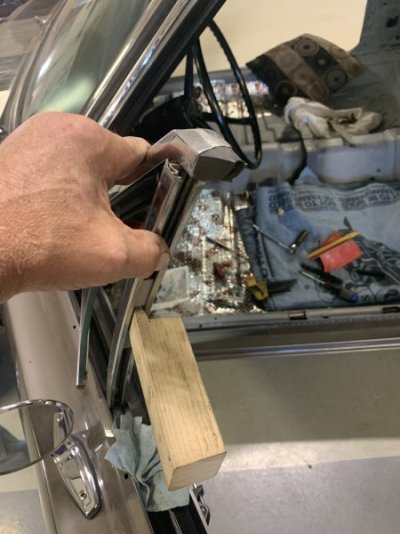
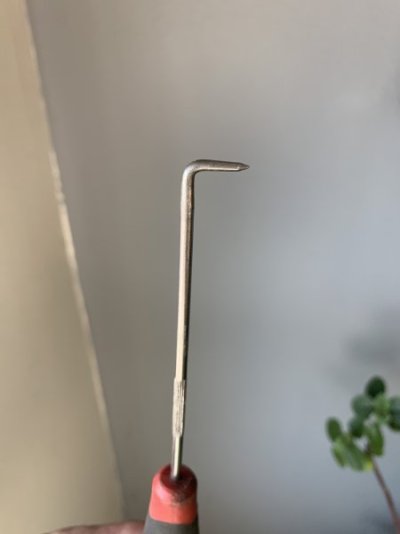
The window channel guides went well, I bought them from Detroit Muscle Tech, the curve matched the channel well and the plastic clips worked with no modification. Just mark the spot where the fuzzy meets the rubber at the top, clamp it on and melt the holes out with a soldering iron. Binder clips
would work for this if you dont have cleco clamps.
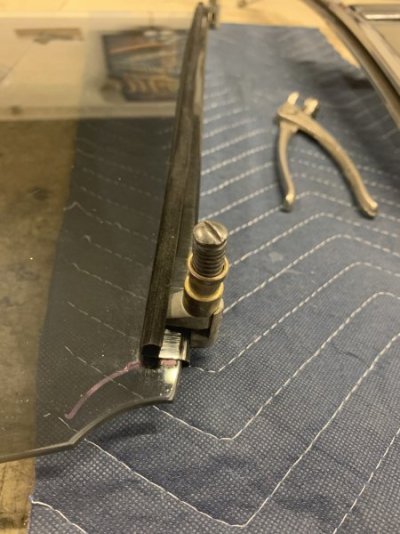
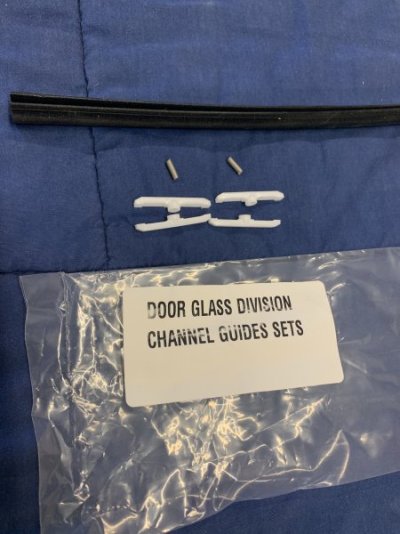
would work for this if you dont have cleco clamps.


Last edited:
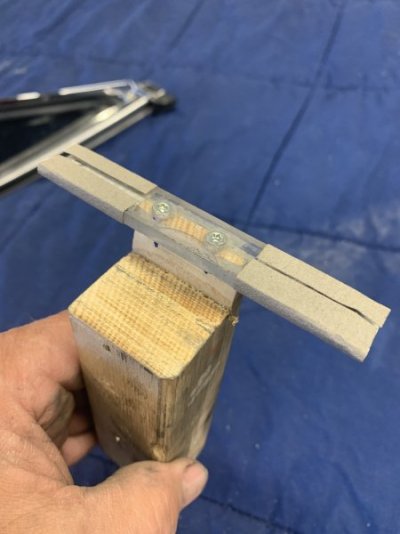
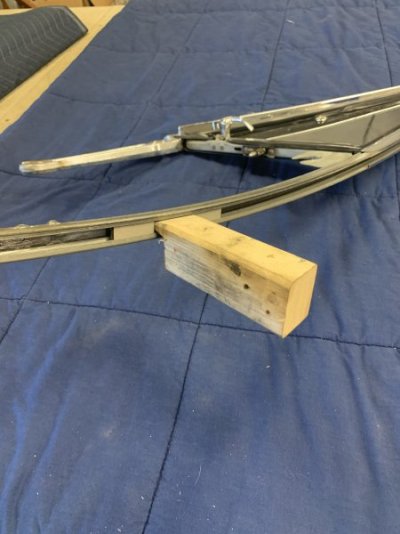
I've done it with a broomstick but I like your idea better
Similar threads
- Replies
- 183
- Views
- 15K
- Replies
- 4
- Views
- 517
- Replies
- 15
- Views
- 1K

