• When you click on links to various merchants on this site and make a purchase, this can result in this site earning a commission. Affiliate programs and affiliations include, but are not limited to, the eBay Partner Network.

Roger's Roadrunner

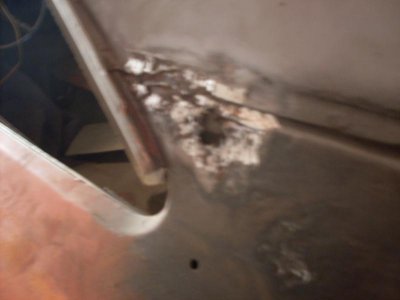
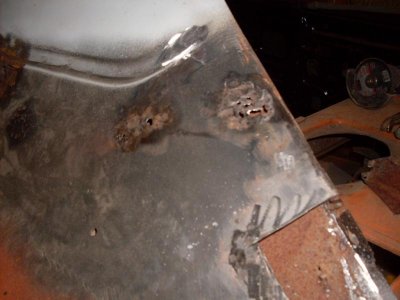
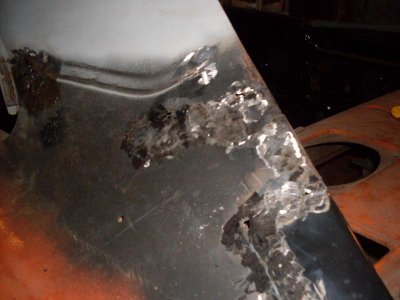
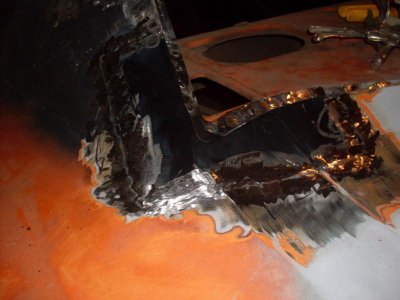
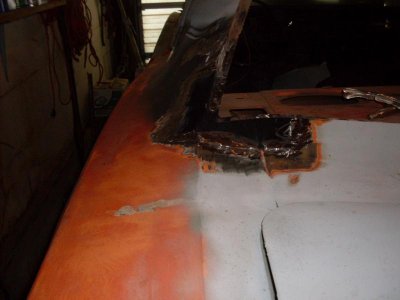
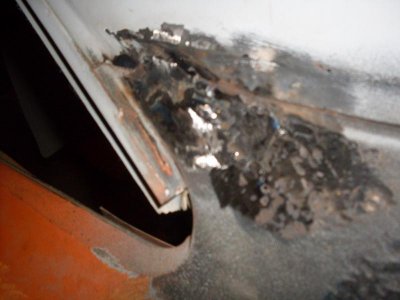
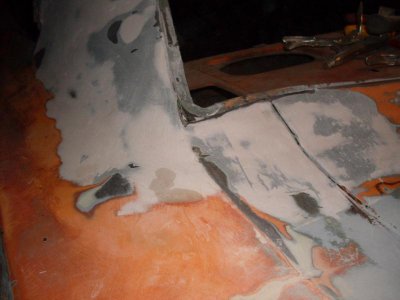
Got some time in to put the other window corner in, some fiberglass filler, and primered. Trying to get as much done now before I go back to work in a month. Will have to wait till tax returns come in so I can get the quarter skins and trunk floor. Will try and get some small things done and out of the way.

SDC10589.jpg SDC10590.jpg SDC10592.jpg SDC10593.jpg SDC10594.jpg SDC10595.jpg SDC10596.jpg SDC10597.jpg SDC10598.jpg SDC10599.jpg SDC10600.jpg SDC10601.jpg
 
Looking good. Check one more thing off the list of things to do before paint.
 
Thanks for the replies. I actually did the left side different as I didn't flange the metal like I did on the right. Saw another member that had just posted his repair of this area that looked like it wasn't flanged and thought it turned out great. Can't remember who it was but I thank that person.
 
Your getting there Roger, looks like you are making good progress, Good luck and i hope it gos smooth for you..
 
Got some more work done. A couple days ago I got the windshield out. Had to cut the gasket to do it. Tried to save it, but the way it was going I might have lost the windshield if I did. Also got my dash out, took out the heater assembly (had a little nest in there), unbolted my brake assembly so I can clean and paint it, Also took out the drivers side vent box and that's where I found the surprise. All the insulation was pack on top and into the cowl opening. Looks like I'll be busy for the next few days. Having trouble upload photos. got to find which file they disappeared to.
 
I found my pictures that got lost. The insulation that is on the vent box is what I found when I pulled it off the cowl.

SDC10677.jpg SDC10678.jpg SDC10679.jpg SDC10680.jpg SDC10681.jpg SDC10682.jpg SDC10683.jpg SDC10684.jpg
 
Vent box looks like a big bucket of fun Roger.You want butter on that? Maybe settle down for a nice movie with the wife, kick back and enjoy. What's your plan with the plenum riser with the holes? Obviously that needs some love or water will be making it to a theater near you every time your bird gets wet.
 
just think of more homeless mousies...oh the tragedity.......
 
Roger, the cowl is very easily removed to expose the air intakes, I replaced mine and used one that I had saved from a 1968 RR. Unlike some stubborn panels the cowl comes right off once you drill out the spot welds. The one problem I ran into was sealing it back up, from the factory there is some sort of foam looking sealant between the panels. I used weld threw primer on the surfaces and once installed I used latex gloves and short paint brushes to reach inside the air ducts and smear brush on seam sealer to the seam "pain in the @%*. Another thing I did while I was at it that I'd suggest everyone doing is install some sort of screen over the water drains. That's where those critters get in, I bent some stainless expanded steal to fit over it and then just pop riveted it to the top. I know that it will not allow leaves to get out but my car will be in the garage most of the time where the critters do their damage, nothing ticks me off more than mice wreaking havoc on the interior. Keep up the good work
 
just think of more homeless mousies...oh the tragedity.......
Well, i'm not losing any sleep over it, beside, how many mice had a guest house in the heater assembly?....... OK most of them did. LOL

- - - Updated - - -

Roger, the cowl is very easily removed to expose the air intakes, I replaced mine and used one that I had saved from a 1968 RR. Unlike some stubborn panels the cowl comes right off once you drill out the spot welds. The one problem I ran into was sealing it back up, from the factory there is some sort of foam looking sealant between the panels. I used weld threw primer on the surfaces and once installed I used latex gloves and short paint brushes to reach inside the air ducts and smear brush on seam sealer to the seam "pain in the @%*. Another thing I did while I was at it that I'd suggest everyone doing is install some sort of screen over the water drains. That's where those critters get in, I bent some stainless expanded steal to fit over it and then just pop riveted it to the top. I know that it will not allow leaves to get out but my car will be in the garage most of the time where the critters do their damage, nothing ticks me off more than mice wreaking havoc on the interior. Keep up the good work

Thanks 747, do you pictures or what page it was on your thread that you did that. I just might have to re-read some threads to get an idea of what I need to to.
 
never had nests in the heater, Ohio mice seem to like the frame rails.
 
never had nests in the heater, Ohio mice seem to like the frame rails.

Yeah, have that problem to "man I hate those things". I'm not a big cat fan but I am seriously thinking of getting one for my garage.
 
never had nests in the heater, Ohio mice seem to like the frame rails.

I must be extremely lucky because my Michigan Charger had the frame rails and rockers stuffed. And they were just starting to work on the heater box.
 
Auto Transport Service
Back
Top