• When you click on links to various merchants on this site and make a purchase, this can result in this site earning a commission. Affiliate programs and affiliations include, but are not limited to, the eBay Partner Network.

What did you do to your Mopar today?

After a shitty two weeks with my dad still in the hospital, yesterday I took my 67 R/T to get steaks and a few bottles of wine for my mom, who stayed with us after going to the hospital, and got 3 compliments in the the parking lot. It's my first Mopar and I have only had the car for a few months, so it really made my day and made me smile. I really needed that!
 
Congrats....you'll get lots more. Non-car or non-mopar people, really gravitate to 66-67 b-bodies.
 
Removed my top dash pad and resprayed it with SEM Landau black. Looks brand new :D
It wasn't too hard to remove or reinstall since I'd already removed the instrument cluster, glove box and A/C-heater box. Can't imagine trying to remove it otherwise.
Great tip from the forums was to use tape to hold the speed nuts when reinstalling it.
 
Halfway there...

Int1_zpsiilh3vej.jpg

Dynaliner on dynamat.

Int2_zpsvdo26p2z.jpg

Carpet.

Int3_zpsoa9ft75e.jpg

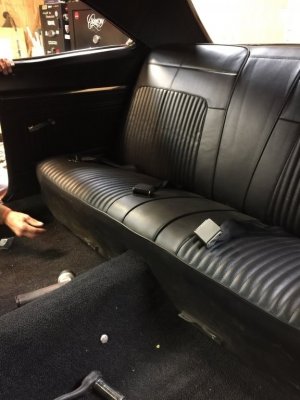
Getting the back seat in was a bitch and a half trying to get the frame on the hooks on the seat part.

Int4_zpsm6mieogy.jpg

Will try to get the front bench in sometime in the next week or two.
Just need to drill out the holes through the carpet and dynamat/liner for seat belts, bench and gas pedal.
 
Great work Larrry!!!
 
Finished installing the steering gear[Gotta do some paint-work on the column]. Now I have to wait on Strange Eng. calipers. As soon as I get those, it'll be a roller again.....I can get ready to install the engine.
 
After a long weekend helping friends move . . . oh am I sore . . . got to the shop to fight with this passenger rear quarter panel ( again ) . . .

sm_bodywork117.jpg


Little by little . . . I'm trying to get this thing zeroed in . . .
 
Love to see other people working and spending money on these old heaps, besides me.
 
Ordered Classic Auto Air A/C today.
 
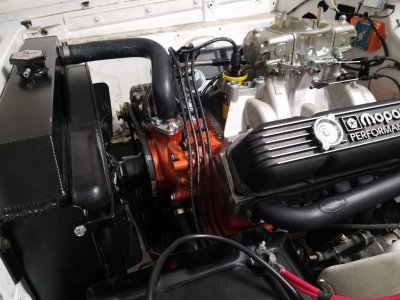
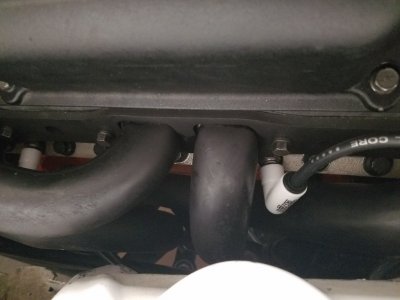
Installed a set of accel's cut-to-fit 90° ceramic boot wires (forgot what a PITA that can be..!) with some new autolite shorties, and rehabbed the engine wiring harness to work with electronic ign (was points)...

20170131_201225.jpg 20170131_201534.jpg 20170131_201645.jpg
 
Bench raced a little with my Digger Contractor. :lol: He has an '42 Army Willys Jeep
Here's another never seen before shot of my GTX in the racing days;
upload_2017-2-1_22-16-32.png

Photo credit: Al Porter, NZ Hot Rod Magazine - retired.
 
Love to see other people working and spending money on these old heaps, besides me.

Here's my night's progress of spending money ( and time ) on my car . . . making progress on getting this "bad" quarter panel in line . . .

Still got a couple low spots on the upper body line ( where I welded up the trim holes )

sm_bodywork118.jpg
'

And the lower body line is finally starting to shape up and look like I think it should . . .

sm_bodywork121.jpg
 
Keep at it. Looking better, but not ready for any paint, yet.

Just a suggestion....but use a guide coat, and you'll see where you really are.
 
Keep at it. Looking better, but not ready for any paint, yet.

Just a suggestion....but use a guide coat, and you'll see where you really are.

Thanks ! ! ! I am using a guide coat . . . after I put on the high build primer ( it's grey ) and I have a little left over, I add some base coat ( orange ) to it and shoot it on top of the high build primer . . .
and when I start to sand the panel, it does show the low spots . . .

Agreed . . . it's sure not ready, but it's so much better ( and closer ) than it was a couple days ago . . . I'm still learning this process, but it's starting to make some sense ( I hope ) . . .

sm_bodywork114.jpg


Suggestions are ALWAYS welcome . . . that's how I'll learn this stuff ( and I'm trying to do most of it myself too )
 
Auto Transport Service
Back
Top