carnalsupply
Well-Known Member
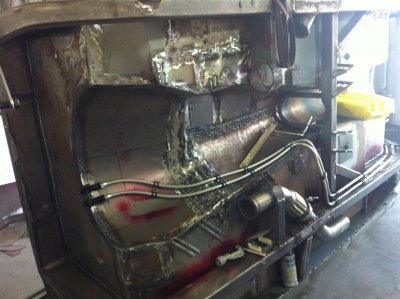
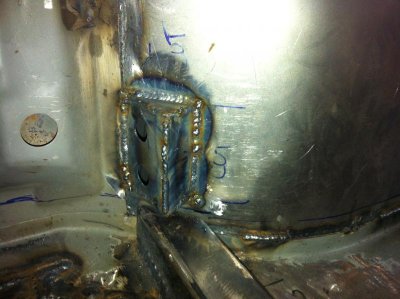
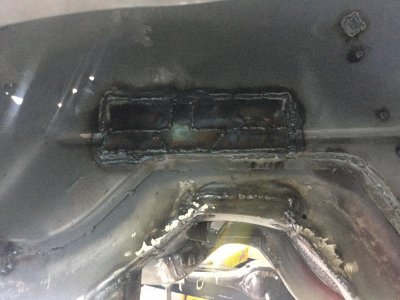
I finally got rid of the flu and I've been busy on the Fury so I got back to work on the Fury, fabbing up the trunk floor and areas around the wheel wells, then moved on to the bottom of the car where I cleaned up (read: ground down) any unsightly welds left over from my previous electrical issues. Once the grinding was done I was pleasantly surprised to see my original welds, albeit ugly, had made great penetration, but not wanting to have any weak joints I went back and re-welded them. What a difference when your power isn't fluctuating!
Once all the grinding and re-welding was completed I ran the 1/2" aluminum fuel line. It's the first time I've worked with aluminum tubing and there are definitely some pros and cons to it, but they're completed and I'm happy with the results.
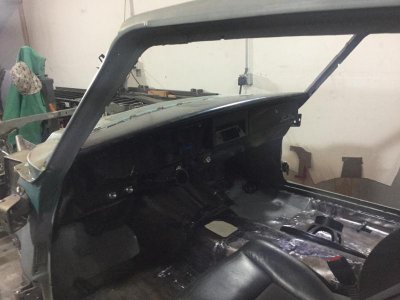
Next I'll be tackling the interior welds on the floor, cleaning up any unsightly ones, but since there will be carpet over most of them it shouldn't take me too long.
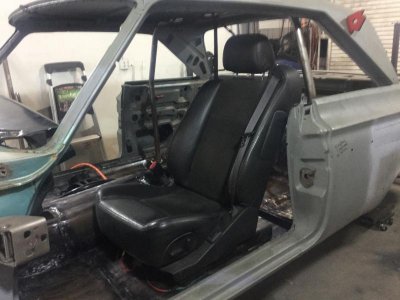
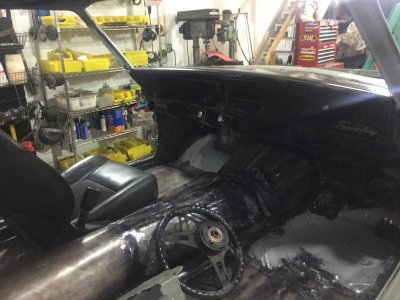
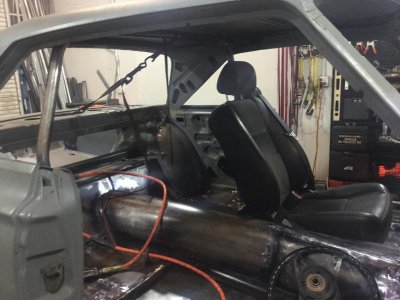
Here are some shots of what I've been up to:
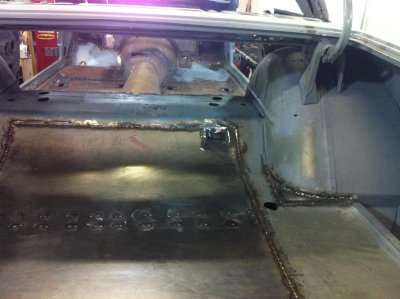
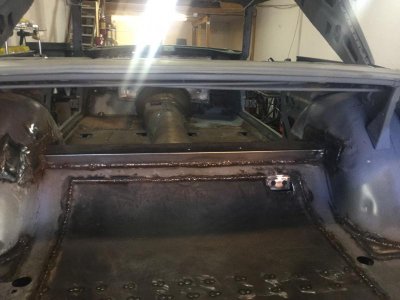
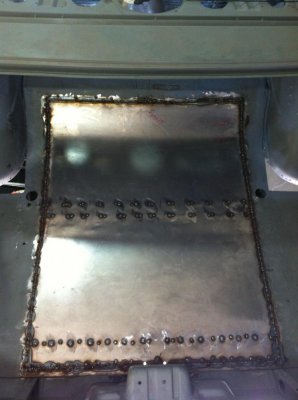
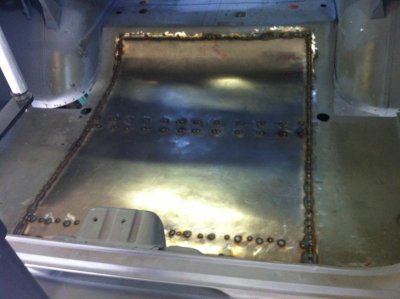
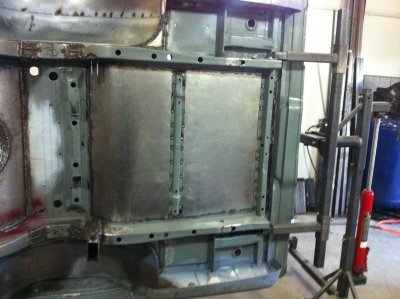
I pre-shaped and pre-bent the floor pan, which took a couple of hours of fitting, grinding, fitting, grinding (repeat, repeat) but in the end it was worth it because the piece fit pretty damn well (IMHO). I found that once I got the floor tacked into place at the two front corners I could make great progress by making one weld at a time, maybe 1/2 to 1 second at the most, connecting the new weld to the one I'd just previously done. The trick was to go quickly enough so the previous weld still had some heat in it and the new weld would easily puddle into the previous one, yet not create so much heat as to warp the metal. I would weld a couple of inches on each side, alternating from one side to the other and shaping the floor. The results worked out great, I am really pleased with how this method allowed me to fine tune the floor shape while minimizing any warping.
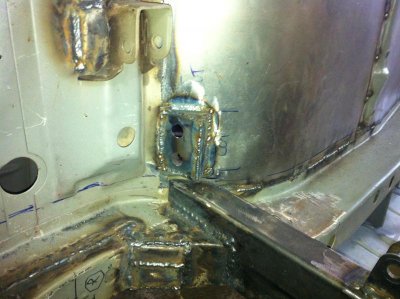
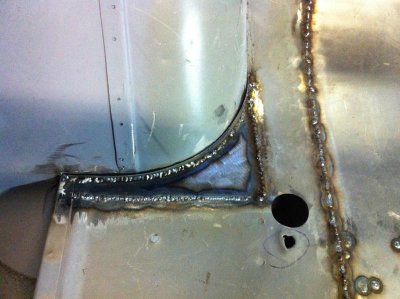
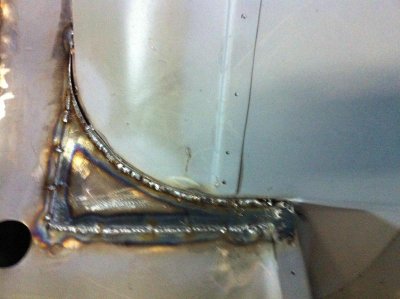
Next came the two filler pieces behind the wheel wells. These pieces had been cut out due to rot as well as the fact we moved the inner half of the wheel wells inward. All in all not terribly difficult to fab up and by using the same welding technique I used on the trunk floor the pieces are solidly in place and sealed up tight.
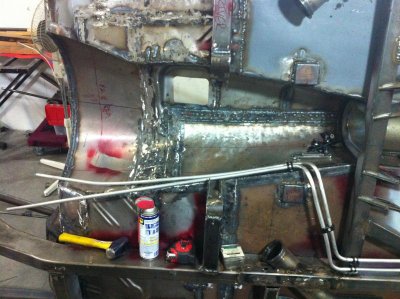
Next came the fuel lines, which you'd think would be easy to route, but with the truck-arm suspension and the side mounted exhaust there was precious little room to work with. Luckily there was some room along the passenger side frame rail and along the trans tunnel that gave me the room I needed while keeping the lines away from the spinning driveshaft.
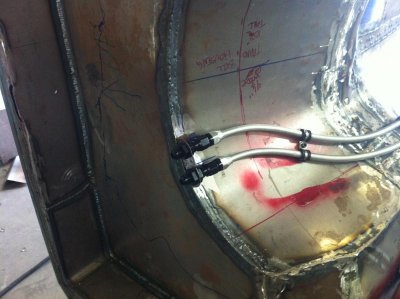
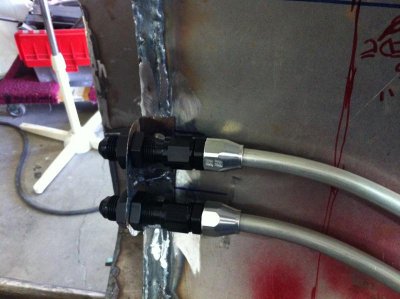
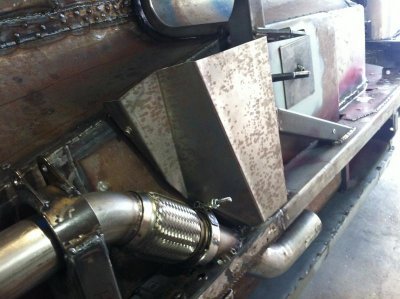
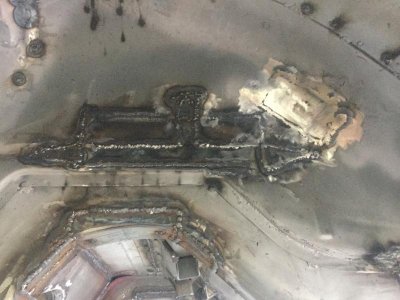
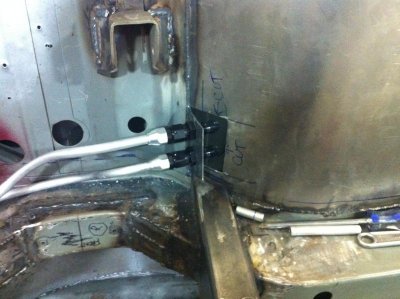
This first shot shows the bulkhead fitting where the lines will pass into the trunk. To eliminate a really acute angle for the fuel lines (both inside and outside the trunk) I decided to cut the trunk floor in 3 spots and fold the remaining flap forward. I'm going to box in the open areas which will have the added benefit of protecting the fittings on the inside of the trunk. Not that I expect to be carrying much in the trunk but I'd hate to have something crash around and snap off an aluminum fitting.
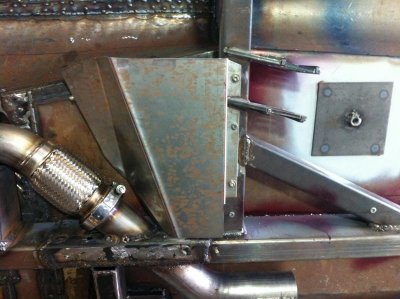
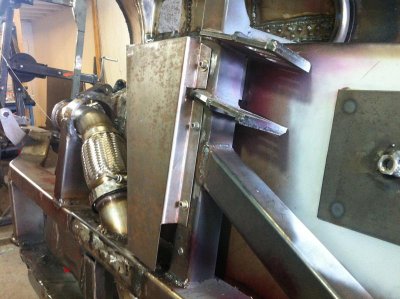
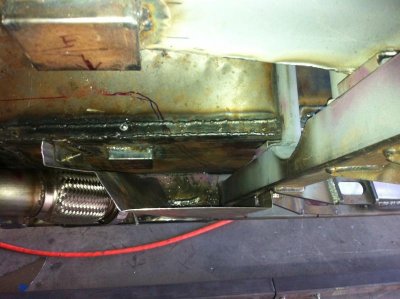
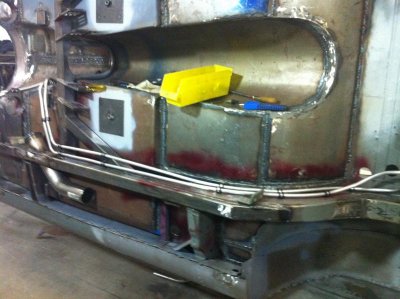
In the picture below you can see how the fuel line turns at almost 90 degrees towards the center of the car. Luckily the surface of the cross member the fuel lines are attached too (lower right corner of the picture) is lower than the bottom surface of the frame rail so the fuel lines are recessed up into the chassis; if the car was to bottom out the frame rail would hit while the fuel lines are safely protected. One thing I am going to add is a bolt on shield to cover this particular area of the fuel lines; with the lines running perpendicular to the direction of travel I am concerned something could pop up from the road and snag one or both, making for a real bad day. I also feel like the shield will help keep the heat of the exhaust away from the lines as well.
Thanks for keeping an eye on the Fury; it's back to grinding!


