• When you click on links to various merchants on this site and make a purchase, this can result in this site earning a commission. Affiliate programs and affiliations include, but are not limited to, the eBay Partner Network.

69 Coronet 440 project

Wow I somehow totally missed the post about you going back to work, congratulations!! And the metalwork is coming along nicely especially that tail panel. Judging by how that came out I say patch up the original package tray yourself!

And I do the exact same thing with doing at least a little work on the car to relax at the end of the day. Sure beats the hell out of yoga or a rock garden or something :icon_thumleft:

Thanks Speed, I really am considering patching the package tray instead of replacing it. I figure nobody is going to see it anyways.
 
It will look good seeing it or not if its as good as all the other you've already done! Do you have a set time/date to have this done or just enjoying the time turning it into your ride? Im curious thinking with all you've accomplished and as good as its turning out how long before you'll feel the need to do another once this is done!
 
It will look good seeing it or not if its as good as all the other you've already done! Do you have a set time/date to have this done or just enjoying the time turning it into your ride? Im curious thinking with all you've accomplished and as good as its turning out how long before you'll feel the need to do another once this is done!

Thanks for the encouragement Ron. I was figuring about 3 to 4 years for the rebuild on my Coronet with money being the biggest factor in its completion. I just want to get this one done before I even think about another one, but a 79 Dodge Magnum would be a fun build. I really love that car for some reason and I do have a 383 and a 400 block with nothing to do.
 
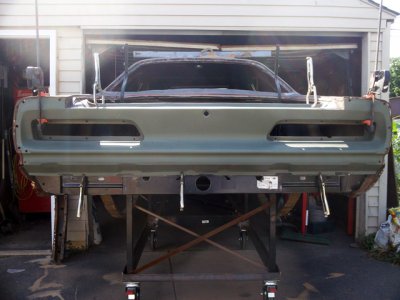
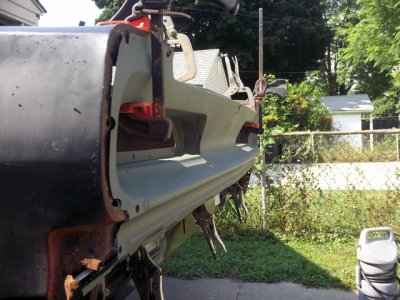
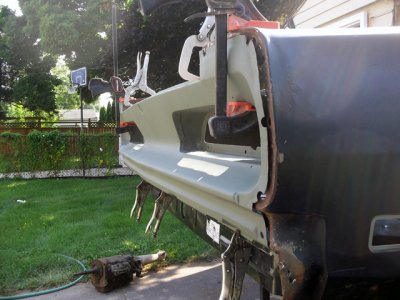
Well here is the tail light panel all roughed in. I'm going to screw it in place later on so it will align the quarters and the decklid. It's slow going but she's starting to have a nice rear end. :)

TailPanelPatch_L_End_19.jpg

TailPanelPatch_L_End_21.jpg

TailPanelPatch_L_End_20.jpg
 
excuse me sir,i did not know i have been talking to a fab pro?i will have you a sign made that says john's fabrication shop,great job,looks like you ate that panel up and spit it out, as in i told you so. nothing beats a failure,other than a try,keep up the work.
 
Great job on the tailpanel. Looks as good as new and probably fits better than any repop that is out there.
 
When i first seen these latest pictures, i wondered what happened to the panel you were fabbing up! Im serious as can be, i thought you gave in and AMD sent one! Fantastic looking!
 
When i first seen these latest pictures, i wondered what happened to the panel you were fabbing up! Im serious as can be, i thought you gave in and AMD sent one! Fantastic looking!

I agree. I don't think I could've done what you did with that tail panel. You have some very talented skills.
 
If he wouldn't have posted a comment i would have thought something went wrong with the one being repaired just looking at the pictures Roger :)
 
I know what you mean Ron. It looks like he primered over a brand new panel.
 
excuse me sir,i did not know i have been talking to a fab pro?i will have you a sign made that says john's fabrication shop,great job,looks like you ate that panel up and spit it out, as in i told you so. nothing beats a failure,other than a try,keep up the work.

Well Johnny, when you're right you're right! This tail panel turned out better than I first thought it would. I'll hang that sign over my garage door LOL.

- - - Updated - - -

Great job on the tailpanel. Looks as good as new and probably fits better than any repop that is out there.

Thanks for your comments. It does fit really well after I had to fix my mistakes.

- - - Updated - - -

When i first seen these latest pictures, i wondered what happened to the panel you were fabbing up! Im serious as can be, i thought you gave in and AMD sent one! Fantastic looking!

Oh believe me Ron it is the same tail panel that I started with. If you could see the other side you would know for sure. All the welds are still on that side. Thanks :)

- - - Updated - - -

I agree. I don't think I could've done what you did with that tail panel. You have some very talented skills.

Thanks Roger, I'm still going with Dumb Luck right now lol.
 
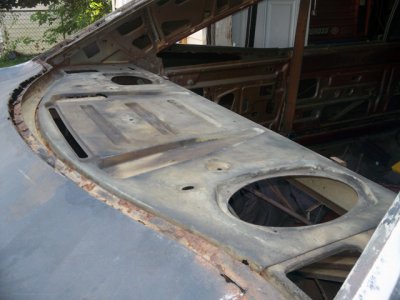
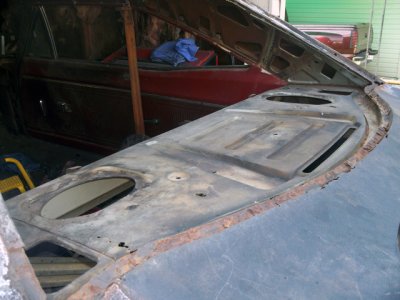
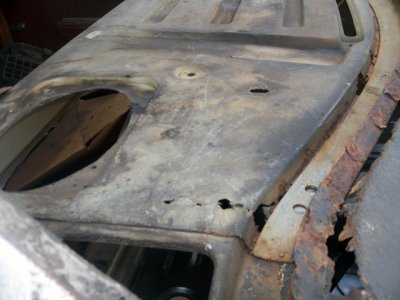
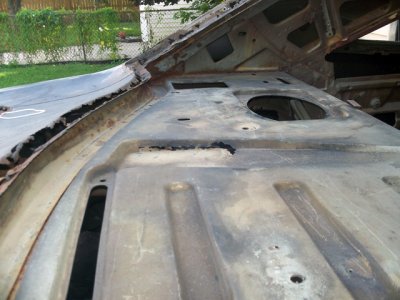
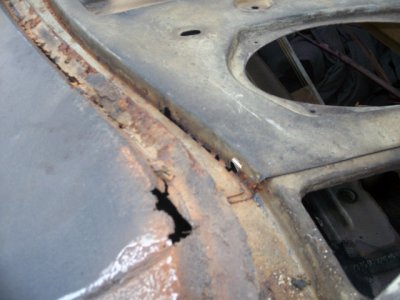
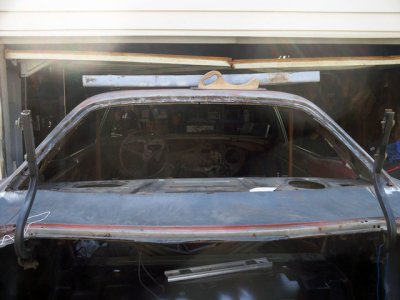
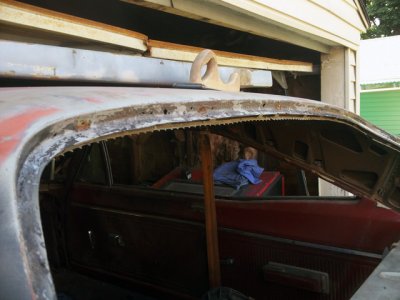
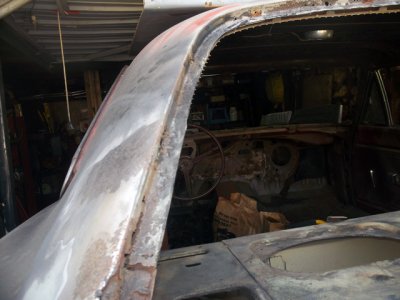
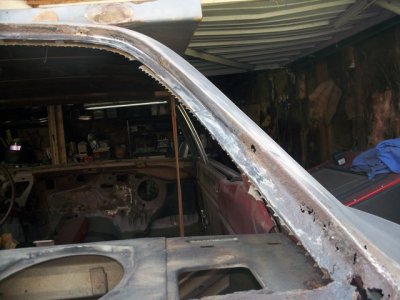
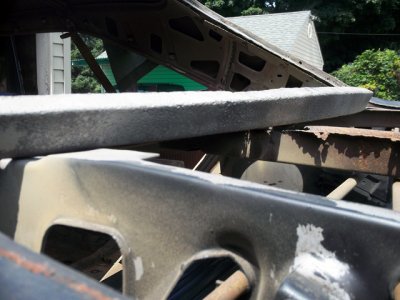
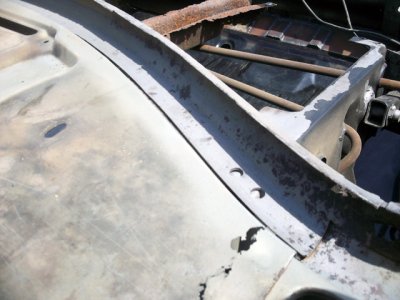
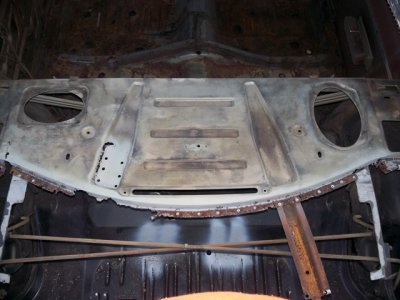
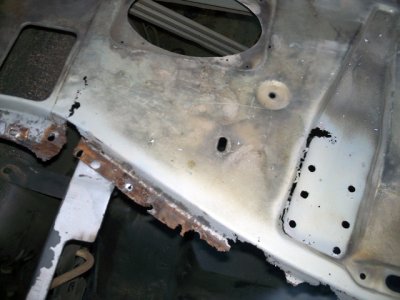
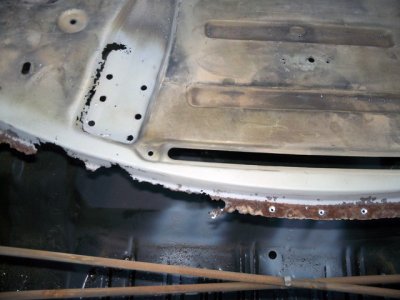
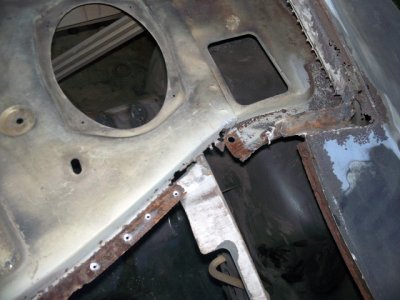
Here's the next piece I'll be concentrating on. The package tray will need a lot of cleanup before I can even try to patch it back together. It looks like I'm also going to have to fix the rear window channel. I did some spot blasting on the rear window and it's mostly rust. I'm definitely not looking forward to finding a doner roof section if it comes to that.

PackageTray_02.jpg

PackageTray_03.jpg

PackageTray_04.jpg

PackageTray_05.jpg

PackageTray_06.jpg

Here's my window channel.

RearWindowChannel_01.jpg

RearWindowChannel_02.jpg

RearWindowChannel_03.jpg

RearWindowChannel_04.jpg

It's just the next piece of the puzzle. :)
 
your doing great with that puzzle too....
 
Looks like a healthy amount of work, but i'm sure you'll do a great job. You're determined and that's half the battle. Obviously your fab skills are all falling in place to make such a feat happen. Not too far down the road, I'm sure you'll be looking back at your roof/deck filler as another notch in your belt. Looking good!
 
Looks like a healthy amount of work, but i'm sure you'll do a great job. You're determined and that's half the battle. Obviously your fab skills are all falling in place to make such a feat happen. Not too far down the road, I'm sure you'll be looking back at your roof/deck filler as another notch in your belt. Looking good!

Thanks Prop, I really am looking at the Coronet as only one section at a time. I got the trunk area done. Now I'm going to work up the middle with the rear window area. Then I'll go to the quarter areas. It's not overwhelming looking at it this way. I know the car needs a lot of work but I don't care about that. I care about this area. Now I care about this area, and so on and so on. Your right, I am determined to see this through, just check out me signature line, it says it all. The notch in my belt thing may be more true than you know. I've been loosing weight now that I'm working on the Coronet. It's an automotive weight watchers plan. lol
 
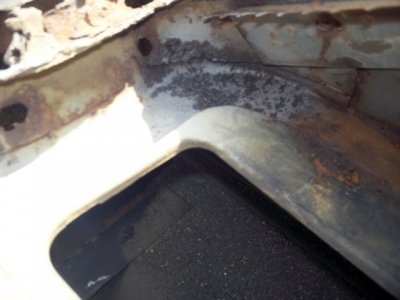
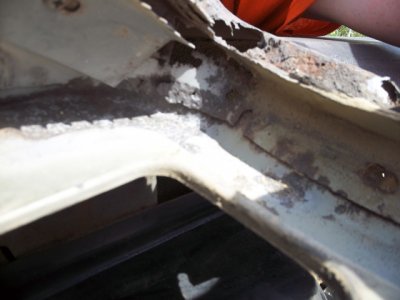
Continuing on with the rust removal I got the deck filler panel removed. Not that it was hard to remove, it was barely held in place by the rust holes. I removed all traces of the filler panel from the bottom window channel and sand blasted the channel. I wanted to see what I was working with. It's very rust pitted and has a few pin holes in it. I'm not sure if I should just replace the channel or not. My thinking is that if this piece isn't right than the window won't sit in properly. In the back of my mind I know that moparmarks has a package tray from a 69 Coronet that has this window channel, bottom struts and the side pieces to the package tray. I could just replace everything in one fell swoop and be done with it. I could also fix the package tray and replace the channel with a new one. Sometimes I really hate these decisions.

RearWindowChannel_05.jpg

RearWindowChannel_06.jpg

PackageTray_LeftCorner.jpg

PackageTray_RightCorner.jpg

Calgon take me away!!! LOL
 
Ok, got the window channel removed and I'm going to replace it. This part has to be right. After the channel was removed my original assessment is still valid. I'm going to repair my package tray. It's not as bad as it looks. I'm also wondering if I could find another junk package tray where the speaker hole is good and graft it to the other side so it would have 2 6x9 speaker holes instead of one.

PackageTray_07.jpg

PackageTray_08.jpg

PackageTray_09.jpg

PackageTray_10.jpg

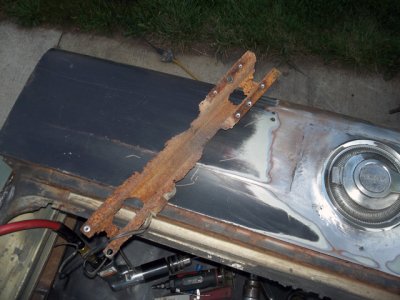
Here's a shot of the left package tray strut. I'd say it's a little too far gone to fix. This poor car had a hard life. :eek:lder OS:

PackageTray_LeftStrut.jpg
 
Hey BB61, I've got a rear package tray that came from a 3rd gen charger. not sure if they are the same but I can cut out whatever you need for yours. rear speaker holes, rear defrost area. We can call it an even trade for the p/u fender arch.
 
May have had a hard life but you sure are giving it a new lease on life! Good luck with making two speakers available for a sound system!
 
Auto Transport Service
Back
Top