Today's progress and another "How to" description..........
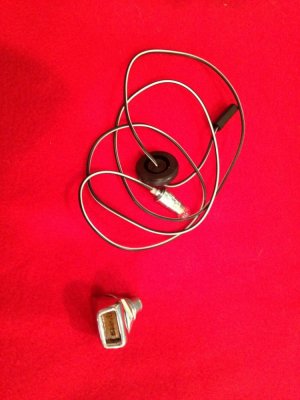
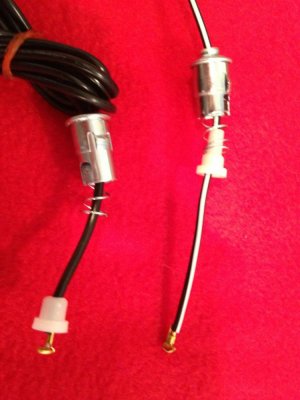
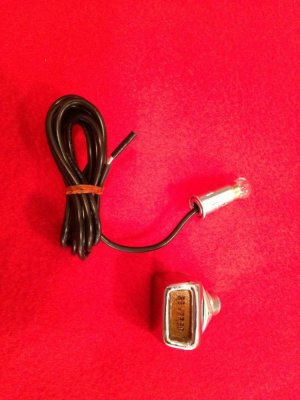
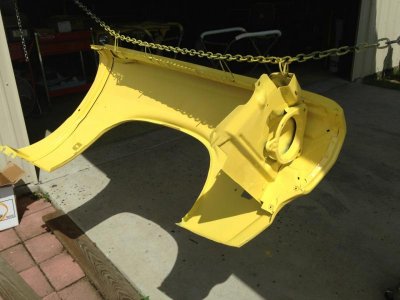
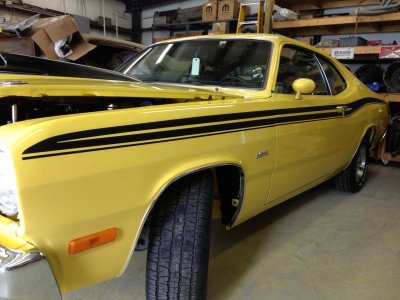
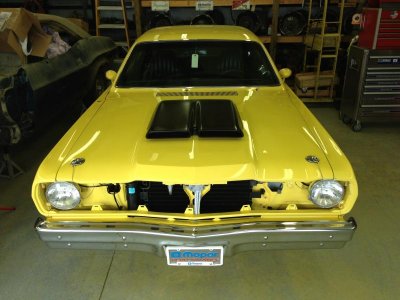
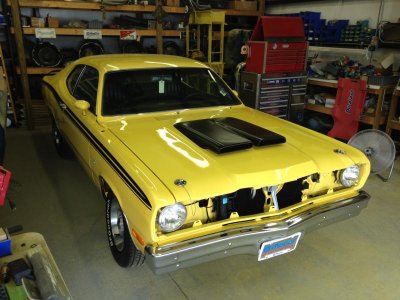
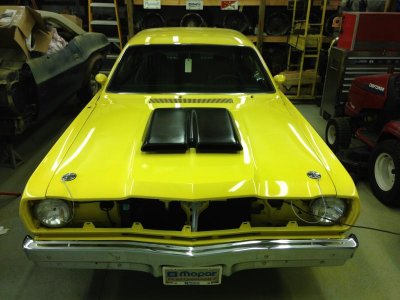
Today was another very productive day on the Duster. I was able to wet sand the driver side fender and buff it. Then I "hung" it in position, but did not do the final alignment on it just yet. It's fairly close though. The "DUSTER" emblem, front side clearance light, front inner splash shield, and wheel opening molding have been installed as well.
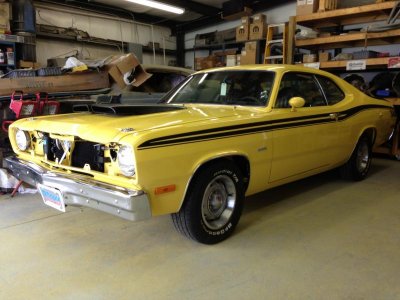
Then I had the wife help me install the front bumper. She is really helpful.
But we ran into a major problem........
I initially planned on installing a set of bumpers front and rear from a 1972 model year car, because they look much more streamlined, and don't have the HUGE 5 MPH impact bumper guards.
So I purchased a complete set with new brackets from AMD. They bolted on perfectly on the rear set. The front set bolted on just as nice when the front fenders and lower grill surround were not installed.
However, when these items were in place, the grill comes out to a point in the center, which hit the back side of the front bumper and would not allow me to install the new one on the front.
.......... So out came the original bumper that I had previously cleaned and painted the brackets on. It's OK for a driver, but it's not show quality. If you look close you can see where I removed those UGLY impact guards.
I have another front bumper that I can send out for re-chroming. At least the new owner can drive the car while this is being done.
Live and learn......................................
I'm glad the misses was there to help me. I couldn't have done the front bumper install with out her help. She was another set of eyes and hands to help me keep from chipping the new paint.
Follow below for a quick how to with wet sanding and buffing paint..........
- - - Updated - - -
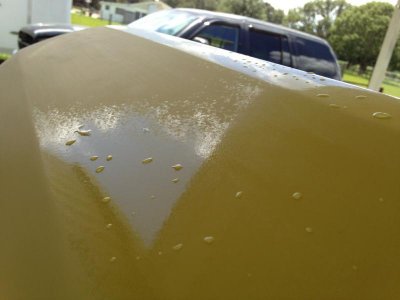
Start out by making sure the paint is clean and free from dirt. Give it a good bath using dish washing soap to strip off all wax. Then using a sanding block or a paint stick if your "old school", start sanding with 600 grit wet or dry paper. (You can use 400 grit paper to tackle any runs if you have any). This photo shows how the orange peel will show once you start sanding. Once you have the surface where no more shining paint is visible, you are ready for the next step.............
- - - Updated - - -
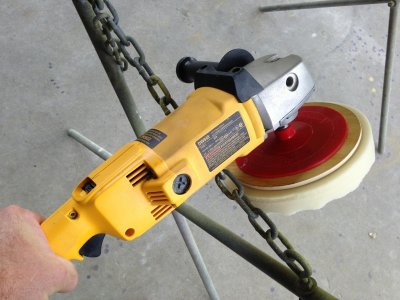
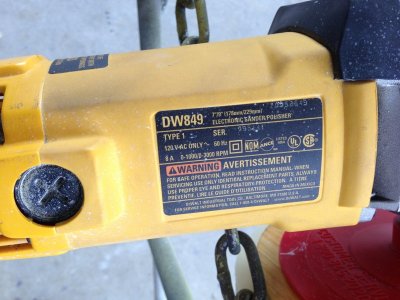
I use a Dewalt variable speed buffer turned all the way down to it's lowest setting to help prevent burning the paint. Even so you still have to be careful along the edges.
- - - Updated - - -
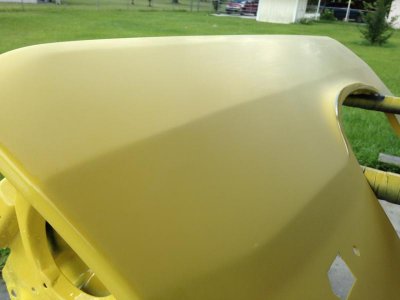
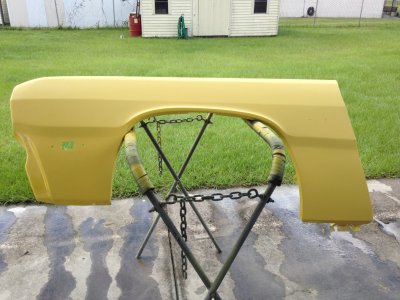
This is how your paint should look after the first round of wet sanding. It should have a very nice / even finish and be flat without shine. However if you look at it from an angle you will be amazed at how much clearer the finish looks in the reflection.
- - - Updated - - -
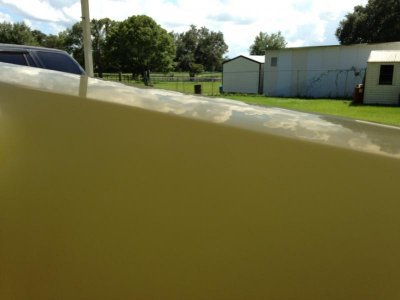
This is how the reflection should look even at 600 grit. Notice how clear everything is now in the actual reflection. Buffing will really make this pop later.
- - - Updated - - -
- - - Updated - - -
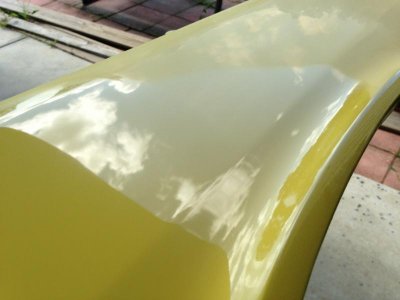
Next I buff the clear using a foam buffing pad an 3M "Perfect It" compound. This is followed by another round of wet sanding at either 1200 or 1500 grit wet or dry paper.
This buffing step is not really necessary, but it makes it a whole lot easier to see where you have sanded and where you have not.
- - - Updated - - -
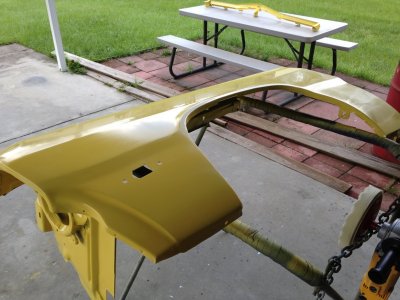
This is how things will look after buffing at 600 grit sanding. Things are not all that shiny just yet, but they are really smooth. That's what you want. Shiny will come later after finer sanding is done......
- - - Updated - - -
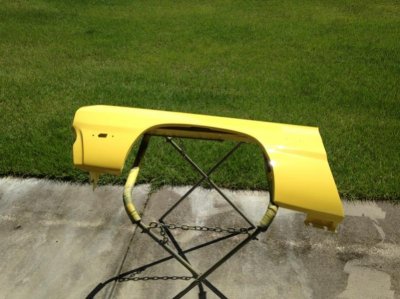
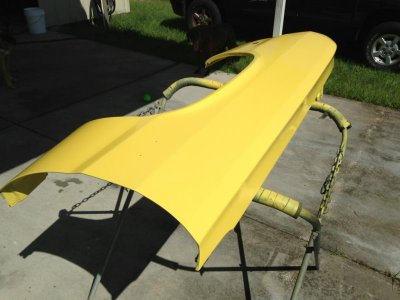
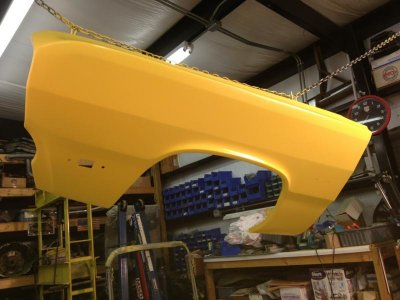
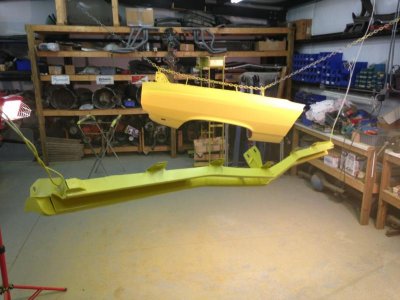
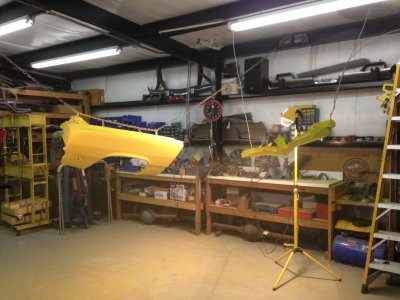
This is how things look after another round of wet sanding followed by buffing. This is at 1200 grit paper here.
- - - Updated - - -
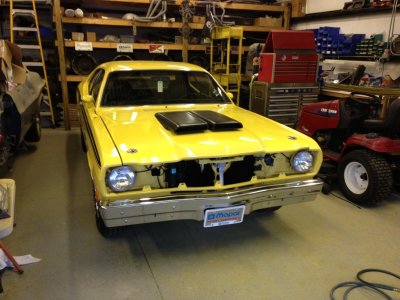
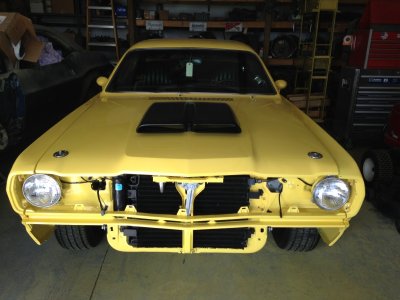
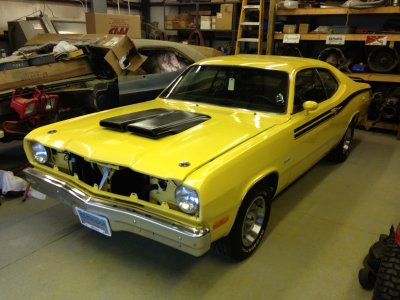
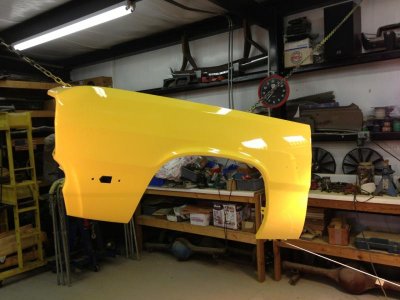
This is the end result after a final wet sand and buff at 2000 grit. It's a lot of work, but it gets progressively easier at each step. You will be able to feel the sandpaper drag a little when it's right. Just be careful around edges and sharp corners. I try to avoid sanding these areas if at all possible, because you can break through very easy and ruin everything you have done.
- - - Updated - - -
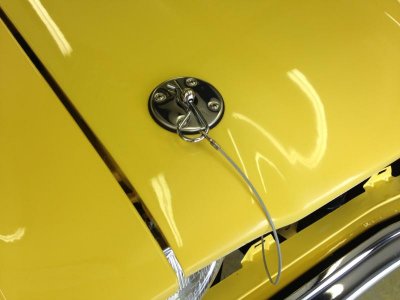
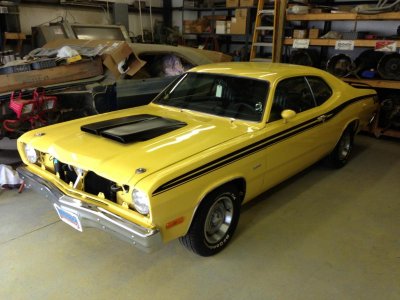
This is where we are at now...........
I still have to finish the final alignment on the driver side fender and install the side stripe. Hopefully tomorrow this will get done. Then I have a small punch list of little things to do, like , clean / paint / install the grill, bleed the brakes, charge the A/C, check wiring, etc.
Hopefully soon I will fire her up and trailer it to get the front end alignment done. Then we will be off and running with the next project.......
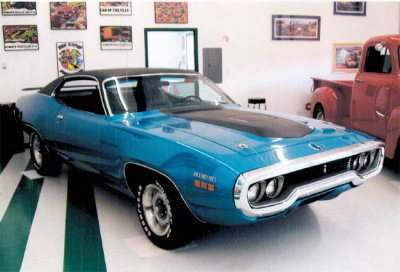
The 1971 Road Runner !!!!!!!!!
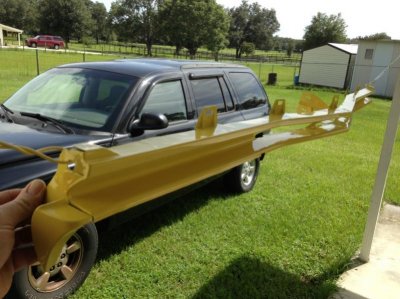


 This is how things look after another round of wet sanding followed by buffing. This is at 1200 grit paper here.


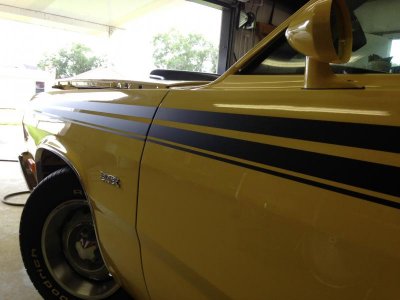
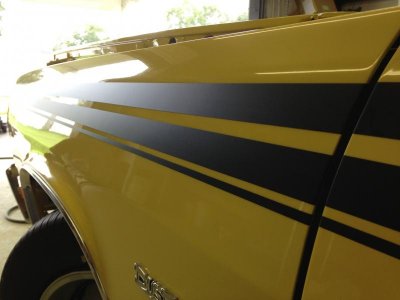
 and I can't wait.........