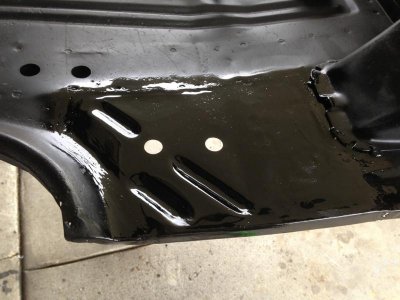
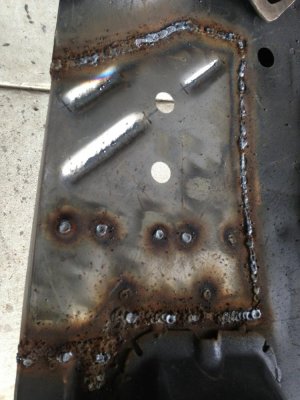
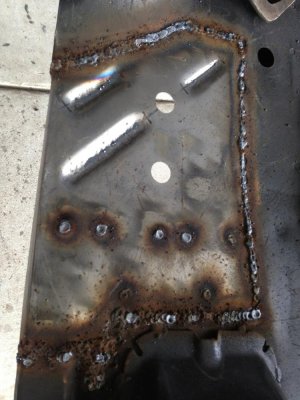
Sheet Metal Fabrication Started Today
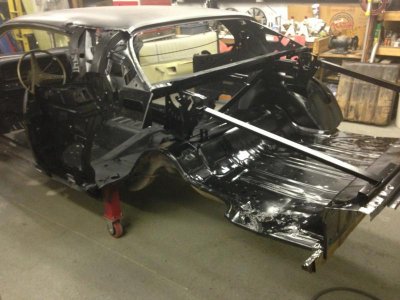
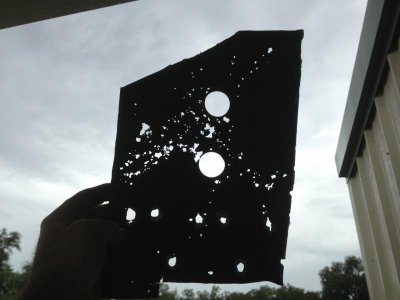
Following the blasting of the interior section of the trunk floor, I really saw the real condition the trunk floor on the driver side. To sum it up in a few words, I'd call it Swiss Cheese...............
In a perfect world, I would replace the whole trunk floor. But I don't have a jig set up to hold everything in proper alignment. I have cut away as much as I dare to, without getting things out of shape. So what this means is I have to cut out and patch the bad spot. Lucky for me, it's all located in one spot.
- - - Updated - - -
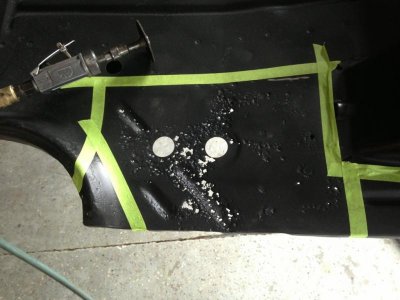 - - - Updated - - -
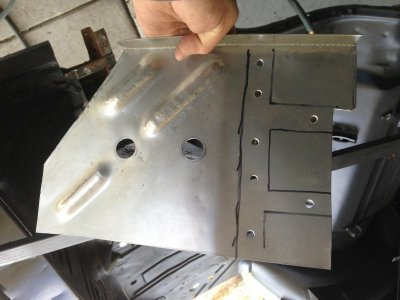
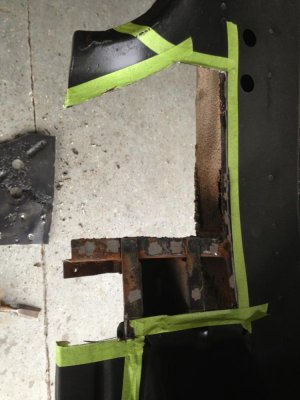
So I studied how the area was connected to the rest of the car, and marked it out for cutting. I tried to locate the cuts along the frame rail, where there will be more metal to weld to. On the back cut, it will be covered with seam sealer, so this repair will hopefully be hardly noticeable.
- - - Updated - - -
 - - - Updated - - -
 - - - Updated - - -
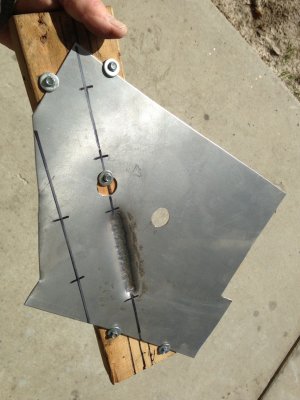
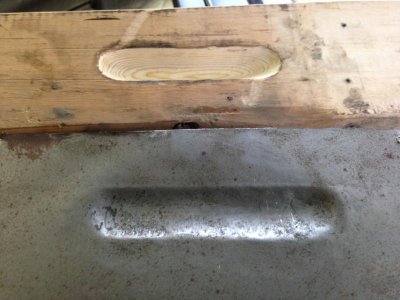
Then I made a wooden form that will allow me to hammer in the rolled reinforcement channels that were on the original part.
- - - Updated - - -
 - - - Updated - - -
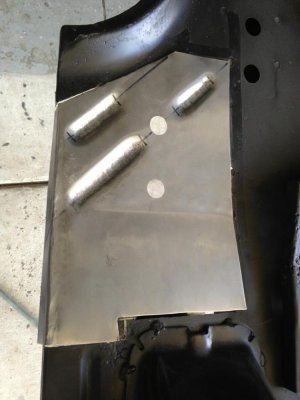
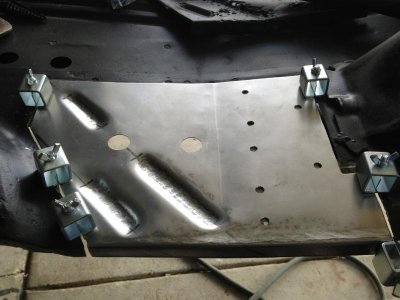
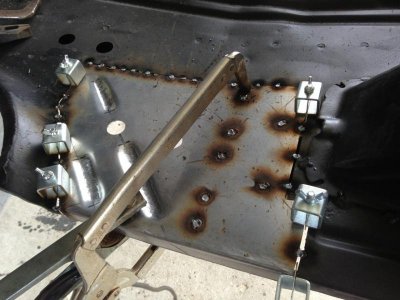
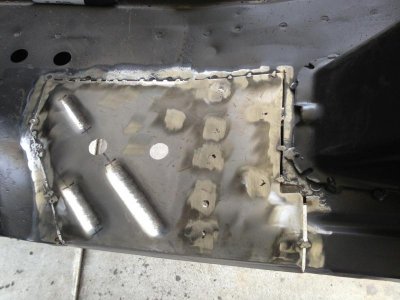
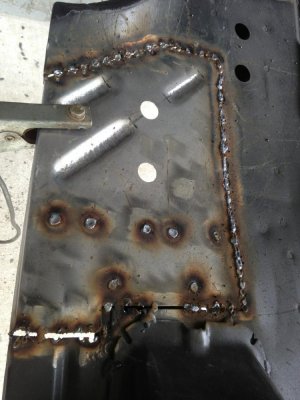
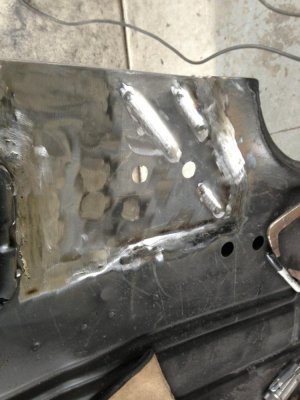
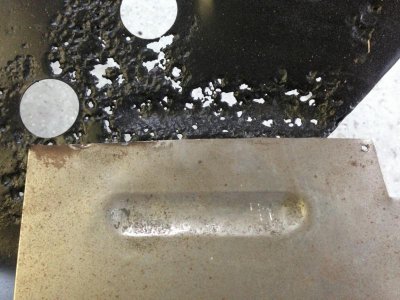
This was a practice run to see how it would turn out. With a little more finessing, I think I can get it very close. At the worst, I can use a little body filler to make it look right. The good part is that all of the rust is now gone...............
- - - Updated - - -
 - - - Updated - - -
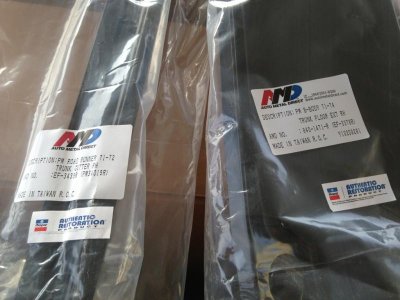
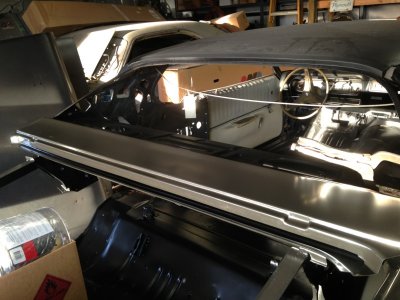
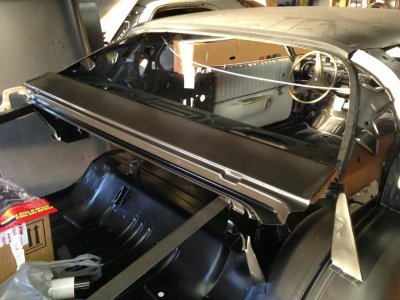
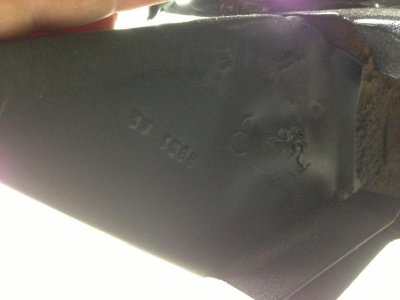
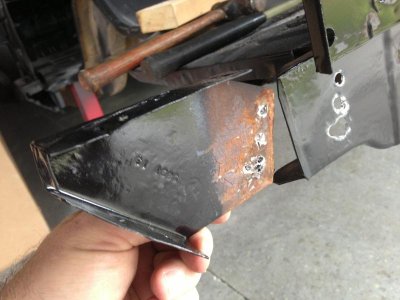
When I was test fitting the trunk floor extensions, I noticed that the original end support brackets kept the part from sitting nice and flush against the trunk floor. Also after I blasted the floor, I saw that the passenger side one had a little rust. So I cut them off.
- - - Updated - - -
 - - - Updated - - -
It's not the best picture, but if you look close, you can see where the rust is. Its about a half dollar in diameter.
- - - Updated - - -
 - - - Updated - - -
So I cut the parts off both sides. This will allow me to stop the rust, and make for a much better fit with the new parts.
- - - Updated - - -
 - - - Updated - - -
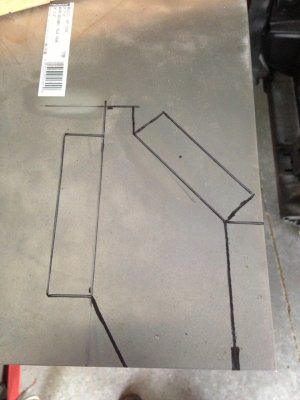
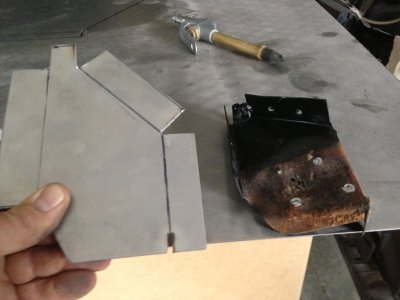
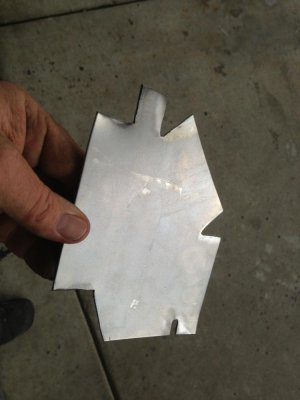
I used the originals to make a pattern.
- - - Updated - - -
The parts use the same dimensions, they are just reversed in how they are bent.
- - - Updated - - -
 - - - Updated - - -
 - - - Updated - - -
So I made two of these...............
- - - Updated - - -
 - - - Updated - - -
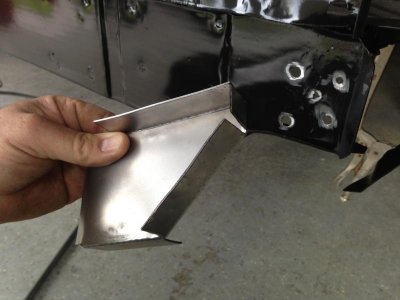
And bent them in shape. (just opposites of each other) I used my 6 inch bench vise and pliers to make the bends. The corners were "tightened up" a little with al little persuasion from a hammer.
- - - Updated - - -
 - - - Updated - - -
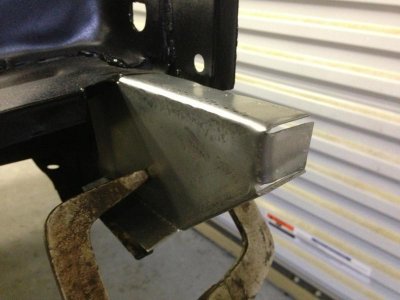
Here is the driver side test fitted in position.
- - - Updated - - -
 - - - Updated - - -
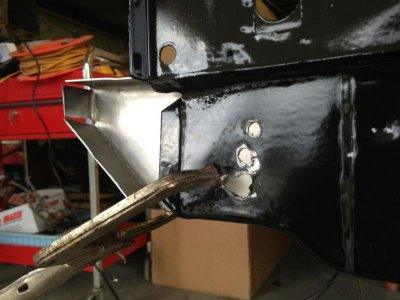
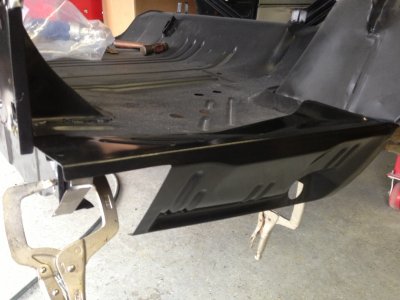
This is the passenger side. By replacing these parts I now have an almost "ZERO" gap between the trunk floor extensions and the actual trunk floor.
- - - Updated - - -
Now I just need to glass bead them, followed by paint, and they will be ready to weld in place.
- - - Updated - - -
Hopefully tomorrow I can get started on making a new patch panel for the section I cut out from the trunk floor.
Stay Tuned !!!!!!!!!!!!!!!!
and have a good evening.

