• When you click on links to various merchants on this site and make a purchase, this can result in this site earning a commission. Affiliate programs and affiliations include, but are not limited to, the eBay Partner Network.

71 Road Runner Restoration Started

Mirror Disassembly 101

image.jpgThese photos show the process and common mistakes made when disassembling your Rally style mirrors. I'm sure there are other ways to do it, so if you have any info please chime in.

Im starting out with a mirror set that came from a 75-78 B Body.

- - - Updated - - -
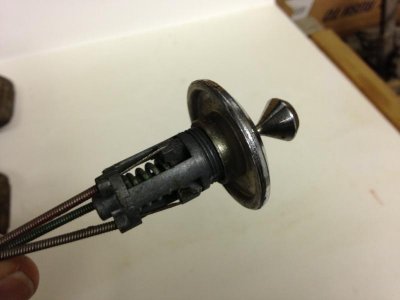
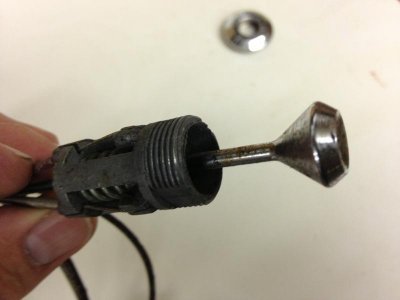
image.jpgimage.jpgStart out by removing the round trim bezel that secures the remote interior handle tight against the door panel.

- - - Updated - - -
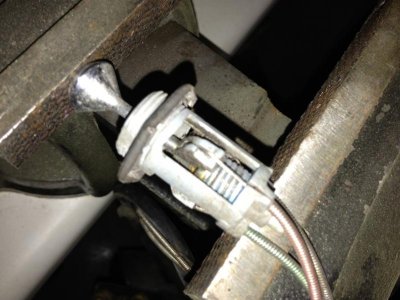
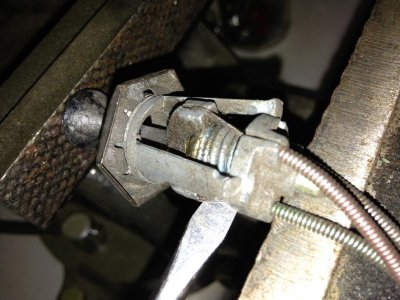
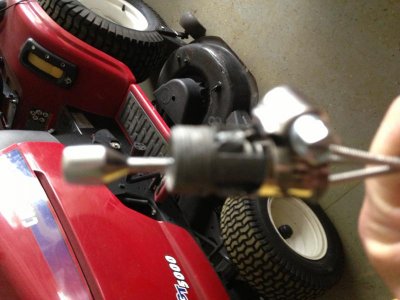
image.jpgPlace the remote assembly control lever end in a vice and compress the spring.

- - - Updated - - -
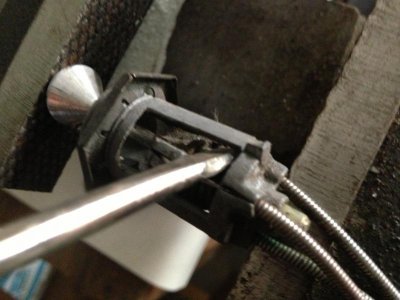
image.jpgimage.jpgVERY GENTLY take a screw driver and pry the 3 prong retainer away from the assembly. If your not extremely careful this part will snap off because it is only cast "pot metal" which is junk at best.

Only pry it as far as you have to and no more.

- - - Updated - - -
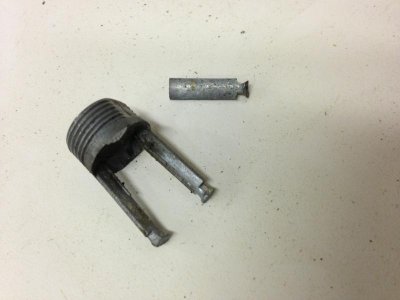
image.jpgHere is where you can mess things up quickly. If you go too far or if your unlucky, one of the tabs will break off.

- - - Updated - - -
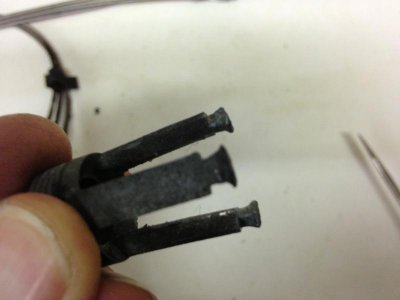
image.jpgThis is what you want to end up with.


Sometimes even if you are very careful the part can still break unexpectedly.

- - - Updated - - -

This part is indexed with one of the tabs wider than the other 2 prongs.

- - - Updated - - -

Remember this when you reassembly the parts. I have the widest prong shown centered in the photo.

- - - Updated - - -
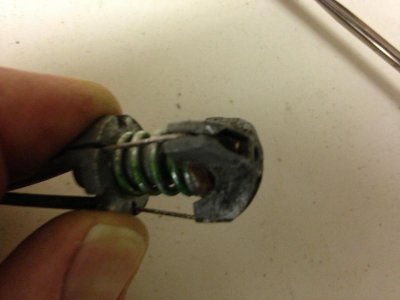
image.jpgOnce this critical step is finished, unscrew the interior control knob. You may have to hold the adjuster cable end head with a set of pliers while you initially break the control knob loose.

Then start prying the area open that secures the remote control cables to the adjuster head.

- - - Updated - - -

Once the areas where the adjusting cables were crimped into position is opened up, simply remove the individual cables from the assembly.

- - - Updated - - -

This will leave you with the spring and spring guide separated from the assembly.
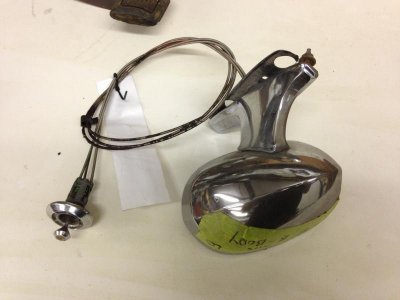
 
Went through similar process with my 73 Drivers side mirror, except I spread out the parts where the wire connectors are crimped in the assembly, and thank goodness for JB-Weld, as I was able to use that to secure the wires back on the crimp in the assembly. good post!
 
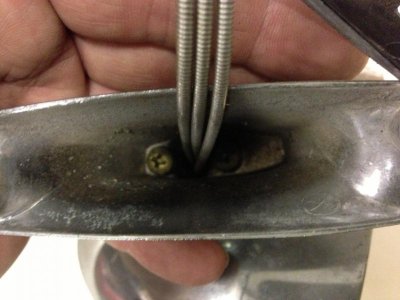
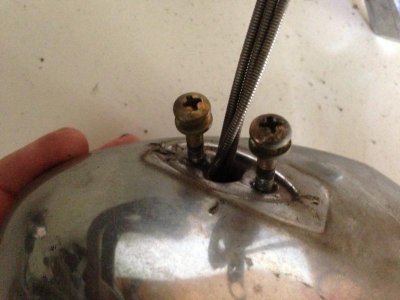
image.jpgimage.jpgNow focus on the actual mirror head.

Depending on what style mirror you are working on depends on the next step.

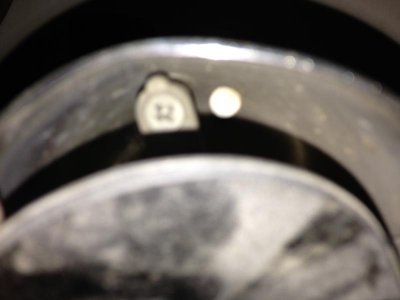
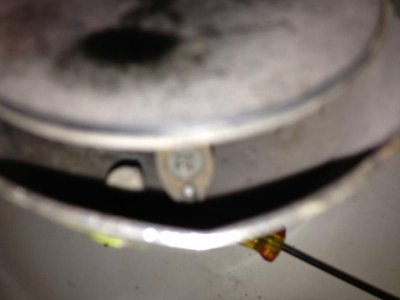
I have found that most B Body and 71-74 E Body mirrors will have 2 screws that need to be removed in order to pull the cables out of the mounting pedestal. One will be on each side. You will have to push / rotate the mirror against the stops on each side in order to gain access to these screws.

- - - Updated - - -

image.jpgimage.jpgRemove these 2 screws and set them aside.

Now turn the mounting base over and there will be either a single screw or 2 screws holding the mirror mounting base to the mirror head.

Once you have removed these screws you can slide the cables through the mounting base and remove the base from the mirror assembly.

then you can pull the adjustable mirror head from the mirror assembly and pull the cables from the assembly.
Now you have the bare parts so that you can clean and paint the bare parts.

- - - Updated - - -

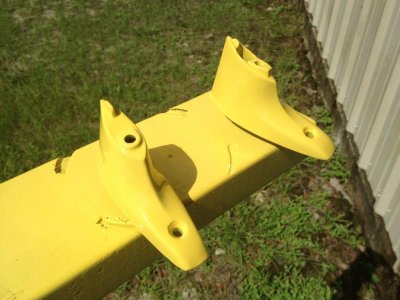
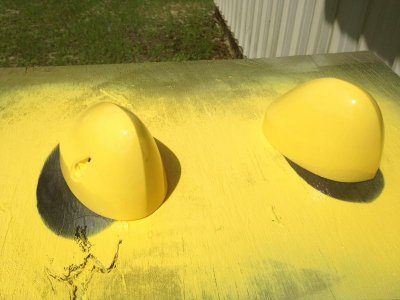
image.jpgimage.jpg

This is what you should end up with when finished.

Reassemble in reverse order.

most Chrysler product mirrors are very similar in design. The 1970 E & A Body mirror heads do not have any screws that hold the mirror head into the housing.

- - - Updated - - -

image.jpgView attachment 129041

If you happen to break the 3 pronged retainer clip you may be able to salvage it depending on clearance inside the door.

If you have to go this route make sure you pass the adjuster end through the hole in the door before you clamp it. Otherwise it will not fit through the opening.

Also make sure the clamp is not too close to the adjusting end because it will limit cable travel.

Im sure there are other better ways to do this.

This has worked for me in the past, and I hope it will work for you too.

Just be very careful during reassembly.

If you have anything to add or have a different method please feel free to add it here. That way we can all benefit.
 
wow very detailed mirror project, nice job
 
Steering Wheel Suggestions

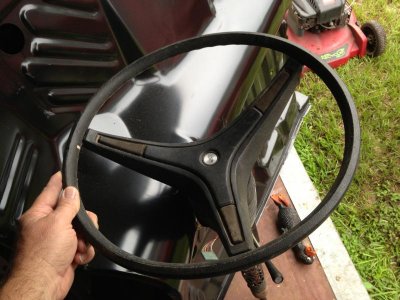
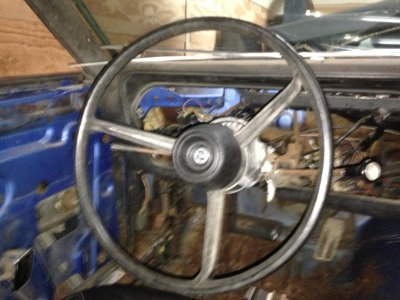
image.jpgimage.jpgAny feedback on the steering wheel???? I'm leaning towards installing the deluxe 3 spoke that I had in storage.... The second picture shows the one the car came with from the factory.
 
Nice write up! Thanks. I'd go with choice A on the steering wheel as well. Maybe insert a RR horn button in there.
 
Nice write up! Thanks. I'd go with choice A on the steering wheel as well. Maybe insert a RR horn button in there.

I agree with Will although the insert looks pretty small in that photo. Is it the same size a 68-70 style inserts? If so I'd do that
 
Road Runner Steering Wheel

I agree with Will although the insert looks pretty small in that photo. Is it the same size a 68-70 style inserts? If so I'd do that

Thanks for the replies. Again you all confirmed what I was thinking. I will go with the deluxe 3 spoke wheel.

Performance Car Graphics in FL makes a new RR emblem for the center of the steering wheel correct for my year. You have to reuse the original emblem backing though.

Before I buy one I will check with a supporter of FBBO Phoenix Graphics to see if they offer one too.

My car takes one that is a little smaller in size that the earlier 68-70 ones. Both of the wheels for my car take the same center emblem, so I will have to get one either way.

- - - Updated - - -

I was able to score a limiting cable for the console door on EBay. I then ordered a new set of interior and exterior door handles. Hopefully these parts will arrive tomorrow. When they do I'll snap some photos and post them.
 
New Parts Came in / Progress on RR

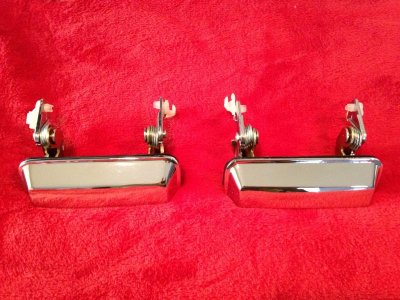
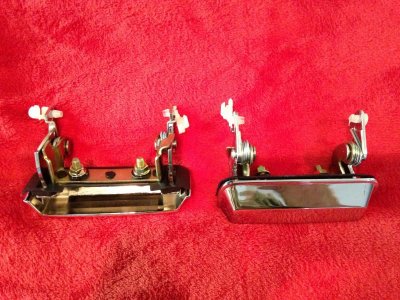
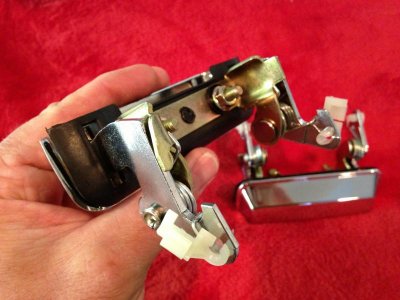
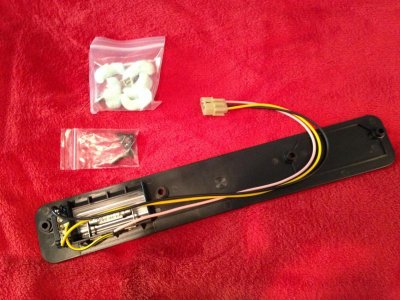
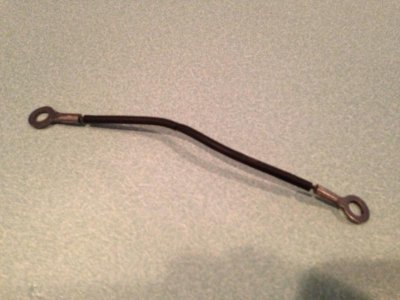
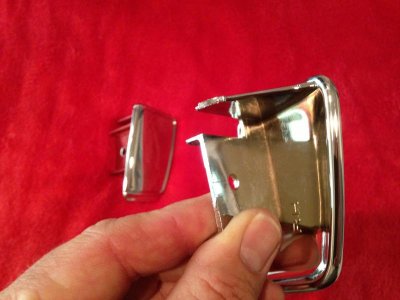
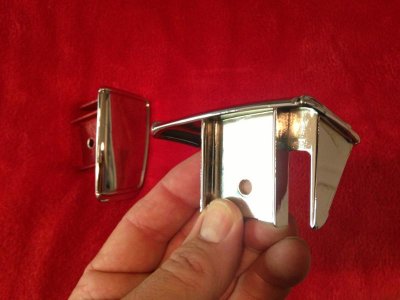
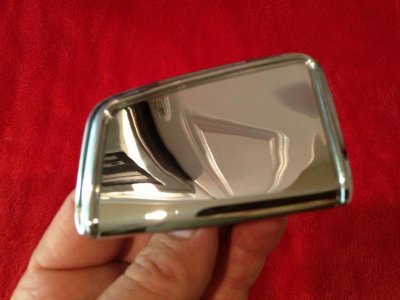
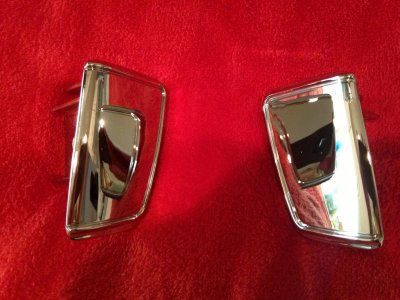
Today several new parts arrived. New Exterior Door Handles, Interior Dash Map Light, and an original strap for the console door. :headbang:

- - - Updated - - -

image.jpgimage.jpgimage.jpg

I used a red piece of fabric for a background to show how nice the chrome looks.

- - - Updated - - -

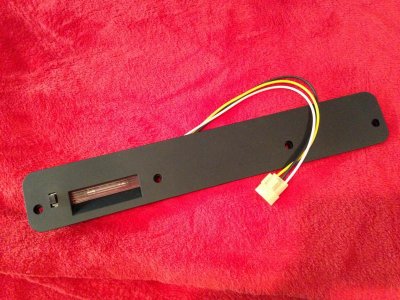
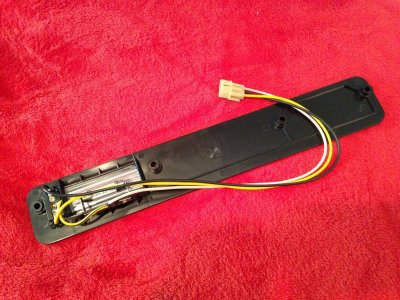
Here are some pictures of the dash map light........

- - - Updated - - -

image.jpgimage.jpgimage.jpgThe dash light comes with a LED bulb installed, and they shipped an original style bulb with it along with new mounting screws for the assembly.
 
Thanks for the replies. Again you all confirmed what I was thinking. I will go with the deluxe 3 spoke wheel.

Performance Car Graphics in FL makes a new RR emblem for the center of the steering wheel correct for my year. You have to reuse the original emblem backing though.

That should look really cool and 'trick' to use some 70's phraseology
 
image.jpgThe light assembly also has a spot marked out for a rear seat fader knob if you want to install one.

Here is a picture of the console door strap.

Stand by for some pictures of the completed head light assembly....

- - - Updated - - -

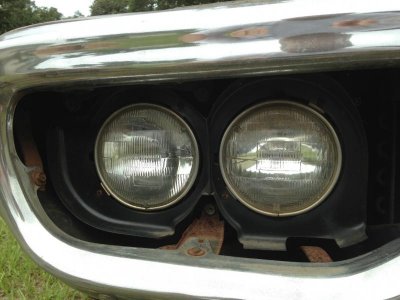
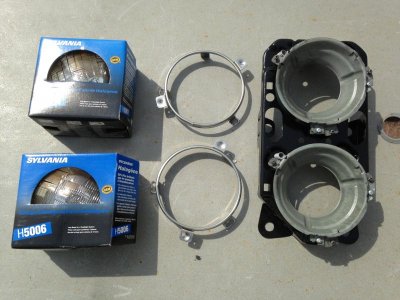
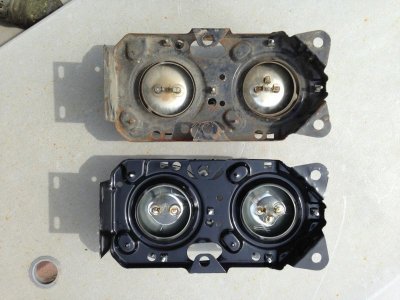
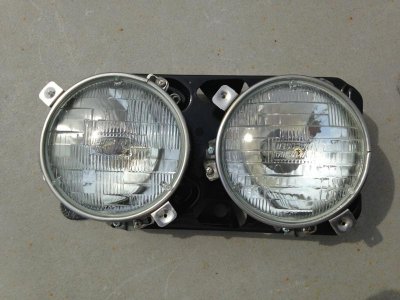
Here are some pictures of the head light bucket assembly. The new "correct" springs just arrived so I was able to finish up this little project........
- - - Updated - - -

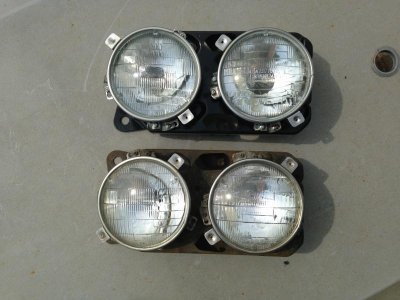
image.jpgThis first photo shows the nice plastic head light surrounds that were on the parts car. I ended up using a head light retaining ring from this car too, because one of the tabs were broken on the original.

- - - Updated - - -

image.jpgThis next picture shows the parts laid out.

- - - Updated - - -

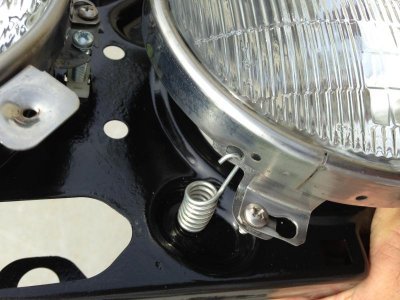
image.jpgHere is a close up of the new "correct" head light springs, and stainless steel screws.......

- - - Updated - - -

image.jpgHere is the finished product with new Halogen head lights and all new hardware installed.

I normally only restore one side at a time. The buckets are specific to side and differ from high beam to low beam. It's just easier this way....

- - - Updated - - -

image.jpgimage.jpgThese pictures shows the difference before and after.....

- - - Updated - - -

image.jpgimage.jpg

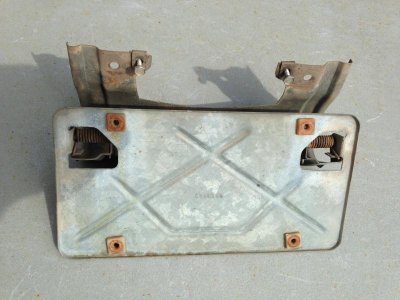
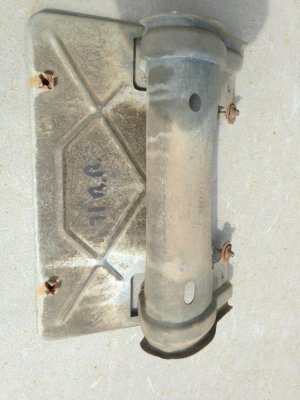
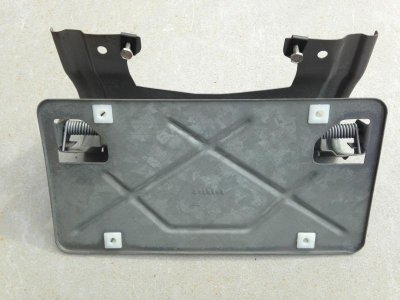
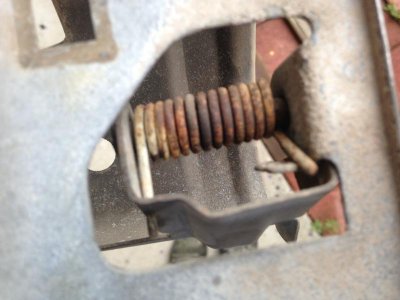
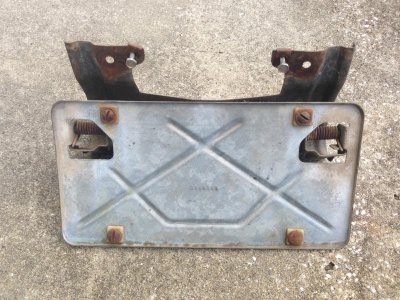
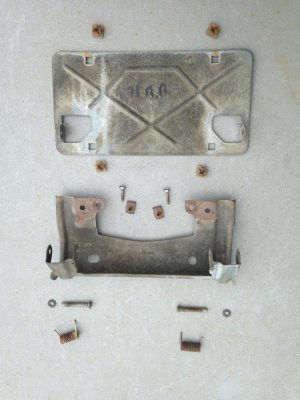
Before pictures of the license plate bracket....

Hopefully tomorrow it will be done...
 
Interior door handles arrived!!!!

image.jpgimage.jpgimage.jpgimage.jpg


Today I didn't get much done so far. I had a lot of errands to take care of. When I came home our mail lady left me a nice little package. The new interior door handles arrived. They look pretty nice.

Here are some photos for you all.

Now I am waiting on the new interior window cranks and that should be it for a while as far as parts are concerned....

I'm headed out to the shop now so hopefully something gets done.
 
Completed the License Plate Bracket

I was able to get some things done on the Duster and the Road Runner today. I cleaned and installed all of the passenger side window tracks / regulator assembly for the passenger side door on the Duster, and mounted the new front bumper and brackets on it as well. The bumper will have to come back off when I install the front fenders. I just wanted to get the brackets aligned and everything tightened while it was still easy to get to.


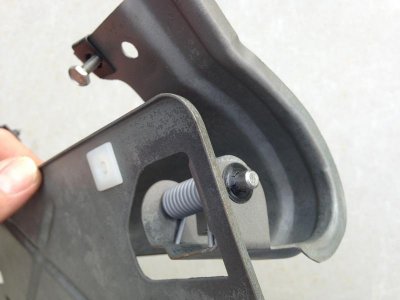
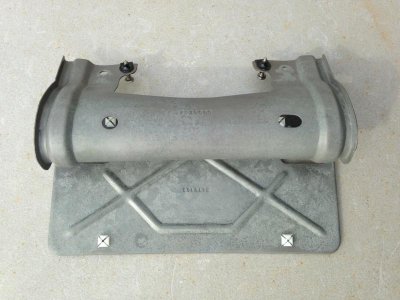
On the Road Runner I was able to disassemble the rear license plate bracket, clean everything up and reassemble it with some new hardware.


Follow along with the pictures.

- - - Updated - - -

image.jpg
Here is everything taken apart.

- - - Updated - - -

image.jpgimage.jpg

Cleaned painted and reassembled.....

- - - Updated - - -

View attachment 129551View attachment 129552Here are a few before and after comparisons....

- - - Updated - - -

image.jpgView attachment 129556

Close up of the springs before and after.....

One more thing off the list.

I have been concentrating on finishing the Duster, but at the same time trying to complete a little part of the Road Runner as it fits in.

Looking forward to the day that I can go all out the Bird!!!!!!

Hopefully soon, and then this thread's subject material will get much better.

Thanks.
 

Attachments

  • image.jpg
    image.jpg
    59.7 KB · Views: 529
Oops!!!!

image.jpgView attachment 129665I just noticed that I installed the springs wrong..... You have to look close to see it, but its there plain as day.

I'll have to take care of that when I get home tomorrow.....

Thats the great part about taking before and after photos.

Had this not been done I probably would have missed that one......
 
I just noticed that I installed the springs wrong..... You have to look close to see it, but its there plain as day.

I'll have to take care of that when I get home tomorrow.....

Thats the great part about taking before and after photos.

Had this not been done I probably would have missed that one......

Yep sure is now that you've pointed it out. Otherwise I would never have known as long as it worked. Made the point about before and after pics very well.

Good job !
 
I just noticed that I installed the springs wrong..... You have to look close to see it, but its there plain as day.

I'll have to take care of that when I get home tomorrow.....

Thats the great part about taking before and after photos.

Had this not been done I probably would have missed that one......

yeah, good catch they are upside down...
 
Little things add up...

meticulous !

Thanks for the compliments to all.

As soon as I can get the Duster done, (which hopefully will be soon) I can start getting deep into the restoration of the Bird.

I plan on having detailed posts along the way showing things like the disassembly of the car, a how to on the dash assembly , grill restoration, heater box, steering column, sheet metal and body work etc.

These posts will be similar to the mirror and console postings.....

I also plan on posting a short video showing the 440 six barrel and transmission running on my engine test stand once the engine is assembled (which will also be a very detailed post).

I would have included a 4 speed build as well but I have already done that and I didn't take pictures.
 
I also plan on posting a short video showing the 440 six barrel and transmission running on my engine test stand once the engine is assembled (which will also be a very detailed post).

I would have included a 4 speed build as well but I have already done that and I didn't take pictures.

I am looking forward to that 440+6 w/ trans running on your engine/trans stand and wish you had taken pics or better yet vid of the 4 speed running on it
 
Test run stand video

I am looking forward to that 440+6 w/ trans running on your engine/trans stand and wish you had taken pics or better yet vid of the 4 speed running on it


I do have several videos that I made with the 340 engine and 4 speed that is now in the Duster.

I have them on my home computer. I didn't post them because I thought I sounded stupid by saying "and , uhmm" too many times.

Let me think about that one a little.....
 
Auto Transport Service
Back
Top