• When you click on links to various merchants on this site and make a purchase, this can result in this site earning a commission. Affiliate programs and affiliations include, but are not limited to, the eBay Partner Network.

"Behind the Green Door"

Tha Dash

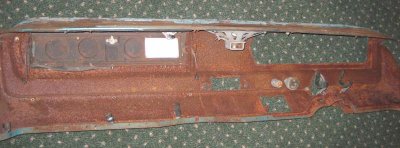
In the Beginning there was this dash, it had been cut for some aftermarket stereo/cd/whatever and the inside of the glove box had been modified.
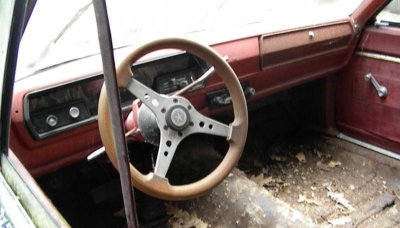
The Beginning (12).jpg

So I traded some parts for a replacement.
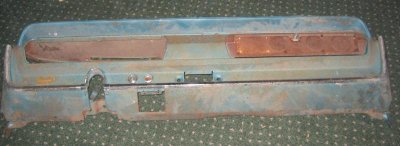
IMG_1373.jpgIMG_1374.jpgIMG_1375.jpg

After sand blasting, some massaging, and a little base coat I was able to mock it up. The 1st thing that is changing is the heater control plate for a heater delete.

IMG_1389.jpg

The 2nd thing is the glove box emblem which I made.
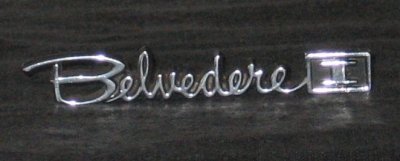
IMG_1306.JPG

With the A pillar and head liner trim in place it should look pretty sweet!
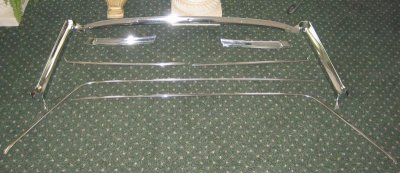
IMG_1400.jpg

Gary
 
Deer Blind

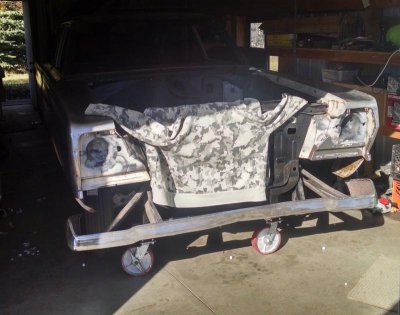
Got the deer blind almost ready - setting it up for the deer in the headlight trick for a good shoulder shot!

IMG_20151103_111839101_HDR.jpg

Gary
 
Back in the Day

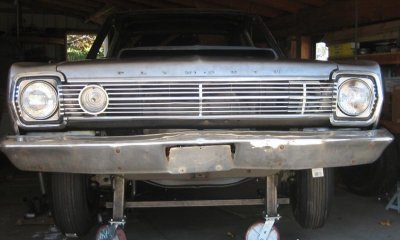
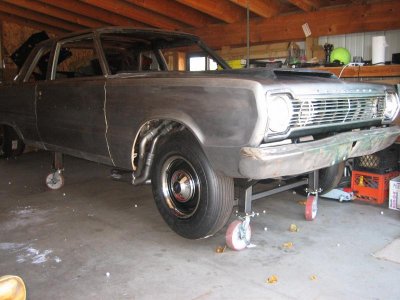
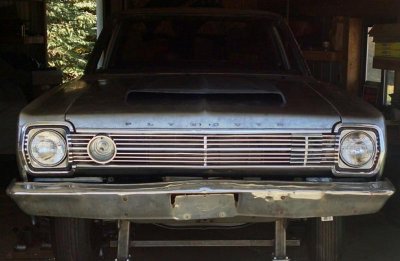
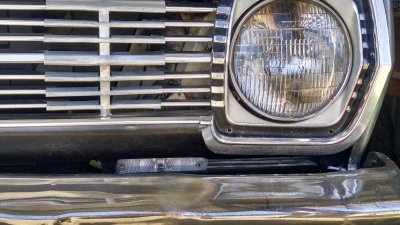
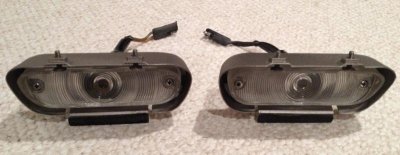
Back in the day when I was a much younger man and growing up with all the Mopar S/S cars the thing that always set them apart was the grille. So in my design scheme for the post car the single headlight and full grille was the plan and after a lot of thought keeping in mind not to upset the integrity of the car. So I mocked up the driver side to check all the parameters, especially the placement of the turn signal which are 67 Belv in the lower grille valance just below the headlight. When the grille is finished it will be a single piece (stripped, fitted, welded, and polished). The turn signal housings will fit nicely in the front panel of the fender with a little help from the jig saw and I still have an OE grille with parking lights - also.

IMG_1892.jpgIMG_1895.jpgIMG_20151104_125352.jpgIMG_20151104_125747607_HDR.jpgparking light 2.jpgIMG_1023.jpg

Gary
 
I'm gonna have my hands full with that Gary! I do like the challenge!
 
Quite the project. Fun to follow. You definitely have your work cut for you but are making good progress. Thx for the postings.
 
Can't wait to see what other super stock things that are planned for this,bad "A "ride.
 
More Room

Since the weather up north has been extremely nice the opportunity to do some additional mock up that was going to be put off till spring. Going to need a little more room for the air cleaners and get some fresh air. So out comes the inventory and mocked up the maxi.

1.jpg

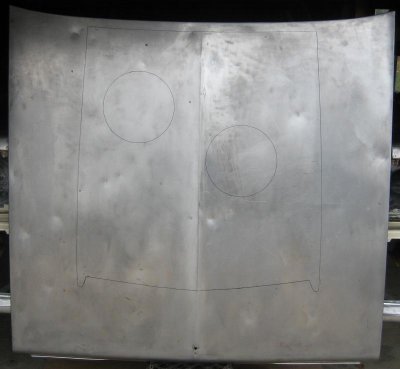
As we all know putting the holes in the hood is a pain in the a$$ without templates so I made my own.

2.jpg

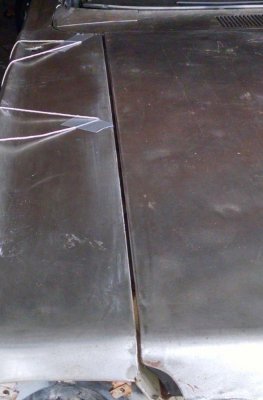
Next the hood was placed and adjusted the gaps.

3.jpg4.jpg5.jpg

Then placed the template on the hood and secured it with 500 mph tape and traced with the old trusty rusty sharpie.

7.jpg

Unfortunately the weather took a turn for the worse so I didn't have a chance to cut.

8.jpg

Tomorrow is another day!

Gary
 
That's a great idea on marking out the holes in the hood! Learn something everyday!
 
Gitter Done!

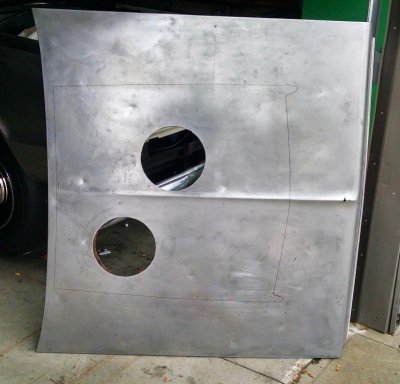
Yesterday the weather took a dump, well today isn't much better - wind, snow and cold!!! From the earlier post I had some unfinished bizz to take care of, put on the winter gear and of I went to Gitter Done!!!

9.jpg10.jpg

I cut the holes on the small side so I could sneak up on the size and clearance around the air cleaners, it doesn't look bad but just a little to close for any movement with the motor/ chassis. So I will be back at it One More Time!!!

Gary
 
I think you'll have plenty of clearance specially if you use the Schumacher poly mounts......that engine wont budge a bit!
 
I really like the grill treatment. Have you thought about just using a 67 bumper that has the parking lights already in it?
Just an idea...
 
I really like the grill treatment. Have you thought about just using a 67 bumper that has the parking lights already in it?
Just an idea...

Thanks - Actually I took the idea from my 67 GTX when staring at the front end and notice the opening in the lower valance where the parking light could be placed and still retain the re-chromed 66 bumper that is sitting on the shelf, the "Plain Jane" 66 Belv bumper is pretty kool anyway!!! LOL

Gary
 
One More Time

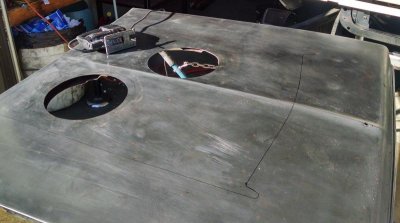
As of last report I wasn't real comfortable with the 9 1/2" clearance holes for the 7 1/2 air cleaners. Went back at it today since the weather turned for the better in the north country - sunshine and 50. I increased the opening size to 10 1/2".

5.jpg

I was in such a hurry to get started I forgot my ear plugs - man is that noisy!!!
Set the hood back in place, aligned the gaps, and popped on the air cleaners.

1A.jpg2.jpg

I am a very Happy Camper!

The next thing was to see if my rectal calculations were correct about the amount that I trimmed off the RO scoop lowering the profile and matching the ridge line of the fender. That was a styling queue I took from my 67 GTX hood scoops.

6.jpg

As you can see below I hit it pretty close. After I glass in the 1/4" mounting flange on the scoop I'm golden.

3.jpg4.jpg

After all of that bizz and this post I am going to celebrate with my favorite - Spam sandwich with mustard, sliced jalapenos, and potato chips all jammed together with a Coke classic!!!

Gary
 
I'm with ya till ya got to "sandwich"......I puked in my mouth, lol!!!

Hood/scoop is looking good!
 
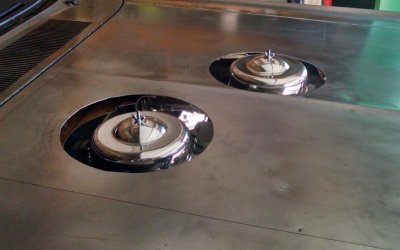
Looking into the scoop and the air cleaners and nut on the top reminds me of a mountain in our area called 'molly's nipple'!Like to learn the back story on that one.Spam sammiches and GYC,why do you have to be so mean!!
 
Auto Transport Service
Back
Top