• When you click on links to various merchants on this site and make a purchase, this can result in this site earning a commission. Affiliate programs and affiliations include, but are not limited to, the eBay Partner Network.

Can of rusty worms

some words of wisdom from an absolute master of metal on a thread I've been learning so much from! I actually can't wait to practice lol.

"One of the downsides to welding with a MIG is that
in order to weld sheetmetal and get good weld penetration each and every time,
we are virtually forced to do so by welding "dots" at a higher amperage setting
than you normally would with a full weld pass. Try this welding a full pass and
the weld will start to burn away the parent metal as the panel gets hot. Try
using the factory suggestions on your welder with dot welding and you'll have
weld dots sitting high up on the surface with no penetration, looking like a mud
dauber has been there.
wink.gif
The downside to this "dot" welding method is that
the weld dot and HAZ surrounding it will shrink, each and every time. By
comparison, a TIG or O/A fusion weld with absolutely tight joints and no filler,
can be done as one continuous pass from one end of the joint to the other. The
benefit here is that the weld and HAZ heat up and cool down progressively as you
weld, so the shrinking effects are less than you see with a MIG dot shrinking
circumferentially around each dot.

Make no mistake, you can still get
similar/acceptable results using the MIG, but it will require planishing each
dot to stretch the affected area back out, then grinding down each dot so it
will be out of the way for the next welded dot to be planished. Just by
virtue of the planishing and grinding process, the other methods are very much a
cleaner, faster, and preferred method if you can master the fusion process
and not need filler
rod
.
I am still working on that ability myself,
hence still using my MIG crutch
lol.gif
. I should clarify that using these two processes
with filler rod
can also give a softer, easier to work weld, but someone who can't walk and chew
gum at the same time may have issue with sitting there too long while feeding
filler, so if that's the case, the HAZ can be wider and more
inconsistent than that of a properly done MIG weld. All operator dependent.


Now that all that background info is laid, the major issue with welding
into a tight corner, regardless of which process being used, is that the
shrinking effects will compound (stack up?) on the inside corner, in some cases
making it that much more difficult to stretch and relieve the stresses to get
rid of the puckering/warp issues. By having a wide, sweeping radius, it gives us
more of a balance on either side of the weld, for less effort in planishing to
get the weld and HAZ back where it should be."


http://www.garagejournal.com/forum/showthread.php?t=182565&page=24
 
Great info from Glenwood. I agree 100%. What wire are you using
 
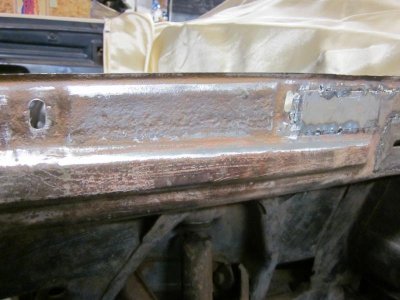
I love that car! And I about cried when I saw the picture of the rusted cowl:(

Make sure to cut out all rust otherwise your weld will blow through. Take your time and it will come out nice.
 
I'm still crying! For the love of Mopar eh?
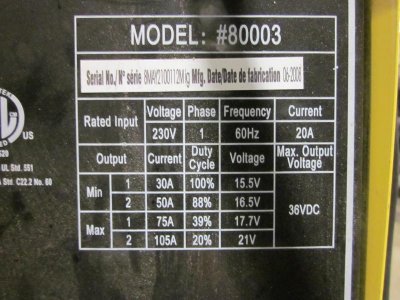
I realize I'm doing a number of things wrong besides welding so I'll spend some time this weekend practicing welds and fitment. My cheap welder does not provide any setting information for various metal thicknesses, so I have to do trial & error to get that right and then mark it down. A good clean up of the metal and maybe another go at it! The windshield removal should be an interesting challenge. Any idea how heavy these things are?

- - - Updated - - -

Great info from Glenwood. I agree 100%. What wire are you using

.023 ERS70-6 wire I believe.
 
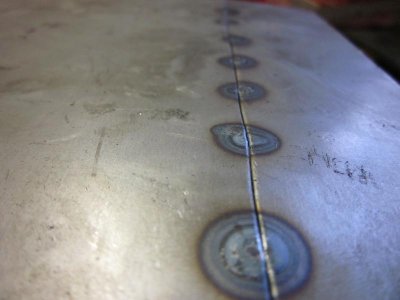
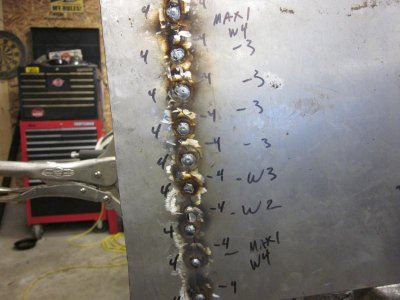
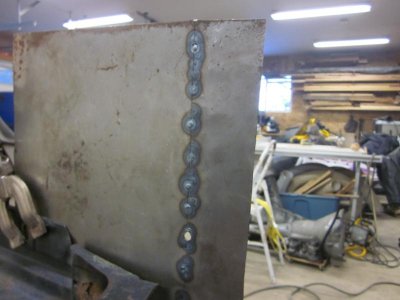
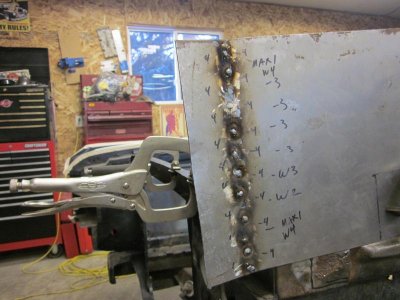
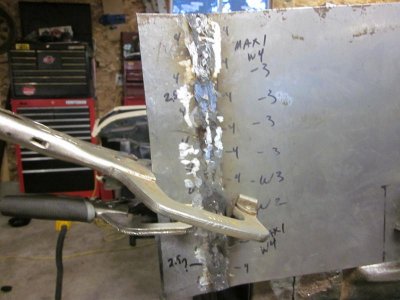
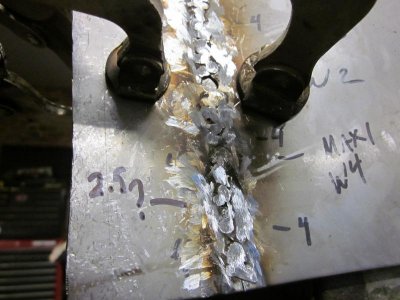
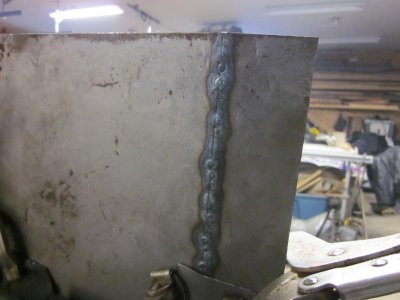
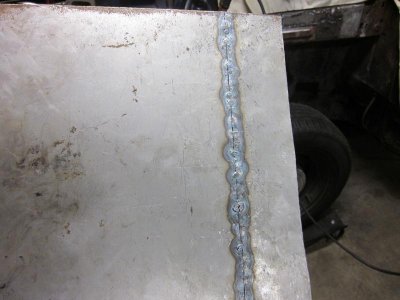
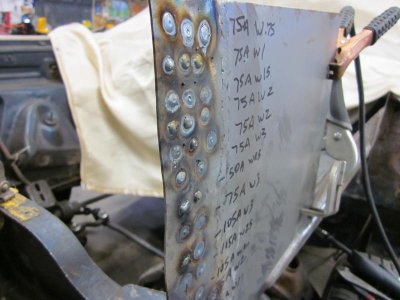
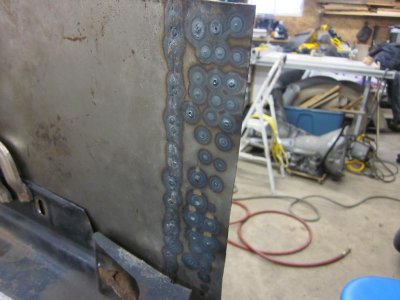
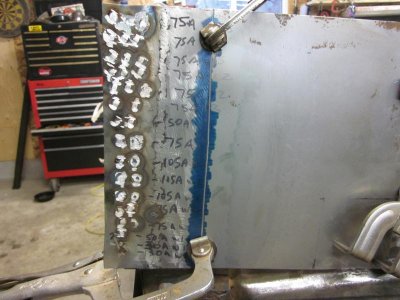
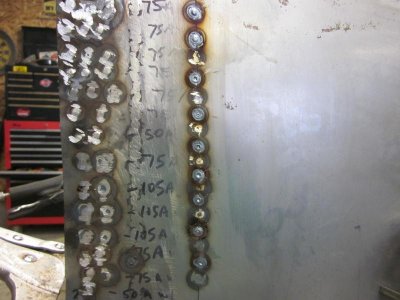
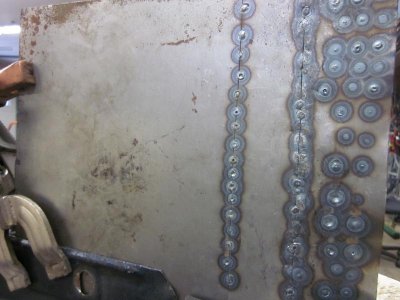
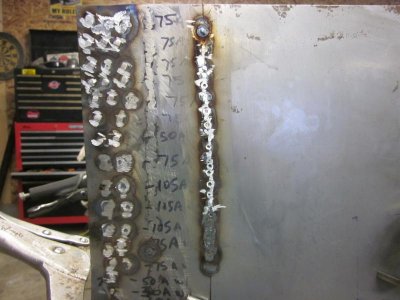
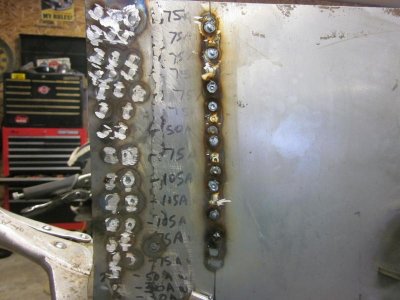
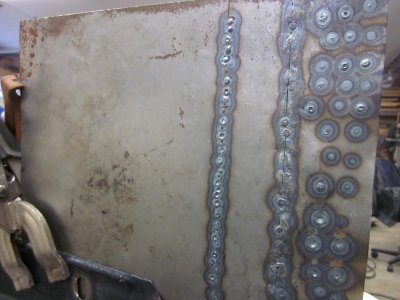
So here's a few pics of my practice welding today.
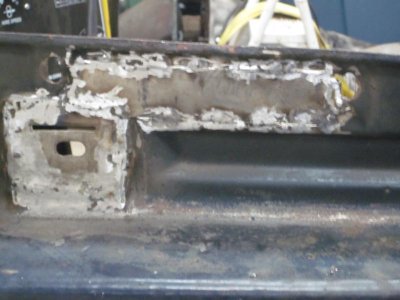
First I cleaned up the abomination welding I did last week. It was just bugging me!
IMG_2886.jpg

Then I checked the metal ga. The new sheet metal is 18ga and the inner fender looks to be about 19ga, except the crusty portion I cut out is closer to 22ga. No wonder it blows through so easily...

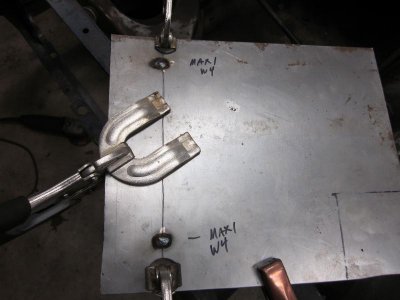
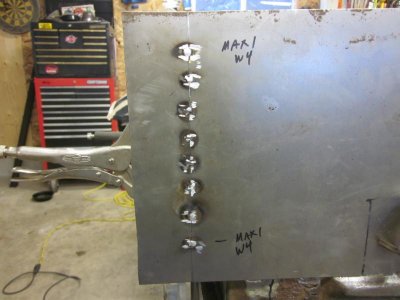
I cut some 18 to practice with and tacked.

IMG_2885.jpg

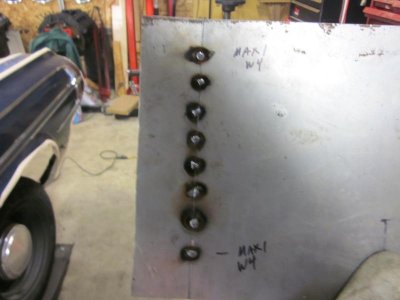
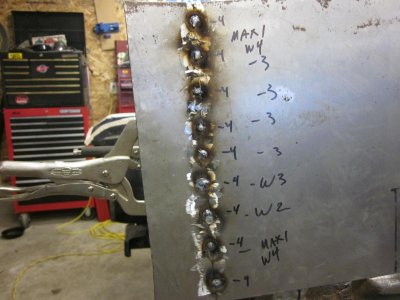
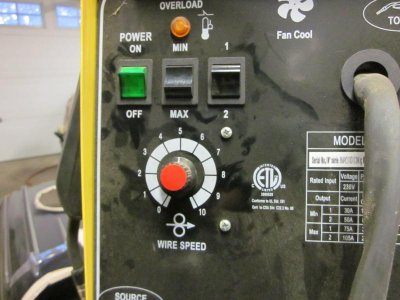
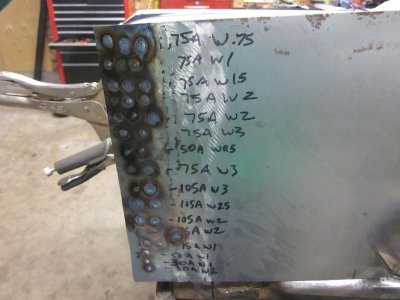
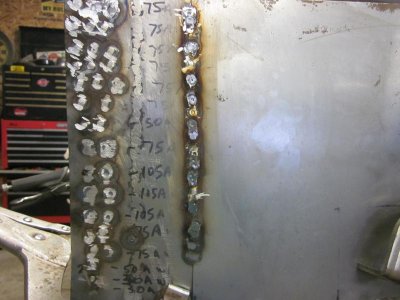
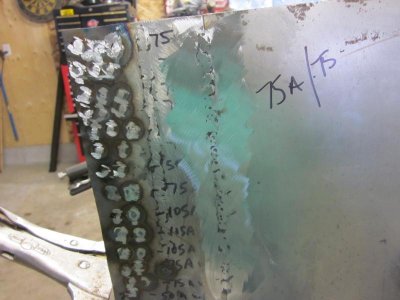
I started tacking about 3/4" apart at about 75A/wire speed-4

IMG_2887.jpgIMG_2888.jpg

IMG_2889.jpg

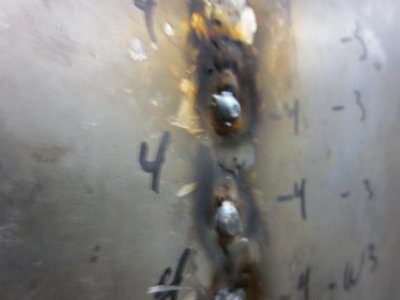
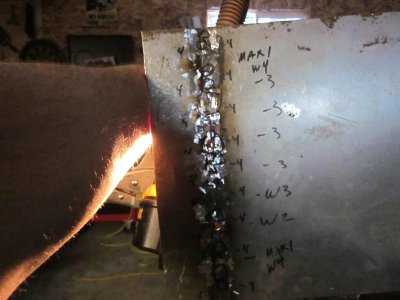
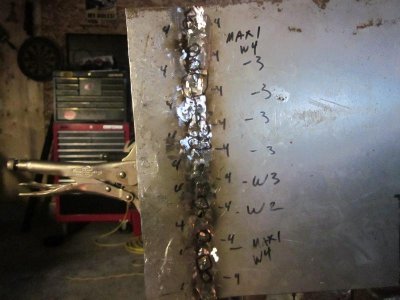
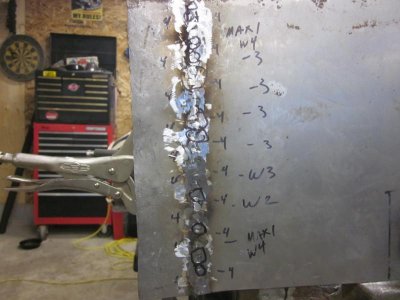
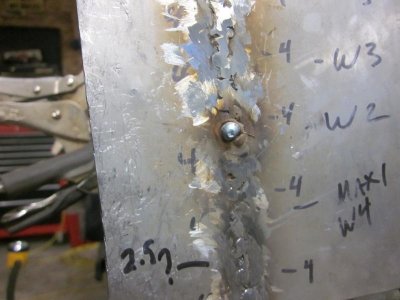
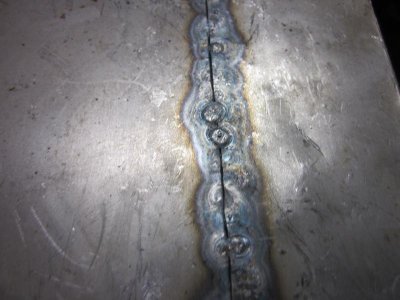
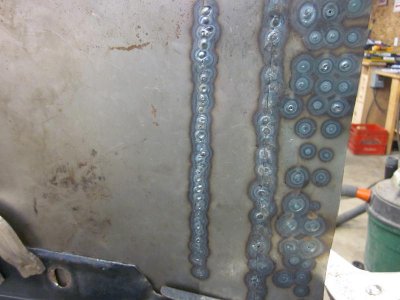
The penetration doesn't look very good to me. I tried to weld a little longer on the next group after planishing and knocking down the dots.

- - - Updated - - -

IMG_2890.jpgIMG_2891.jpg

The penetration seemed to improve..

IMG_2892.jpgIMG_2893.jpgIMG_2894.jpg

- - - Updated - - -

When I turned down the wire speed to 2, I burned a hole. Not enough wire being fed to make a weld!

IMG_2895.jpgIMG_2896.jpgIMG_2897.jpg

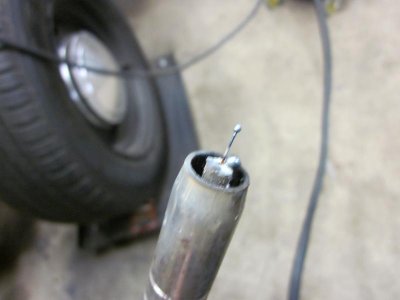
I keep getting build up on the tip and cherries which I clip off often. I hold the tip about 1/2" away but I'm wondering if I tend to move closer when I pull the trigger...

Checking for holes with my trouble light. I circled what I could see and welded them.

IMG_2899.jpgIMG_2900.jpgIMG_2901.jpg

- - - Updated - - -

Thought I'd try filling the hole with a piece of copper behind. I turned switched the amperage down and wire speed up. Seemed to work.

IMG_2902.jpgIMG_2903.jpgIMG_2904.jpgIMG_2905.jpg

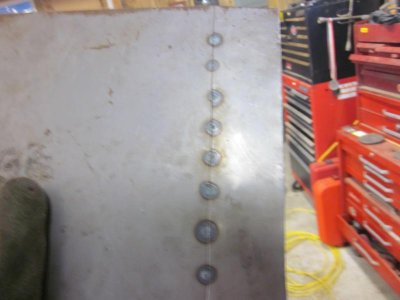
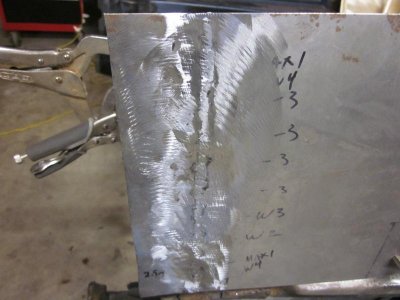
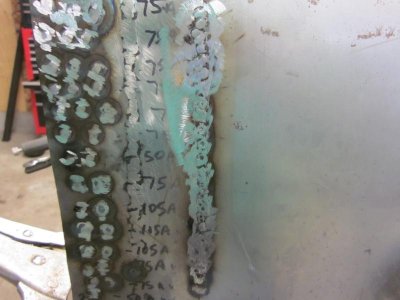
Started to clean up the welds then sanded down.

IMG_2909.jpgIMG_2910.jpgIMG_2911.jpgIMG_2906.jpgIMG_2908.jpg

- - - Updated - - -

some of the welds are penetrating properly but many are not. The buildup seems like the weld is too 'cold'?

Given the weak metal I need to repair, I'm probably looking at replacing the inner fender @&#*$&(#!

IMG_2913.jpg
 
Make sure the metal is clean. I wipe down the metal with Laquer thinner. Let it dry then I practice. You could try pracitcing at lowest settings then move up each setting as you go. I've learned hand distance makes a huge difference. I found that when I weld the distance of the gun would change. I would move my hand close then too far away without realizing it when I pull the trigger. I'm still working to keep the distance through my welds the same. You should clean that nozzle and tip.
 
Thanks for the tips C14, I'm going to try these today and see what happens.

Make sure the metal is clean. I wipe down the metal with Laquer thinner. Let it dry then I practice. You could try pracitcing at lowest settings then move up each setting as you go. I've learned hand distance makes a huge difference. I found that when I weld the distance of the gun would change. I would move my hand close then too far away without realizing it when I pull the trigger. I'm still working to keep the distance through my welds the same. You should clean that nozzle and tip.
 
Try bringing the tip down to 3/8" away from the metal. Tip distance, amp setting and trigger time determine the amount of heat. Keep practicing. The best way is to keep changing one adjustment at a time. Don't worry about welding a full 6" distance yet. Make a tack, adjust, make a tack and so on. At this stage don't worry if you burn through. Get a feel for trigger on time. Ideally if you hold the trigger long enough it will burn through. Then back off on the time. The more tack you make the warmer the material becomes. As this happens you may have to increase the tip distance slightly as you go. Check each tack for flowing out (flatness) and penetration. When you get it the tacks will have penetrated pretty decent and lay flat. Not every tack will fully penetrate. When you get down to 1/2" apart start attaching the next tack to the existing tack instead of going in between the two tack. This will result in the less likelihood of pin holes. I find grinding each tack gives a better weld, makes for less grinding, allows the metal to cool. I use a cut off wheel , very quick and keeps the grinding to a small area. Pretty soon you'll be able to tackle projects like this.
Good luck
Doug
 

Attachments

  • B44.jpg
    B44.jpg
    172.3 KB · Views: 396
  • B32.jpg
    B32.jpg
    106.2 KB · Views: 401
  • B36.jpg
    B36.jpg
    128.8 KB · Views: 420
  • B50.jpg
    B50.jpg
    70.8 KB · Views: 383
  • P10.jpg
    P10.jpg
    46.7 KB · Views: 429
  • racecar 191.jpg
    racecar 191.jpg
    182.9 KB · Views: 401
  • racecar 193.jpg
    racecar 193.jpg
    149.2 KB · Views: 400
  • racecar 203.jpg
    racecar 203.jpg
    152.3 KB · Views: 427
  • racecar 212.jpg
    racecar 212.jpg
    187.1 KB · Views: 387
Thanks for the tips Doug, much appreciated! Beautiful workmanship btw!
When I hear that nice even sizzle, it feels right and I circle the tip but often it seems to pop and that when I think it's not striking a good arc and not penetrating. Maybe that's because I'm didn't clean the metal very well? What causes the wire to blob back onto the tip? I'll clean the tip and see what happens today.
 
Keep the tip clean. Make sure the ground is clean. With .023" wire if it's dirty I've found that sometimes it'll even burn the wire right off at the tip. That's why I suggest to grind each tack. Remember we're trying to run a burst that if continued would burn through. We want to melt the metal quickly with out taking time to heat it up. Another issue that can come up is that you hit a thin spot and burn through. Don't try to fix it . let it cool. Then walk around the edge of the hole. When your first learning don't try to fill the hole all at once. Get a ledge of weld at one edge of the hole. Let it cool and then build from there. Once you learn, filling a 3/8" hole w/o copper backing will be cake.
Doug
 
I made the same mistakes with welding a panel in by tack welding until the joint was completely welded, then the grinding pooched it. As Doug stated, grind each tack and as per the pro's you should planish each tack with a "hammer on dolly" technique.
It is super easy to get over zealous with the grinder especially when you have long welds to do.


Thanks for the comments guys!
Here's some more practice welds I did today.

IMG_2918.jpgIMG_2919.jpg

IMG_2920.jpg

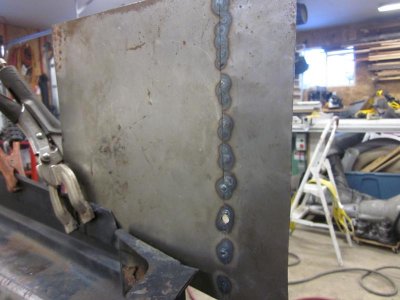
I tried different settings. It looks like I had the wire speed way to high yesterday. Anything below 75A doesn't seem to work on this 18g.

- - - Updated - - -

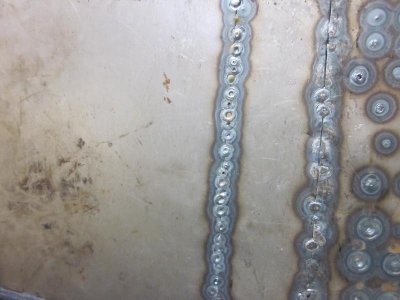
I cut and took another shot at welding it at much slower wire speed. Maybe a little too slow?

IMG_2926.jpgIMG_2927.jpgIMG_2928.jpgIMG_2929.jpgIMG_2930.jpg

- - - Updated - - -

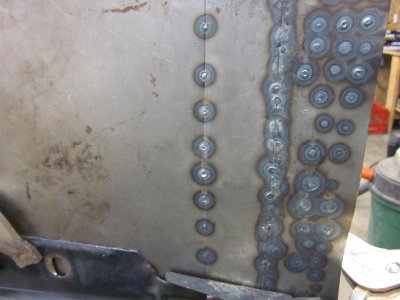
Penetration seems better but having to trim the cherries off after every weld.

IMG_2931.jpgIMG_2932.jpgIMG_2933.jpgIMG_2934.jpgIMG_2935.jpg

- - - Updated - - -

a bit of grinding and sanding but the weld still seems proud. Let me know what you think...a slight improvement over yesterday?

IMG_2936.jpgIMG_2937.jpgIMG_2938.jpg
 
What is your gas setting at? It looks like you are are not getting enough shielding gas.
 
20 is good so something is wrong and your not getting the full flow of gas.

- - - Updated - - -

Increase the flow to 25 and see what difference that makes for you.
 
why do you think that SF? I took the nozzle off to clean it and cleaned the tip and the gas ports look clear and I can certainly hear it puffing with each trigger...

sure, I'll give 25 a shot next go at it...
 
Gas...need to have a balance of flow, verses pressure. Otherwise, not enough gas, or your blowing out the gas that protects the weld from oxygen.

And, it works along side your wire feed/heat setting. Real balancing act, besides taking a good hand. (Yeah, it was hard as hell for me, back in those days)

One hint I recall on gas feed is, when you pull the trigger, should be a light 'hiss' sound. Past that, adjust flow for heat.
 
I think the feed speed is a little low. Look at the center of the welds. See the hole? A touch more wire feed, just a little. And maybe a touch longer on the trigger.
Doug
 
Auto Transport Service
Back
Top