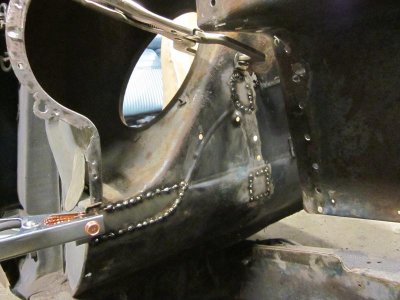
• When you click on links to various merchants on this site and make a purchase, this can result in this site earning a commission. Affiliate programs and affiliations include, but are not limited to, the eBay Partner Network.

Can of rusty worms

We all had to learn one time or another in-order to get "there", I am constantly learning.
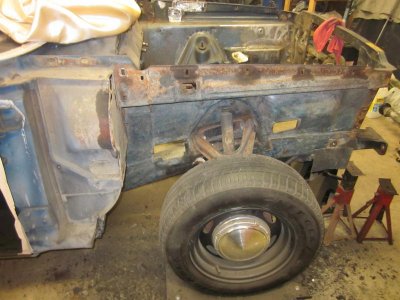
 
Trust me when I started I could barely stick two pieces of metal together.
Doug
 
Hi Glen,
I was in your shoes not all that long ago, and like you I discovered Roberts thread over at the garagejournal.com
WOW what an artist he is!
My advise to you is study his threads, (he has a couple) practice some more, and jump in. I would be most concerned about getting good penatration. (keep striving for the welds that he shows) and you will get better and better.
http://www.garagejournal.com/forum/showthread.php?t=182565
 
Thanks for all of the encouragement guy! I only wish I had more time to play...this working for a living is for the birds. lol

I'm realizing that keeping the metal clean, more than I thought I was doing is pretty important. The contaminated or junky welds and too fast a wire speed is probably the major factors in too much build up and little to no penetration. I plan to practice spot welds some more this weekend with a bit more wire speed and slow down my itchy trigger finger! Then I'll practice some gap filling to understand how the welder settings need adjusting. Oh yeah and some sledding if we get a bit more snow and the east coast guys stop hogging it all! lol

The welding/joinery that Robert does on that thread baffles my mind! He has such a good sense of how metal should react but how he manages to mig weld butt joints to such a fine degree, where little to no filler is needed is a true testament to his craftsmanship... I'm still only about 3/4 of the way through that thread! He's like the Norm Abram of woodworking. lol
 
A bit more practice but still not happy with the way the welds looked so I decided to switch the wire to .030. I feel the welds looked better.

IMG_2939.jpgIMG_2940.jpgIMG_2944.jpg

Had enough practice and decided to give it another shot. It's not pretty but it's better and solid.

IMG_2945.jpgIMG_2946.jpg

IMG_2947.jpg
 
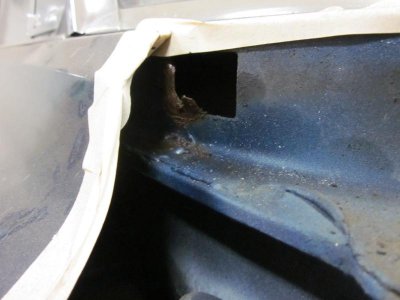
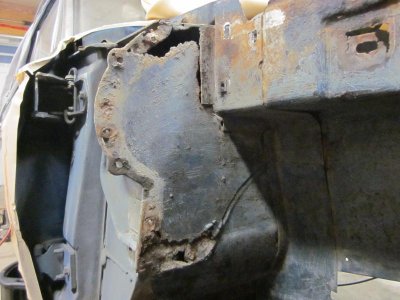
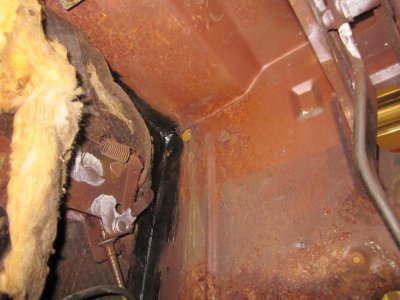
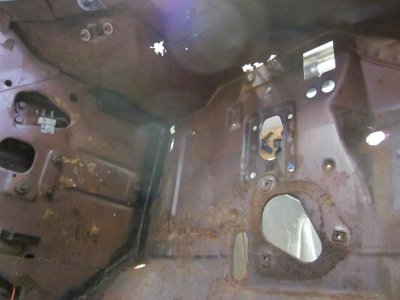
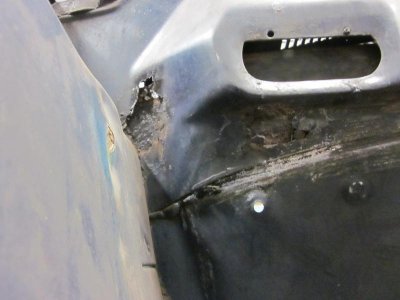
Time to pull off the other fender and see how much cancer is lurking in the shadows...

IMG_2960.jpg

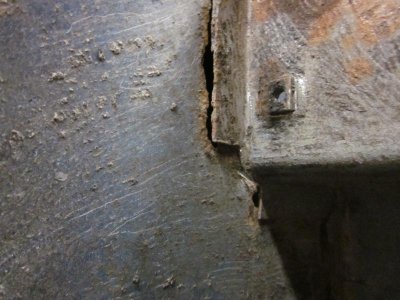
The top bolt was tough. I thought the clip broke, I had no idea the metal would twist out. ugh!IMG_2961.jpgIMG_2962.jpg
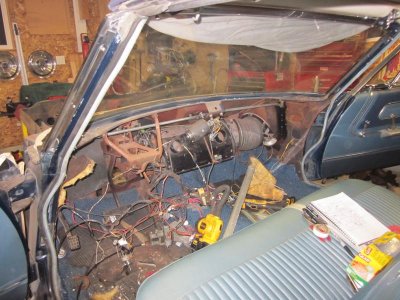
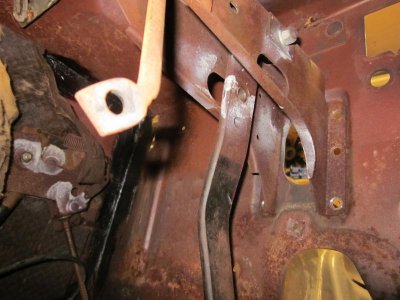
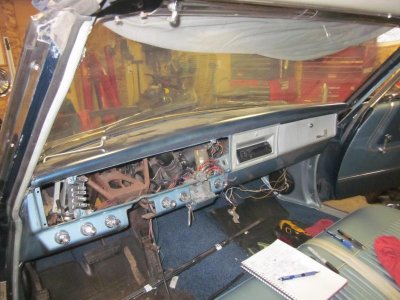
IMG_2963.jpgIMG_2964.jpgIMG_2966.jpg I have no idea how I'll fix this but it's time to take out the dash to see the other side
- - - Updated - - -

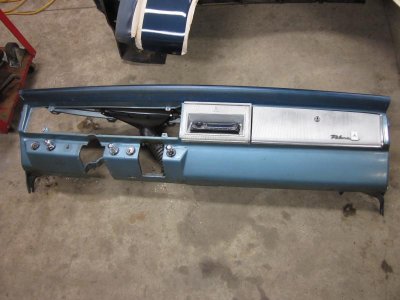
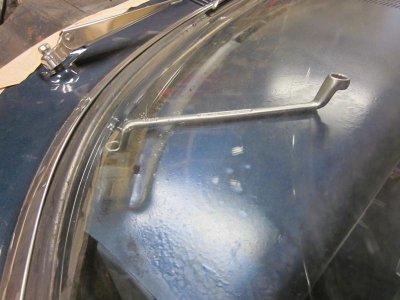
With the trim removed and the wires tagged, I thought I'd try to remove the dash bolts. I wondered when I'd need this wrench again...it worked perfectly with the windshield still in. Took about 20-30 minutes.
IMG_2977.jpgIMG_2978.jpg

- - - Updated - - -

IMG_2995.jpgIMG_2998.jpg

lots of tag and baggin! A few sketches will help later.

- - - Updated - - -

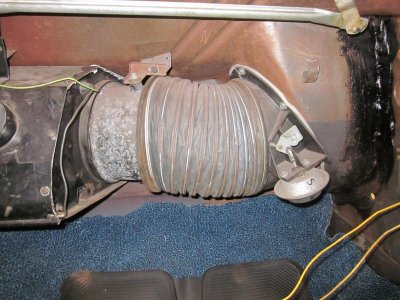
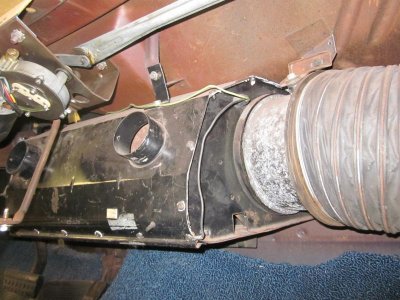
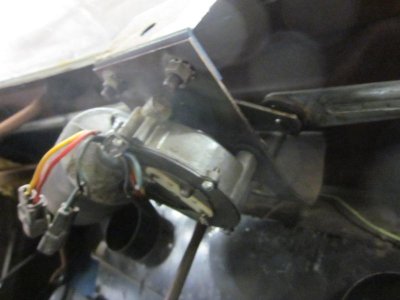
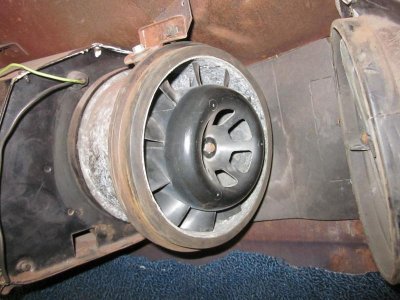
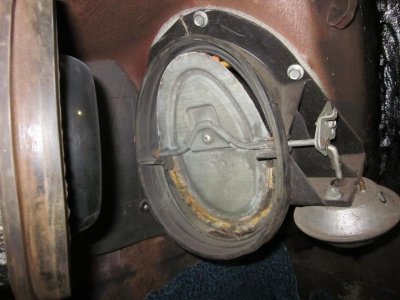
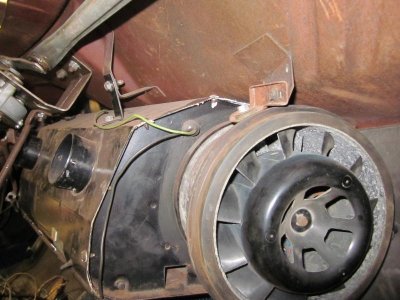
now the heater box

IMG_3000.jpgIMG_3003.jpgIMG_3004.jpgIMG_3005.jpgIMG_3006.jpgIMG_3007.jpgIMG_3009.jpg

- - - Updated - - -

IMG_3017.jpgIMG_3008.jpgIMG_3013.jpgIMG_3014.jpgIMG_3015.jpgIMG_3016.jpg

Lots of work ahead!
 
Looks like a bunch of fun! When I pulled my 64's dash, found a like new copy of the owner's manual, sitting on top of the heater box!
 
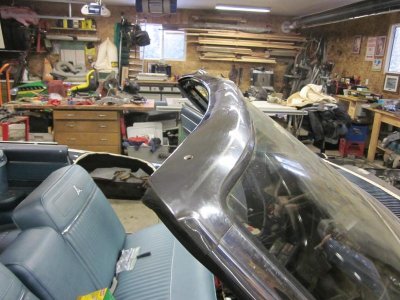
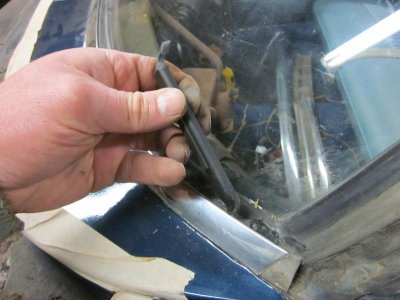
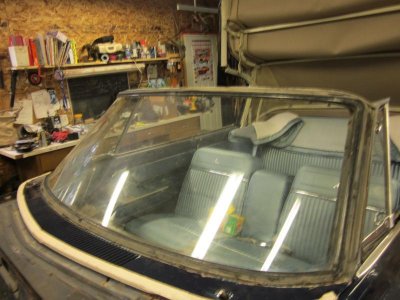
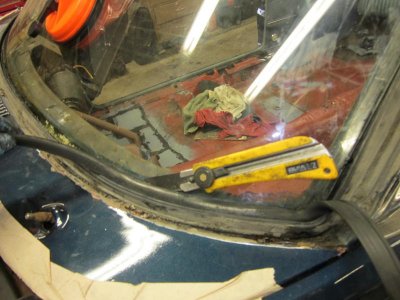
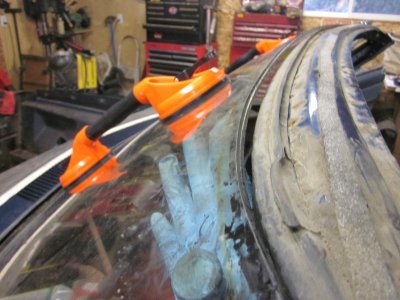
time to pull the windshield.

IMG_3023.jpgIMG_3027.jpg
IMG_3031.jpgIMG_3033.jpgIMG_3034.jpgIMG_3035.jpgIMG_3036.jpg

- - - Updated - - -

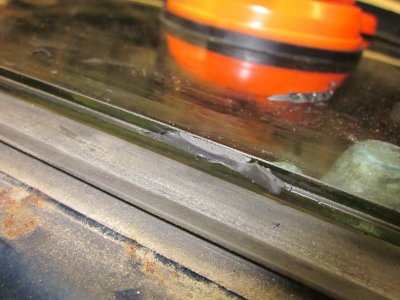
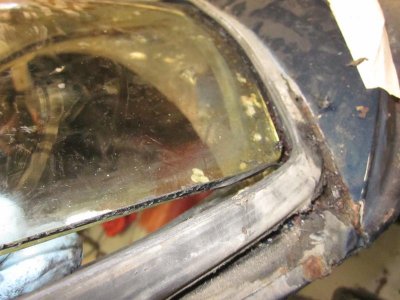
That was fun. Took a while to find all of the spots with some adhesive to free it up without forcing it. Managed not to crack it!

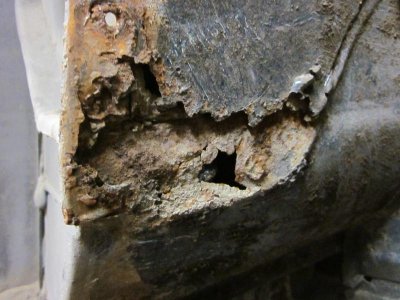
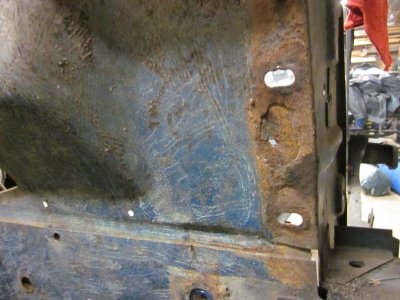
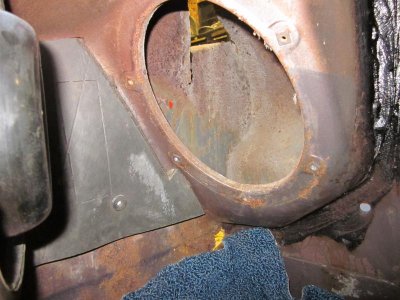
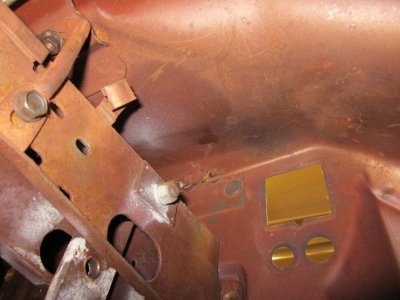
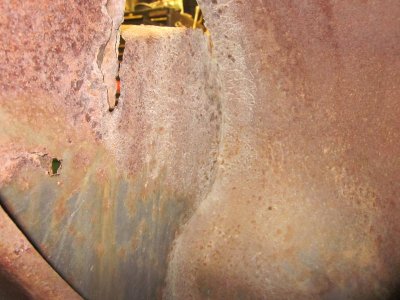
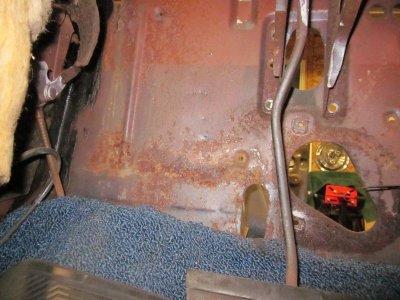
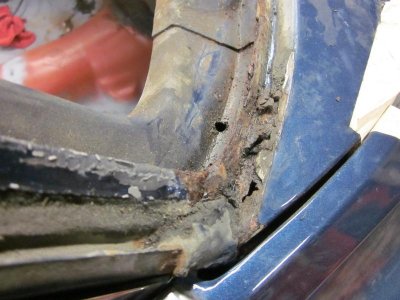
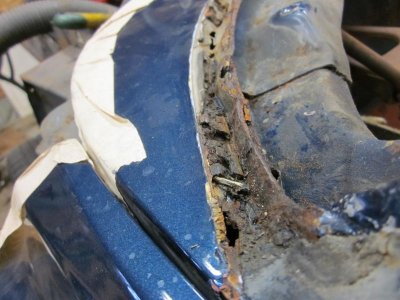
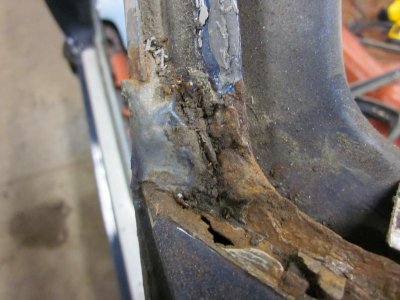
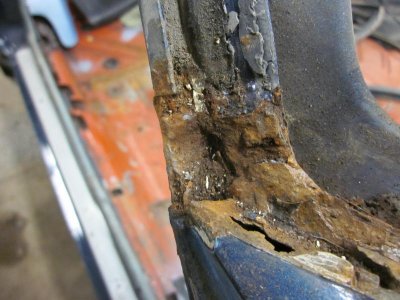
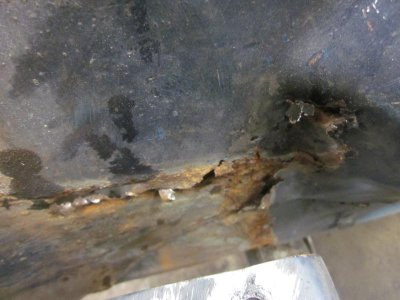
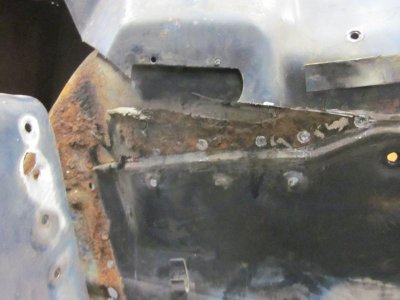
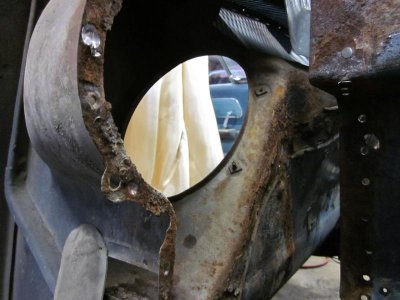
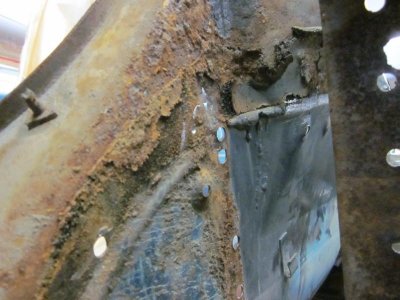
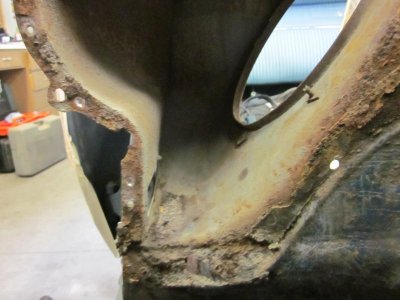
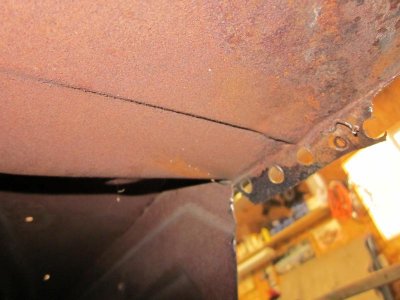
Oh look, some more rust! yippee!


IMG_3039.jpgIMG_3040.jpgIMG_3041.jpgIMG_3043.jpgIMG_3044.jpg

- - - Updated - - -

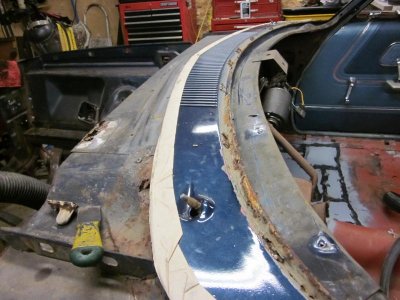
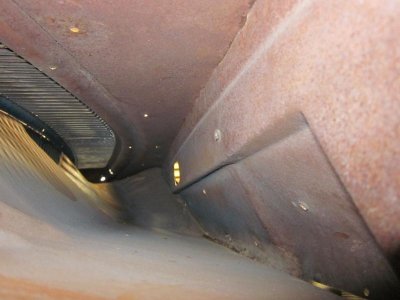
Nice view clear through the cowl.

IMG_3055.jpg

IMG_3056.jpgIMG_3057.jpg

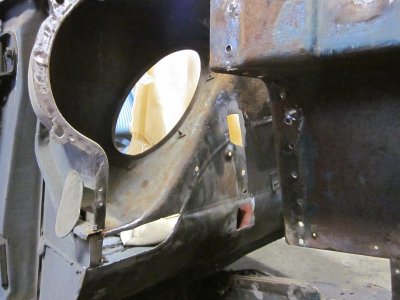
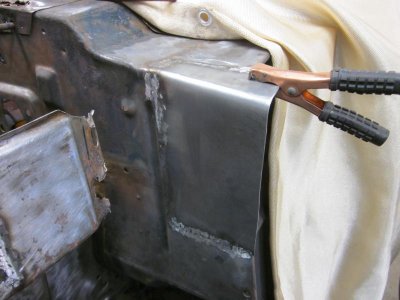
Time to fix this side of the firewall.
- - - Updated - - -

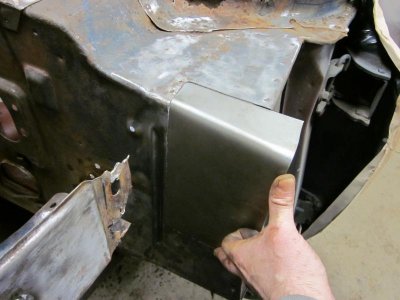
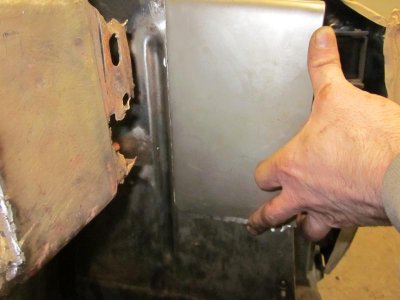
Worked hard to fit the patch tight. Sure takes time!

IMG_3058.jpgIMG_3059.jpgIMG_3060.jpg

- - - Updated - - -

Giving this welding thing another shot!

IMG_3061.jpg

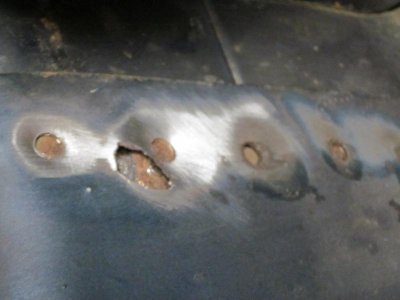
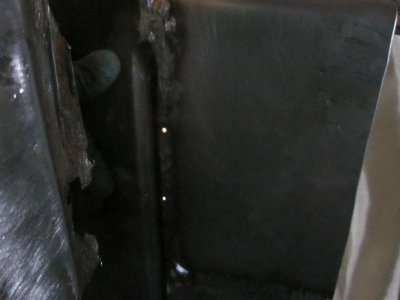
Checking for pin holes...only 5 this time!IMG_3063.jpg
Trimmed up the side and finished grinding the welds. I left the flange flat to seal it when I figure out what to use.
IMG_3065.jpg

- - - Updated - - -

now on to the other side...

IMG_3018.jpgIMG_3020.jpg

I think I'll save this for next weekend!
 
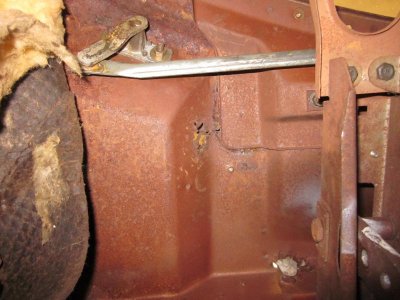
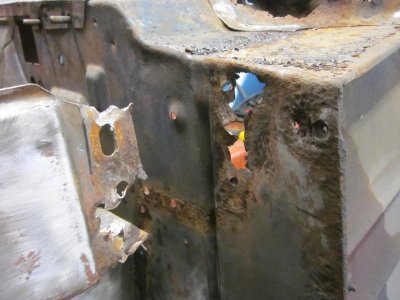
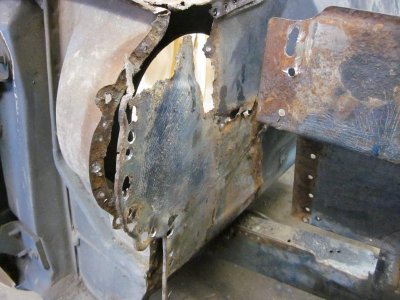
Off comes some more metal to get at the rust...
IMG_3066.jpgIMG_3073.jpg

- - - Updated - - -

IMG_3067.jpgIMG_3070.jpg

- - - Updated - - -

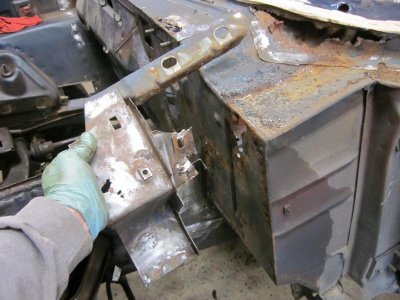
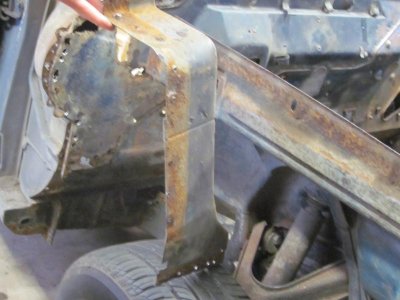
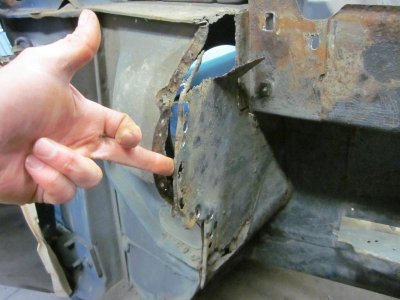
got to remove a section of the air box to fix the firewall. I'll use the old piece to try to fab up a patch.
IMG_3081.jpgIMG_3082.jpgIMG_3083.jpg

- - - Updated - - -

IMG_3084.jpgIMG_3085.jpgIMG_3086.jpg

- - - Updated - - -

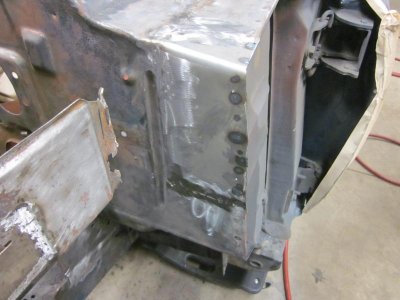
a peek inside shows some surface rust everywhere
IMG_3087.jpgIMG_3091.jpg

- - - Updated - - -

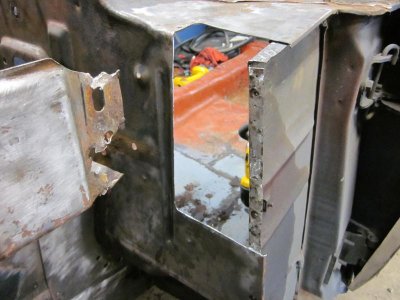
cutting out the rust and tacking in patches

IMG_3092.jpgIMG_3096.jpgIMG_3097.jpg
 
Looking much better with the welds. A lot easier to grind the welds as you go in between the stitch welds.
Keep at her.
 
thanks SF. it's getting a little easier as I learn. I'm spending a lot more time trying to fit the patches tighter and really working the metal to tighten the gaps and keep it all flush. I've been grinding down the welds in between stiches with a 3" thin cut wheel on my right angle die grinder. takes a soft touch but I'm getting better at it. The new welder is much more consistent than the cheap one imo, made a world of difference. The trigger is much more sensitive and a bit hard to get used to.
 
Your doing good. Those patch panels look great. I've got to order some more sheetmetal. I'm out, I want to practice a little more before I start the bodywork on my car.
 
Hi Glen,
I was in your shoes not all that long ago, and like you I discovered Roberts thread over at the garagejournal.com
WOW what an artist he is!
My advise to you is study his threads, (he has a couple) practice some more, and jump in. I would be most concerned about getting good penatration. (keep striving for the welds that he shows) and you will get better and better.
http://www.garagejournal.com/forum/showthread.php?t=182565

This guy is a poster on Trifive.com. He is very helpful in the body forum.
 
Your doing good. Those patch panels look great. I've got to order some more sheetmetal. I'm out, I want to practice a little more before I start the bodywork on my car.
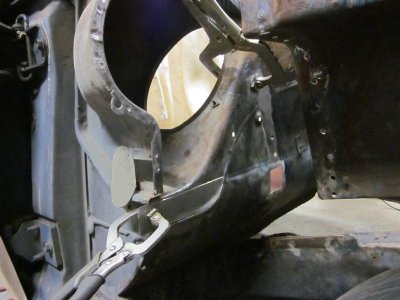
Thanks for the encouragement, it's much appreciated! I find it tough to trim the metal down to the scribed lines, even with new snips. Lot's of fine tuning with metal files, etc. The upper patch started as a good fit but slipped a little when I clamped it. The 18g metal is slightly thicker than the firewall so the clamp slips from the unevenness. I was struggling to find a way to do the lower patch as I don't have a clamp long enough to reach it, then I remembered I had some welding magnets kicking around. The patch at the bottom of the air box was tricky because I cut the hole along the raised portion to try to preserve the original profile. I had to hammer and dolly the patch to curve the edge to match the profile. Turned out pretty good I think but took hours just to fit them. I'd had these finished if I didn't have to change the starter on the kid's civic...was a pita that was! I was so happy to work on the Polara after working on her Honda.

- - - Updated - - -

I'll have to check that out Auggie. Besides being a master at this, Robert is great at explaining details, like so many here on FBBO. The pictures and different approaches to doing things is such a great help for me. All of this because I wanted a nice engine bay to drop the big block in! The wife doesn't get that part. lol
 
Nice work! Great job on saving another one and doing it right
 
Thanks for the kind words RT. I'm not sure I'm doing it right, but it's better than just leaving it to rust even more. That would bug me every time I jump in and start her up!

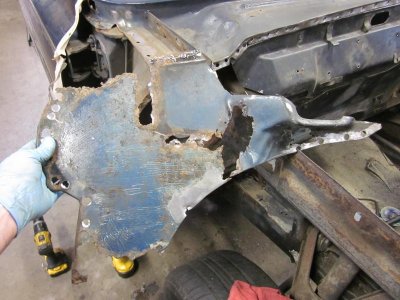
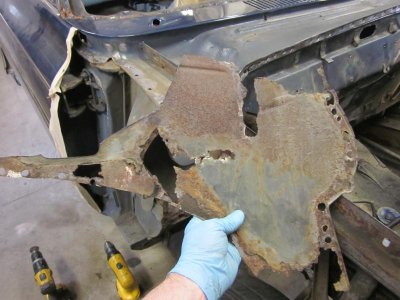
I'm on the fence about replacing the inner fenders. They are rusty along the top and there's not much good metal to weld to. It's a shame really since most of the rest of the inners are good. I see several companies sell them but are they all good replacements in terms of fit and bolt holes?

On another note, does anyone know if there is a rad support replacement for a wider rad on these early B's? I couldn't find any. Maybe a new 2 core 22" will be fine for the mild 413.

I'm also contemplating replacement of the floor pan as it has a bunch of patches. I'd like to put frame connectors on it at some point but I think the floor should be replaced first. That's another $1500CAD+ and a lot of work not to mention I'll have to figure out how to brace everything since its a convertible.
 
Auto Transport Service
Back
Top